Cut small pieces of woodwork securely
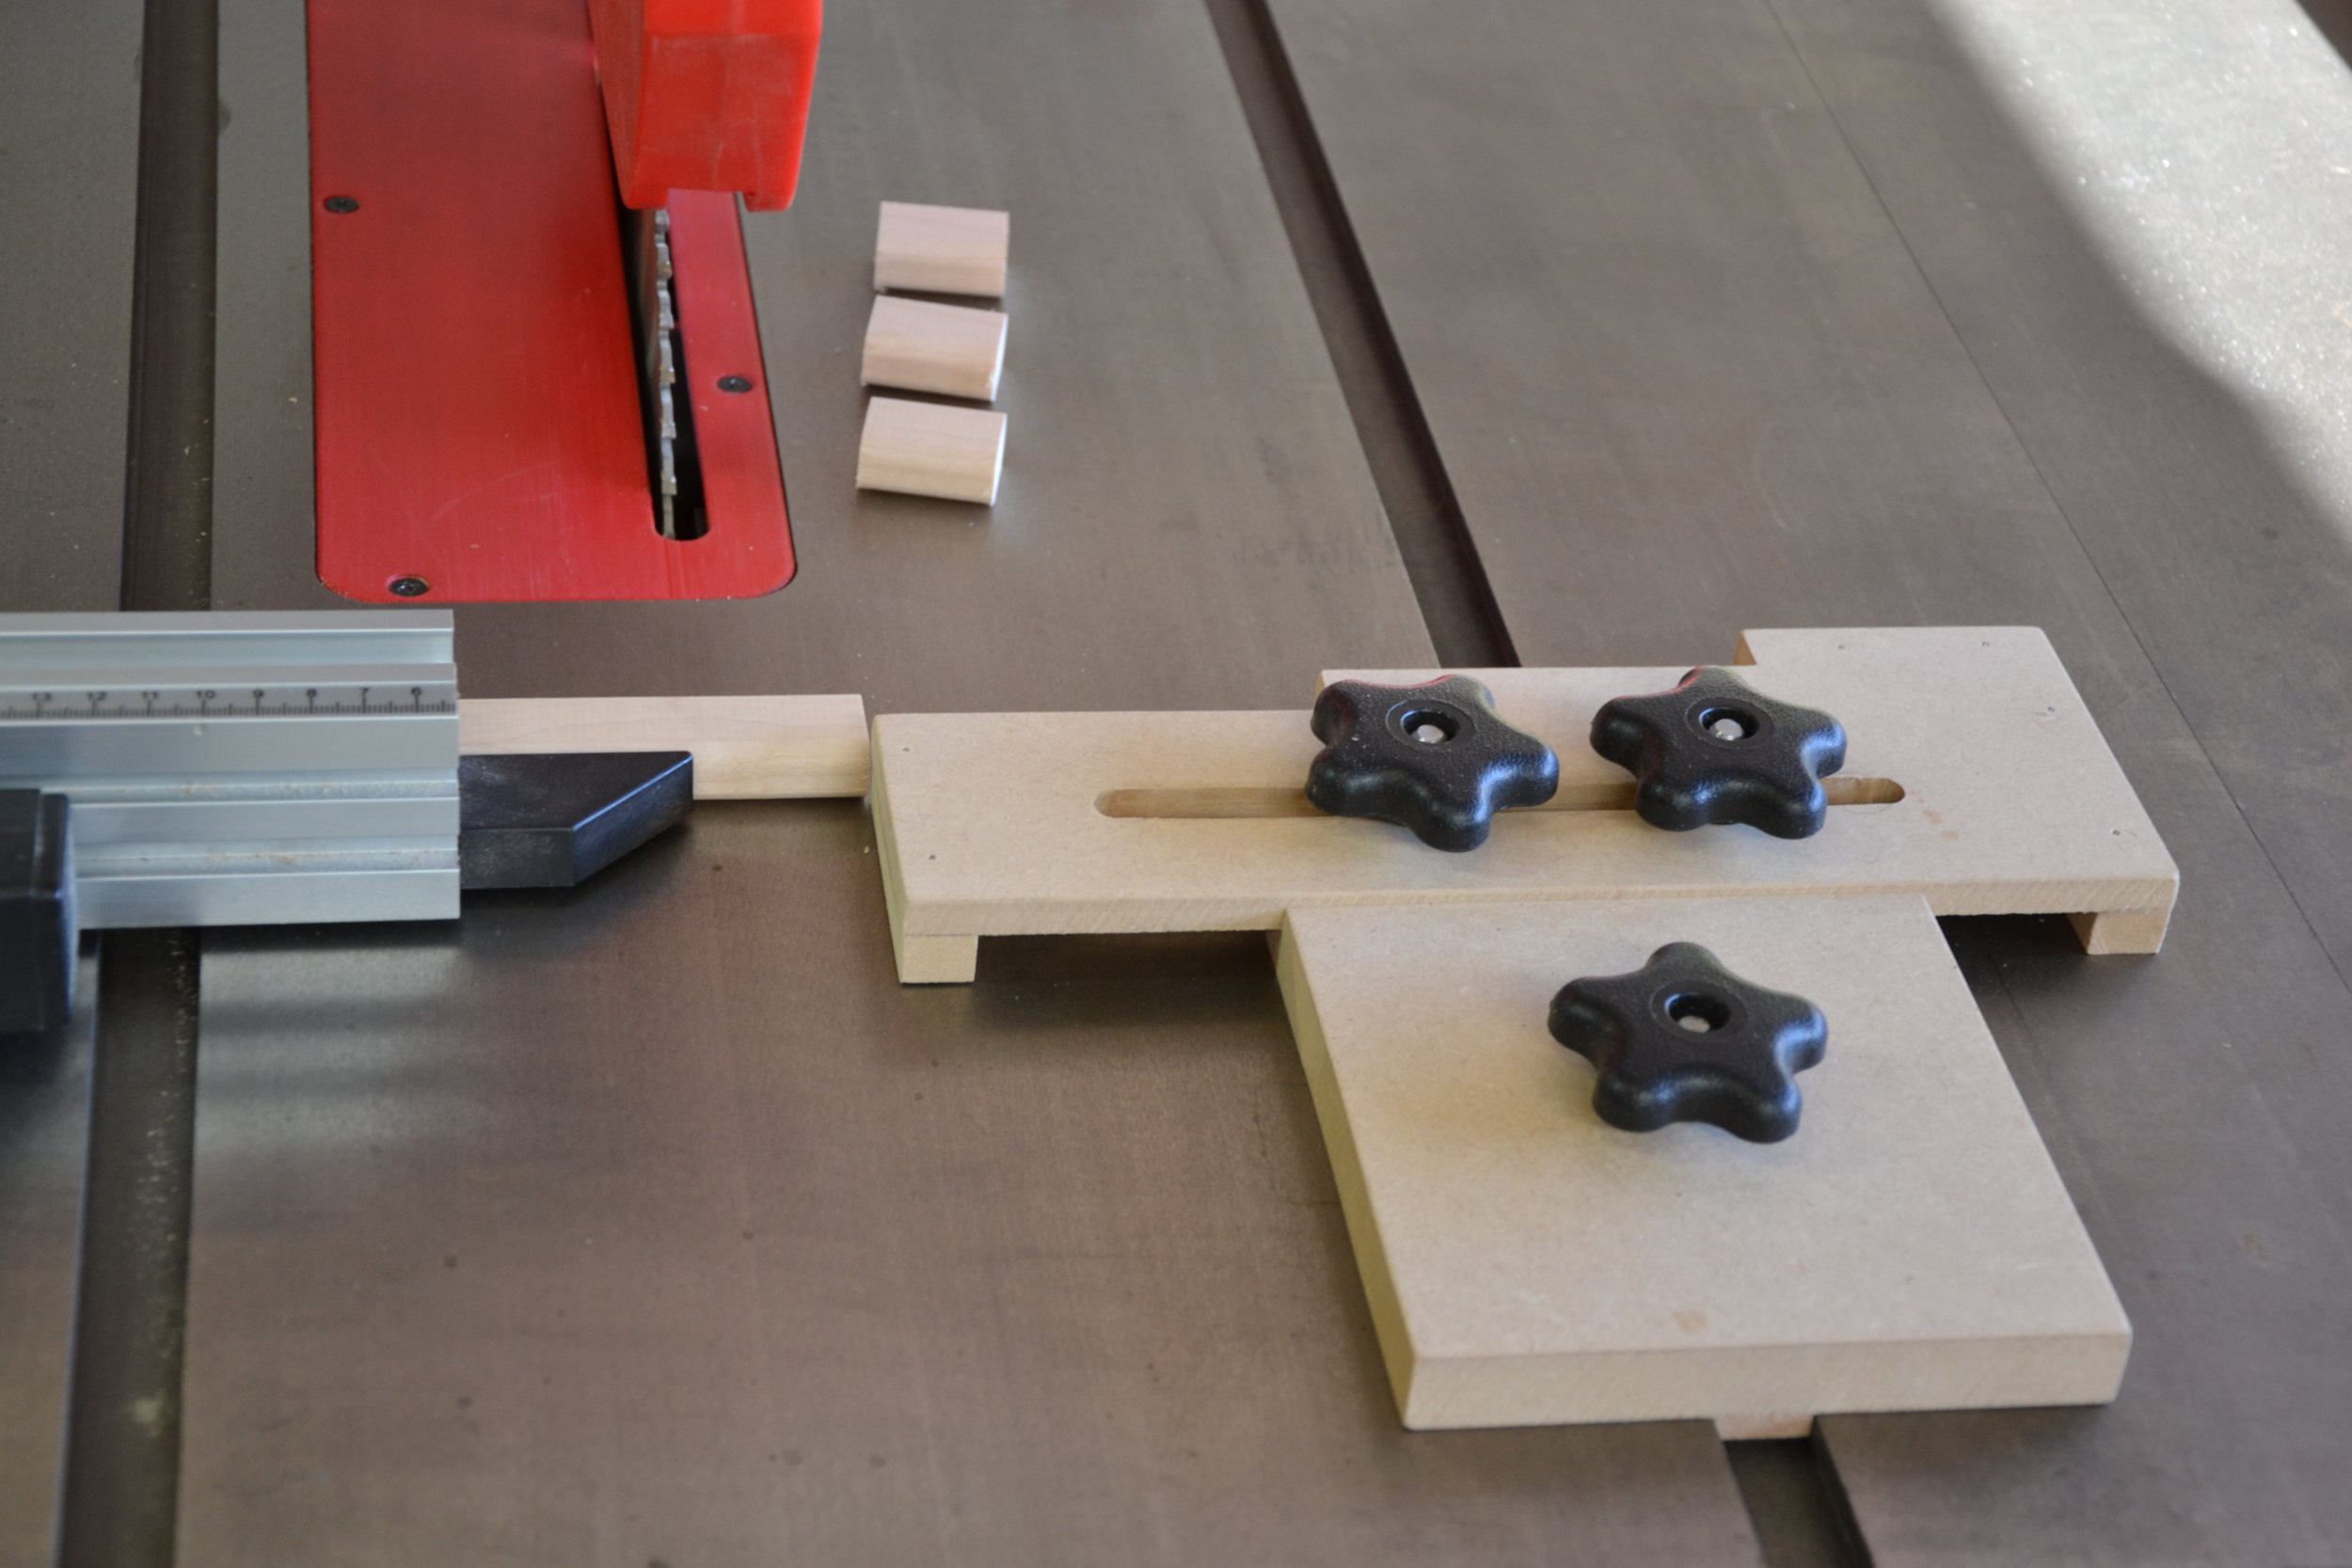
I regularly need to cut a multiple number of short pieces on my saw bench for small box components, kids’ building blocks, small pieces for furniture etc. In the past I have clamped in place various contraptions to ensure each piece is the same length. It is difficult to hold small pieces to cut them accurately but this jig solves the problem. It attaches to the saw bench in seconds and probably takes longer to get out of the cupboard than to fit. The jig fits securely and the three different positions allow me to adjust and cut up to 190 mm. Larger pieces I can hold securely against a stop on the sliding table or mitre gauge. As saw bench dimensions can vary you may need to make some size adjustments to fit your particular saw.
T slots
This jig uses one of the T slots generally found each side of the saw bench blade for sliding the mitre gauge in. Some T slots are not large at the bottom as they are designed only to hold a washer on the mitre gauge to stop it from lifting. For older saw benches with only a square slot, there is an alternative means of fastening the jig (see panel, Square slot). My saw bench has a sliding table but this jig will work just as well if you have only a mitre gauge. I make a lot of different jigs for my home workshop and, as with this jig, I use off-cuts from previous jobs, here 18 mm MDF for the bottom and 9 mm for the top (use whatever you have in your workshop).
T bolts
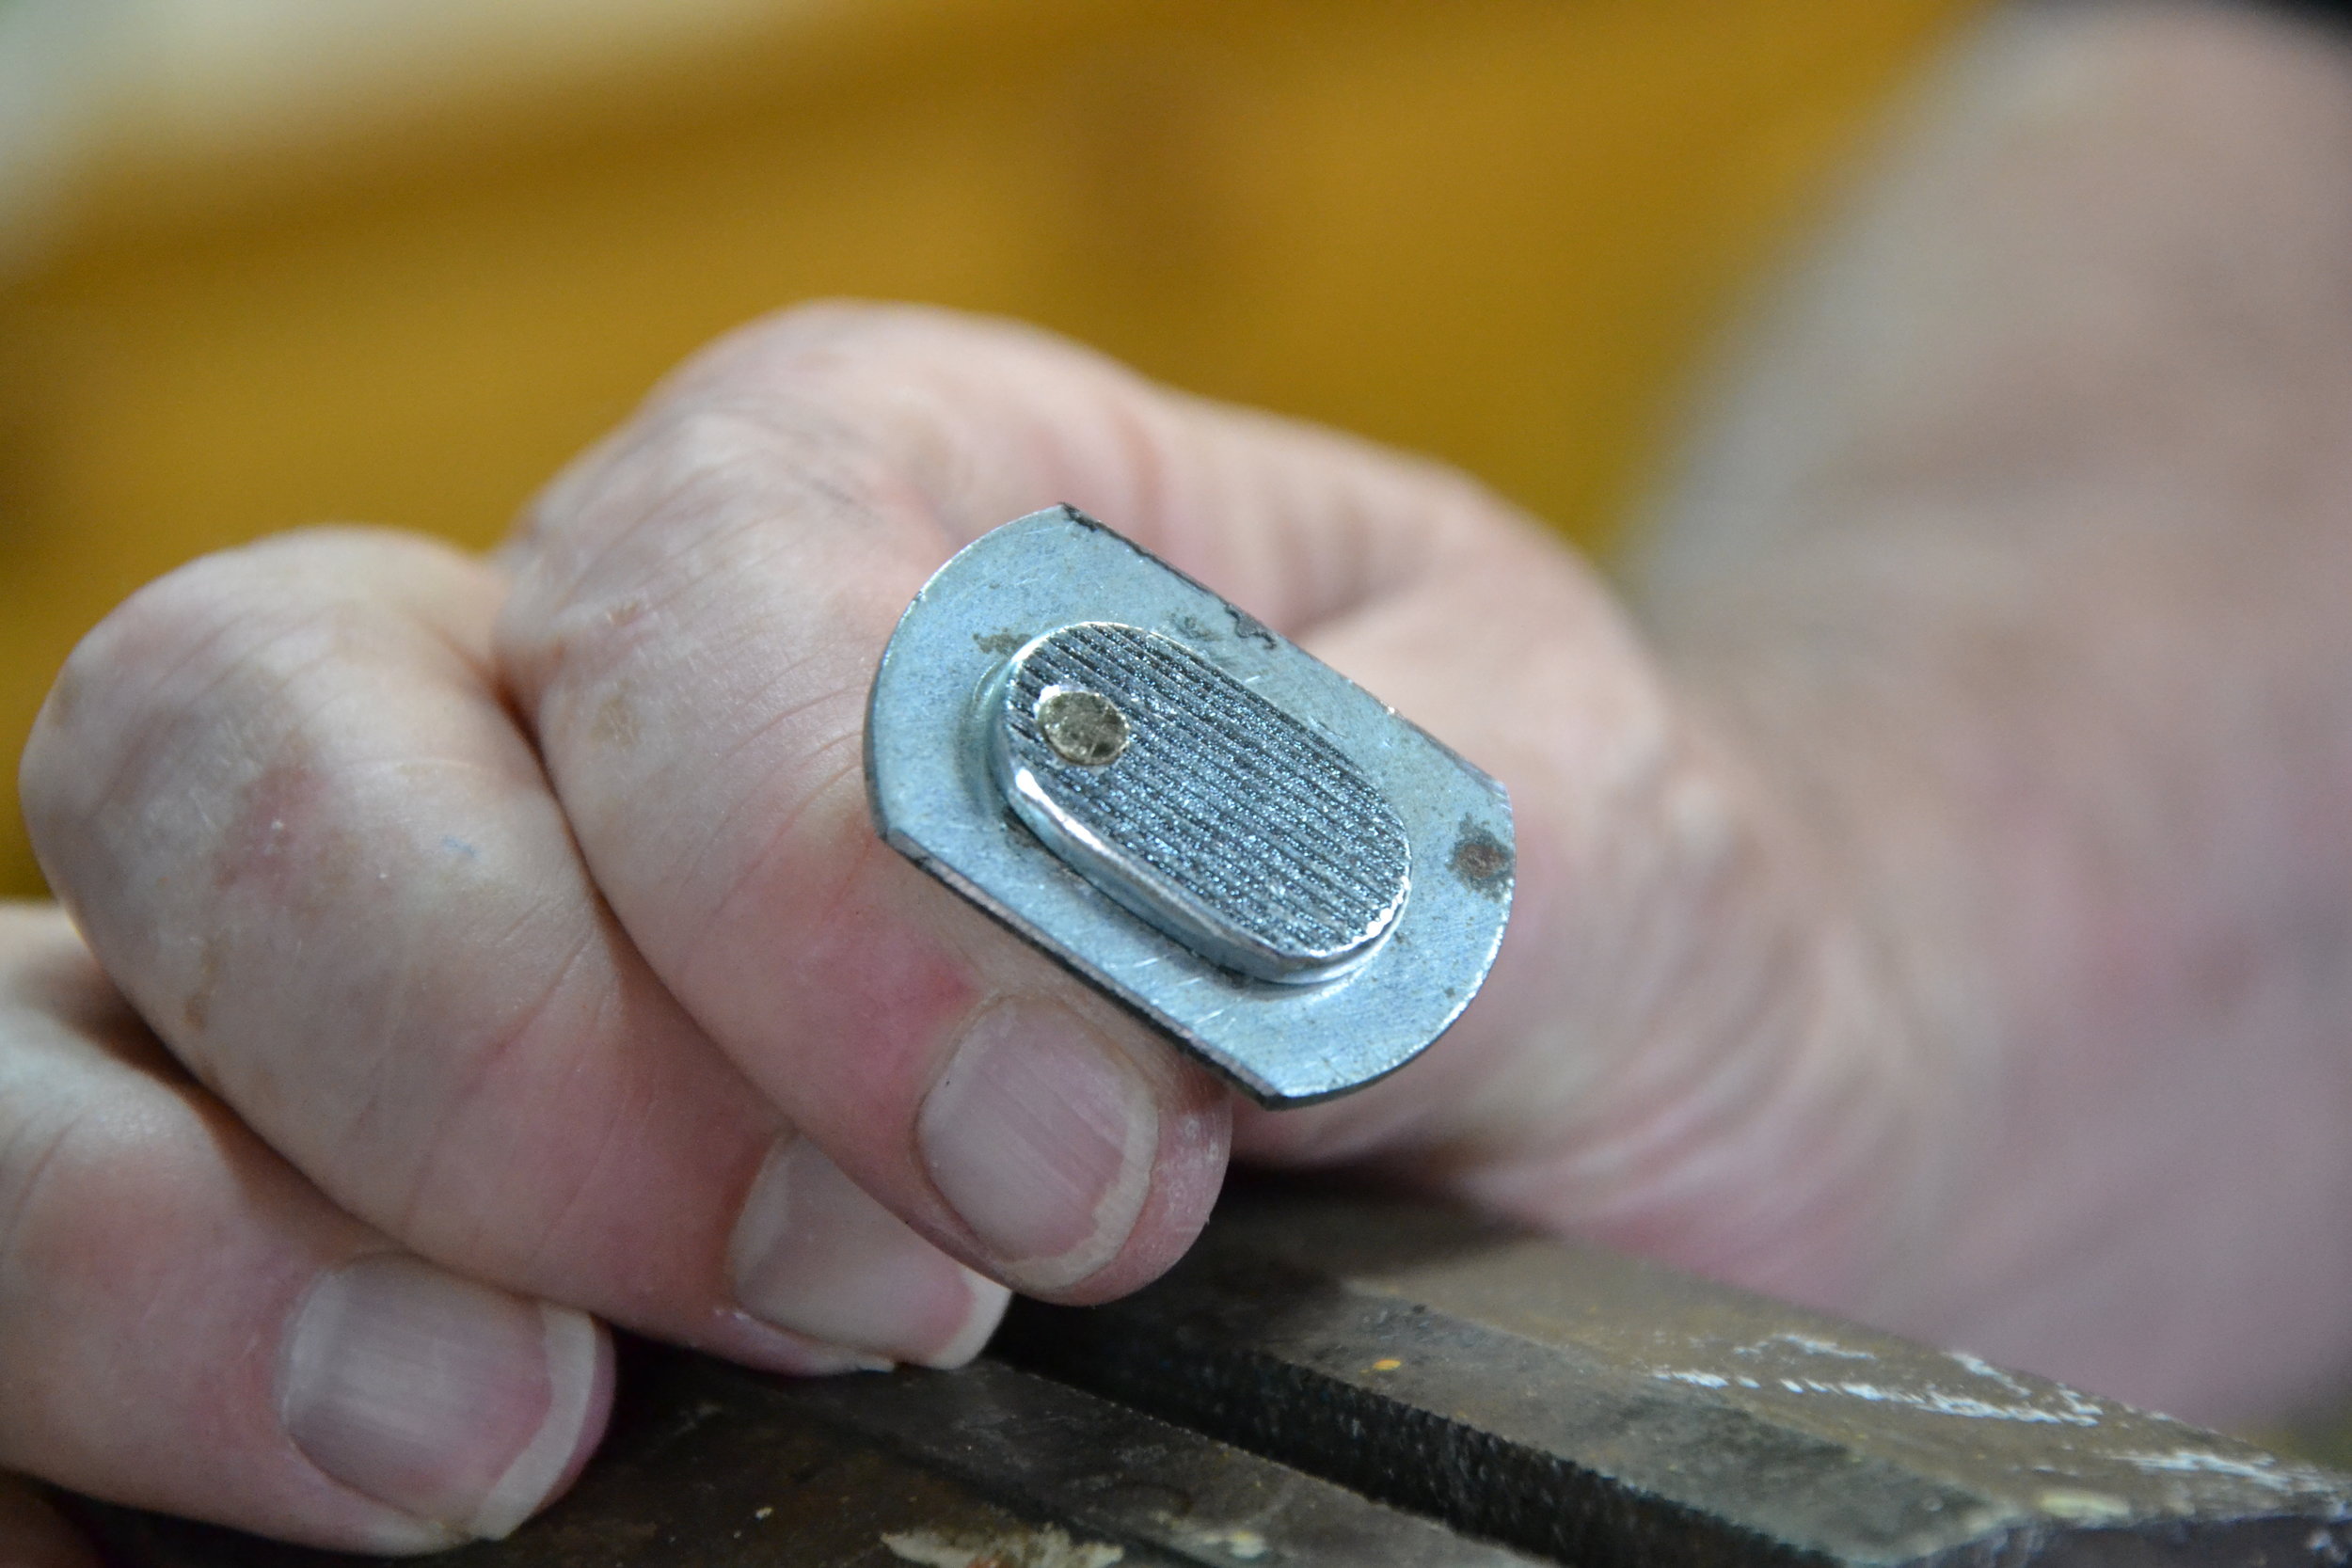
I always have a good supply of T bolts on hand for jig-making to save me having to order them each time. Unfortunately the heads of the T bolts in my supply were much smaller than the T slot on the saw bench. Answer: Use a penny washer and carefully cut a little from each side to allow it to fit in the bottom of the T slot on the saw bench. The flats stop it turning as well as holding the bolt at the bottom of the T slot. I then placed the washer on the T bolt, drilled a 3 mm hole through both, inserted a piece of brass brazing rod and then carefully peened it both sides with a hammer. You could easily electric weld or braze the two together but I have neither of those options in my workshop. The 3 mm rod is also just what I had available but any similar size or type of rod will do the trick. A simple nail could also be a good option. I needed to grind a little from the bottom of the modified T bolt to allow it to work freely in the T slot of the saw bench.
Base
The base is made from 18 mm MDF and has a rebate in order to give the sliding mechanism a reference point when you are sliding it into position. On the bottom of the base, I glued and nailed a strip of wood more or less the exact width of the slot in the saw bench. I suggest you get it as close as possible and then hand-plane or even hand-sand it so that it is a simple push-fit. The combined thickness of the wood and the head of the modified T bolt should be a millimetre or two less than the total depth of the T slot in your saw bench. The hole in the centre of the jig base is for the modified T bolt. The other two bolts hold the sliding mechanism in place. To stop the two T bolts turning, machine a slot to take the heads. I used a Forstner drill bit, carefully positioned it each side of the hole and drilled to a depth slightly deeper than the T bolt head thickness.
Top
The 9 mm top, the adjustable part, is also simple to make. It needs a slot cut to allow the mechanism to slide before being you tighten it into position. I drilled a hole each end of where I had marked out for the slot and then cut the rest out with a jigsaw. The small pieces glued underneath act both as stops for the sliding mechanism and for the piece of wood that you are cutting. When you use the jig, install it as far back as possible on the saw bench to ensure the piece or pieces being cut cannot jam against the stop. I use this jig regularly and often wonder why I did not arrive at the concept years ago. If you really want to be fussy you could give the two wooden components two or three coats of Danish oil. The T bolts and plastic knobs are available from Carbatec in Auckland or Comac in Palmerston North and both companies have good websites.