
Hobbit haven

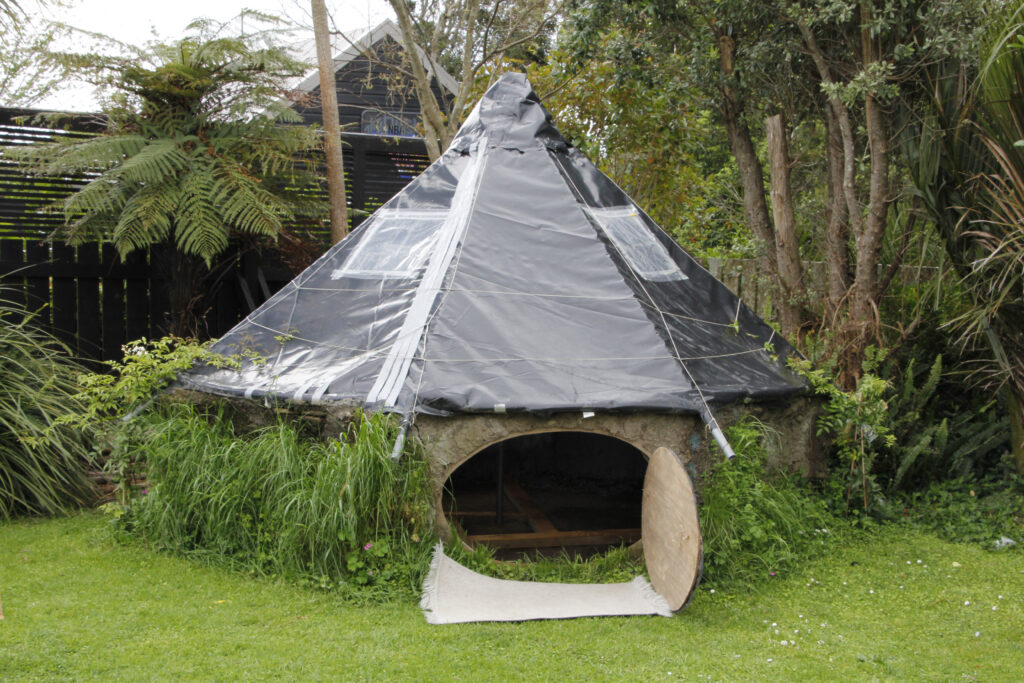
I have made a hobbit house for my kids almost entirely from recycled materials and left-overs from building a garage. The frame is an old trampoline. It is 3.2 metres wide (this depends on the size of your trampoline ) and 2.3 metres high at the apex. I can stand in it easily. The poles that were for the side of the trampoline had holes at the top so by the time I lashed them all together it was incredibly strong. I made the walls out of an old pallet with a couple of bigger bits of driftwood on top. We mudded the walls with a mix of dirt, grass and a little cement until there were no more holes and then patched as needed. I used all kinds of recycled wood that would fit. We have added more layers as needed or as bits fall off. The walls are probably about 100 mm thick on average but up to 150 mm in places and we have added paper in the middle for extra insulation.

A dad has come up with a backyard haven with a hobbit flavour, all of which began as a bit of amusement
By
Craig Cook
Photographs: Rob Tucker

Hobbit House

“In a hole in the ground there lived a hobbit,” wrote J R R Tolkien on a blank piece of paper while marking student essays, setting off a thought process that led to his book The Hobbit and eventually to his three-volume creation The Lord of the Rings.
So, if you are going to re-create a hobbit home but don’t want to dig like a mole, earth-covered walls might be the next best thing.
Craig Cook has created a backyard haven with a hobbit flavour, all of which began as a bit of amusement. As he writes:
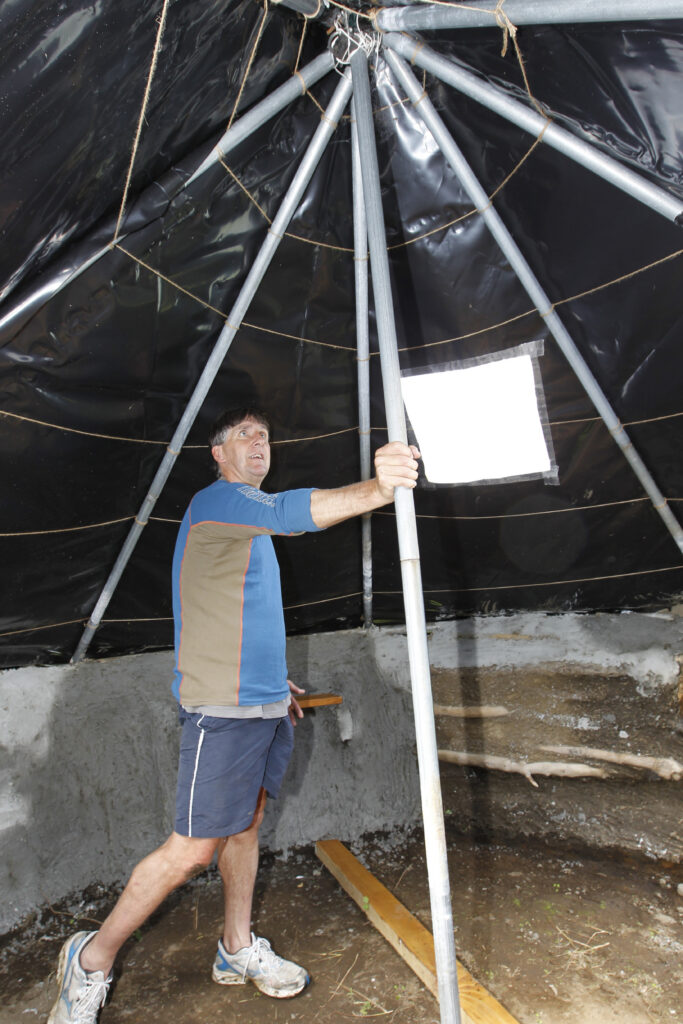
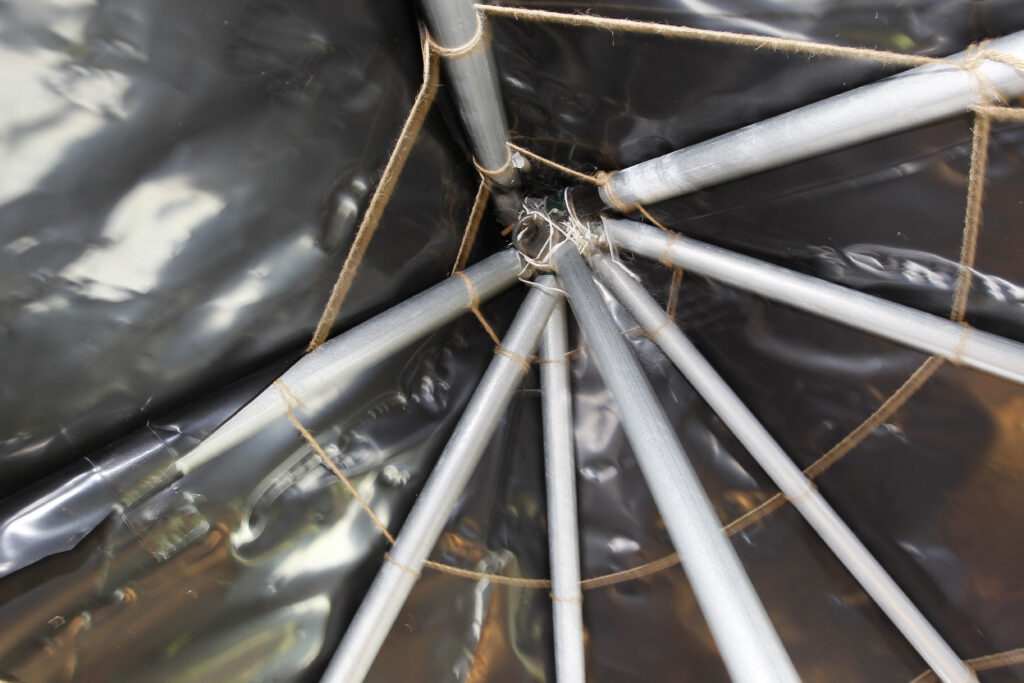
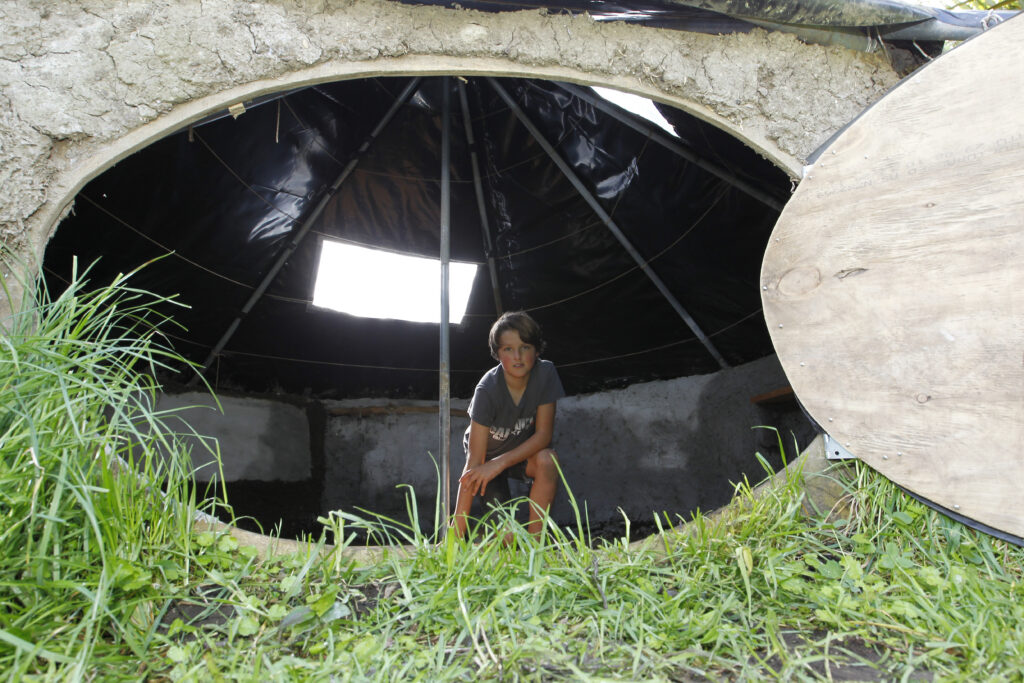
“I have made a hobbit house for my kids, almost entirely from recycled materials and leftovers from building a garage. The frame is an old trampoline. It is 3.2 metres wide (this depends on the size of your trampoline ) and 2.3 metres high at the apex. I can stand in it easily. The poles that were for the side of the trampoline had holes at the top so by the time I lashed them all together it was incredibly strong.

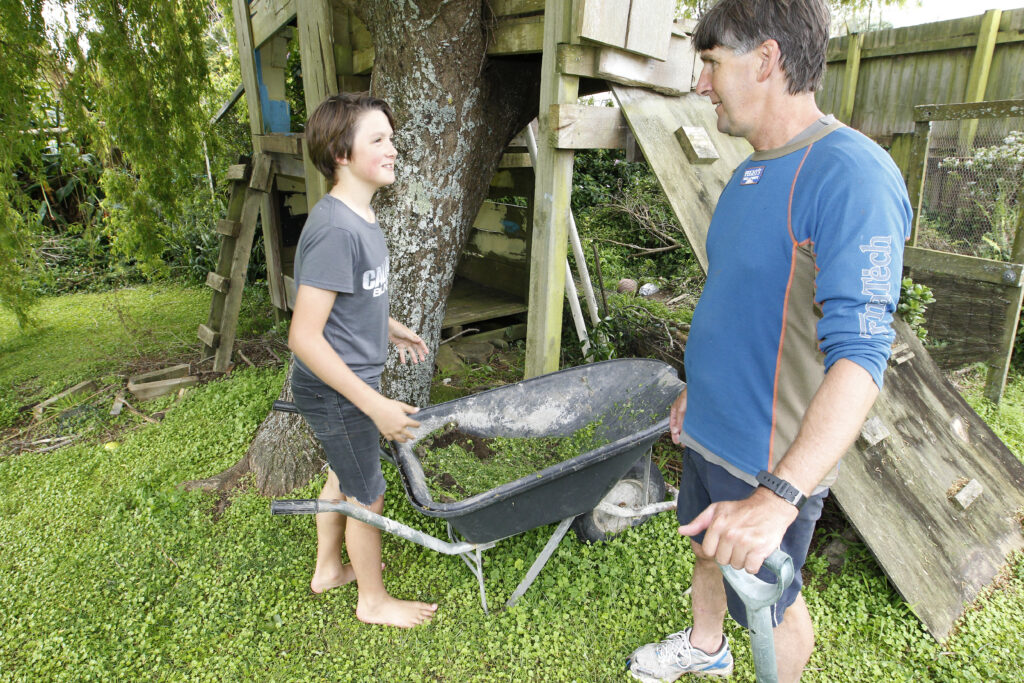
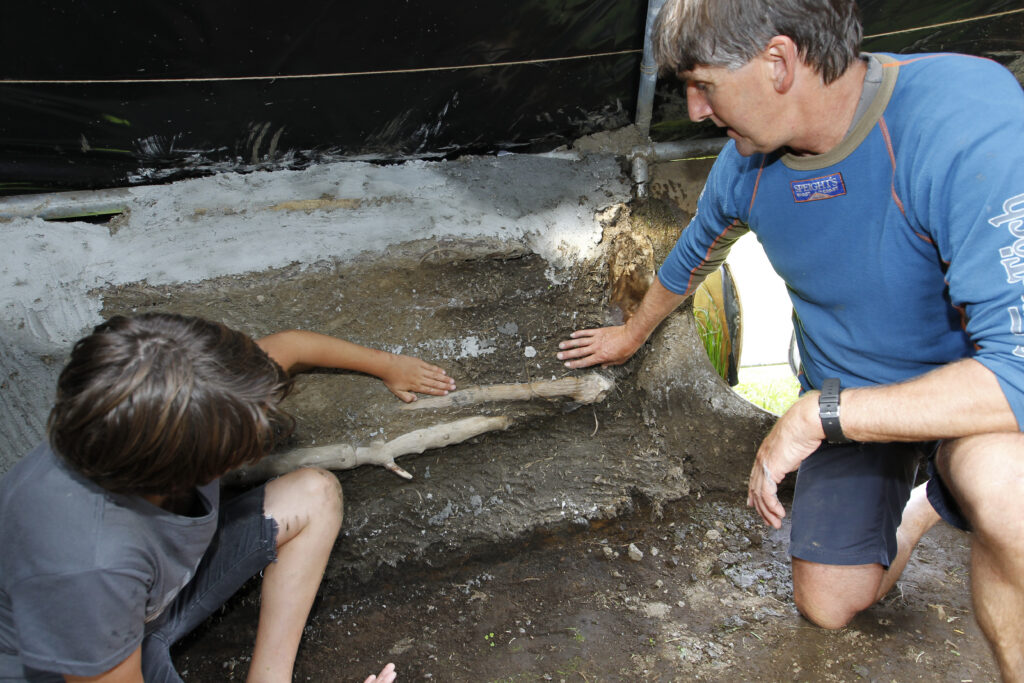
Craig and son Essala discuss...
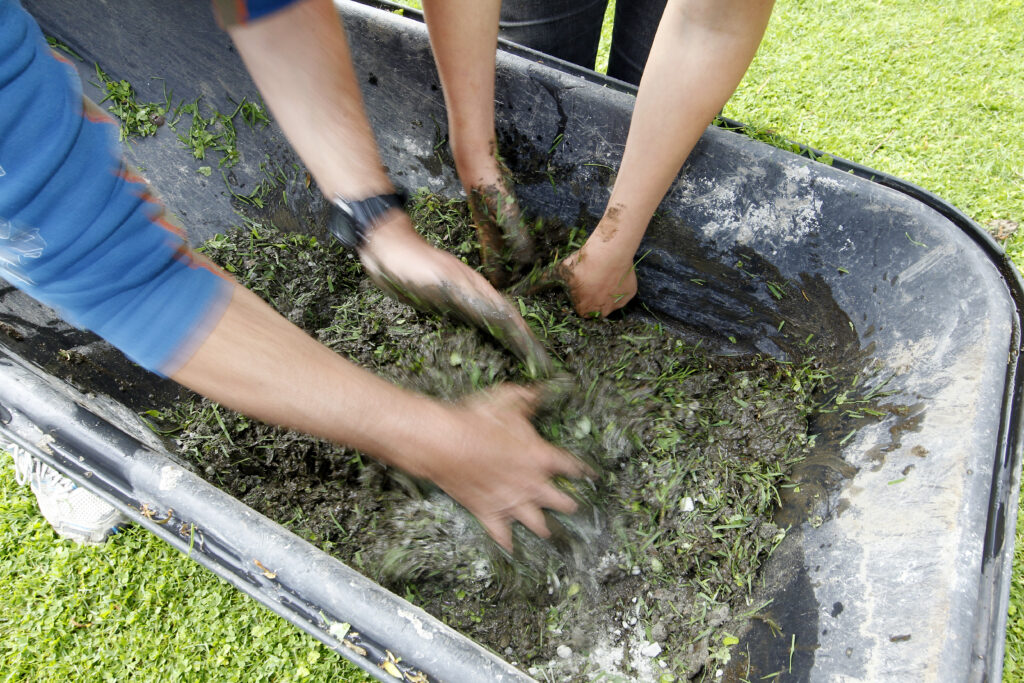
...mud making
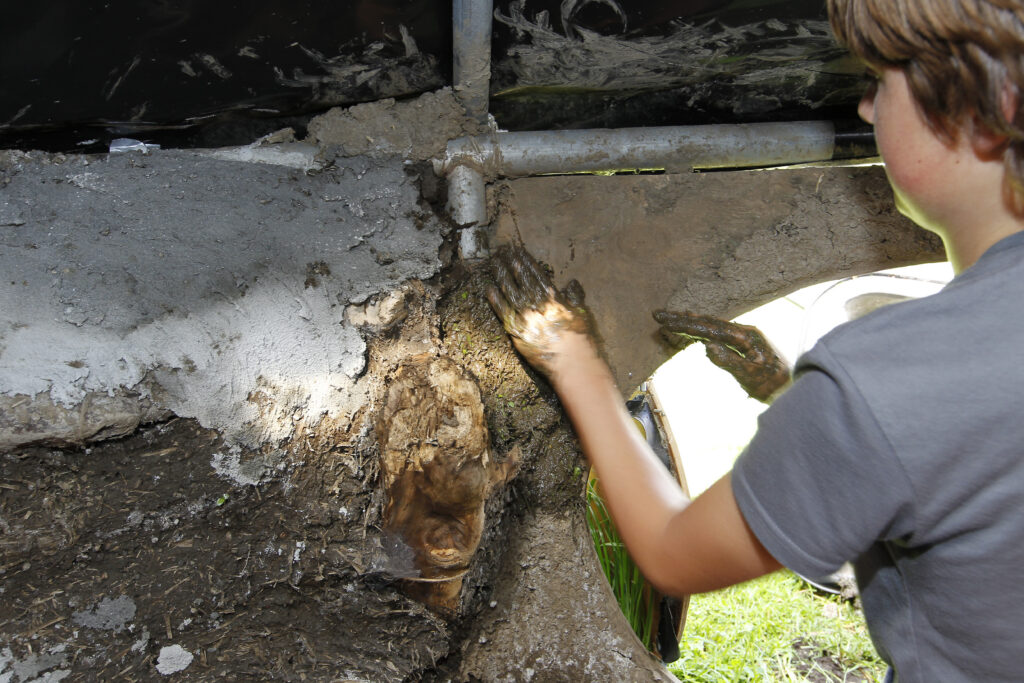
Mudding the walls
Ex-trampoline poles

The walls
I made the walls from an old pallet, with a couple of larger pieces of driftwood on top. We mudded the walls with a mix of dirt, grass and a little cement until there were no more holes and then patched as needed. I used all kinds of recycled wood that would fit. We have added more layers as needed or as bits fall off. The walls are probably about 100 mm thick on average, but up to 150 mm in places, and we have added paper in the middle for extra insulation. 
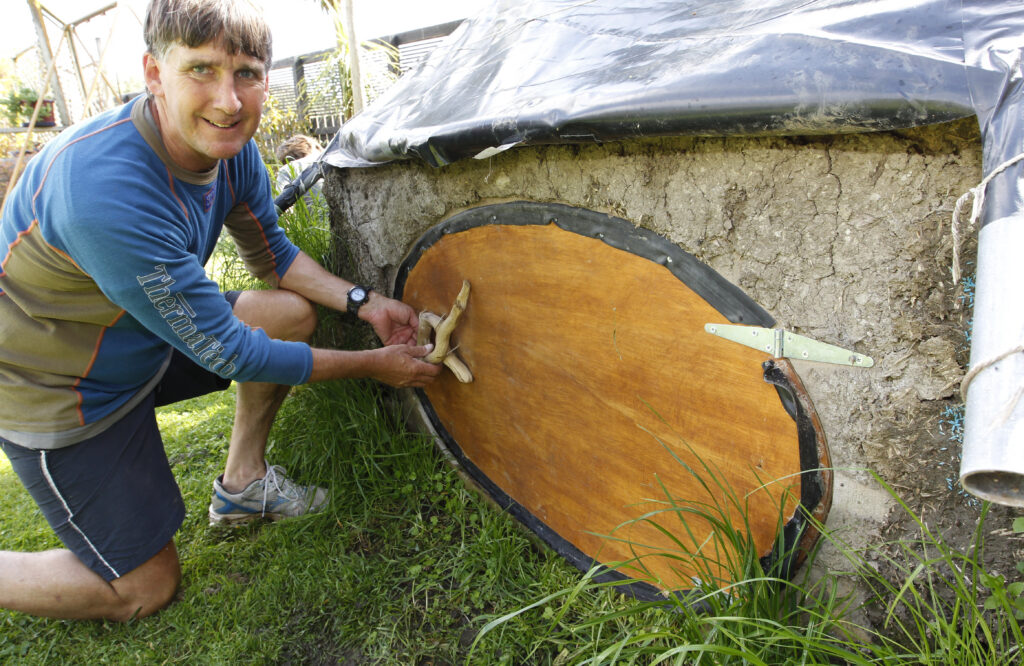
We just lashed the wood to the trampoline frame with twine. No nails are used; the only screws are in the door to hold the hinges firm and fix the bike tyre to the outside of the door to prevent drafts. The whole structure, bound together with twine, has already withstood several storms.
When I started this, it was just a bit of fun, and I was concerned about poles falling down and hitting someone on the head. It is at a stage now where my son Essala wants it as his bedroom, but don’t tell the council. It’s just a playhouse. 

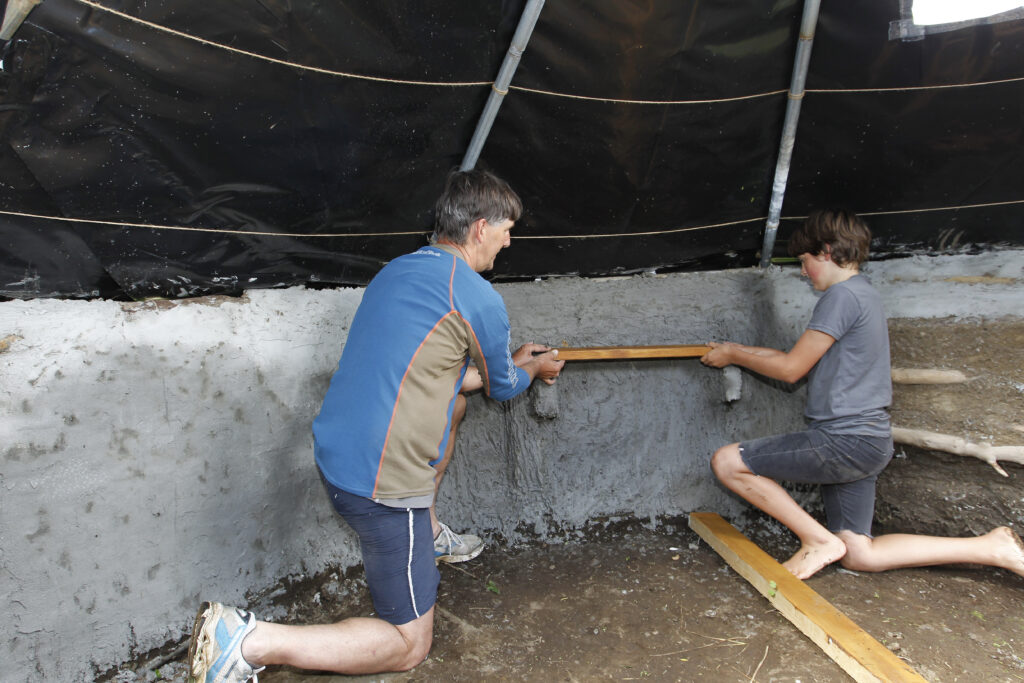
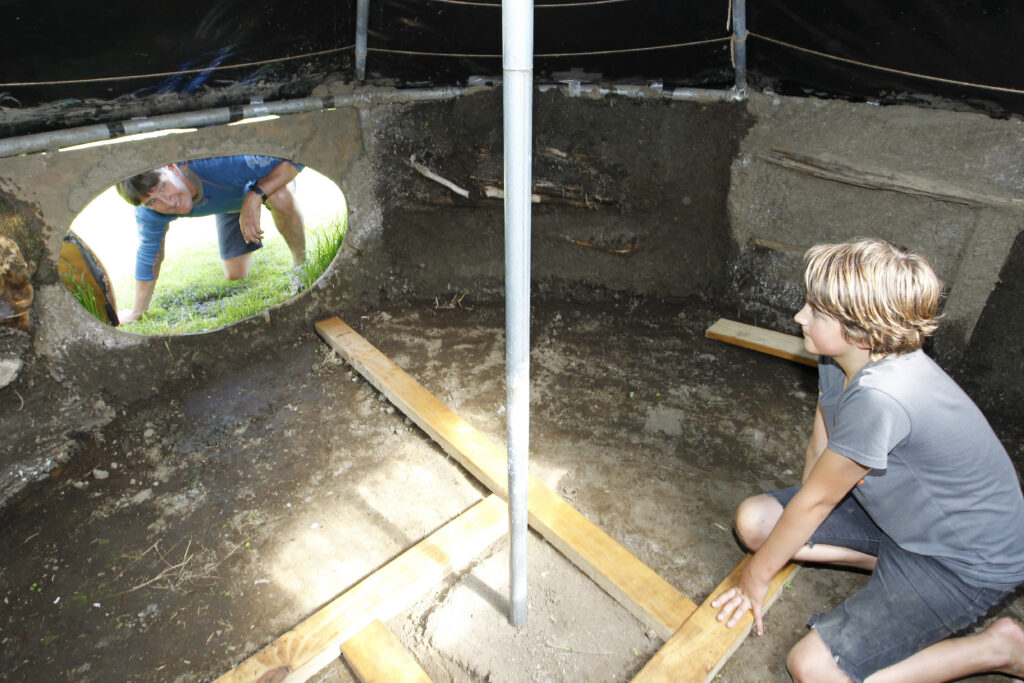
Working out shelving
This strong twine binding has withstood a decent storm
Driftwood-packed walls
Wooden inlay for concreting the floor

The talk of the town
My son has decided he wants to sleep in it, and he suffers from asthma, so I am in the process of plastering the inside walls. Kids love doing the mudding of the walls, and Essala enjoys the mud fight with the leftovers at the end of the day even more.
The $120 total spend is from $50 on cement and plaster, $50 on the creeper plants beside the outside wall, which will eventually grow up and cover the roof and $20 on extra tape and twine. I had hinges, screws and some tape and twine to start with.
I have now installed a wooden inlay on the ground and will concrete the floor. I will probably have to spend another $150 to finish it with plaster, builder’s mix and cement (this cost would be done away with if it were just kept basic). We may go as far as a small solar system to power two LED lights and enough to run a computer. It’s very ‘kool’ and the talk of the town.”

Only screws used hold hinges and rubber draft-stopper door fringe
Young Essala now wants to use the hut as his bedroom

Share:

More Posts

Creative duet

For Dave Pauling, making guitars is the natural fusion of two passions – music and wood.
Dave, who has been playing the guitar since he was 13, also knew the pleasure of pottering in sheds from a young age. His father is a “sheddie” from way back who, among other things, still spends many hours restoring vintage vehicles.
“I grew up helping him with his Model Ts, making bows and arrows, or working on a model railway we had in the loft,” he says.
While Dave himself has spent a fair few hours restoring a 1965 Mustang imported from San Francisco, he prefers working with wood. There’s something about the malleability and smell of wood, as well as its provenance, he says. Wood, especially the recycled timber he uses to construct his guitars, has had a previous life. “Every guitar I make comes with a pre-history.”

Rust, me and CRC Evapo-Rust

My tools and machinery were housed in an unlined shed for a few years, resulting in plenty of surface rust.
I tried removing it with abrasive products, but that involves an awful lot of manual labour and doesn’t always work well, not to mention the scratches it leaves on the tool’s surface. So I looked for a decent rust killer. CRC Evapo-Rust had a reputation, so I gave it a go.
Most of my affected tools were small enough to be immersed in the liquid. I had a container that I filled with Evapo-Rust, and an overnight immersion generally cleaned them up. The beauty of Evapo-Rust is that it’s reusable, so that container will last for the foreseeable future, probably a year for me.

A butterfly takes wing

This simple butterfly pendant or brooch (depending on the back fittings) is a very good exercise in several basic goldsmithing techniques. It also can be decorated in several different ways to produce strikingly different finished pieces of jewellery.
I drew this design more than 25 years ago for a company that then made paua-shell jewellery. They stamped out their products, so I often made the master patterns in copper and from these patterns they spark-eroded the dies.
If this design was being made in an art school, it would be stuck to a sheet of silver and the basic shapes cut from there. If a design was made this way in, say, 18-carat gold and the wing outlines (as here) made from 2.5 mm thick metal, the outlay and waste material would be considerable from a 2.5 mm-thick sheet of 18-carat gold plate. But we will make it like a professional craftsman who has to live in the real world where costs matter.