

All aboard

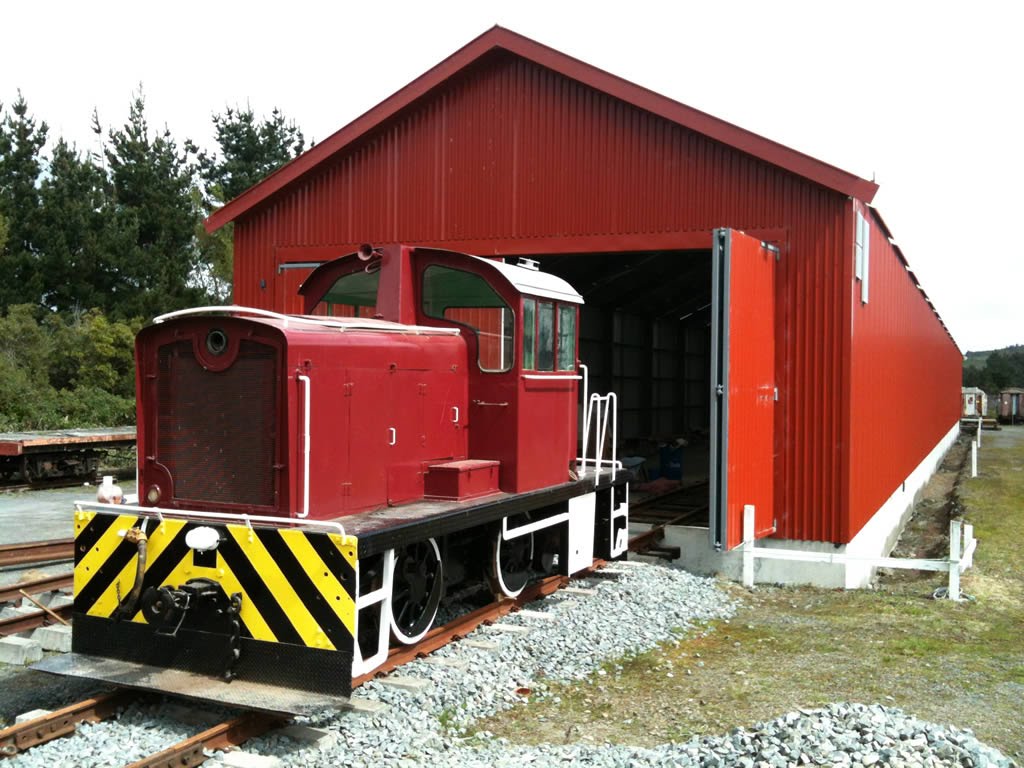
This project started after a visit to The Plains Vintage Railway and Historic Museum in Ashburton (www.plainsrailway.co.nz). Our three boys had really enjoyed the model trains and, on the way home, asked if I could build one for them. As the kilometres went by, a few ideas began to form, and the seeds for this project were planted. Over the Christmas/New Year break, I decided to retire to my workshop and start turning the thoughts and ideas into the real thing. The overall design is based on the TR189 locomotive pictured below.

A model train build proves to be a rewarding journey
By Richard Brown
Photographs: Richard Brown

This project started after a visit to The Plains Vintage Railway and Historic Museum in Ashburton (www.plainsrailway.co.nz). Our three boys had really enjoyed the model trains and, on the way home, asked if I could build one for them. As the kilometres went by, a few ideas began to form, and the seeds for this project were planted.
O
ver the Christmas/New Year break, I decided to retire to my workshop and start turning the thoughts and ideas into the real thing. The overall design is based on the TR189 locomotive pictured below.

Standard-scale model sizes
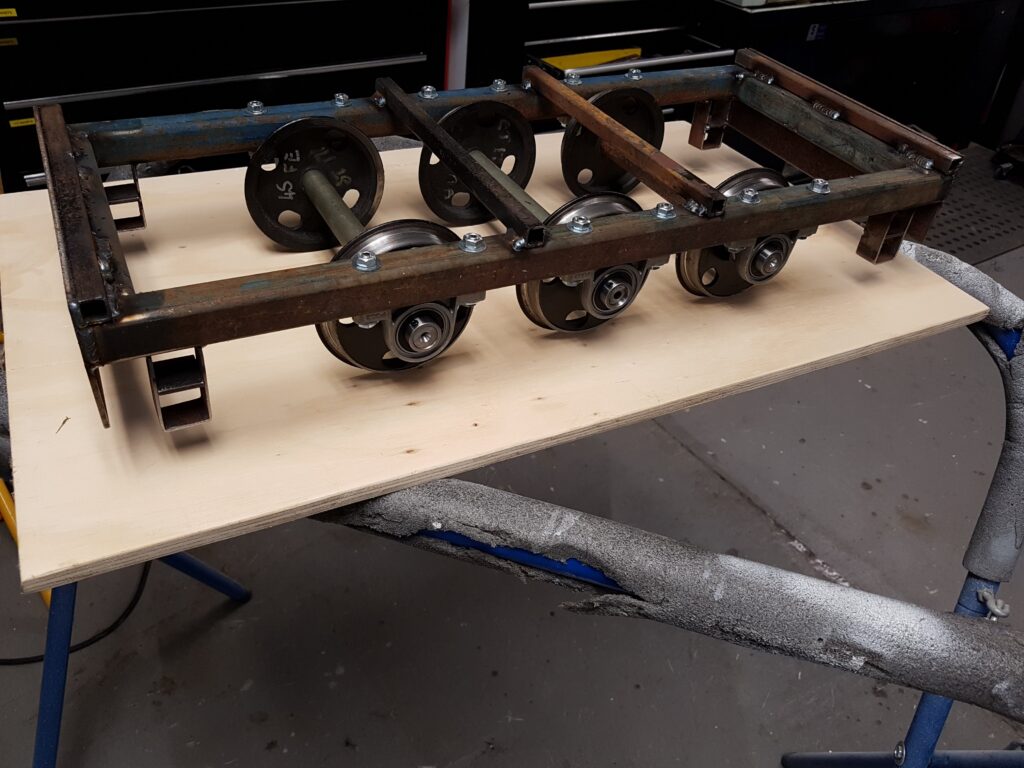
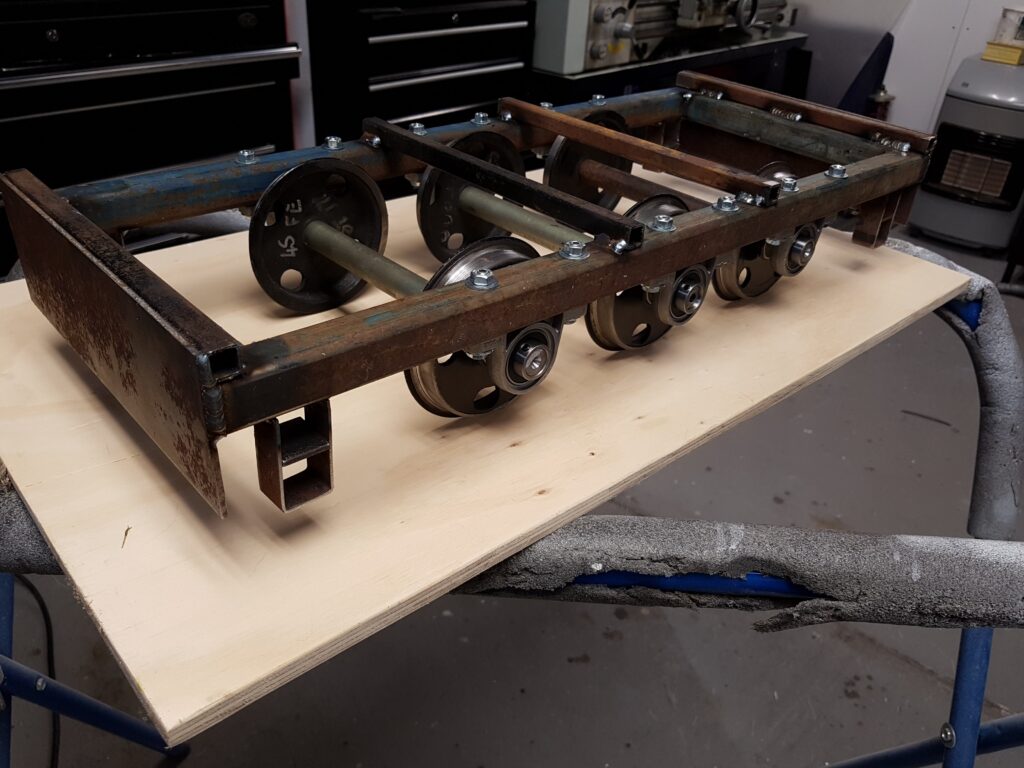
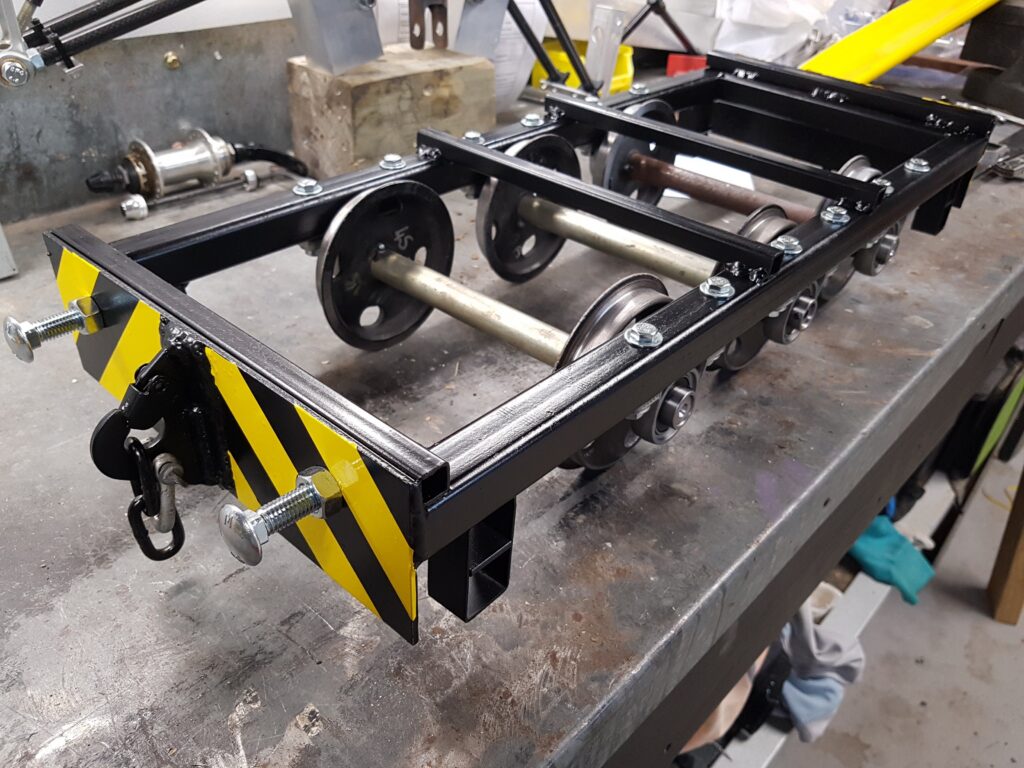
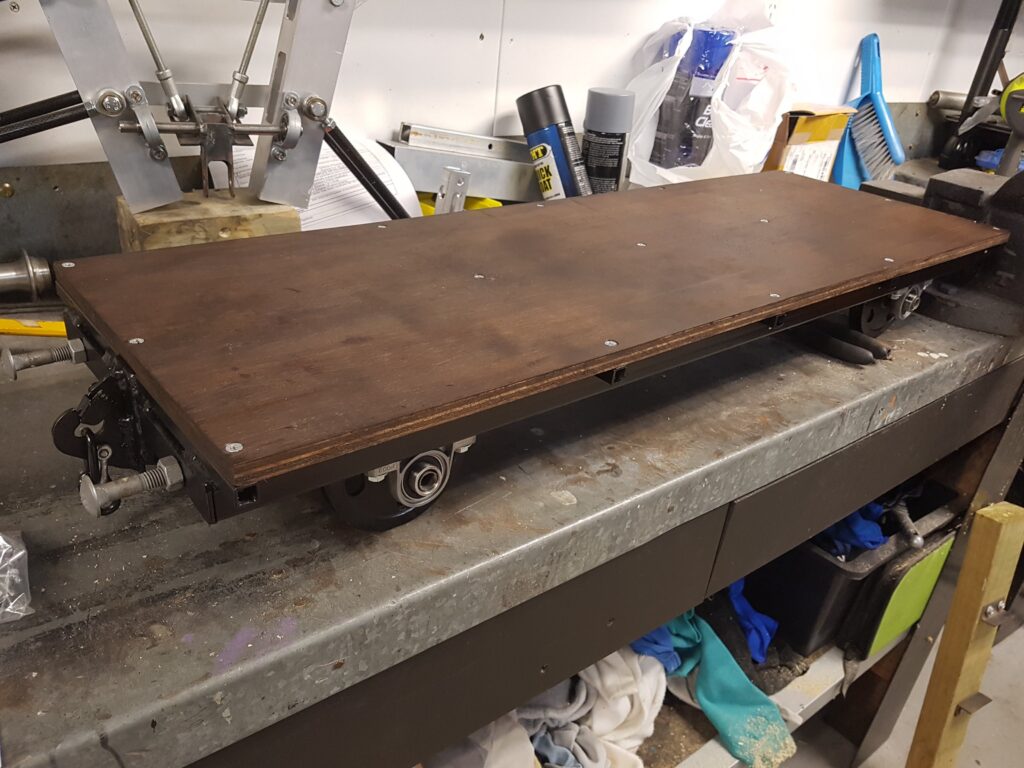
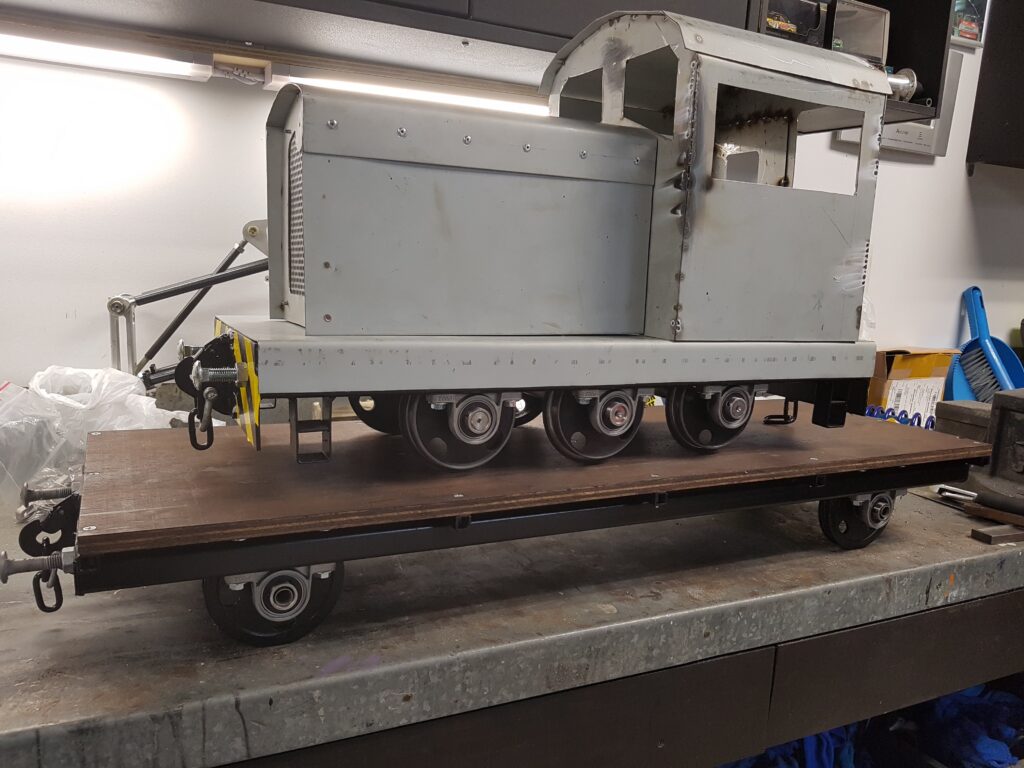
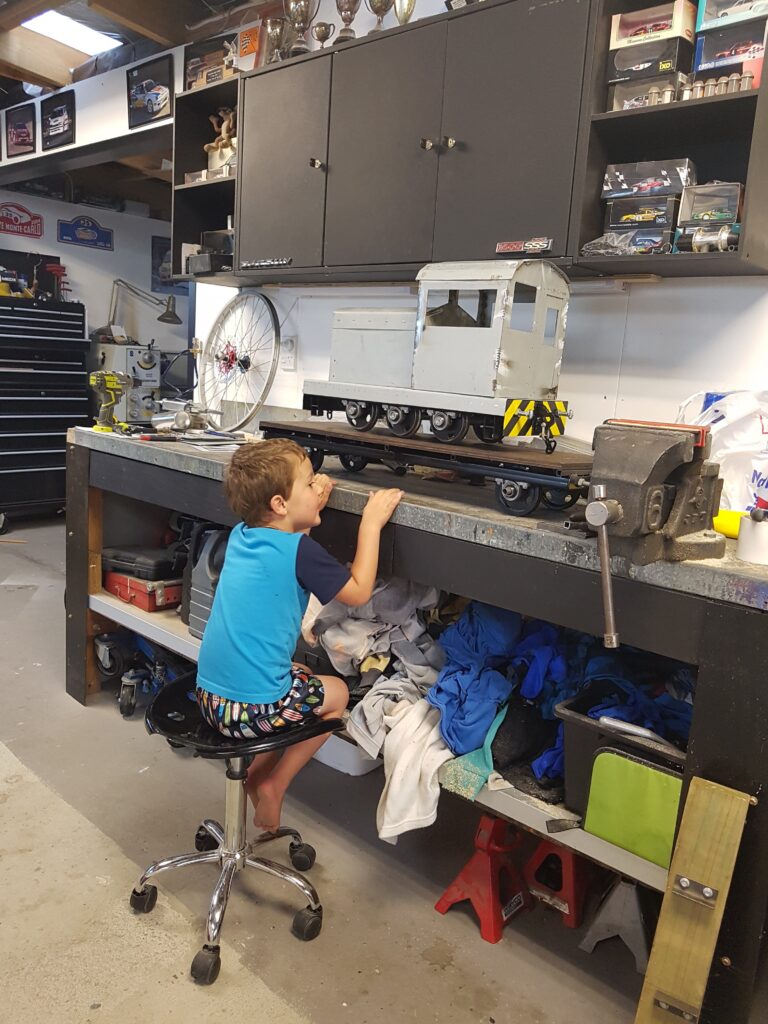
Working as I do in the Timaru Autoparts Partsworld has big advantages, and I discovered Toyota Corona power steering pulleys were the ideal size for the wheels. A quick skim on a lathe gave me a realistic flanged wheel I could weld onto a shaft. Nice.
With the wheels sorted, the chassis size was loosely dictated by the material I had on hand, but in hindsight I wish I’d stuck to a standard-scale model size so it could be demonstrated elsewhere.
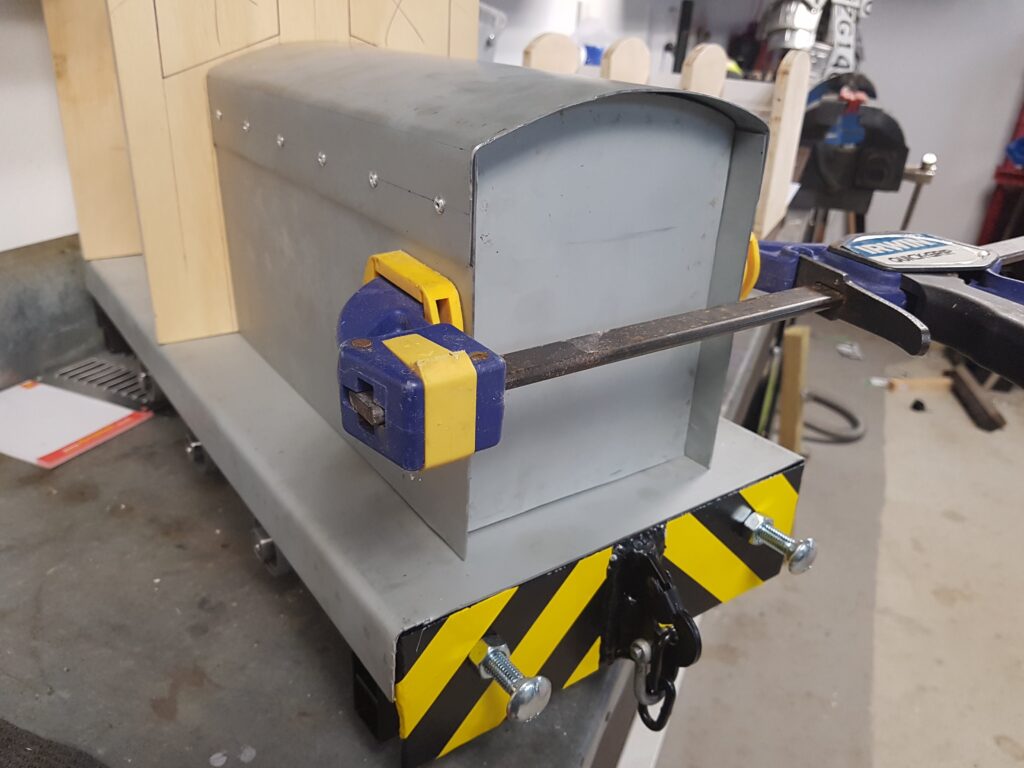
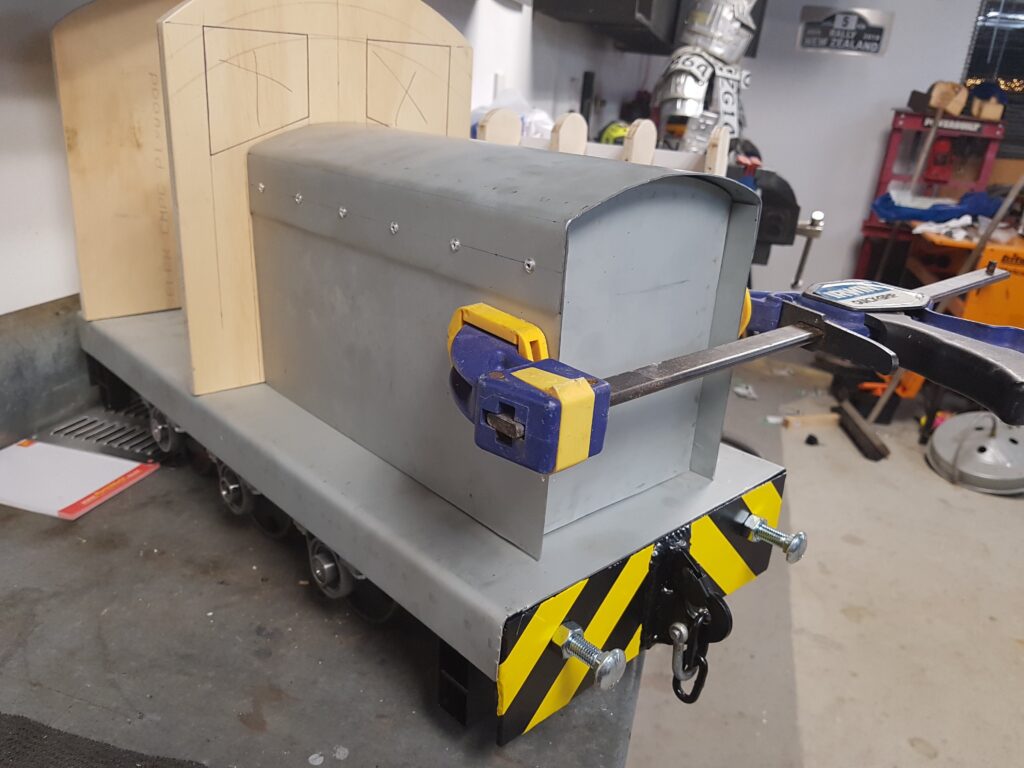
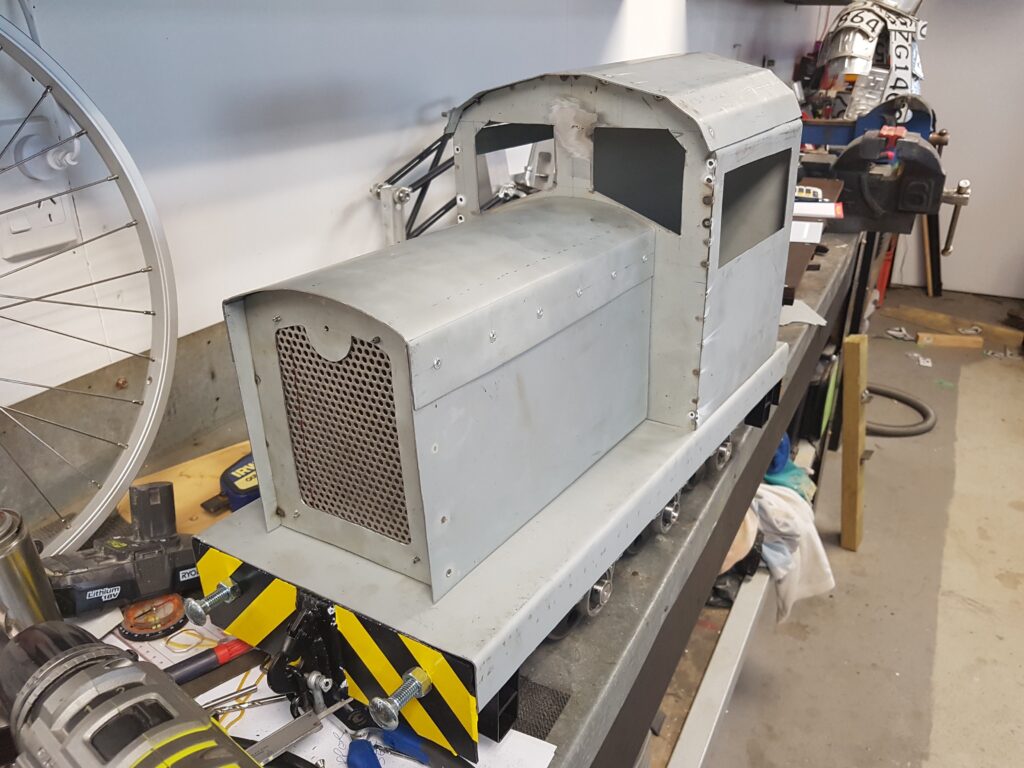
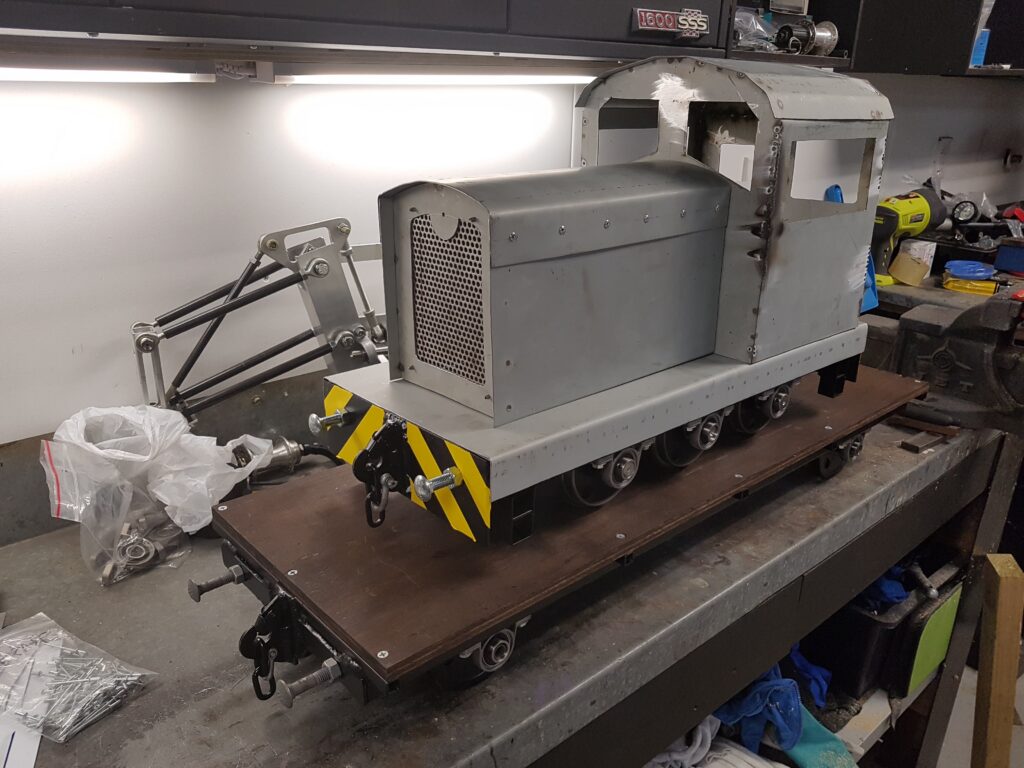
A few wooden bucks helped me decide the engine and cab sizing, and I fabricated this from sheet metal and riveted/welded it together.

Five-minute wonder?
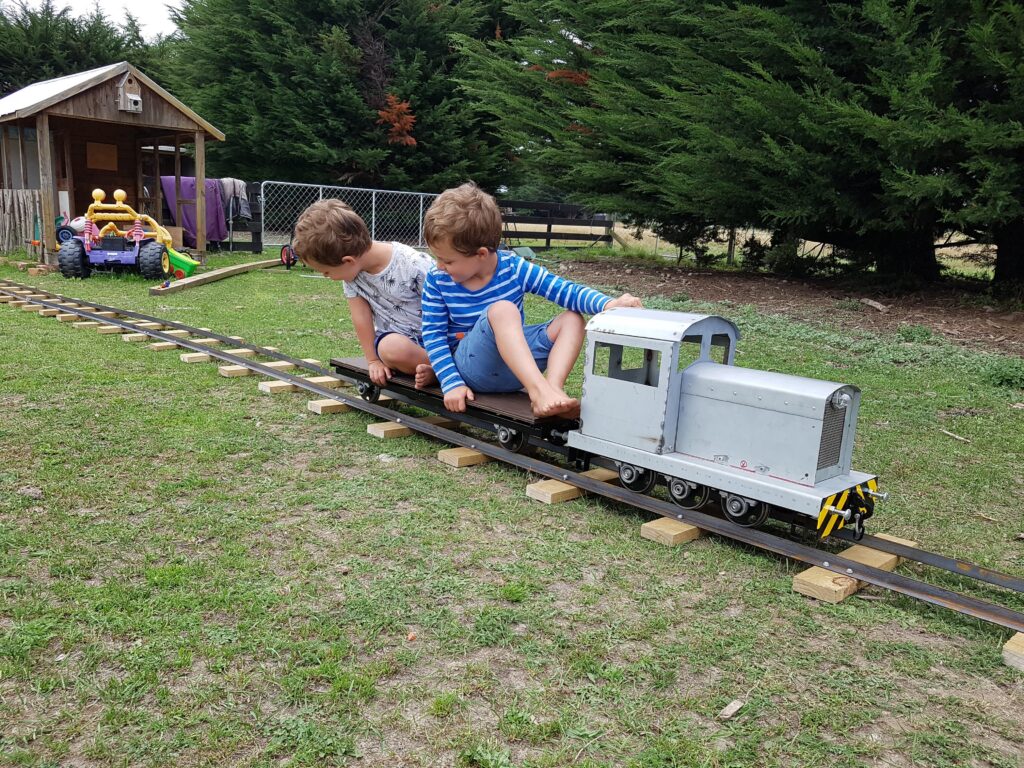
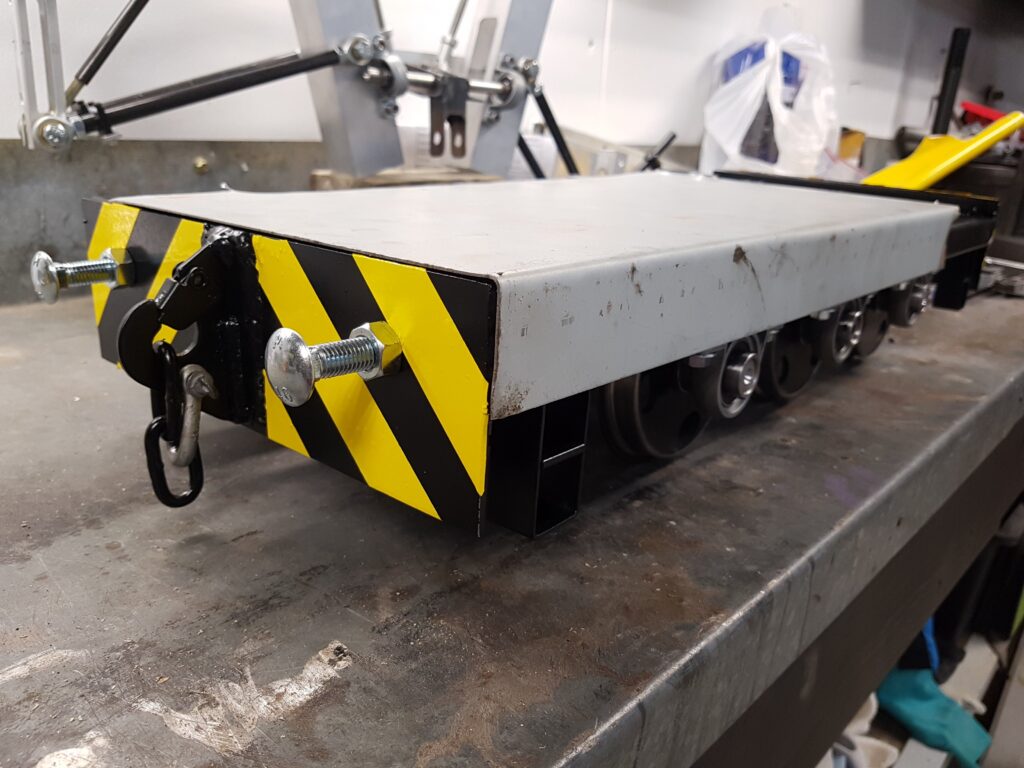
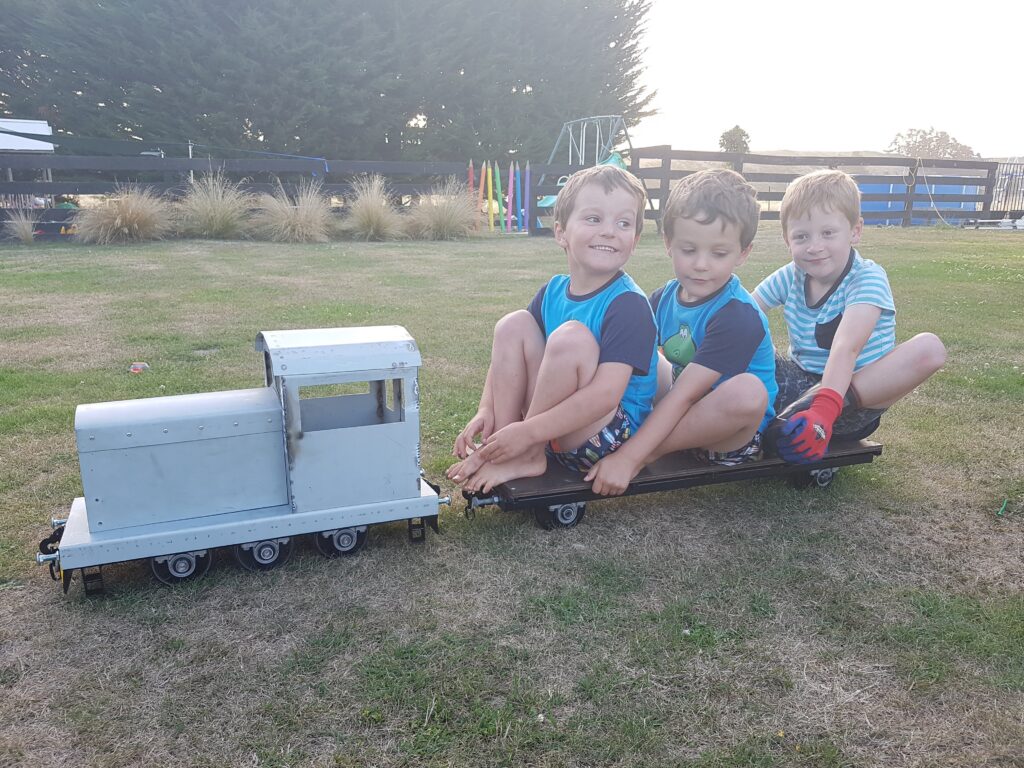
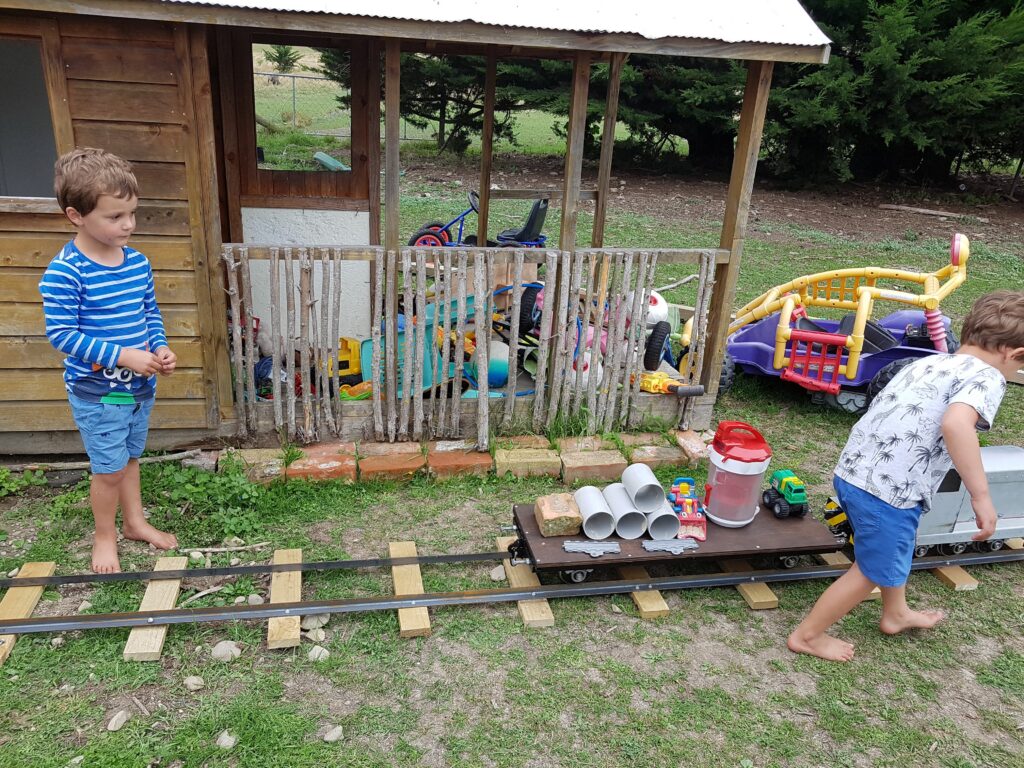
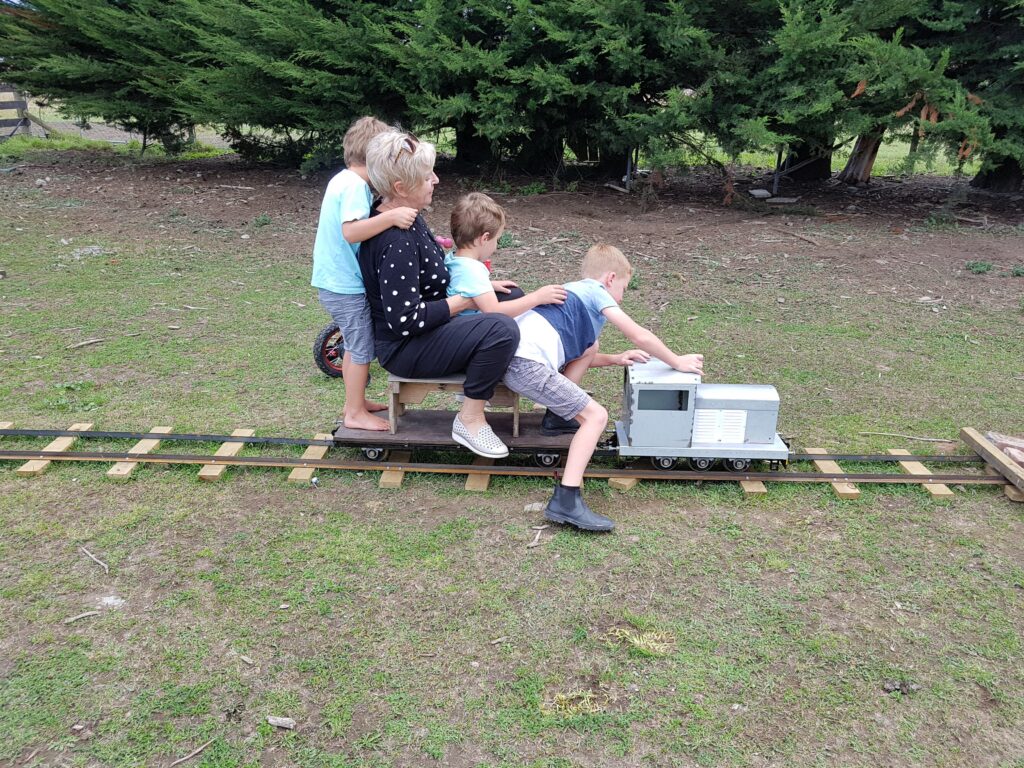
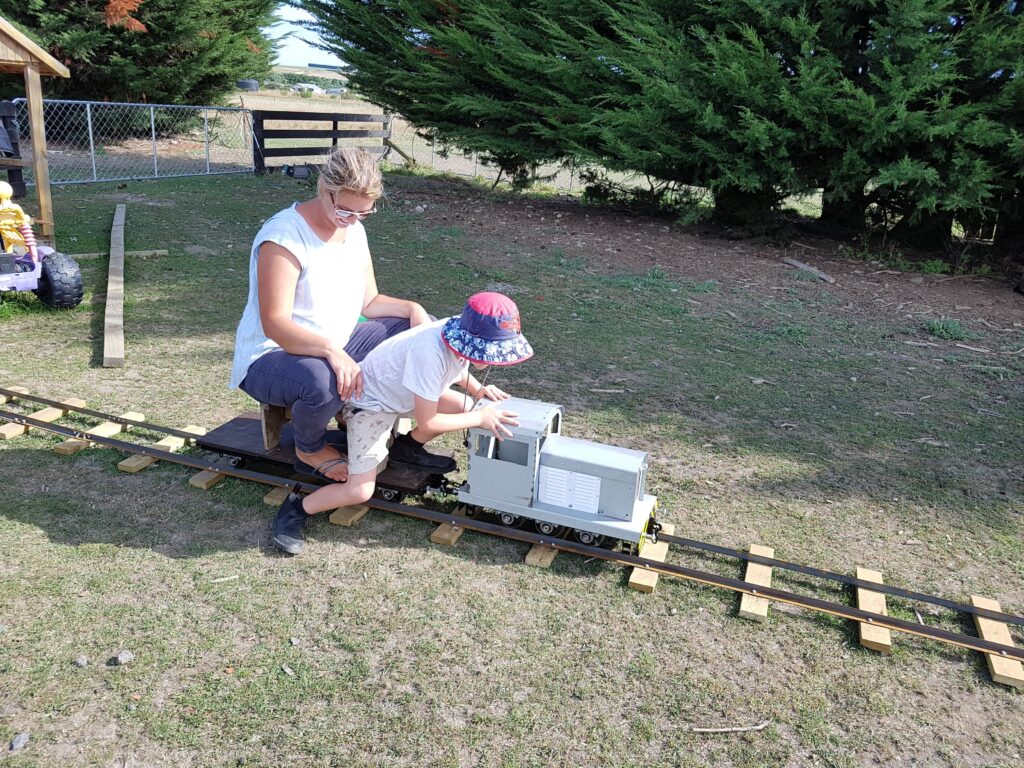
As the photos show, the carriage had to accommodate three boys and the odd guest, so it also had to be rigid enough to not be a hazard.
I had looked online for the various other parts, but the prices were not suitable for this project; hence old race harness clips made an ideal coupler, and coach bolts looked the part of buffers.
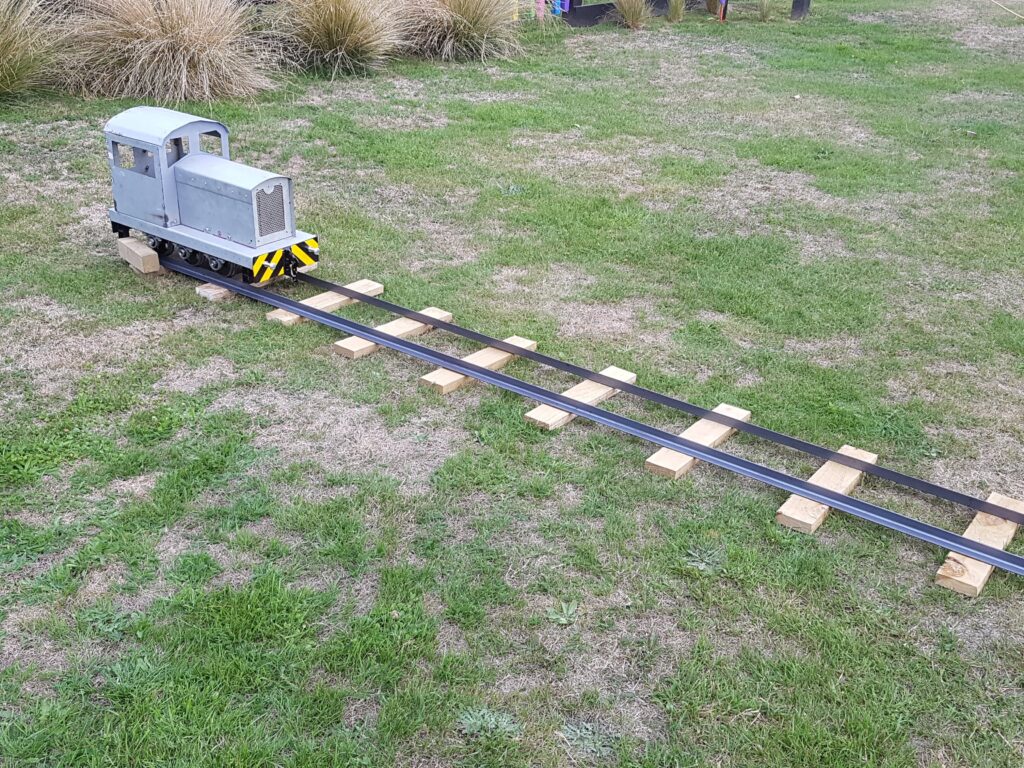
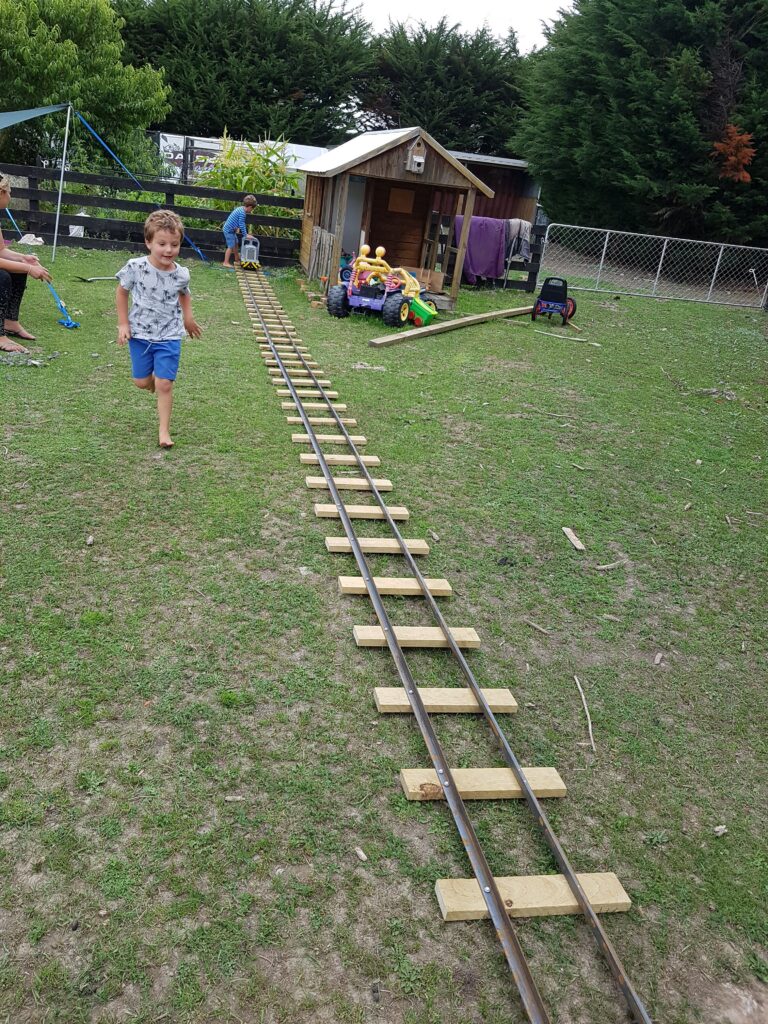
We had no idea if it was a “five-minute wonder” or something they would share and play with, so the first version was a push model on a straight section of track.
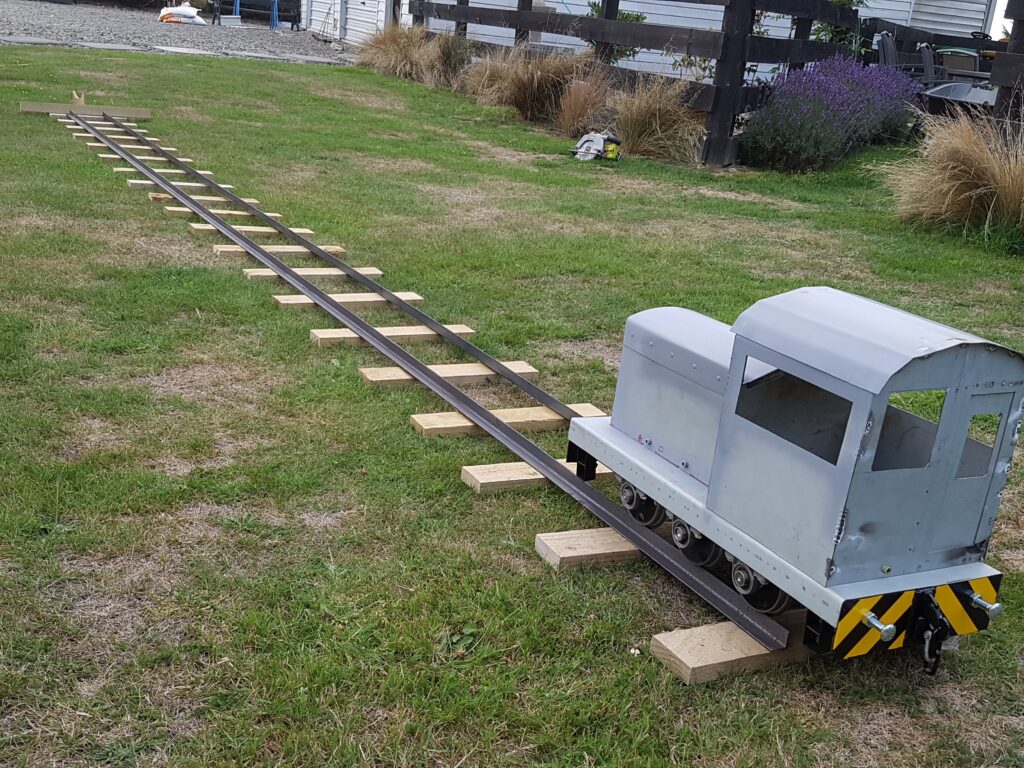
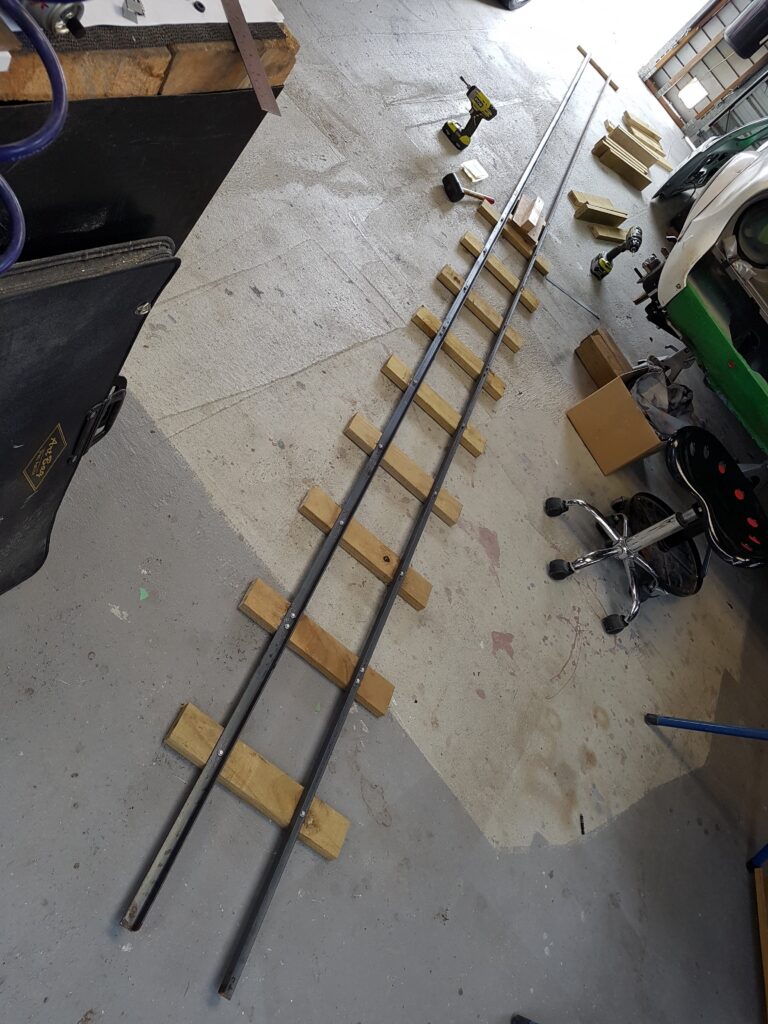
To make the track, I decided that angle iron bolted to wooden sleepers would be easier than welding in place during summer on dry grass.

Power Options
Once the boys proved they were keen to play with it, I looked at the options for powering it.
Some others use a car battery and a wiper motor, or a starter motor, and these were dismissed as either not powerful enough, or far too powerful. The added issues of a heavy car battery, and possible acid leaks if they accidentally tipped it over, plus the problem of charging it, meant I kept looking. Mobility scooters were another option, but these are hard to find, and still required expensive and heavy batteries.
Eventually I found an e-bike motor and controller on eBay, and my favoured 18v Ryobi battery option became possible.
I had a spare charger unit, removed all the internals, and connected the controller to the contacts. This provides a very suitable holder and easy connection for the boys.
A simple control box with forward-off-reverse, speed, light and horn are controlled from this.

The extras
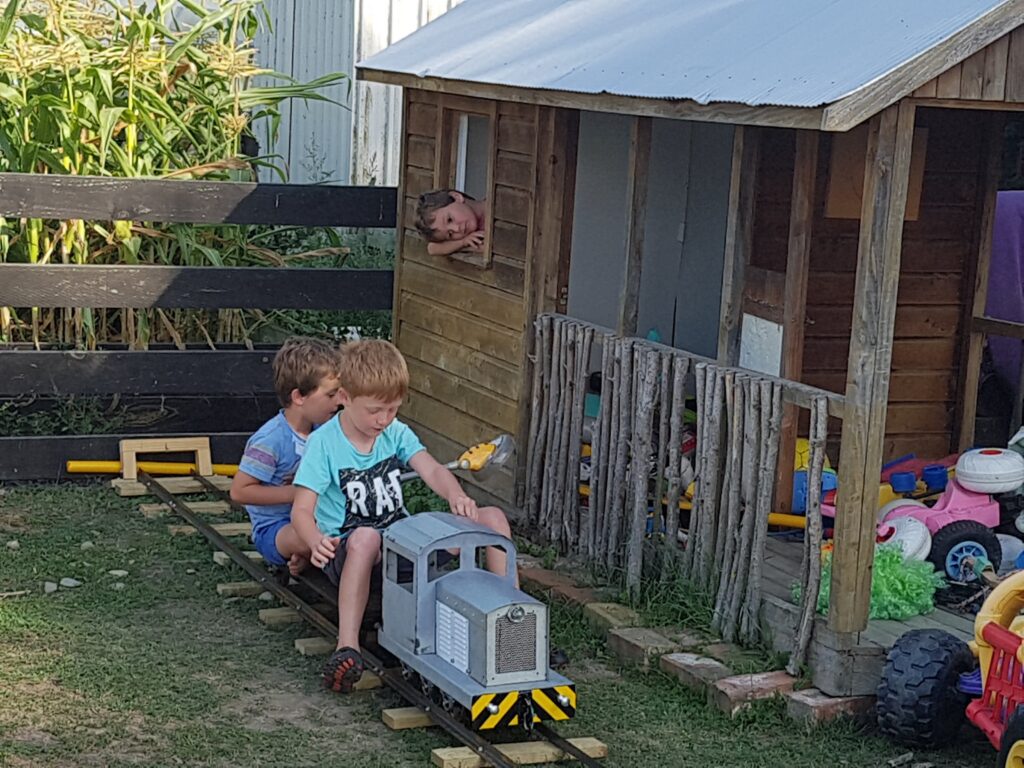
The horn was a special request from my clients, but the thought of a car horn or some other loud noise-maker was foremost in my thoughts, and in the end, a low-air-pressure buzzer from a truck was used, and a Toyota Hilux number plate light was fitted as the front light.
The e-bike motor uses a standard bike chain, which means you also need some old gears from the local bike dismantlers. Both front and rear shafts are driven, and the drive wheels have had rubber added as the slightly uneven track and thin section of the angle iron causes slippage with large (ie, adult) loads.
The chain goes 90° around a bearing to the motor, and one bearing is slotted to allow tension adjustments.

The tracks and the train shed
With the motorisation in place, the short track needed extending.
To curve the track, I had a local engineering shop roll it. This was not cheap, and rolled angle tends to take on a different shape, so for the next curved section, we used flat bar on edge and welded it to a spacer.
While this is more labour-intensive, the bar is cheaper than angle and gives a greater surface for the wheels.
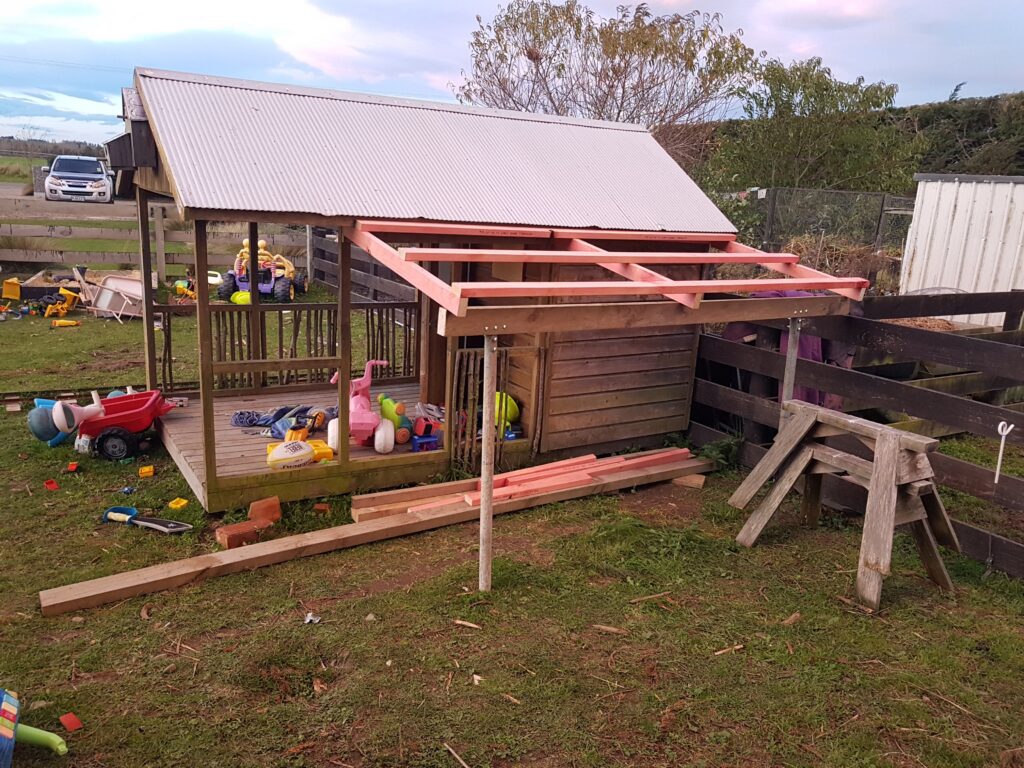
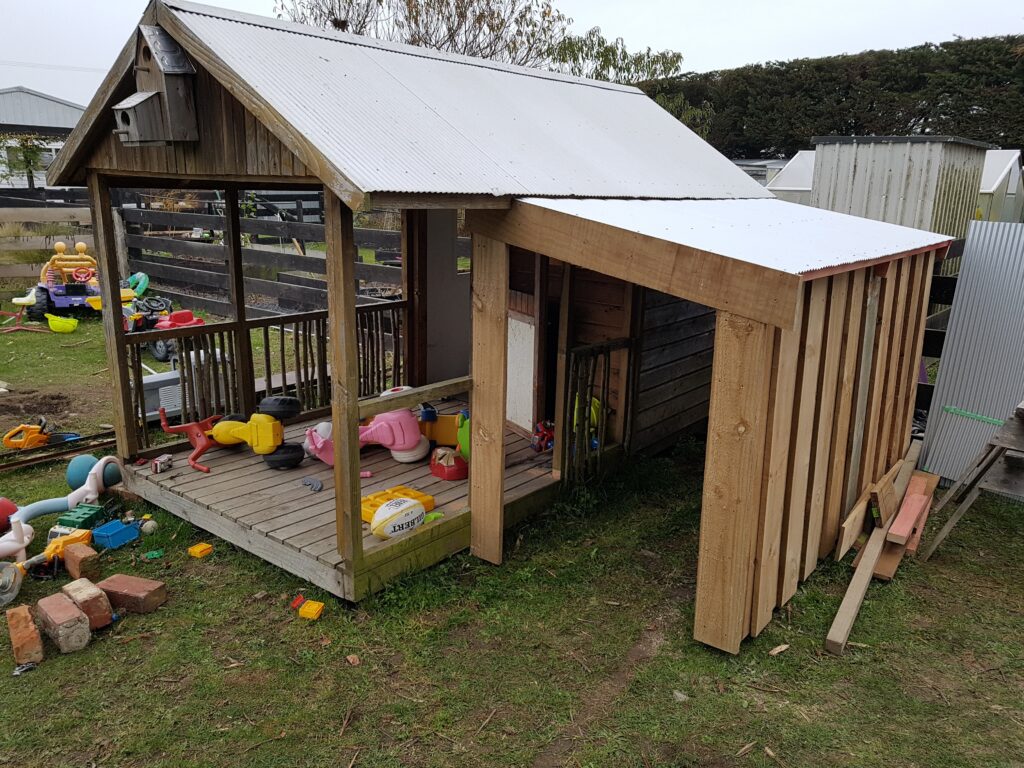
The train needed a permanent shelter, so we decided to relocate the track to the other side and add a lean-to onto the existing playhouse. My wife made a cover to keep the dirt and moisture at bay while it is in the train shed.

Final touches
The train was painted and lettering was added, while a proper train crossing with signs was added to make it easier to cross the track.
Ryobi heard about our project and provided additional batteries in exchange for some photos of enthusiastic boys.
This means each of the three boys has a battery, but with 35m of flat track, the horn and light going, a battery will last about one-and-a-half days’ use.
We’ve had plenty of testers of all ages, and I’ve decided that a turntable and a tanker carriage are the next phase. The tanker will be on shorter pivoting bogies, as the length means it won’t negotiate the corners without derailing.
It’s been an enjoyable journey, and the pleasure the three boys get from playing with it is something you just can’t buy.

Share:

More Posts

Best of The Shed2 on sale now

Whatever your workshop passion, from woodworking to welding, from electronics to outdoor projects, there are some great ideas here. If you are a newbie, give them a go — you have to start somewhere in your journey to be a creative sheddie. We have 16 more great projects in this second edition of Best of The Shed. All have clear instructions that demonstrate the build process and include diagrams and parts lists.
Sheddies on both sides of the Tasman have been inspired by the projects and informative features we run in the magazine, and this is a selection of some of our most popular articles from the first 15 years of The Shed.

This cradle rocks

When I got the news that I was going to be a father of a baby girl I thought that maybe I could get out of redecorating the baby’s room if I embarked on a special project under the house.
The idea of building a cradle boat was inspired by photos in an old magazine so I went bought a copy of The Expectant Father’s Cradle Boat Book. But the boats were either very basic or so intricate I’d be lucky to finish it in time for her 21st birthday.
Make a simple toy truck

With toys, in particular, maintenance and reparability are important to ensure a long life. A broken plastic toy goes in the bin, whereas a well-designed wooden toy can make many trips to the repair shop over generations of play.