

Making a kayak anchor

This simple and effective rebar anchor is perfect for small boats and kayaks and is the result of welding $30-40 worth of materials. If you are a small boat and kayak enthusiast, fabricator or just want to learn some new metalwork skills, this two-hour project will be great for you; it needs few welding skills. Remember that the construction is modular and can be made to fit your needs. With a net weight of only 7 kg, the anchor will not weigh down a boat or kayak. Anyone can pull it up, but it will still catch the seabed.

Keeping it simple
By Stu Bryan
Photographs: Stu Bryan

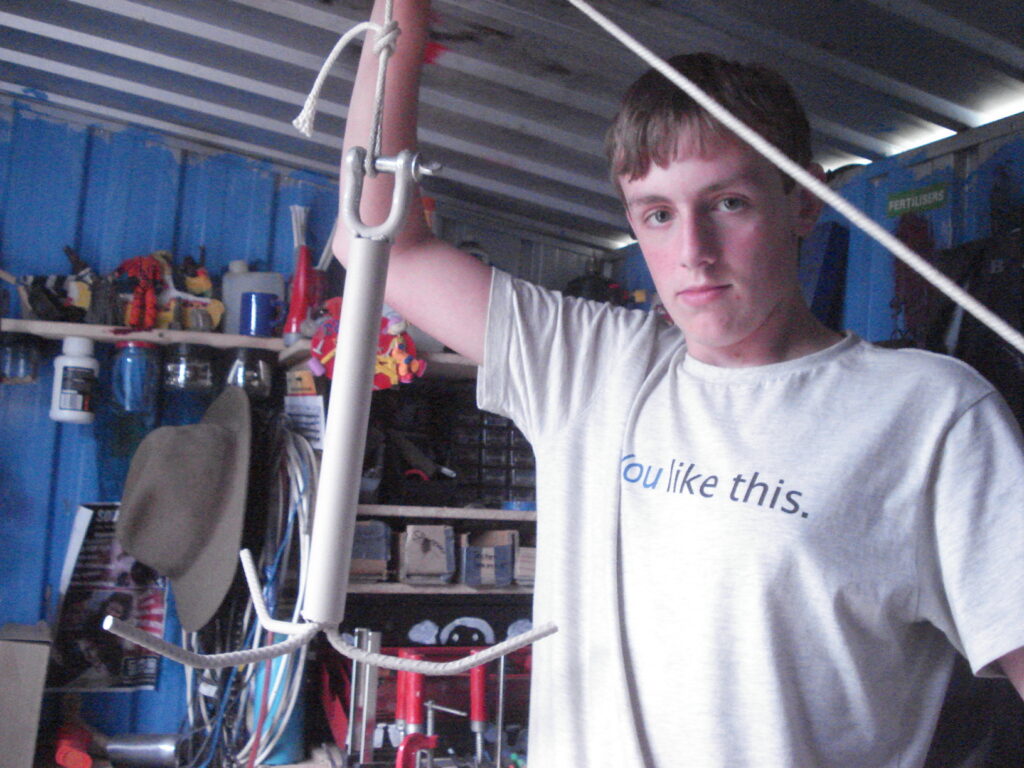
Stu Bryan and his rebar anchor

Stu Bryan got in touch with an idea about keys he had fabricated and then went on to suggest a small anchor he was making for his kayak. The young welder from Northland politely enquired whether there was an age limit to write for The Shed magazine, as he was only 16. No problem. Here’s his project:

This simple and effective rebar anchor is perfect for small boats and kayaks and is the result of welding $30-40 worth of materials. If you are a small boat and kayak enthusiast, fabricator or just want to learn some new metalwork skills, this two-hour project will be great for you; it needs few welding skills. Remember that the construction is modular and can be made to fit your needs.
With a net weight of only 7 kg, the anchor will not weigh down a boat or kayak. Anyone can pull it up, but it will still catch the seabed.

CAUTION: This project includes grinding and welding. Exercise care by using the appropriate safety equipment: safety glasses, gloves, a welding mask, enclosed shoes and hearing protection. Depending on what paint you use, you may need to wear a mask. If you are under 16, adult supervision is necessary.
My experience with welding ranges to about a year of arc, MIG and oxy-acetylene welding. For this project I used an arc welder as these welds will not corrode as fast as some MIG wires. An arc welder creates a stronger bond which will be more desirable for the anchor.
I used the following materials but you can change these sizes to fit your needs.

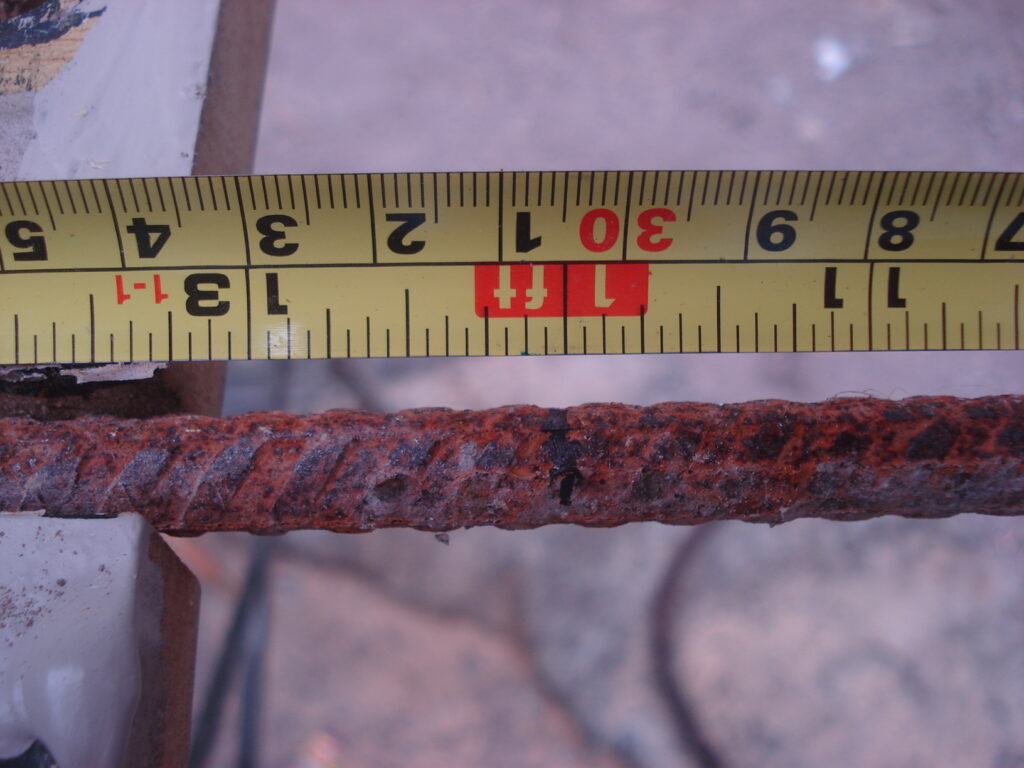
Measure 300 mm length of rebar

Materials
900 mm of 10 mm thick rebar steel
350 mm of 30 mm inner diameter steel pipe
Large shackle
“Extra thin” grinding wheel
2.3 mm arc welding rods
Thick enamel waterproof paint or CRC zinc spray
Rope
80 grit sandpaper
Most of the materials can be purchased at big barn retailers but the steel pipe will be harder to find. I sourced mine from an engineering shop but it was still rather cheap.

Use safety glasses when using a grinder

Cutting
Your steel supplier might be gracious enough to cut your steel pipe and rebar which needs to be divided into three 300 mm lengths. Otherwise you will need to mark it (scriber or marker) and cut it yourself—I used the “extra thin” grinding wheel but you could use a bandsaw. When you cut the rebar and the steel pipe (to 350mm long), remember to wear your safety glasses.
I used 80 grit sandpaper and a wire brush to sand down the surfaces sharp edges of the rebar and pipe or you could use a power sander or even angle grinder with sanding attachment. This stops as much rust as possible and give a stronger weld.

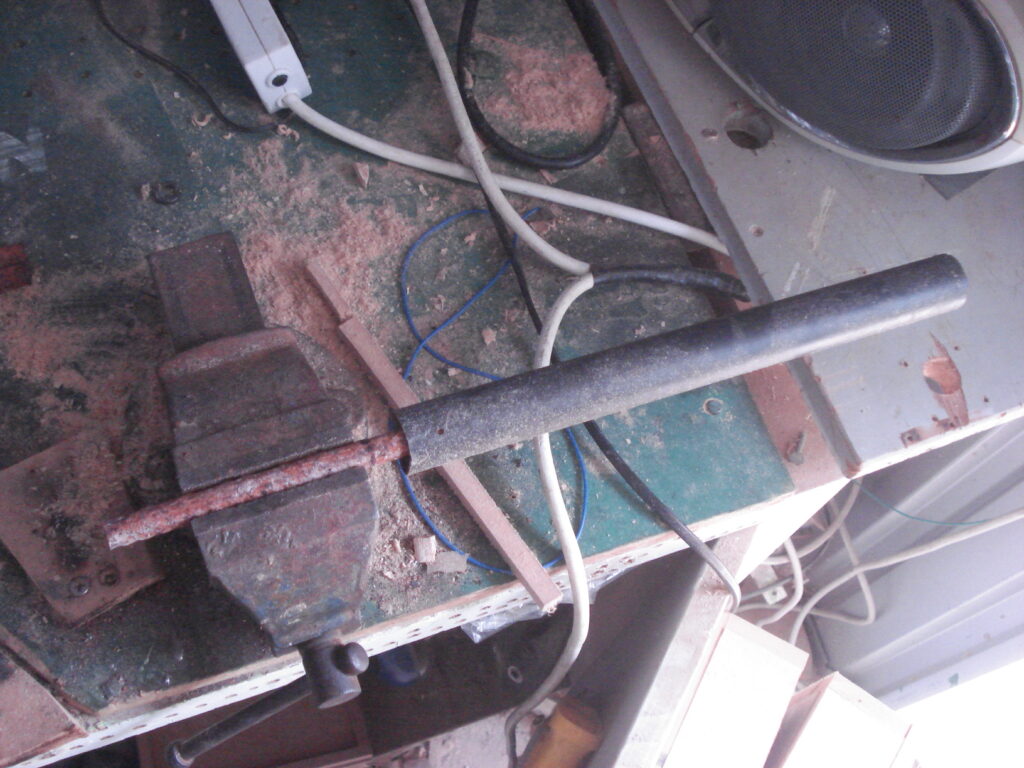
Steel pipe gives leverage for bending rebar
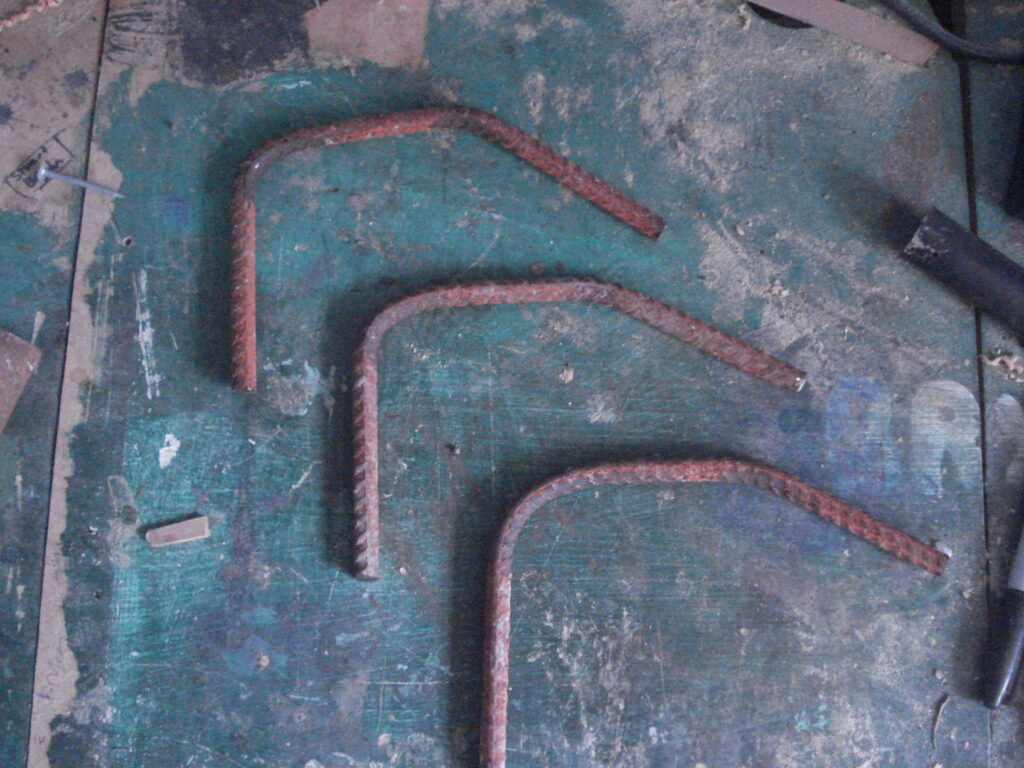
Two bends at 90 degrees and 45 degrees

Bending
Pull out those guns and using your forefinger and thumb, bend the rebar to your chosen angle. Joking aside, you will need a strong steel vice to hold the rebar when you bend it. To get a grip on the rebar and to help with the leverage, I slipped a steel pipe over the rebar.
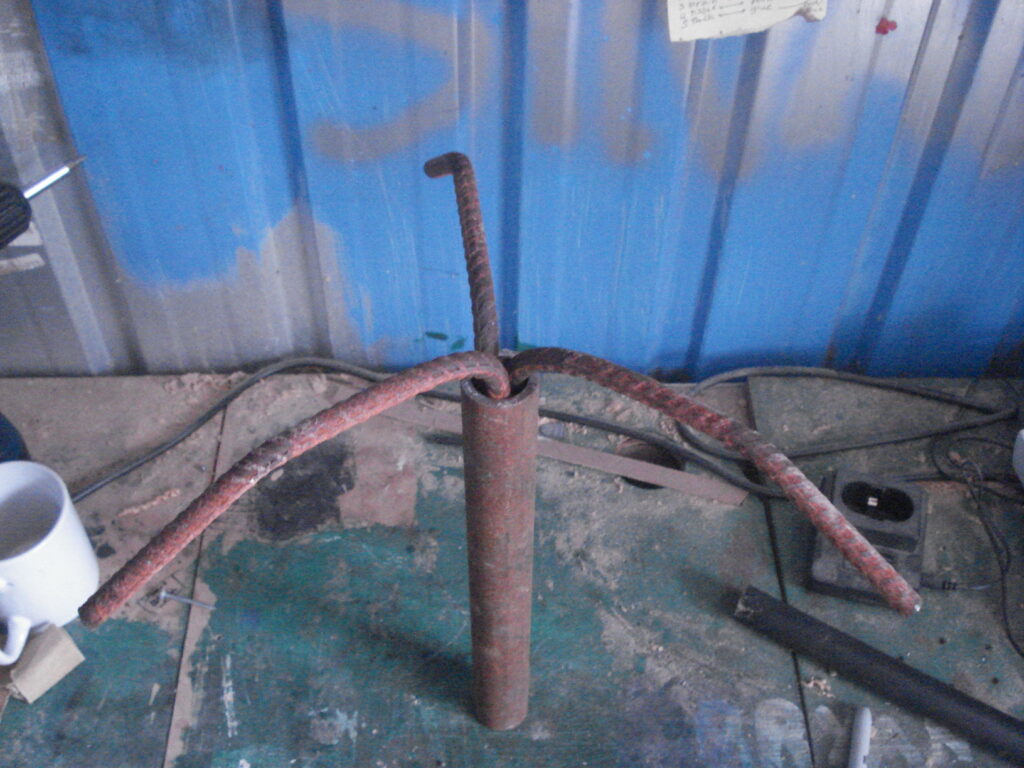
To create basic shape of my anchor’s hooks, first 150 mm up the rod I bent the rebar at 90 degrees. I then placed the rebar in the vice with the bend pointing towards me, slipped the cheater bar over the shorter side and bent this to a 45 degree angle. After replicating this three times, I was ready for welding.

Snug fit

Welding
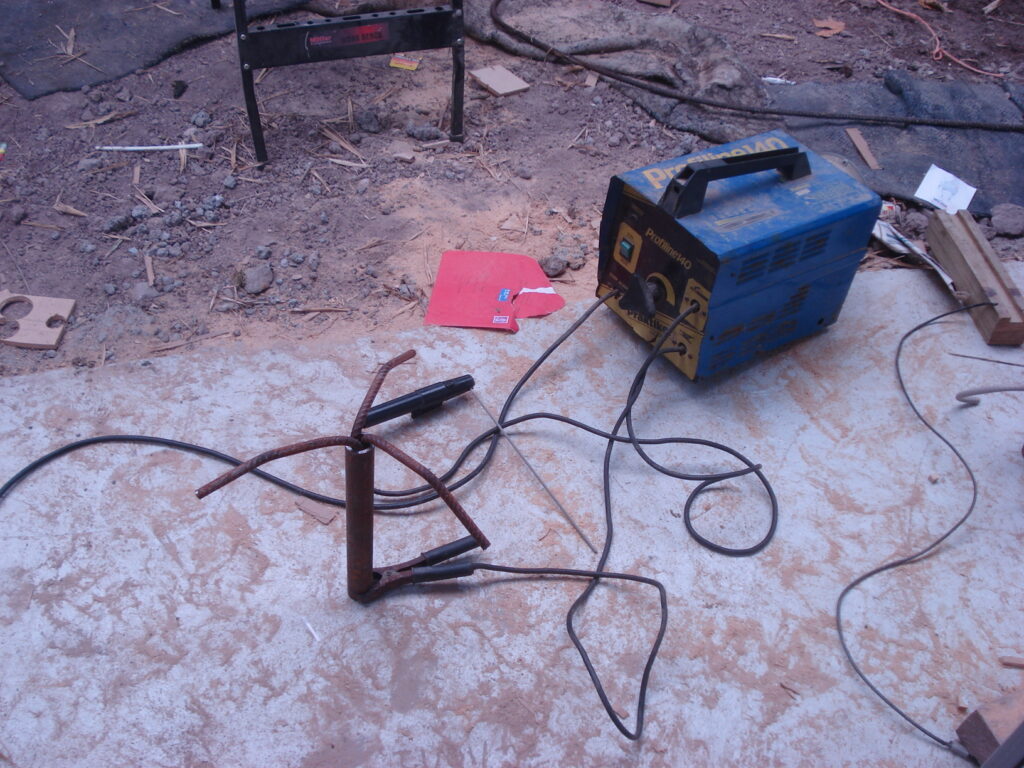
I used an arc welder that ranges from 80-150 amps and 2.3 mm welding rods. This is more than enough amperage to kill me, so caution is needed when operating an arc welder or any welder for that matter.
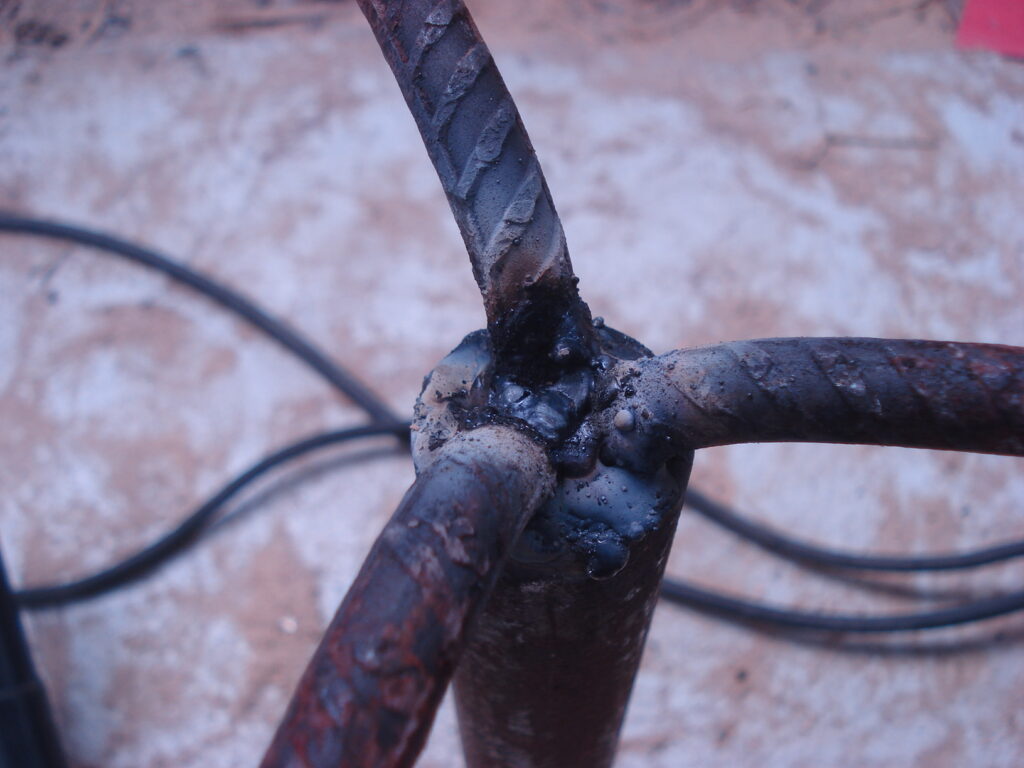
The three bent rebar rods fitted well enough in the steel pipe so that no clamps were needed. First I lay some slug welds over where the rebar sat side by side in the pipe then put more welds where the rebar touched the steel pipe. This thing needs to be solid. To test the strength of the pipe drop the anchor onto solid concrete. If the welds crack or snap off then you need to re-weld.
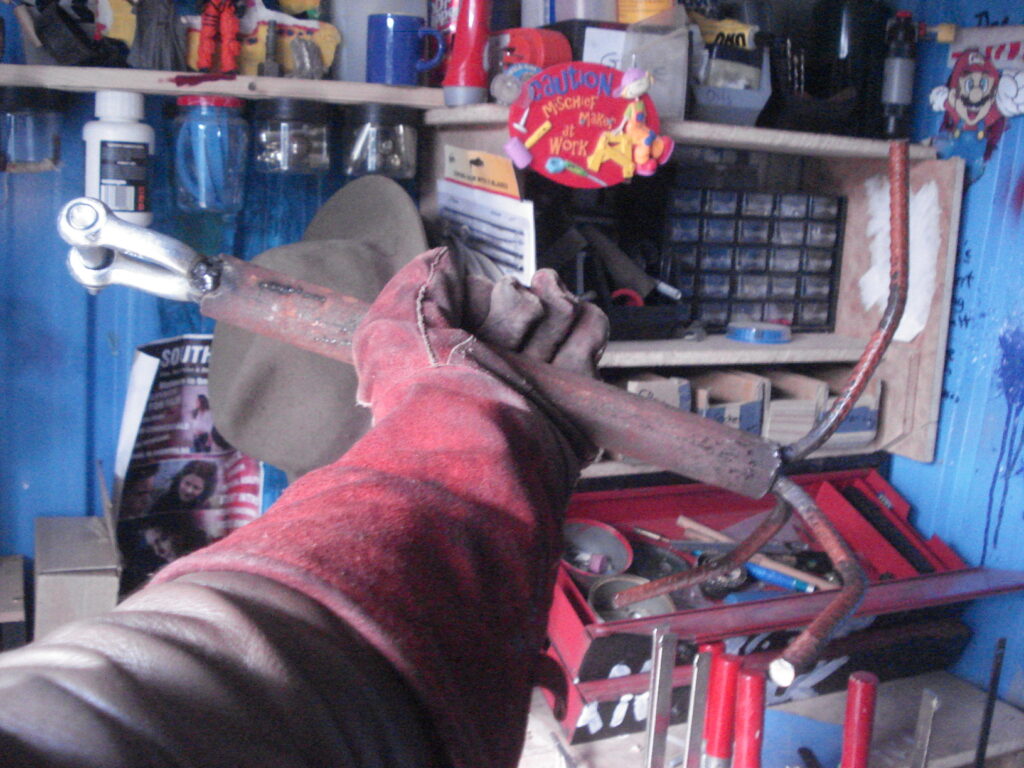
To weld the shackle on, I had to hold it with one hand (gloves!) to place a tack weld so I could lay slug welds to strengthen the connection. This is where the rope attaches to the anchor so weld the U-shaped steel fitting to the pipe, NOT to the bolt that come with the shackle.
Make sure to place a big strong weld between the pipe and shackle as this is going to take a lot of force when you dislodge the anchor to pull it up. Use the drop test again to check the strength of the weld.

Slug welds
Stu used an arc welder

Painting
Chip the flux off the welded areas using a flux hammer or old screwdriver before you paint it. I gave the anchor another sand down and hit the rust with a wire brush before using waterproof emulsion (or enamel paint) to brush several coats onto every surface on the anchor. You can also use an aerosol zinc spray—put on many coats of this but paint in a well-ventilated area. To ensure a longer and stronger use of this anchor, I will remove the old coat and repaint it once a year.
To use the anchor, I  tie a loop in rope, pass the shackle bolt through it and screw the bolt into the shackle. You now have an anchor perfect for small boats and kayaks that did not cost as much as a commercial anchor. It’s a perfect gift for boaters or personal use. Have fun on the water and building.

Shackle welded onto pipe

Share:

More Posts

The Shed magazine August/September 2026 issue 128 on sale now

Sentimental Journey
Jack Ryder had a unique ability to hypnotise sports stars, politicians, and celebrities into donating items for his museum and sports memorabilia collection. Now, his grandson Clint manages this West Auckland landmark, but the property development vultures are circling.
It is hard to imagine a less likely location for a living museum than the back blocks of suburban West Auckland in Avondale.
Yet here, towards the end of a lengthy no-through road, the Ryder family hold tight to a self-built vestige of Auckland’s yesteryear. While the surrounding streets are turned into homogeneous multi-unit town housing, the Ryders’ two-acre slice of Pavlova Paradise remains, less a multi-generational home ground and more a celebration of the character of the city’s past.
Slipping through the tall white gates past the twin concrete lion sentinels at the street end of Ryder’s long hedge-lined driveway, the modern world slips away. Ahead, in the shade of a 100-year-old Pecan tree, an enclave of antique edifices opens out along the back-fence line like a set from a period movie. This corner of vintage Kiwiana is the handiwork of the late and industrious Jack Ryder, a coach-builder and wharfie, who began constructing it from a group of sheds spread across the property.

New Zealand Railways celebrates 150 years

In 2013, Railways in New Zealand marked the anniversary in October this year of 150 years since the first broad-gauge public steam railway opened between Ferrymead and Christchurch City in 1863, a distance of seven kilometres. The original gauge was five feet three inches (1600 mm) wide, although the standard gauge for New Zealand railways was to become three feet six inches (1067 mm).
As the Railways 150 Years Committee describes it, “People and goods were barged from the Port of Lyttelton to Ferrymead, then taken by rail to Christchurch. The Ferrymead Line operated for ten years from 1863 until 1873 when the 2.6-kilometre tunnel connecting Lyttelton and the Heathcote Valley was completed and commissioned.”
The celebrations for the anniversary in 2013 are focused on operations and displays at the Ferrymead Heritage Park during Labour Weekend and include heritage steam trips with the restored locomotive Ja1240 from Christchurch to Arthur’s Pass, Timaru and Ashburton. The Railways 150 Committee includes representatives from rail organisations such as the Ferrymead Railway, the National Railway Museum of New Zealand, the Mainline Steam Heritage Trust, the Plains Railway, the Weka Pass Railway, the Steam Canterbury Preservation Society and others. Additional help and assistance is provided by KiwiRail.
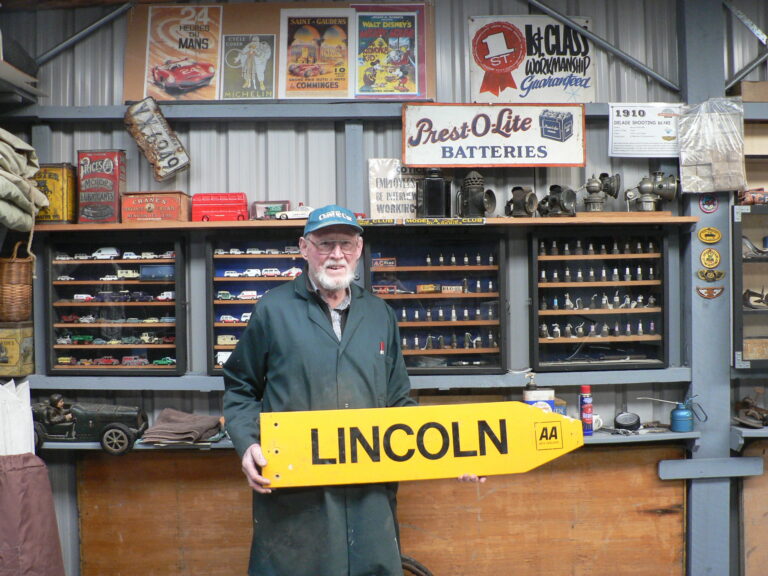
How to pimp your shed

The urge to decorate is universal, whether it be tattoos, floral designs on early Stanley rebate planes, or flames on hot-rod hoods, and sheds are no exception.
Big or small, simple or ultra-flash, sheds have one consistent feature – they all have decorations. These can be nostalgic, humorous, or more or less misogynistic (and often all three).
The mamo-centric female portraits which, in the past, were so common in garages and workshops are now rarely seen, perhaps because businesses which used to distribute complimentary “girlie” calendars can’t now risk the potential bad publicity. Or shed owners are embarrassed at the thought of their wives, children, or grandchildren seeing them. Or perhaps we have all become a little more mature.
Feminist relatives tell me that the purpose of pin-ups wasn’t decorative, but to make women visitors so uncomfortable that they wouldn’t linger, creating a woman-free zone. Sort of like farmers draping the skins of killed predators on fences to discourage their kin.