Make your own simple compost bins
By David Todd
Photographs: David Todd
Some Shed magazine projects, while inspiring, are way out of the league of many of us. So, here is how I made my own simple compost bins.
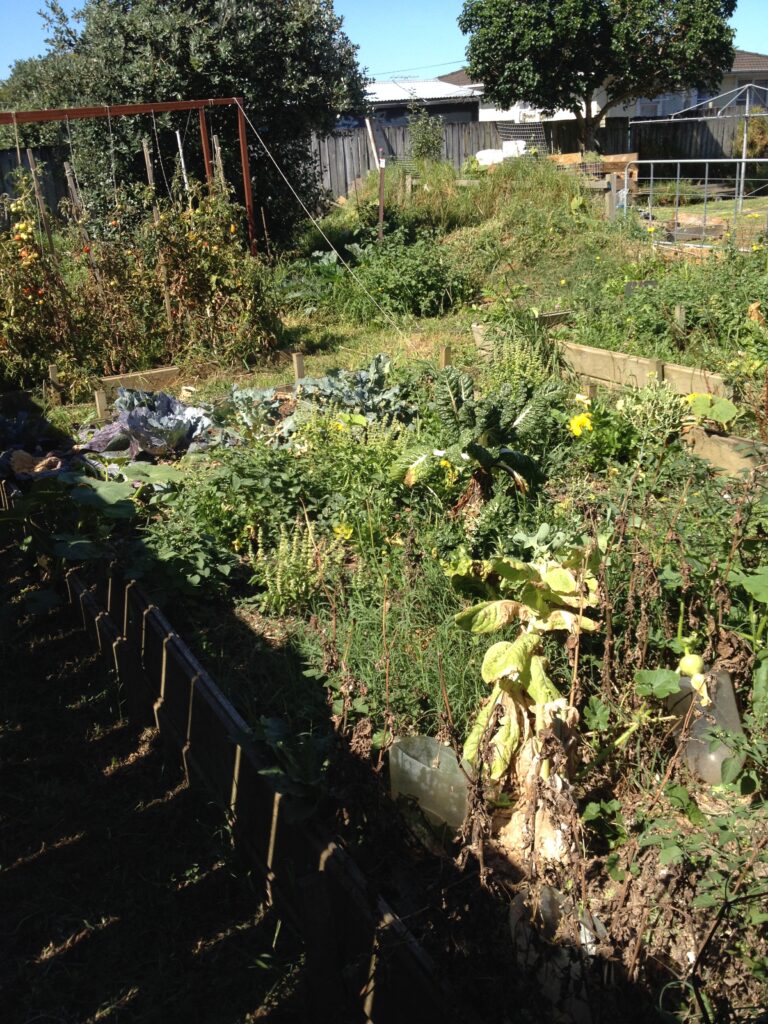
I’ve spent summer holidays with technicians and riggers and electricians and fitters, but I’m just a home handyman. I’ve done a minor amount of renovations to previous houses and much of my own house maintenance. I like growing my own veggies. We were nearly self-sufficient in potatoes last year and are hoping to do better this year. Currently I’m self-employed in IT.
Good compost needs balanced grist for the mill:
- green stuff (lawn clippings, kitchen food scraps and the like); and
- brown stuff (untreated sawdust, leaves, shredded paper, cardboard packaging)
and air and water.
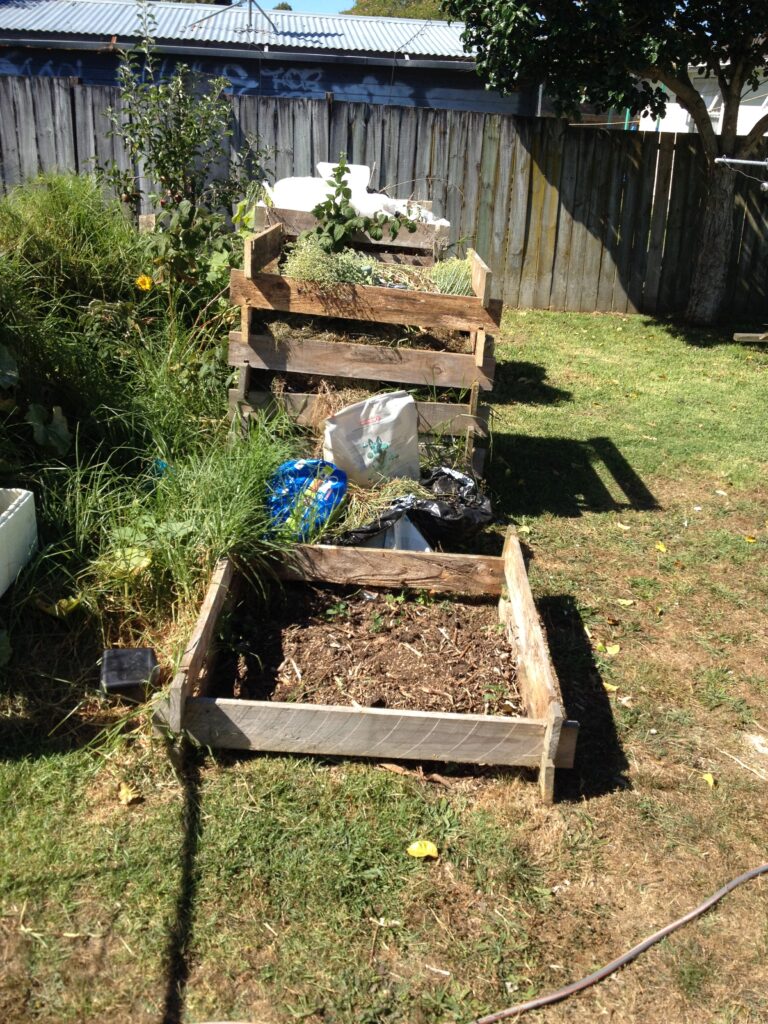
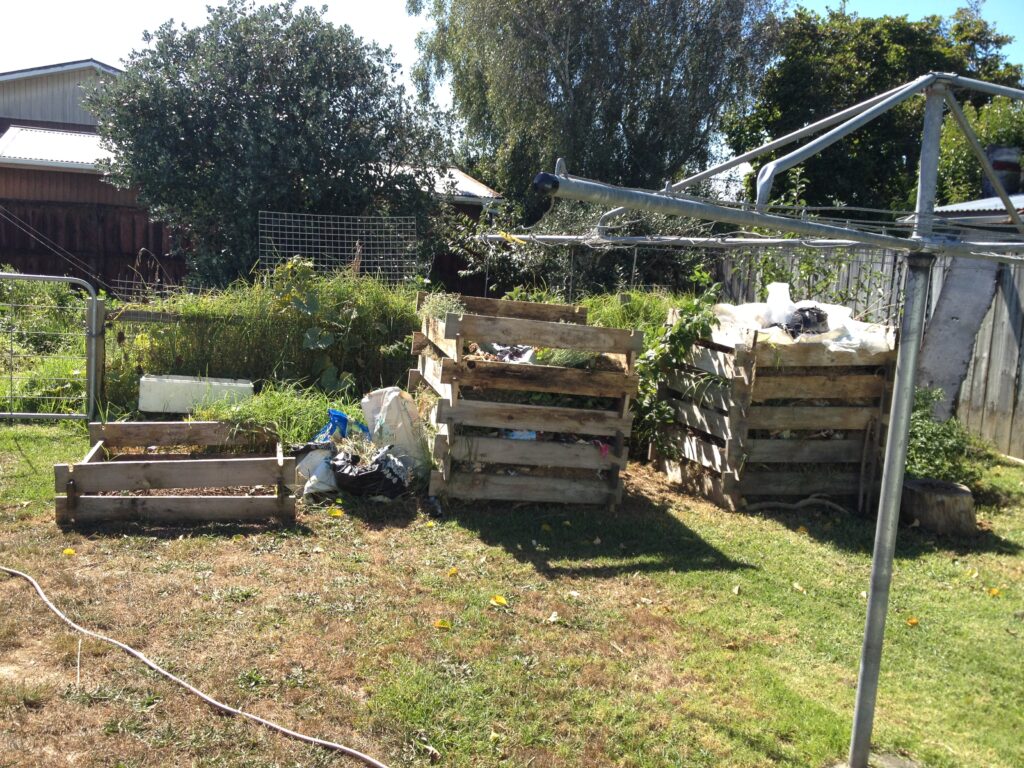
Many black plastic bins from the hardware shops don’t allow enough air through or are only big enough for postage-stamp-sized sections or blocks of land.
I make my own compost bins. Now that might seem fairly easy, but how many compost systems either take a huge amount of effort, or produce something reminiscent of milking-shed sludge? These bins require little intervention besides putting stuff in.
Materials
I used 4.8 metre lengths of 150 mm x 25 mm untreated pine (rough-sawn boxing). The reason for 4.8m lengths is that I cut them into four 1198mm lengths. That is, measure 1200 mm, and cut on the wrong side of the line. Do this three times, and on the fourth time, measure for the actual length of 1200 mm with the saw kerf. It’s important to do this reasonably accurately.
For the notches, set the fence on your router with a 25 mm bit so there is about 65 mm from the end of the wood to the edge of the notch. Rout a notch that is around 37 mm deep.
I set the fence on the router as above. I set the combination saw for 37 mm, then clamp a length of wood to the sawhorse so that each end is clear of the end. Have the clamp so the handle is up (I prefer a G clamp to an F clamp as they clamp harder).
Cutting notches
On the left-hand end (matches the way I set the fence on the router), I mark a line indicating the depth of the notch on the far side of the wood. On the right-hand end, I do this on the near side.
I use the router by pulling it towards me. Then once one notch is cut, I can flip the sawhorse around and do one notch on the other end. Flip the wood over the sawhorse, mark for the other two notches and repeat.
Four lengths is the minimum, really. The actual notches don’t need to be done 100 per cent accurately, and the first ones I did (read: sloppy first attempts) worked best. The wood doesn’t have to nest together properly.
I’ve found the huge amount of air available, and the addition of brown stuff makes a nice light compost and not the usual sludge. It doesn’t require a huge amount of effort to turn (and aerate).