


Making a clean sweep – how to make a magnetic sweeper

After mumblings of discontent about the potential punctures and those “messy engineers”, I decided to make a simple magnetic sweeper. The concept is not new. Magnets have been used for picking up road debris for a long time, and they are very effective. The challenge, though, is where to find magnets that are strong enough, and how to effectively remove collected steel waste from the magnets. In an ideal world, it would be great to be able to turn the magnetism off and on. This can be done, of course, by shifting the magnetic poles in the same way that magnetic chucks do on a surface grinder. Very effective, but I couldn’t see our tool makers in the shed being happy to see the magnetic chuck from the surface grinder being “borrowed” to pick up nails.

Neodymium magnets prove to be the perfect solution to getting rid of swarf 
By Des Thomson
Photographs: Juliet Nicholas

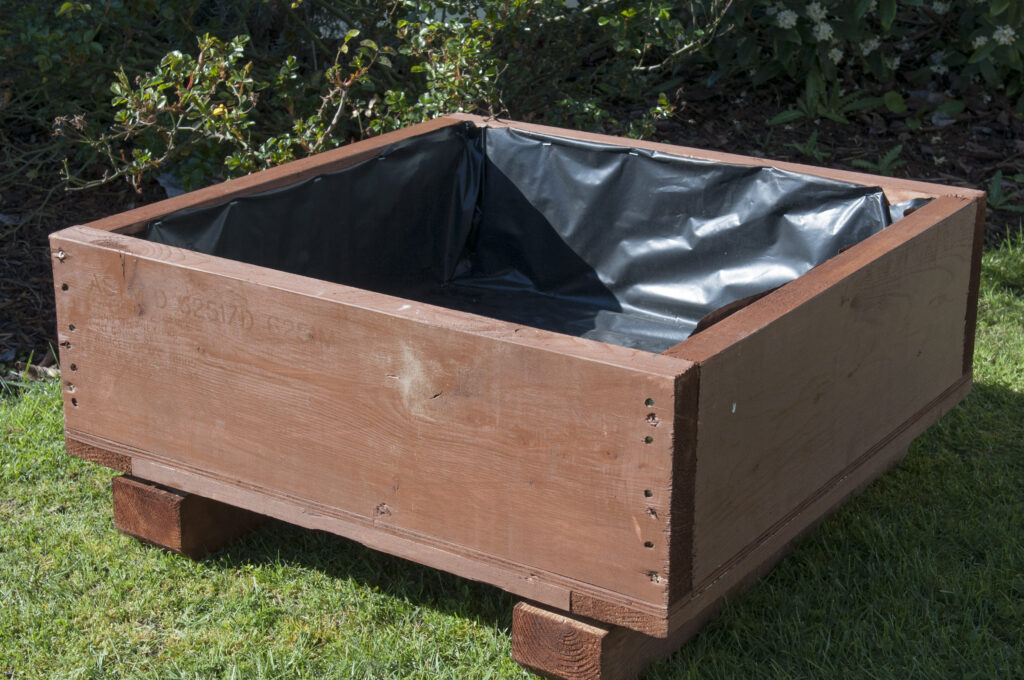
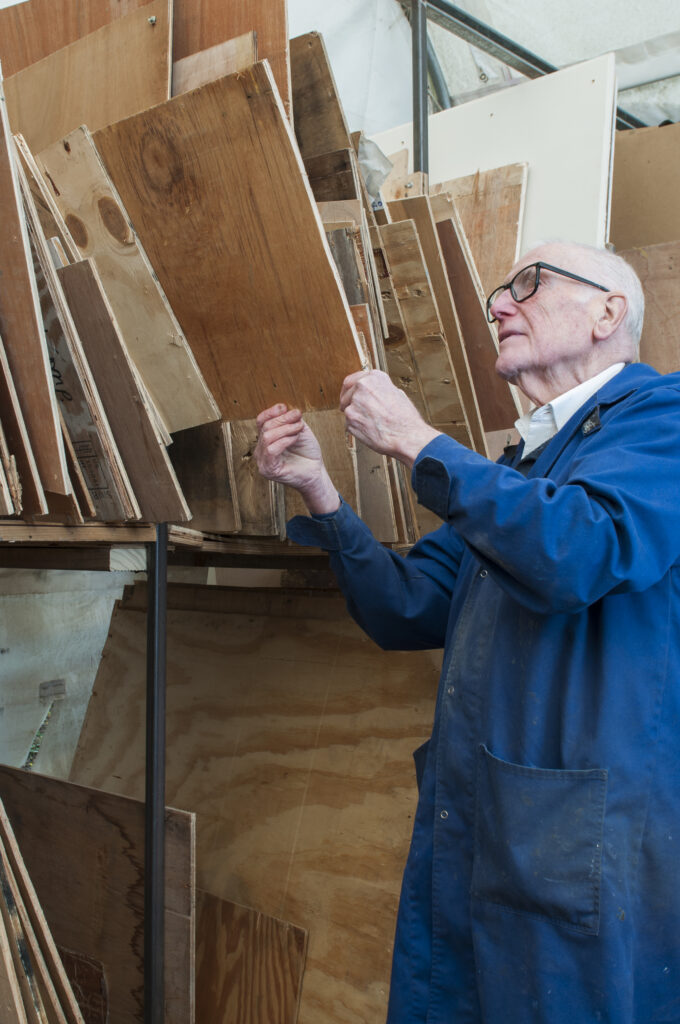
At the Halswell Menzshed Shed, we recycle crates from a local industry. The crates used to go to landfill but are now a valuable plywood and timber resource for Menzshed projects.
This has benefitted not only the shed but also the local company, who are now able to claim an environmental tick for good waste reduction practice.
Most of the recycling is carried out under cover on a concrete pad but, depending on space, the crates may also be dismantled on the gravel driveway. This results in the possibility of tyres getting punctures from nails and staples that may be dropped in the salvage process.
In a busy shed, there are other sources of sharp steel waste as well. Despite good housekeeping practice, swarf from the drill press, lathe, and milling machine can easily get carried outside by foot traffic and end up on the driveway. If you have ever tried to sweep up swarf, you will know how difficult it is to ensure you get it all.

Workshop harmony
After mumblings of discontent about the potential punctures and those “messy engineers”, I decided to make a simple magnetic sweeper. The concept is not new. Magnets have been used for picking up road debris for a long time, and they are very effective.
The challenge, though, is where to find magnets that are strong enough, and how to effectively remove collected steel waste from the magnets. In an ideal world, it would be great to be able to turn the magnetism off and on.
This can be done, of course, by shifting the magnetic poles in the same way that magnetic chucks do on a surface grinder. Very effective, but I couldn’t see our tool makers in the shed being happy to see the magnetic chuck from the surface grinder being “borrowed” to pick up nails.

Neodymium magnets
So, turning to AliExpress, I looked up neodymium magnets. Neodymium magnets are the strongest type of permanent magnet commercially available, with China producing about 76 per cent of the world’s supply. Otherwise known as rare earth magnets, they were developed independently back in 1982 by General Motors and Sumitomo Special Metals.
The strength of neodymium magnets is primarily due to the fact that the Nd2Fe14B crystal structure within the magnet preferentially magnetises along a specific crystal axis, but is very difficult to magnetise in other directions. This creates a super-strong magnetic field.

Warning – take care 
The strong magnetic force exerted by rare-earth magnets will catch you out if you are not very careful with how you handle them. Neodymium magnets are strong enough to cause injuries to body parts pinched between two magnets, or between a magnet and a ferrous metal surface. Large ones can easily break bones.
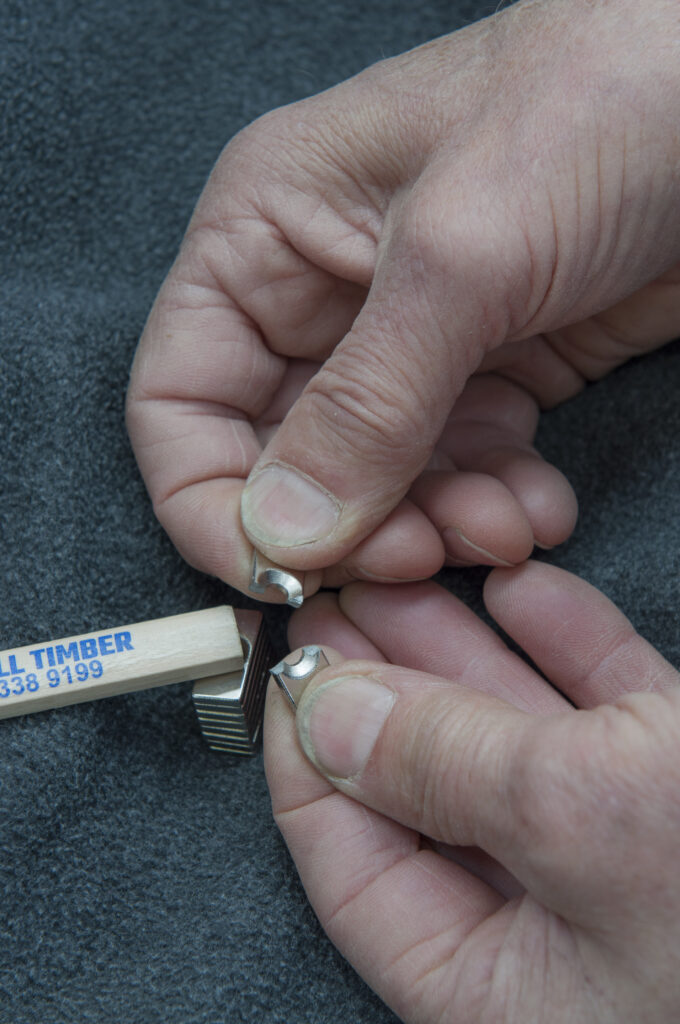
Neodymium magnets are quite brittle, and if they get too near each other, they can strike each other with enough force to chip and shatter. I inadvertently let one of the small, oblong magnets snap back onto the pile, and it broke in two. 
There have even been cases where young children have swallowed several magnets and sections of the digestive tract have been pinched between two magnets, causing injury or death.
The strong magnetic fields are also hazardous to mechanical and electronic devices. They can erase magnetic media such as credit cards, and magnetise watches. Don’t put them anywhere near your wallet! Neodymium magnets also tend to be vulnerable to corrosion, so all the ones you buy will usually be coated with a bright nickel plating to prevent exposure to the atmosphere.

Design of the sweeper
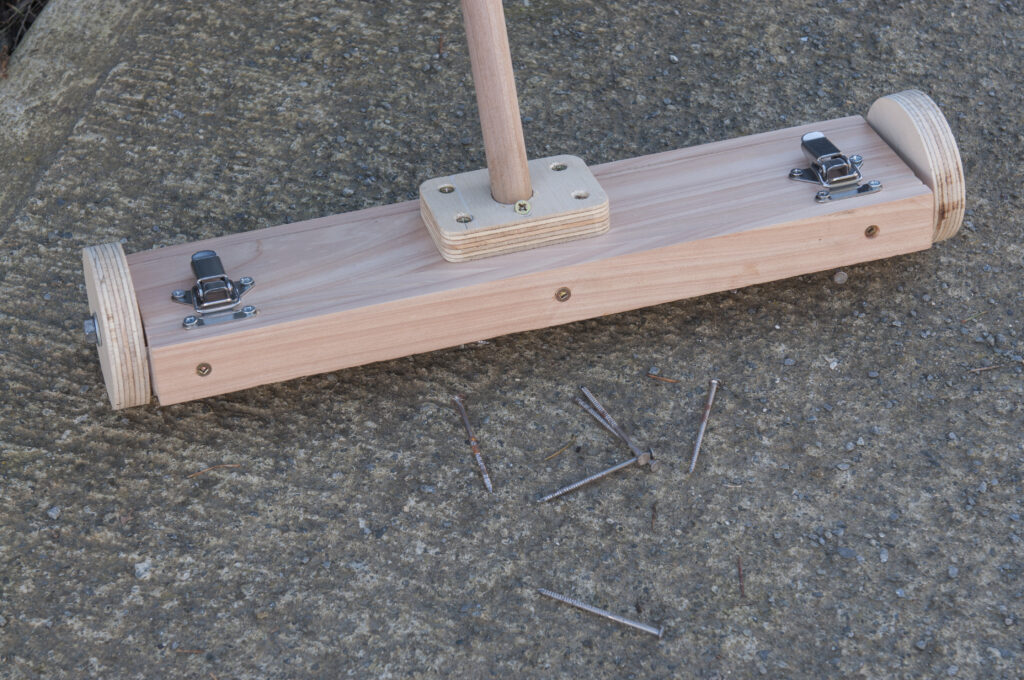
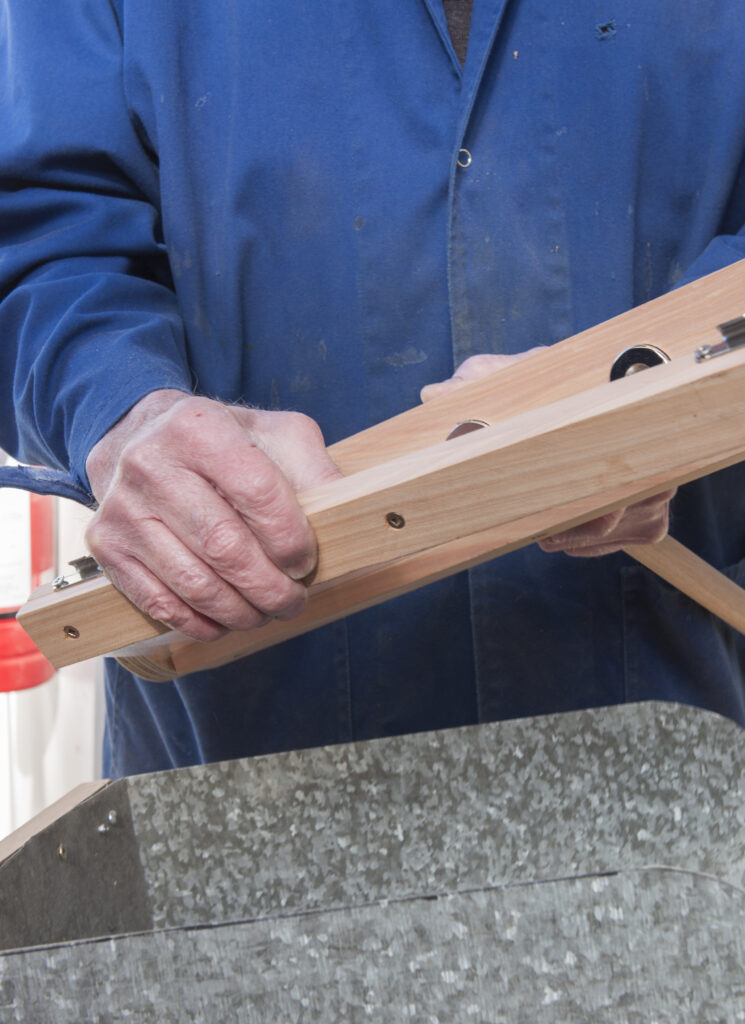
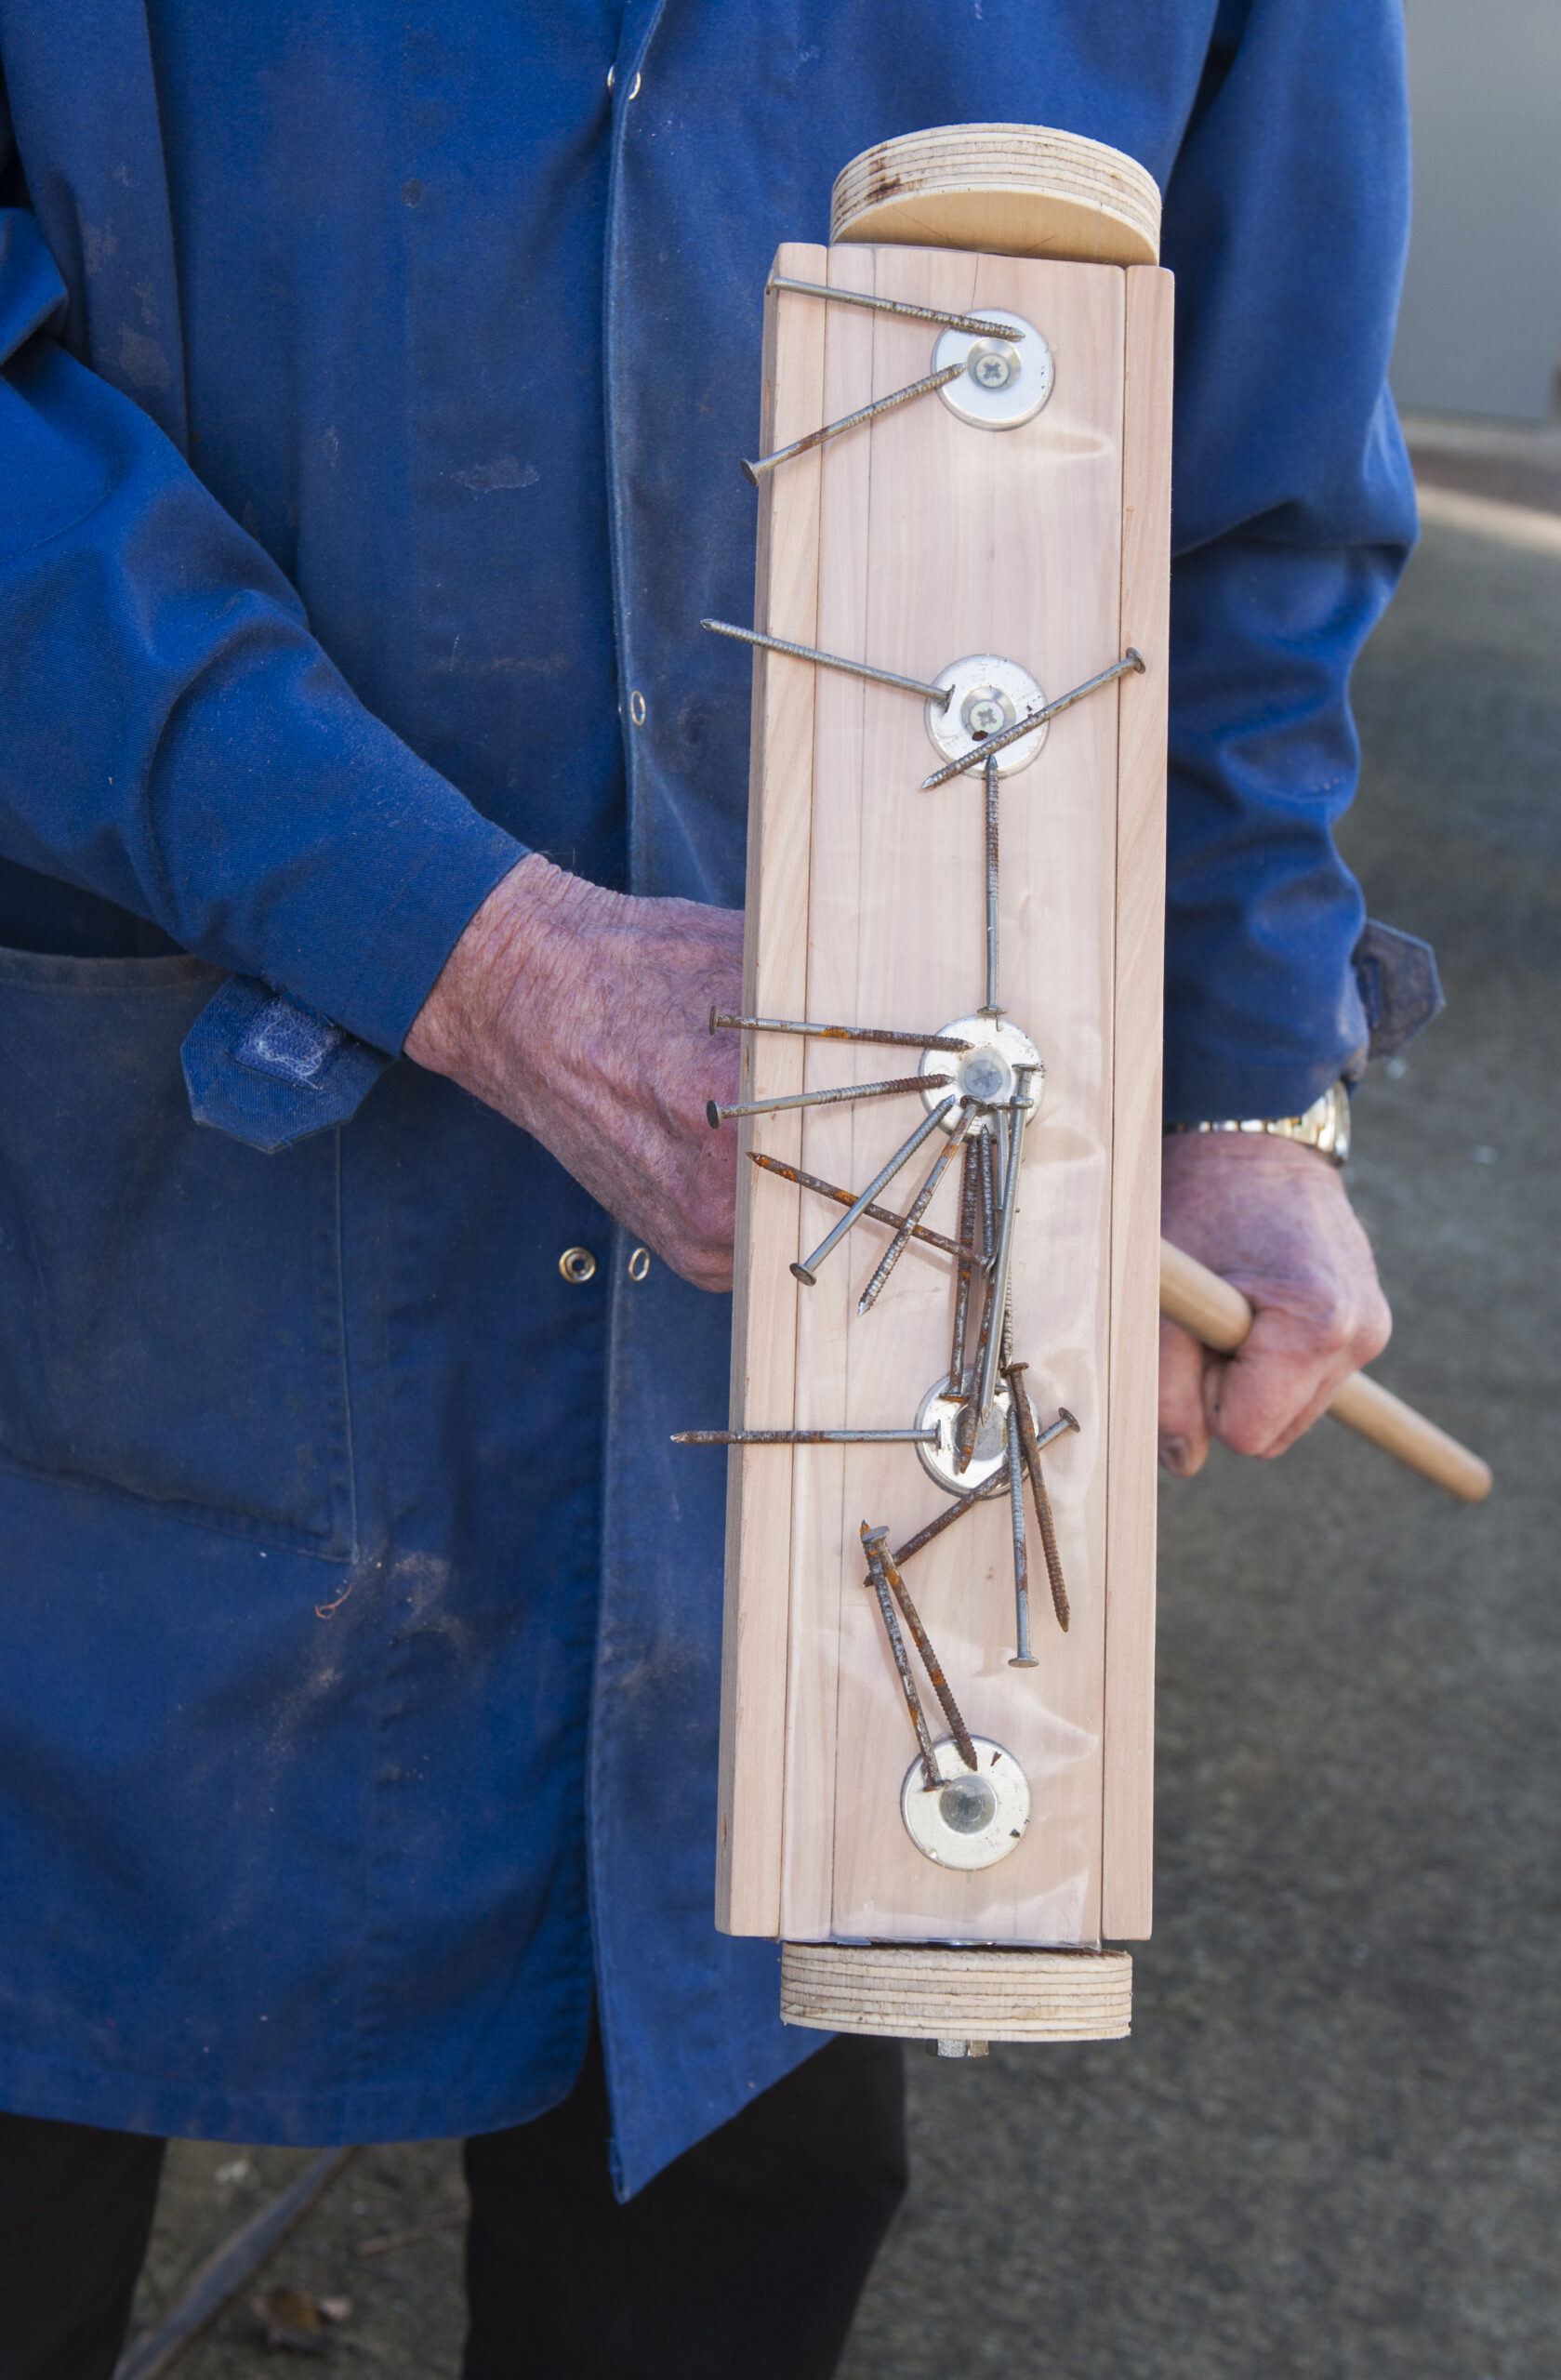
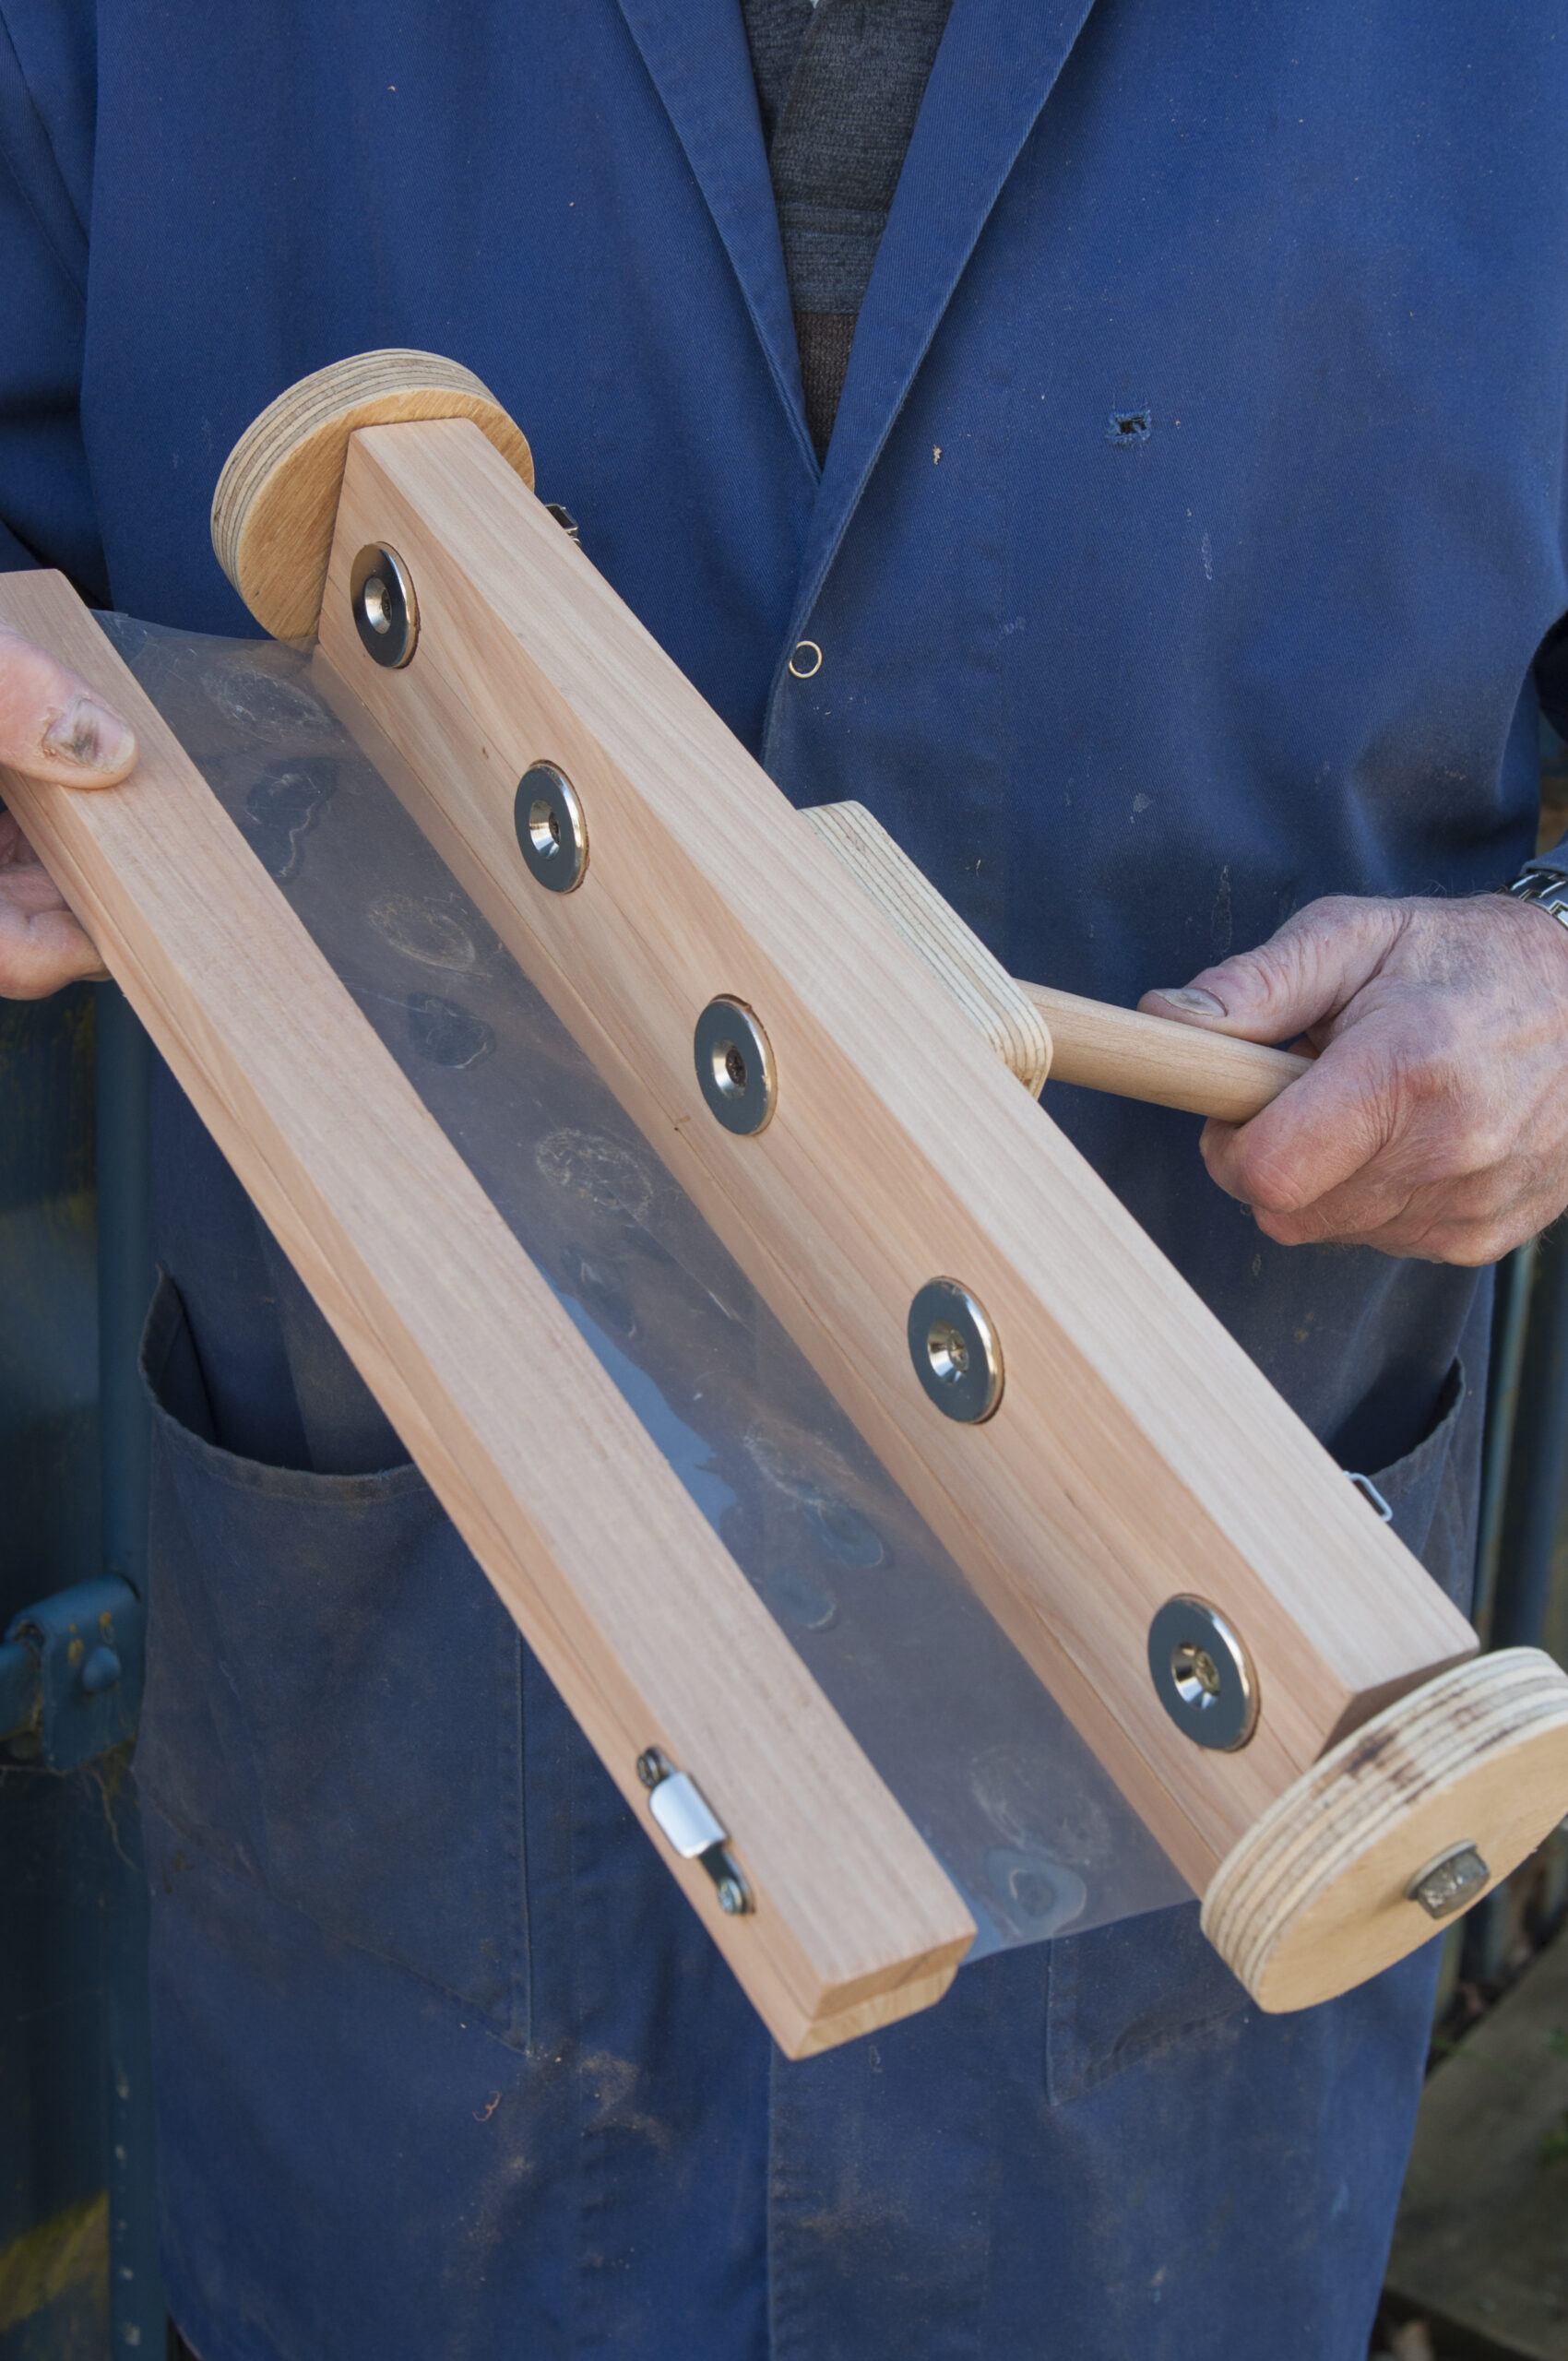
The design and function of the magnetic sweeper is simple. Neodymium magnets are recessed into a timber carrier block. The block is fitted with wooden wheels which hold the magnets 20mm above the ground. 
You don’t want steel debris to stick directly to the magnets, so a removable sheet of heavy-duty polythene needs to be fitted over them.
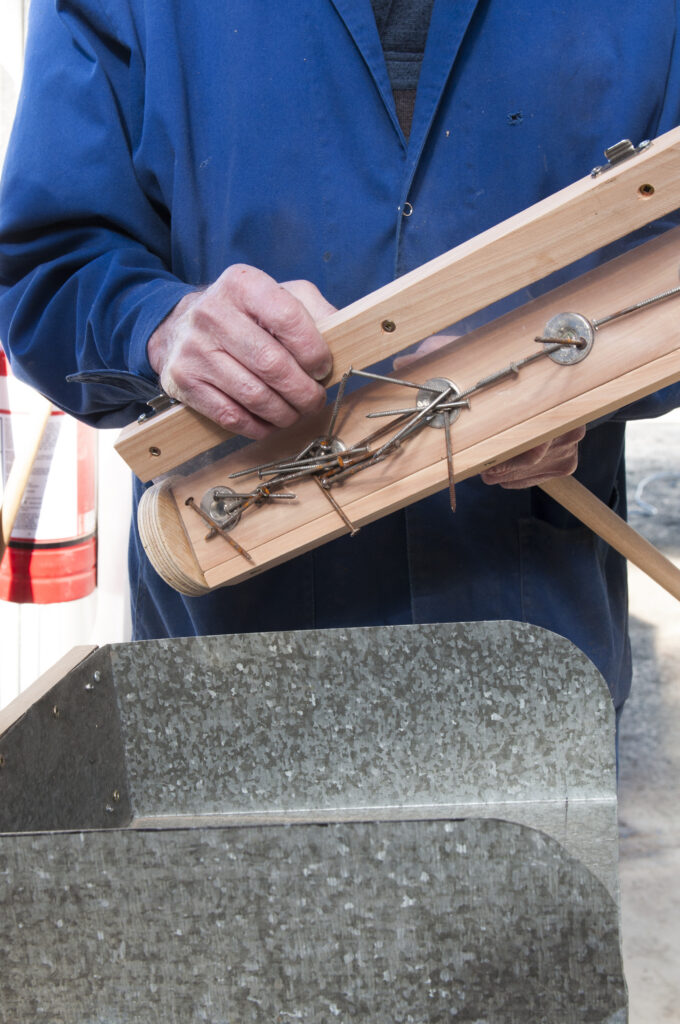
When you need to remove the collected steel debris, you simply pull the plastic sheet off the magnets, which drops everything into the waste bin. 

Making the parts
The magnets I used were 30mm diameter x 10mm thick with a screw hole in the centre. These are very powerful, and each one will easily lift a 5kg weight. The first step in making the sweeper is to select a suitable block of wood to mount them on. We used a piece of 60x30mm macrocarpa. It can be any length you want depending on the number of magnets you want to use. Our sweeper was 400mm long. This gives a nice, wide sweep but is still manageable for getting close to machines in the metal workshop. 
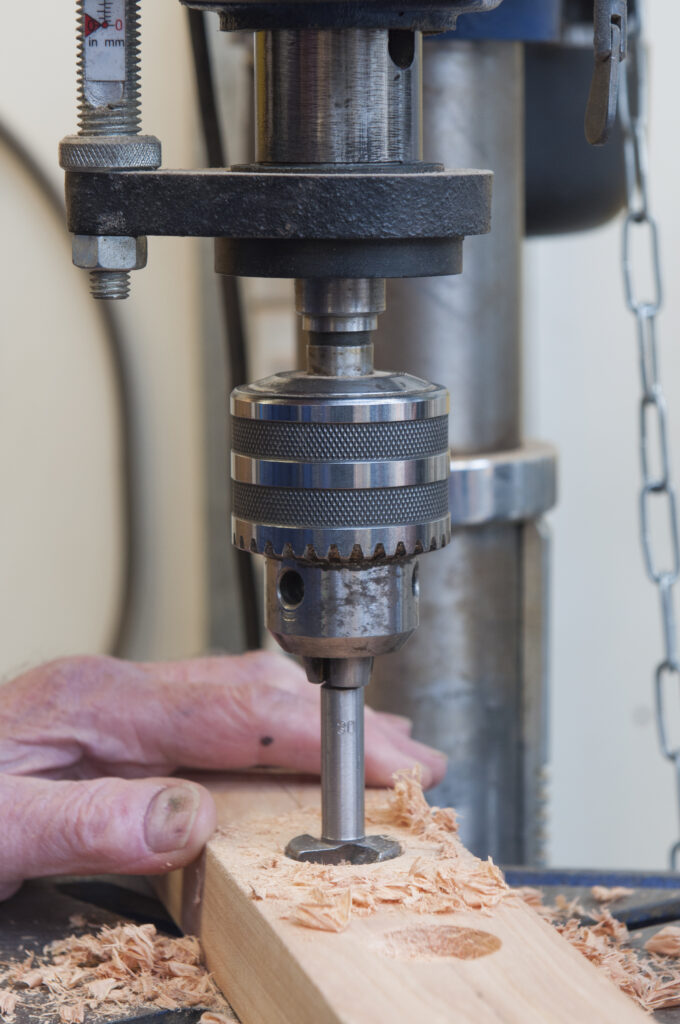
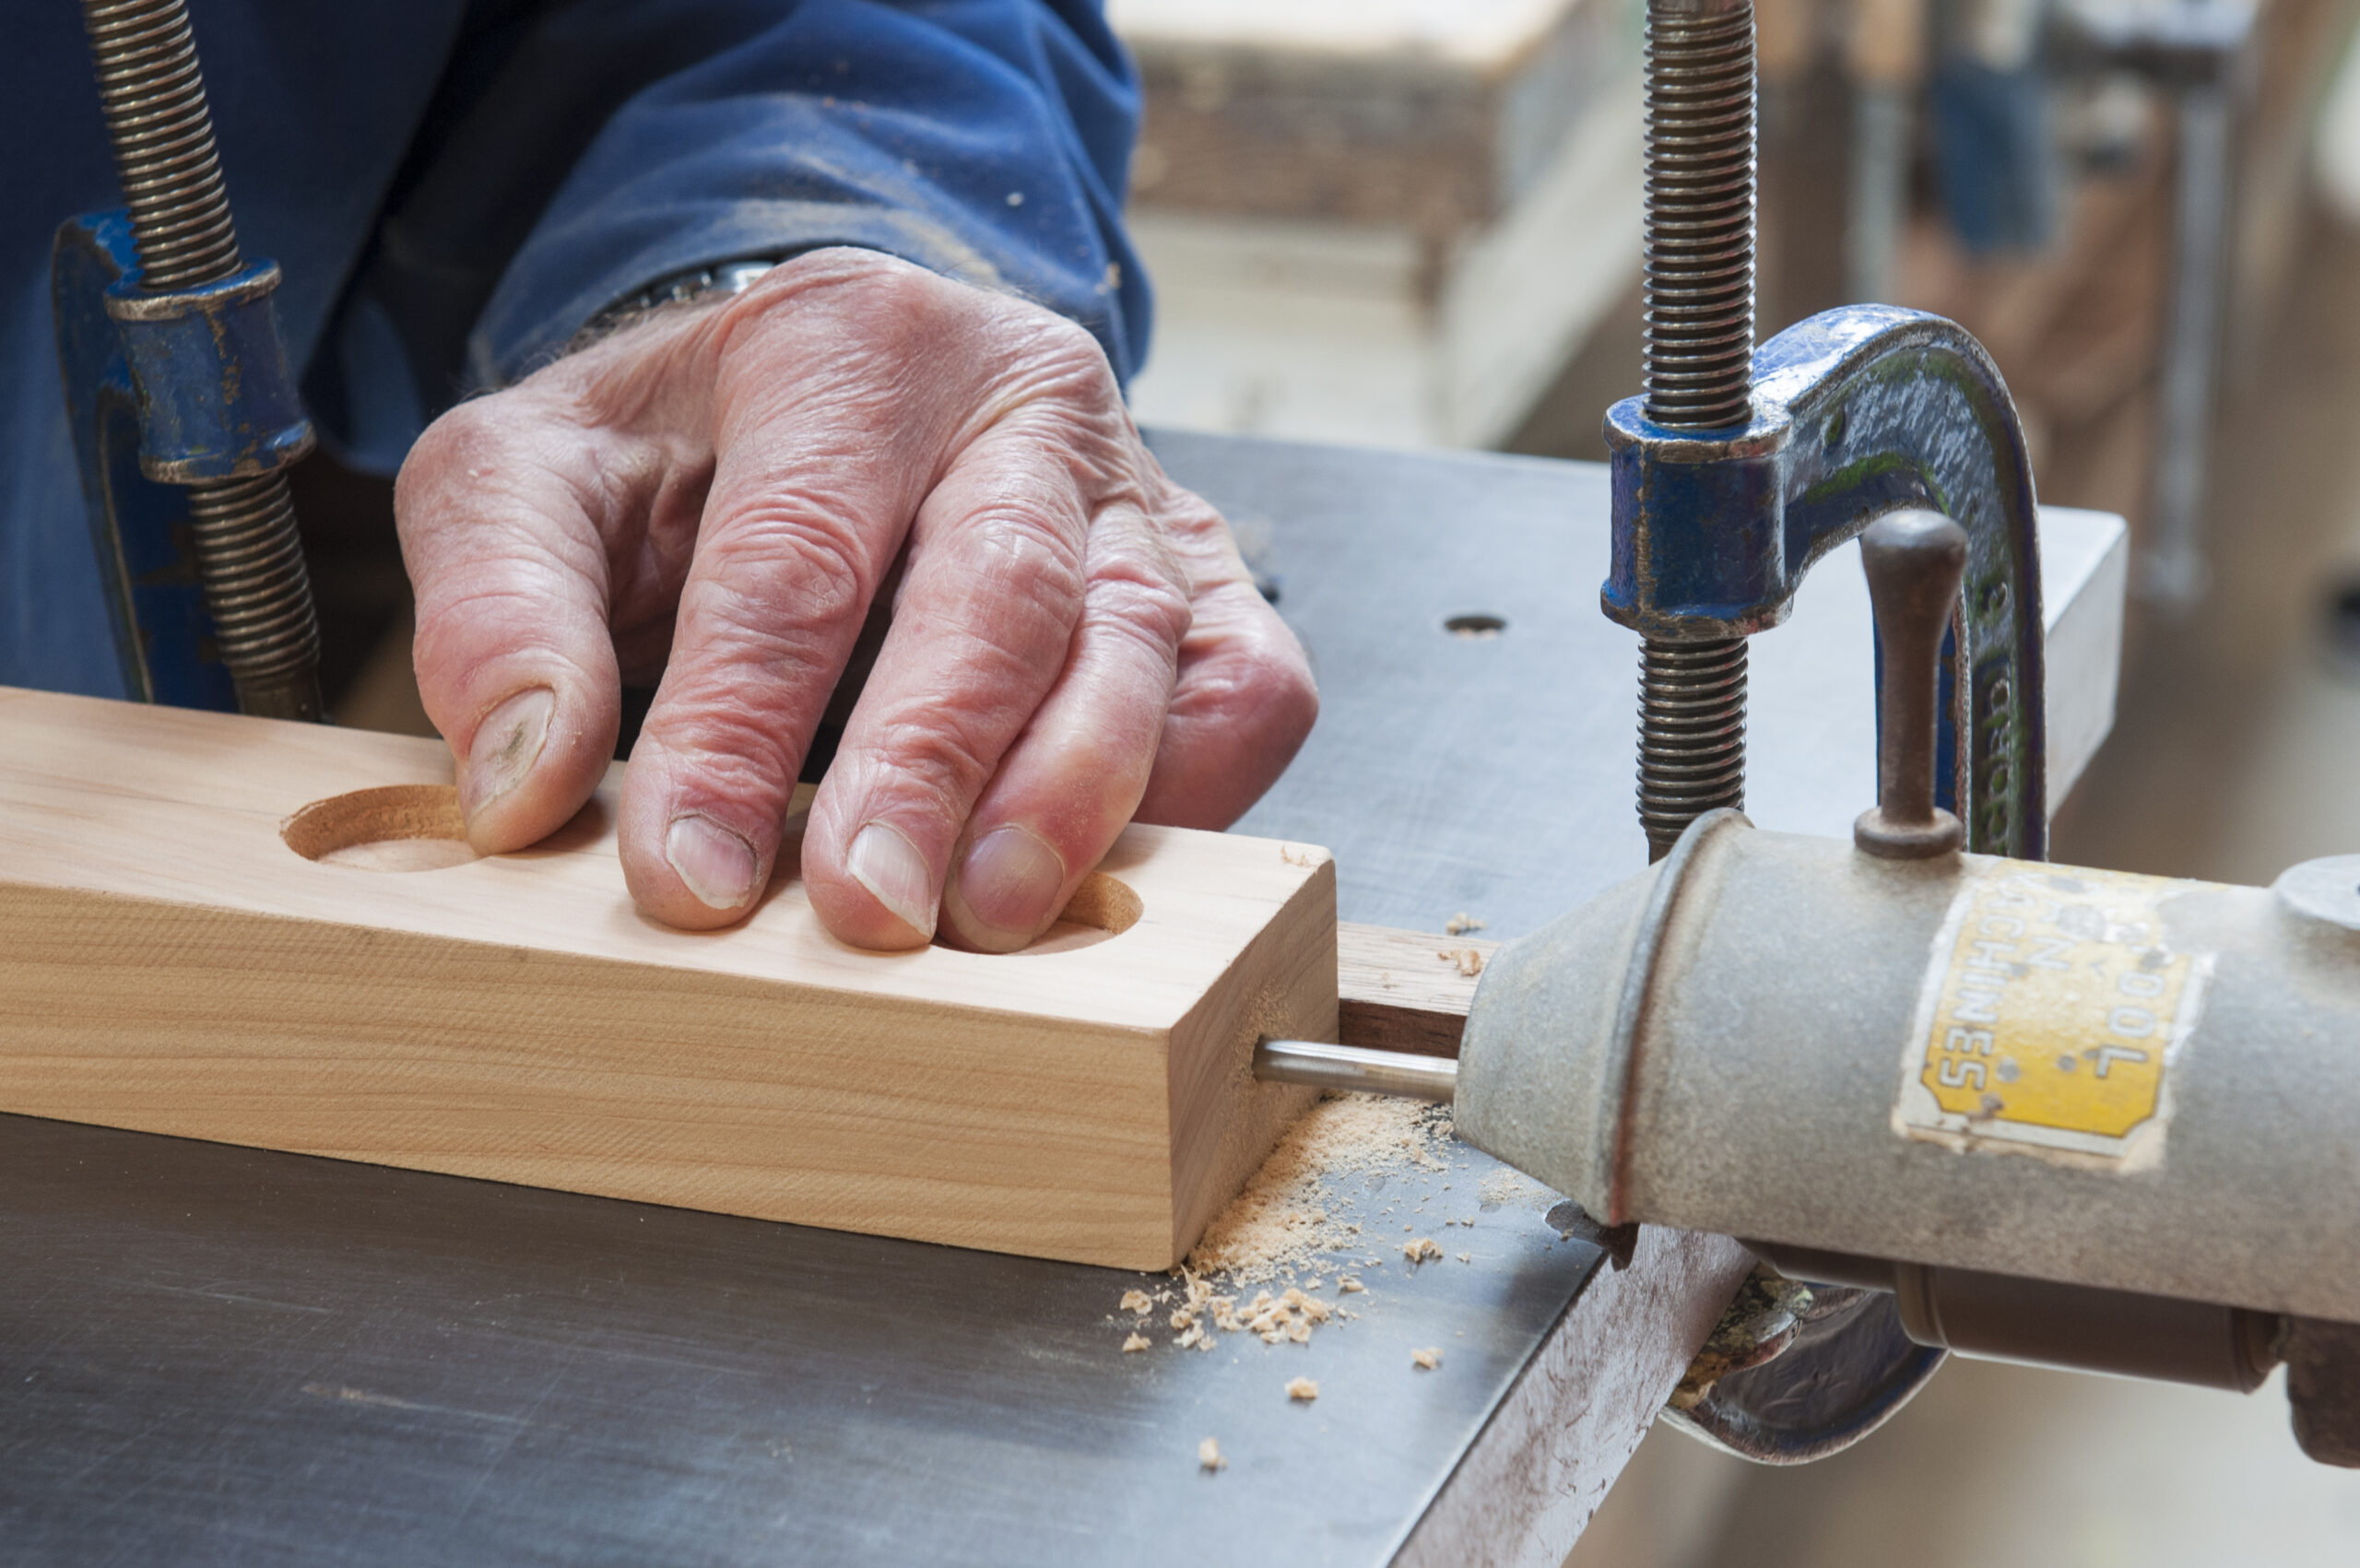
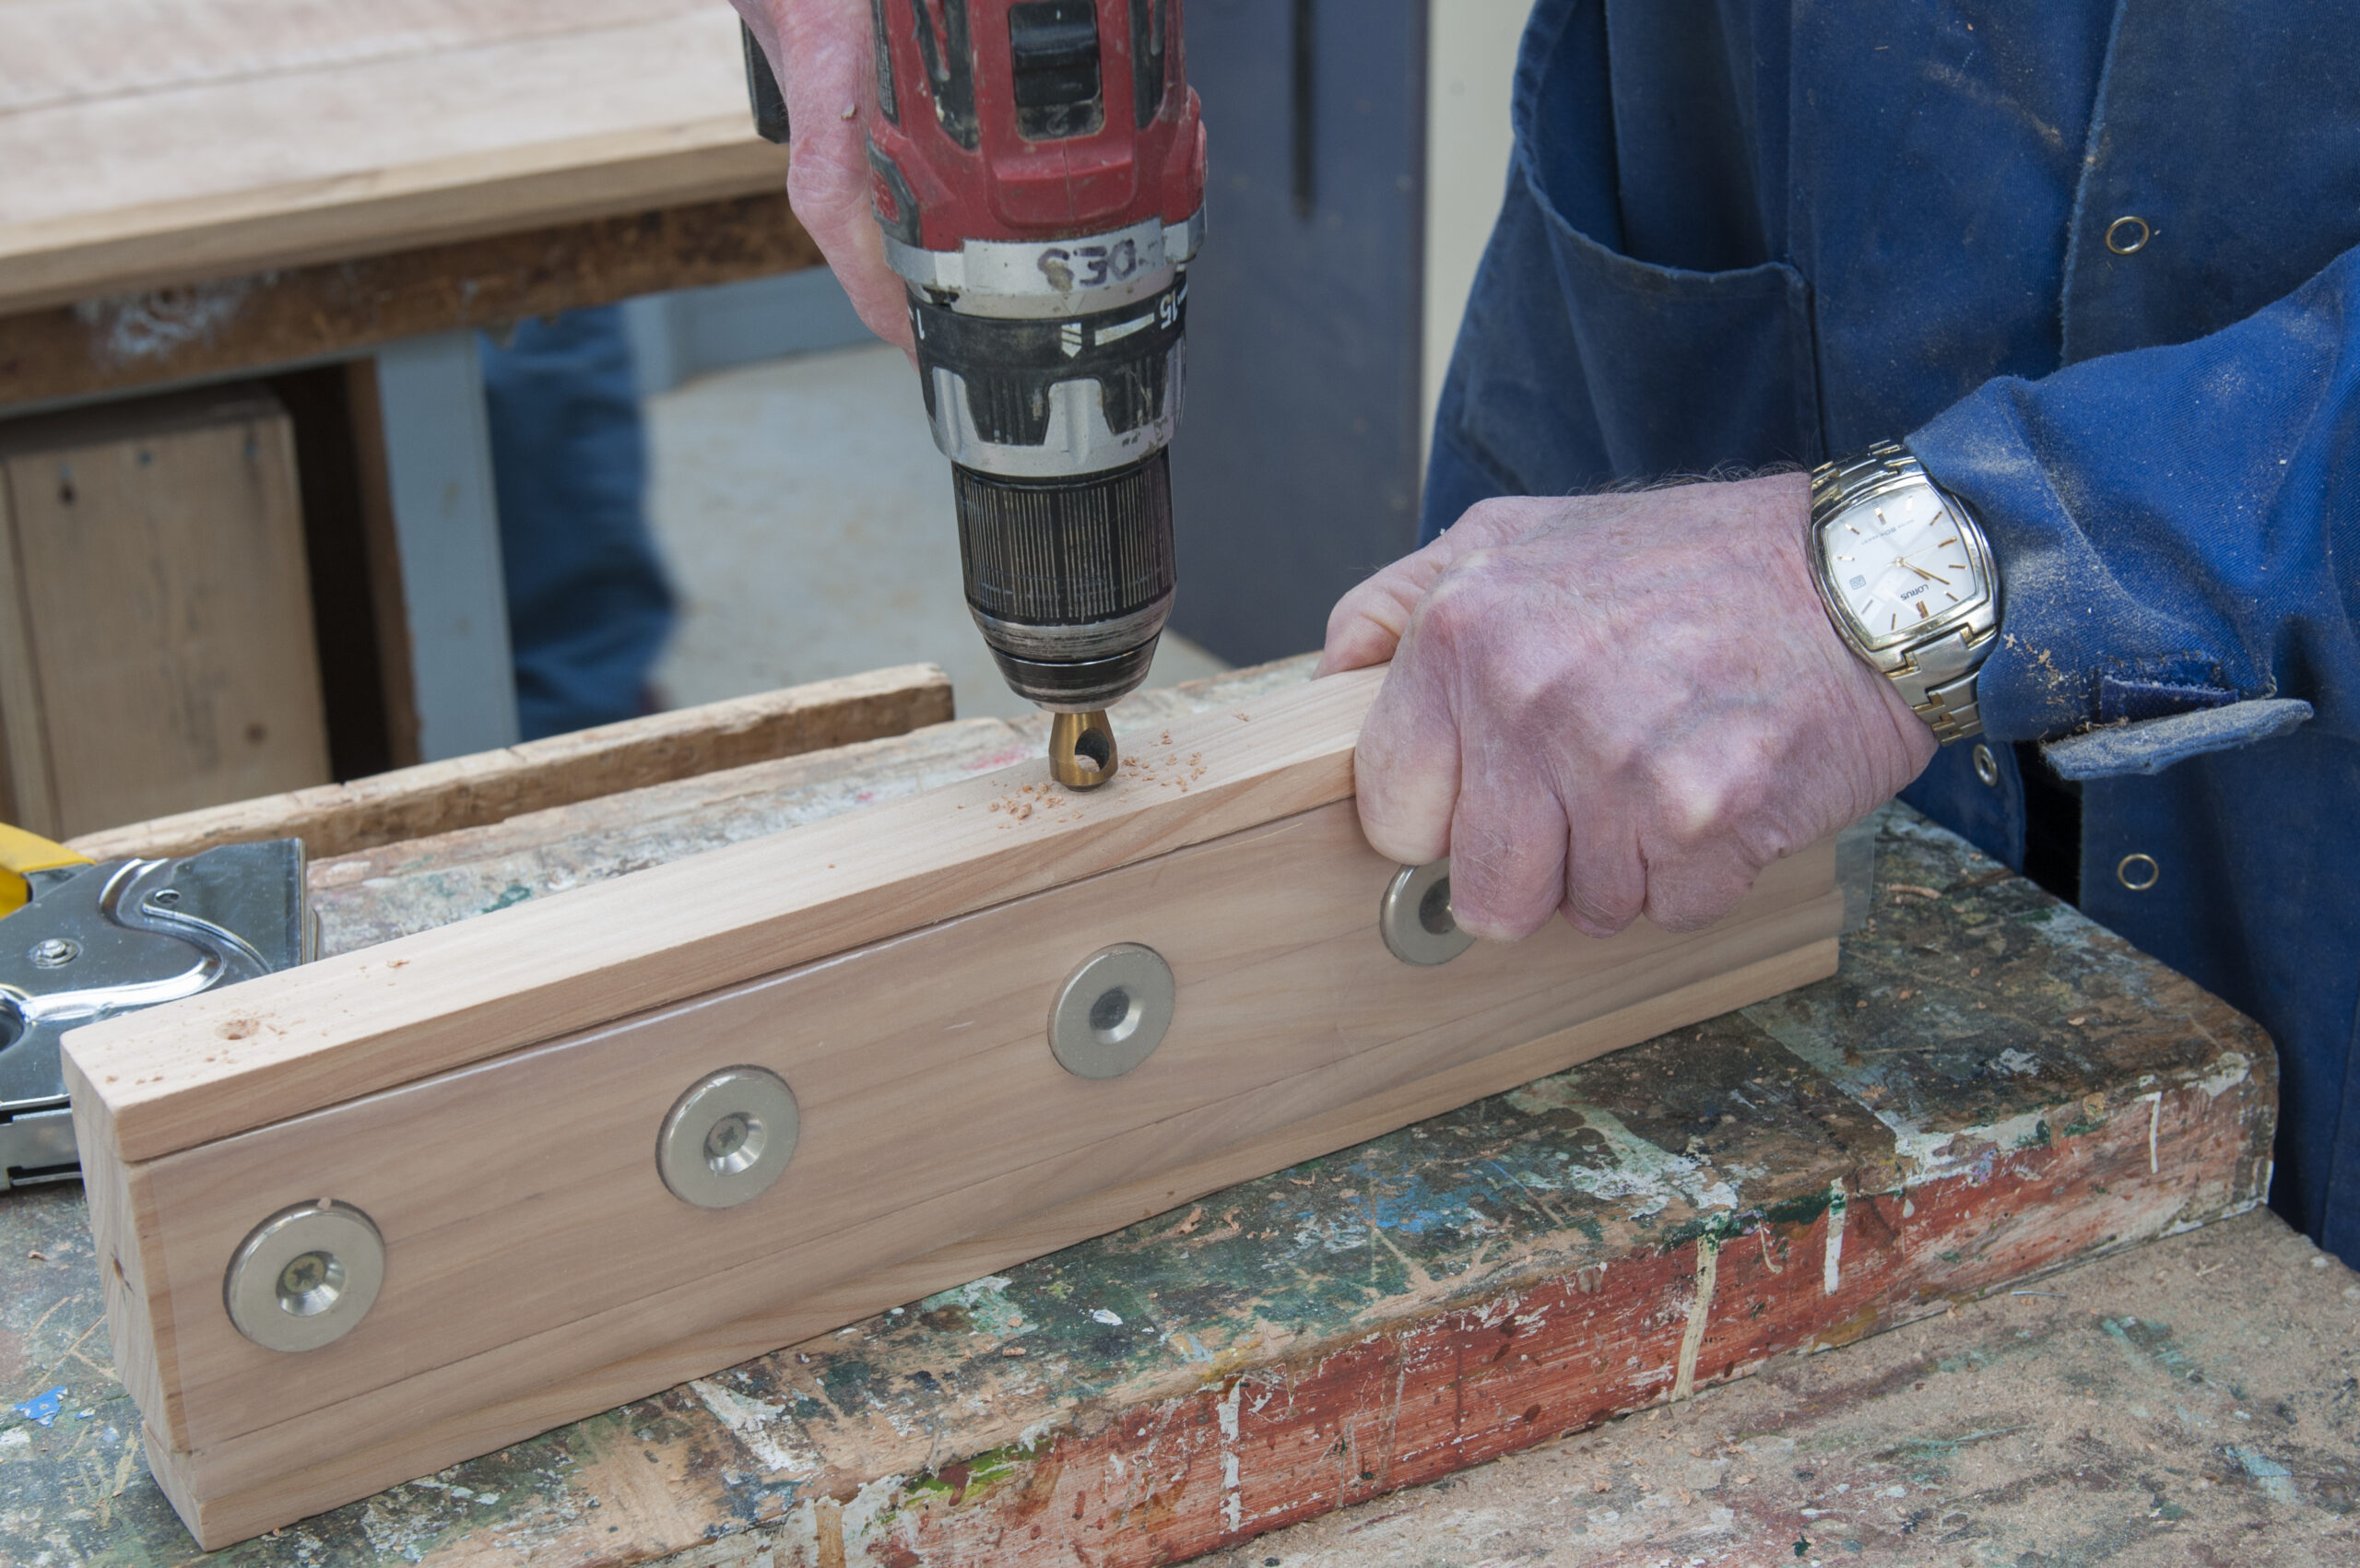
To mount the magnets, bore 30 mm x 10 mm deep holes at 75mm spacing. You will find that if you try to place them closer together, the magnets will start to repel each other.
A Forstner bit does a nice job of making the recessed holes. 
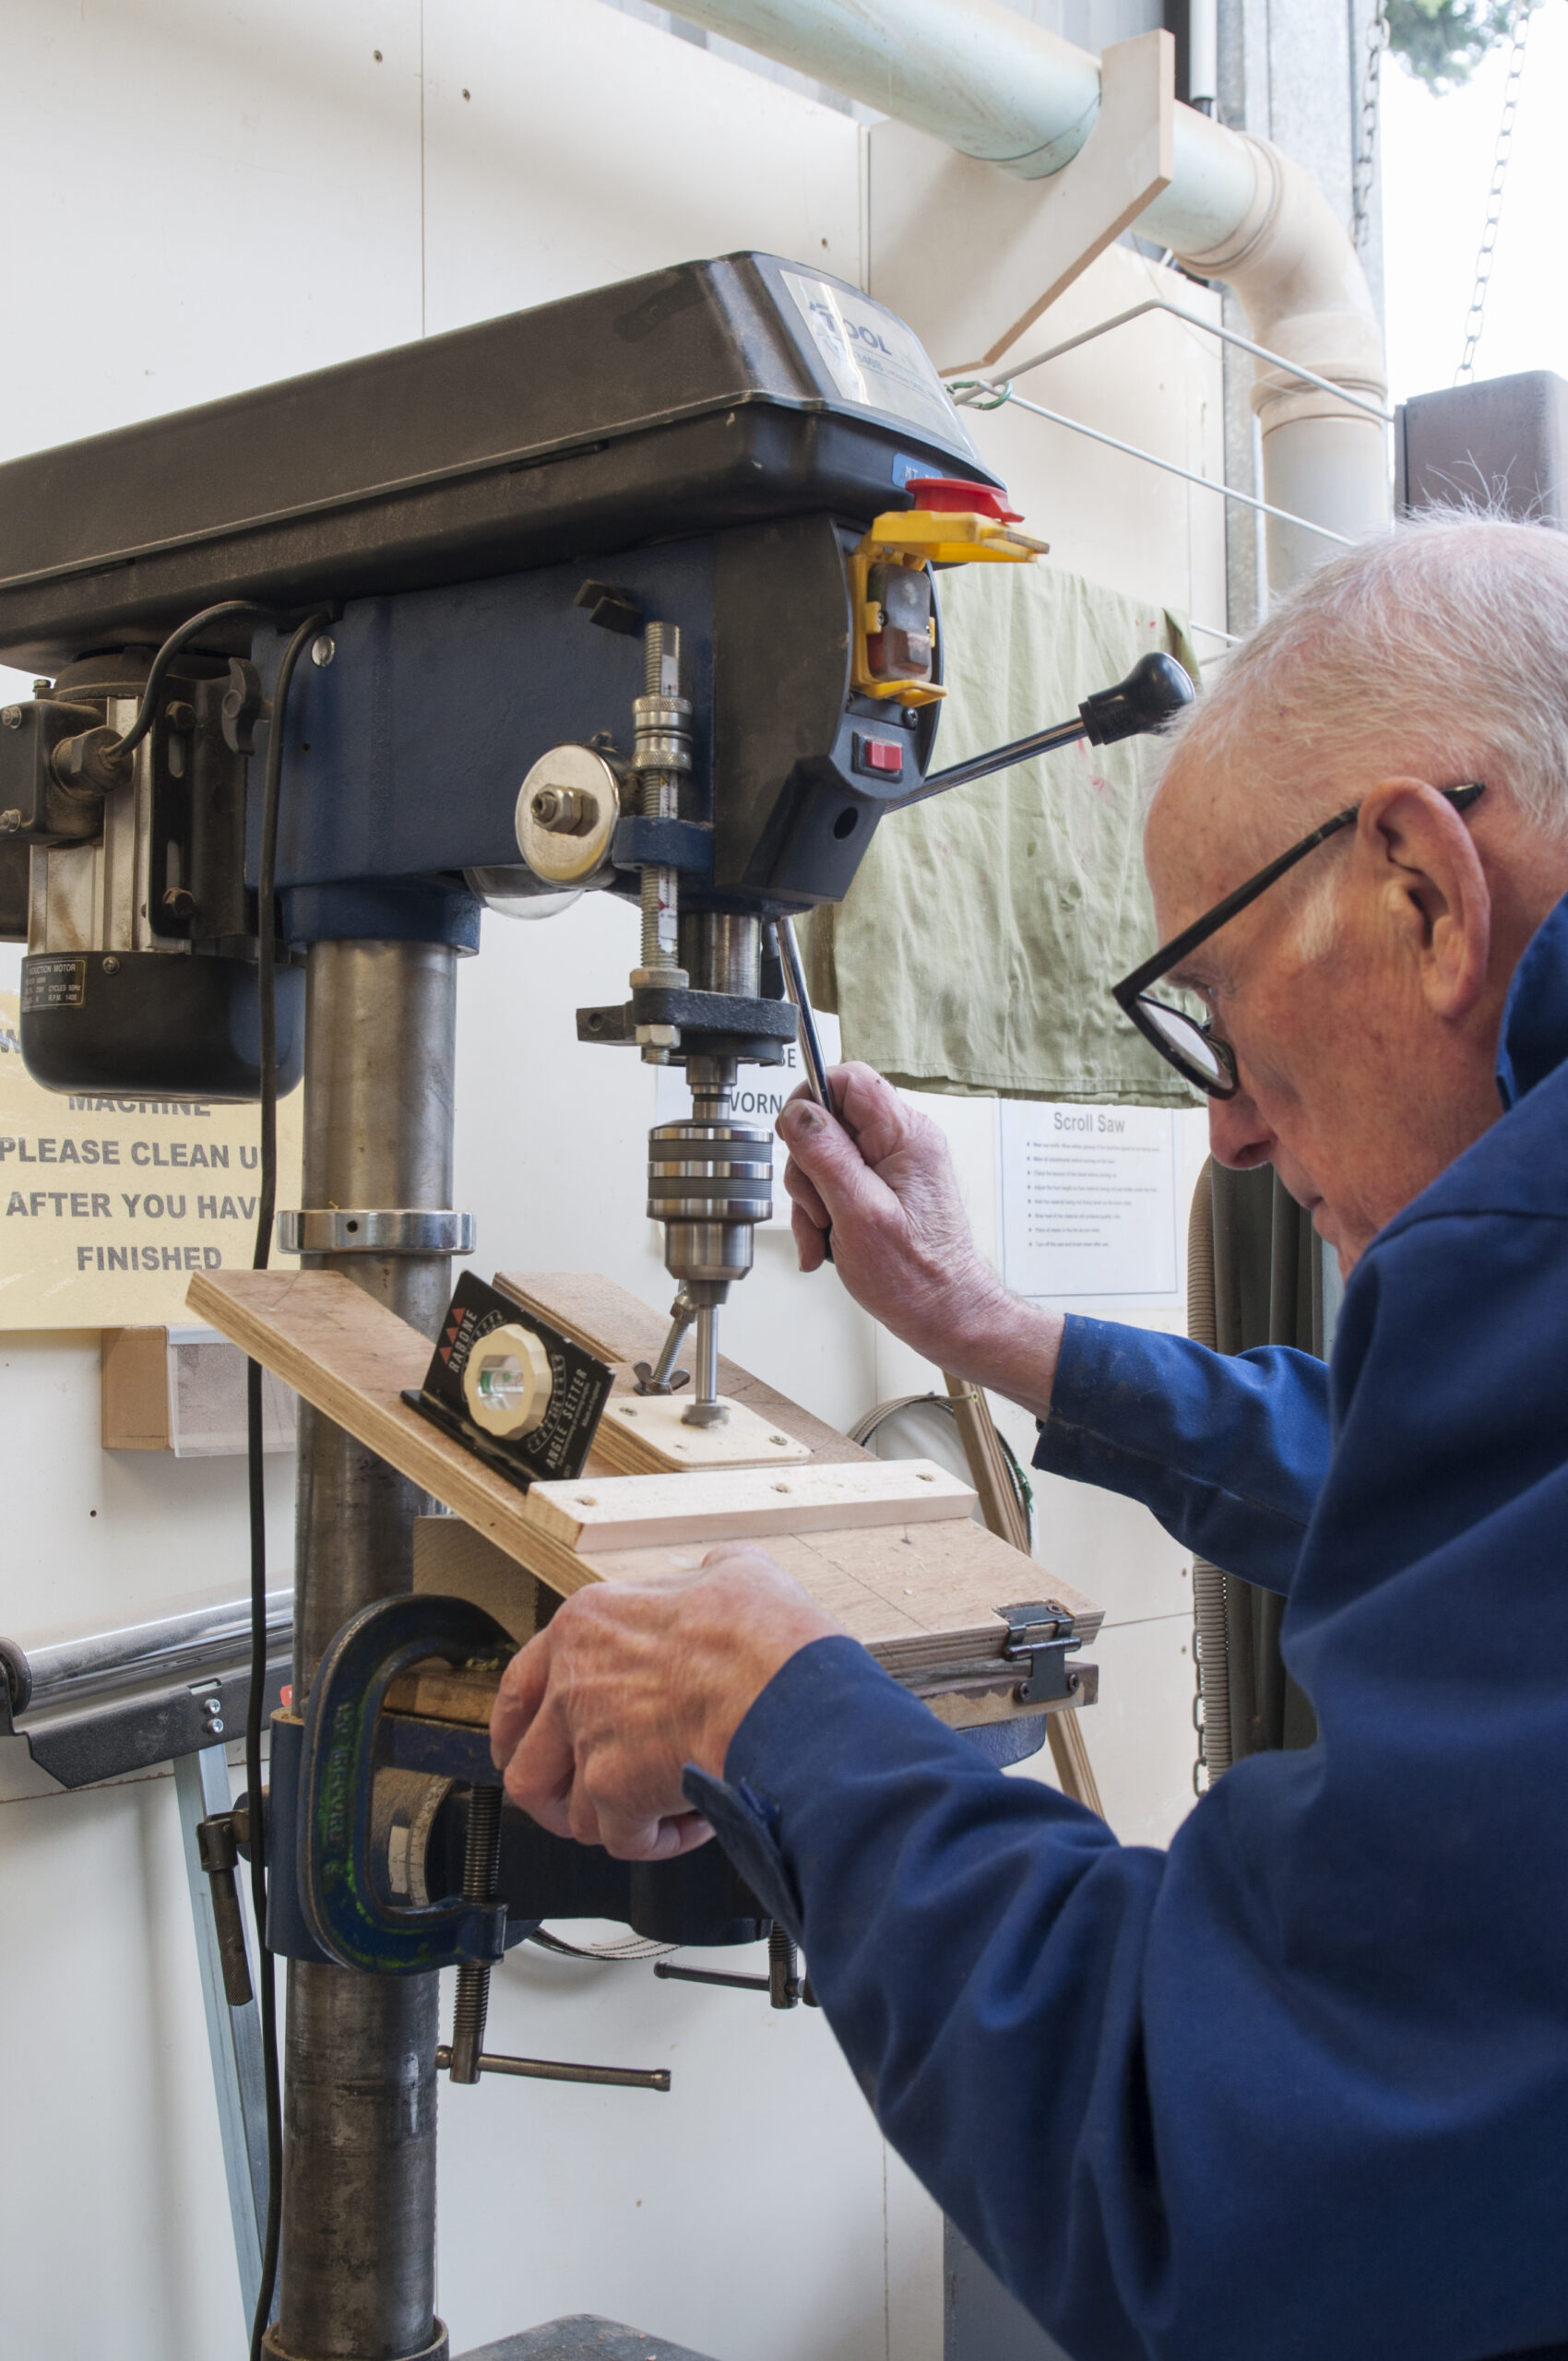
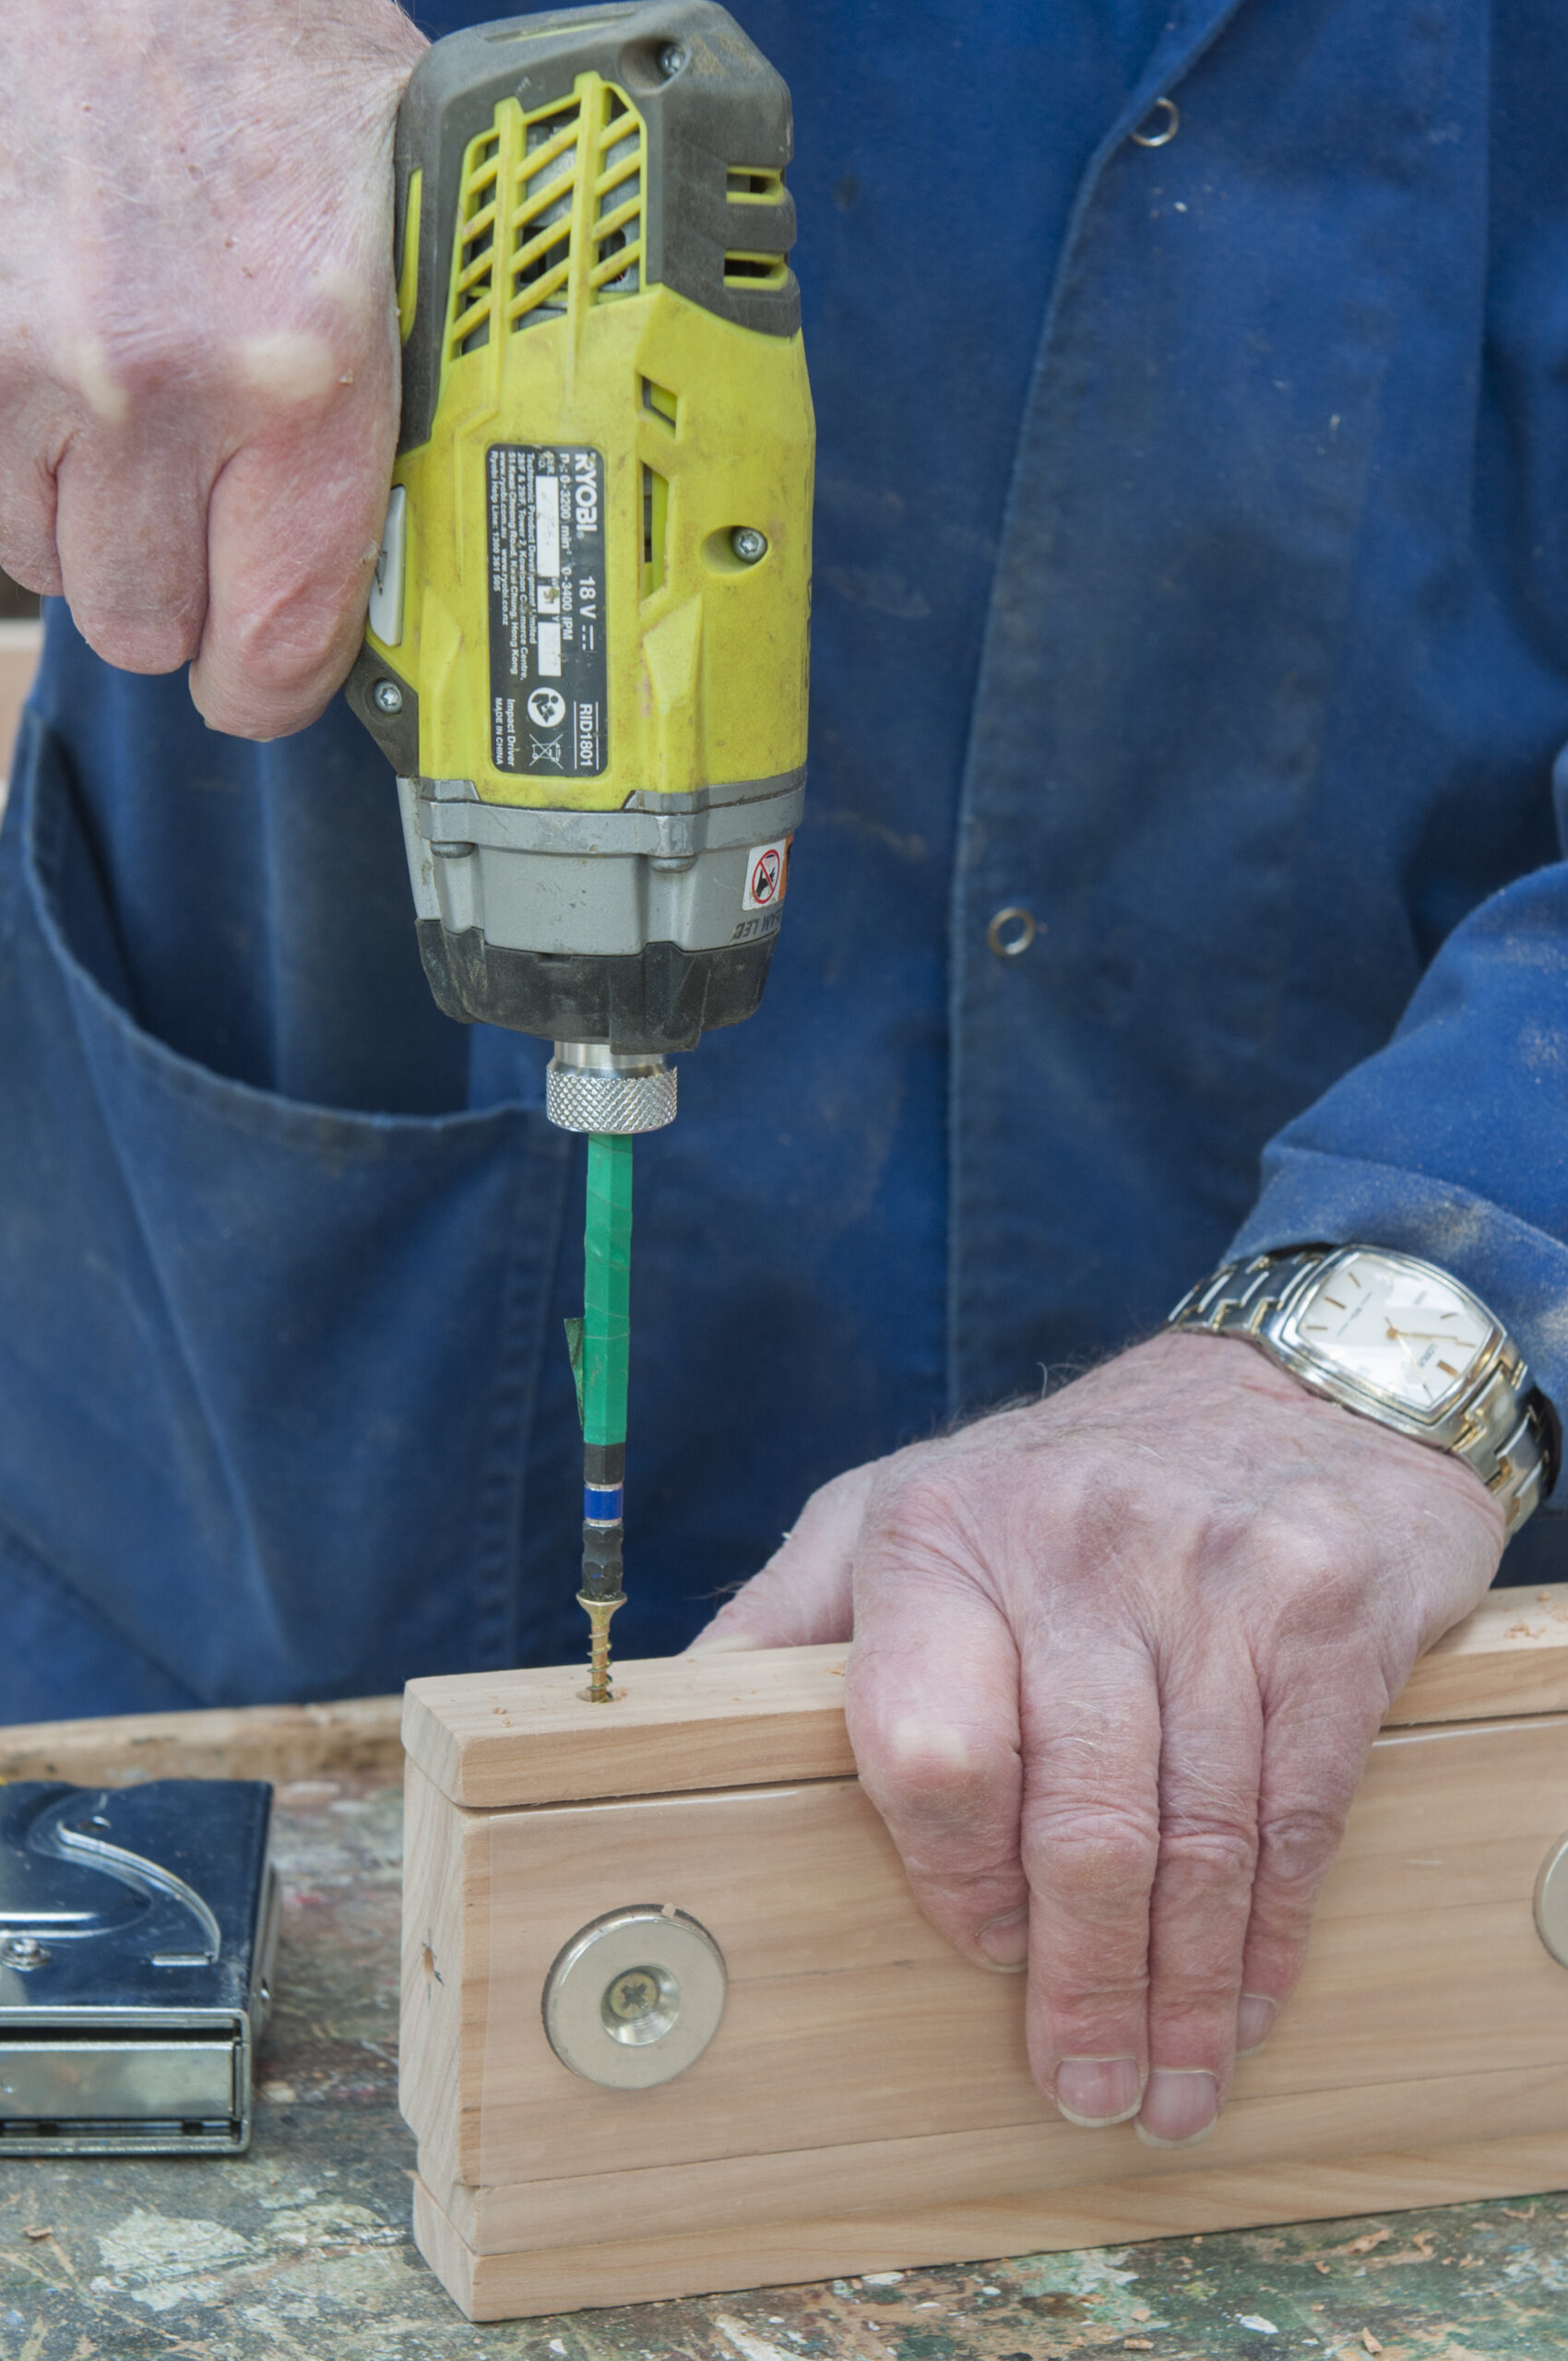
The next step is to fix a small piece of 20mm ply to the carrier block and drill a hole at an angle so an old broomstick or 20mm dowel can be inserted to be used as a handle to move the sweeper around.
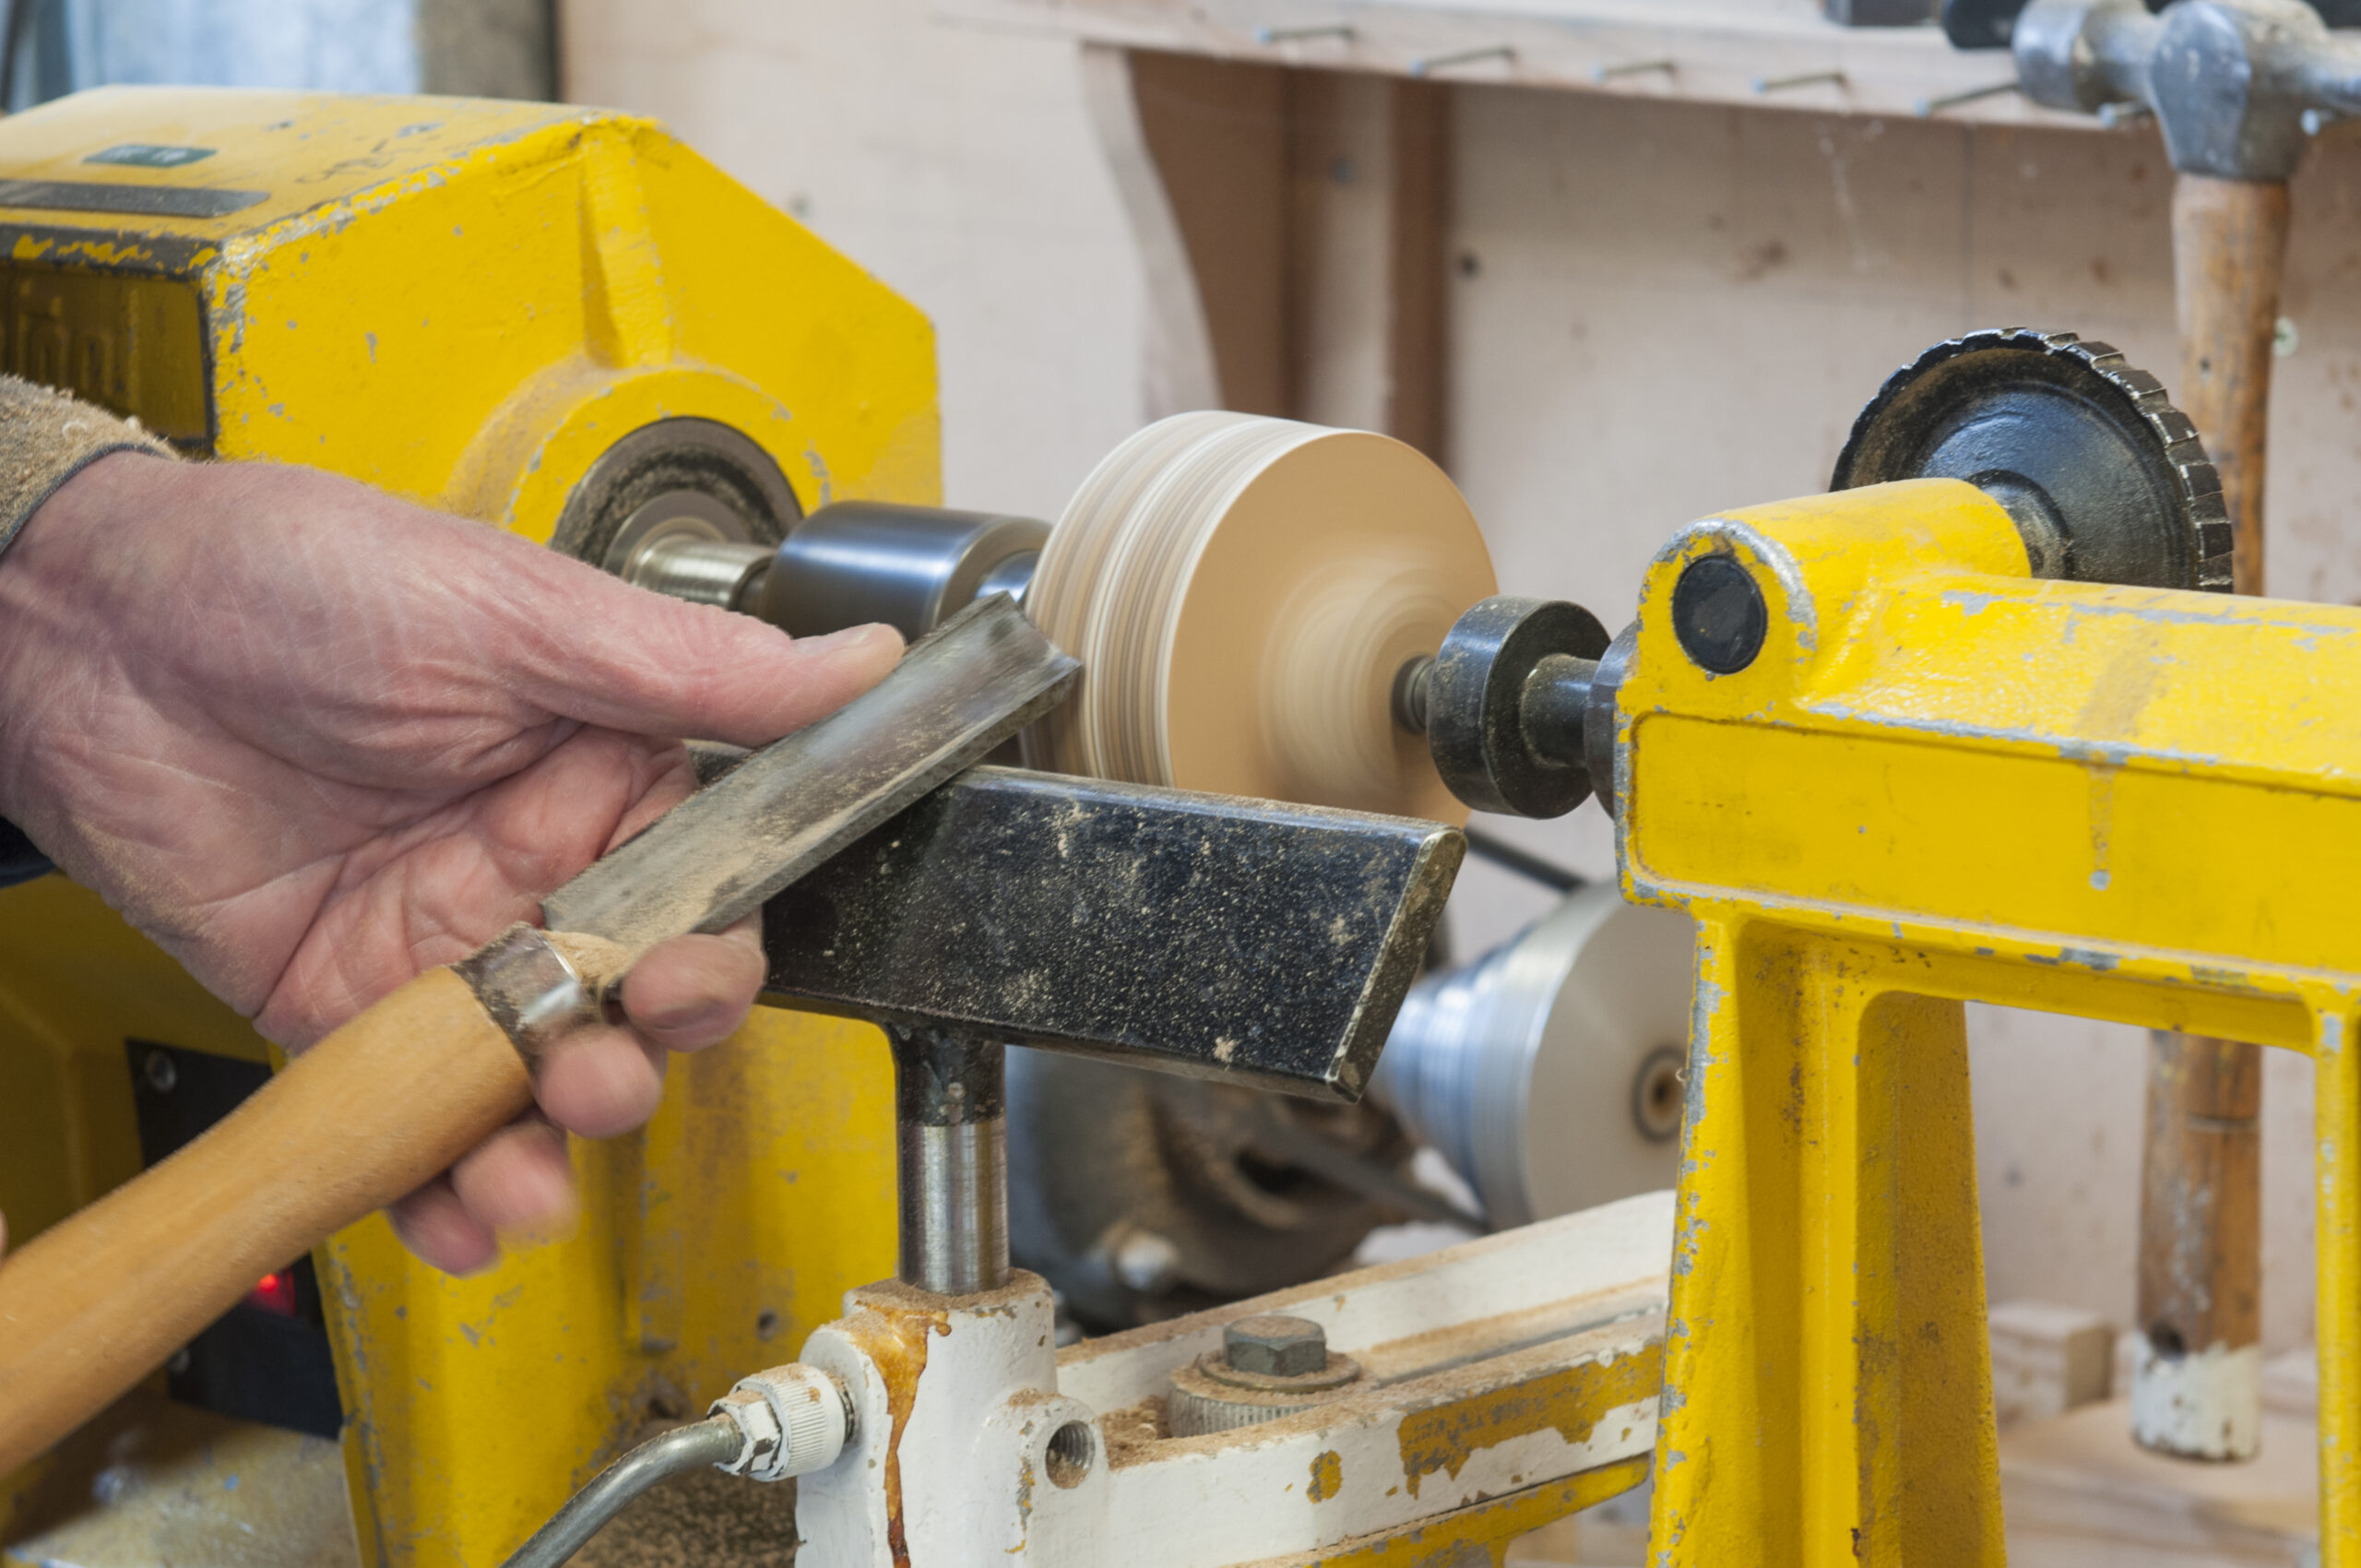
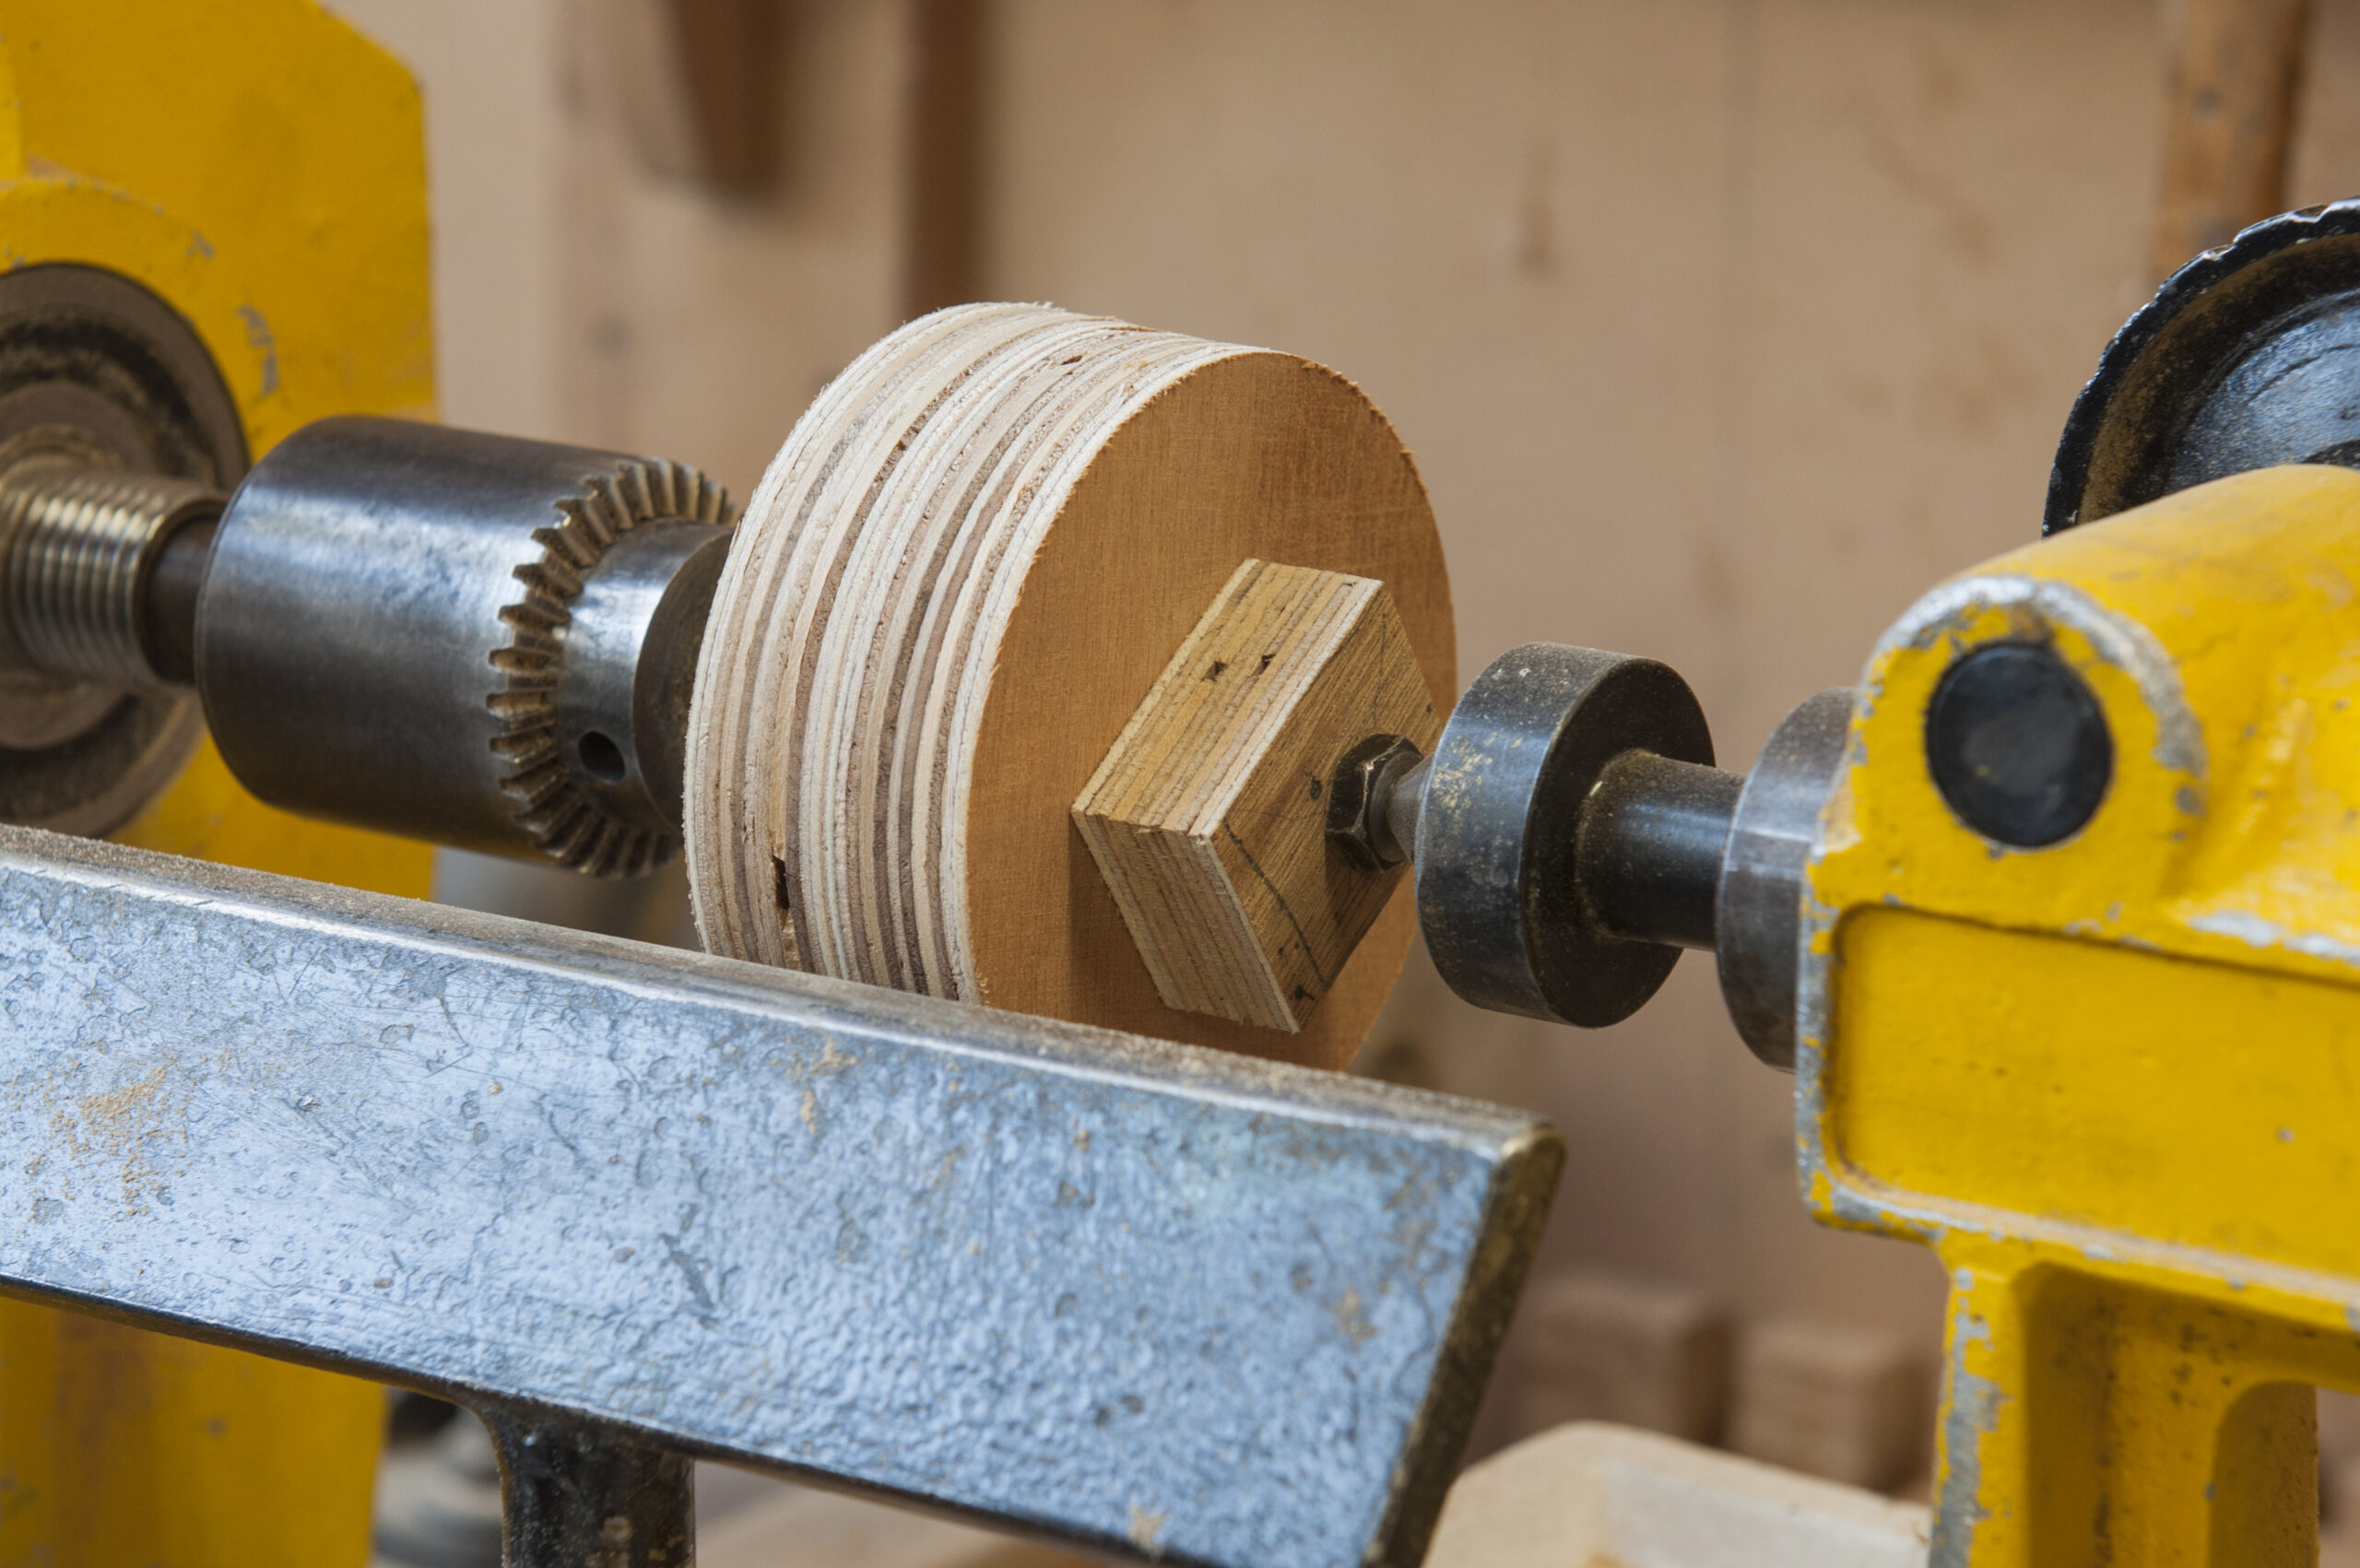
Drilling holes at an angle can be tricky, but Don Reeves, one of our Menzshed members, has made a nifty jig to make this process simple. Don made the jig for drilling the holes for Windsor chairs. When the block is mounted on the jig, the hole can be accurately drilled. The wheels are 80mm diameter and were made from scrap 18mm ply. They can be turned on the lathe or cut out using a bandsaw. We used 8mm carriage bolt screws as axles.  Drilling holes parallel to an edge is easily done at our shed because we have a dowel borer, but a drill press could be used as well.

Final touches
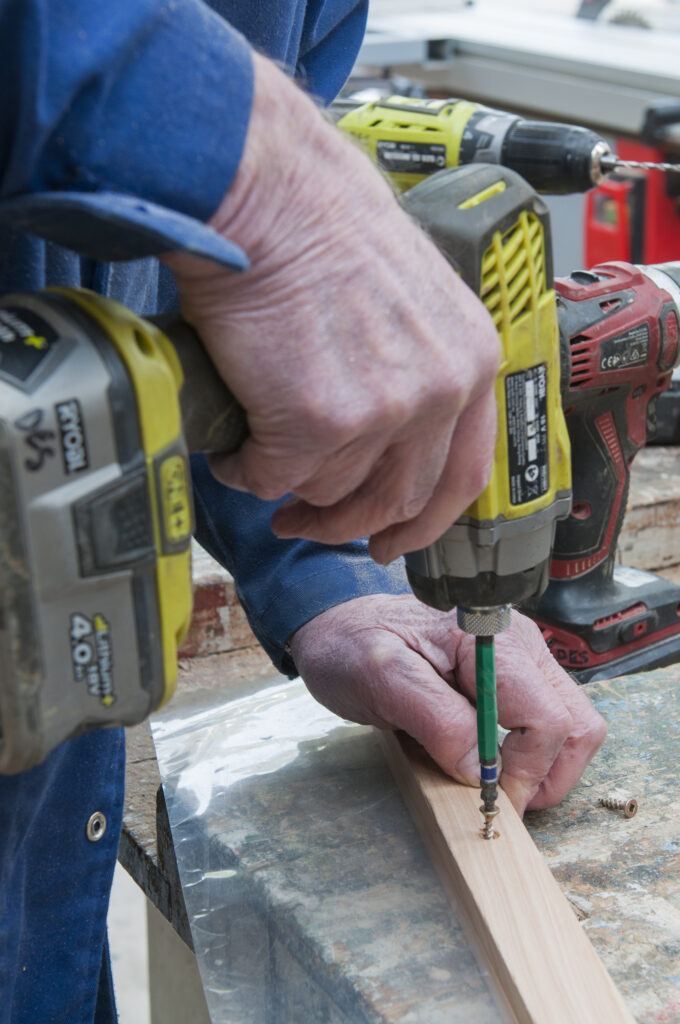
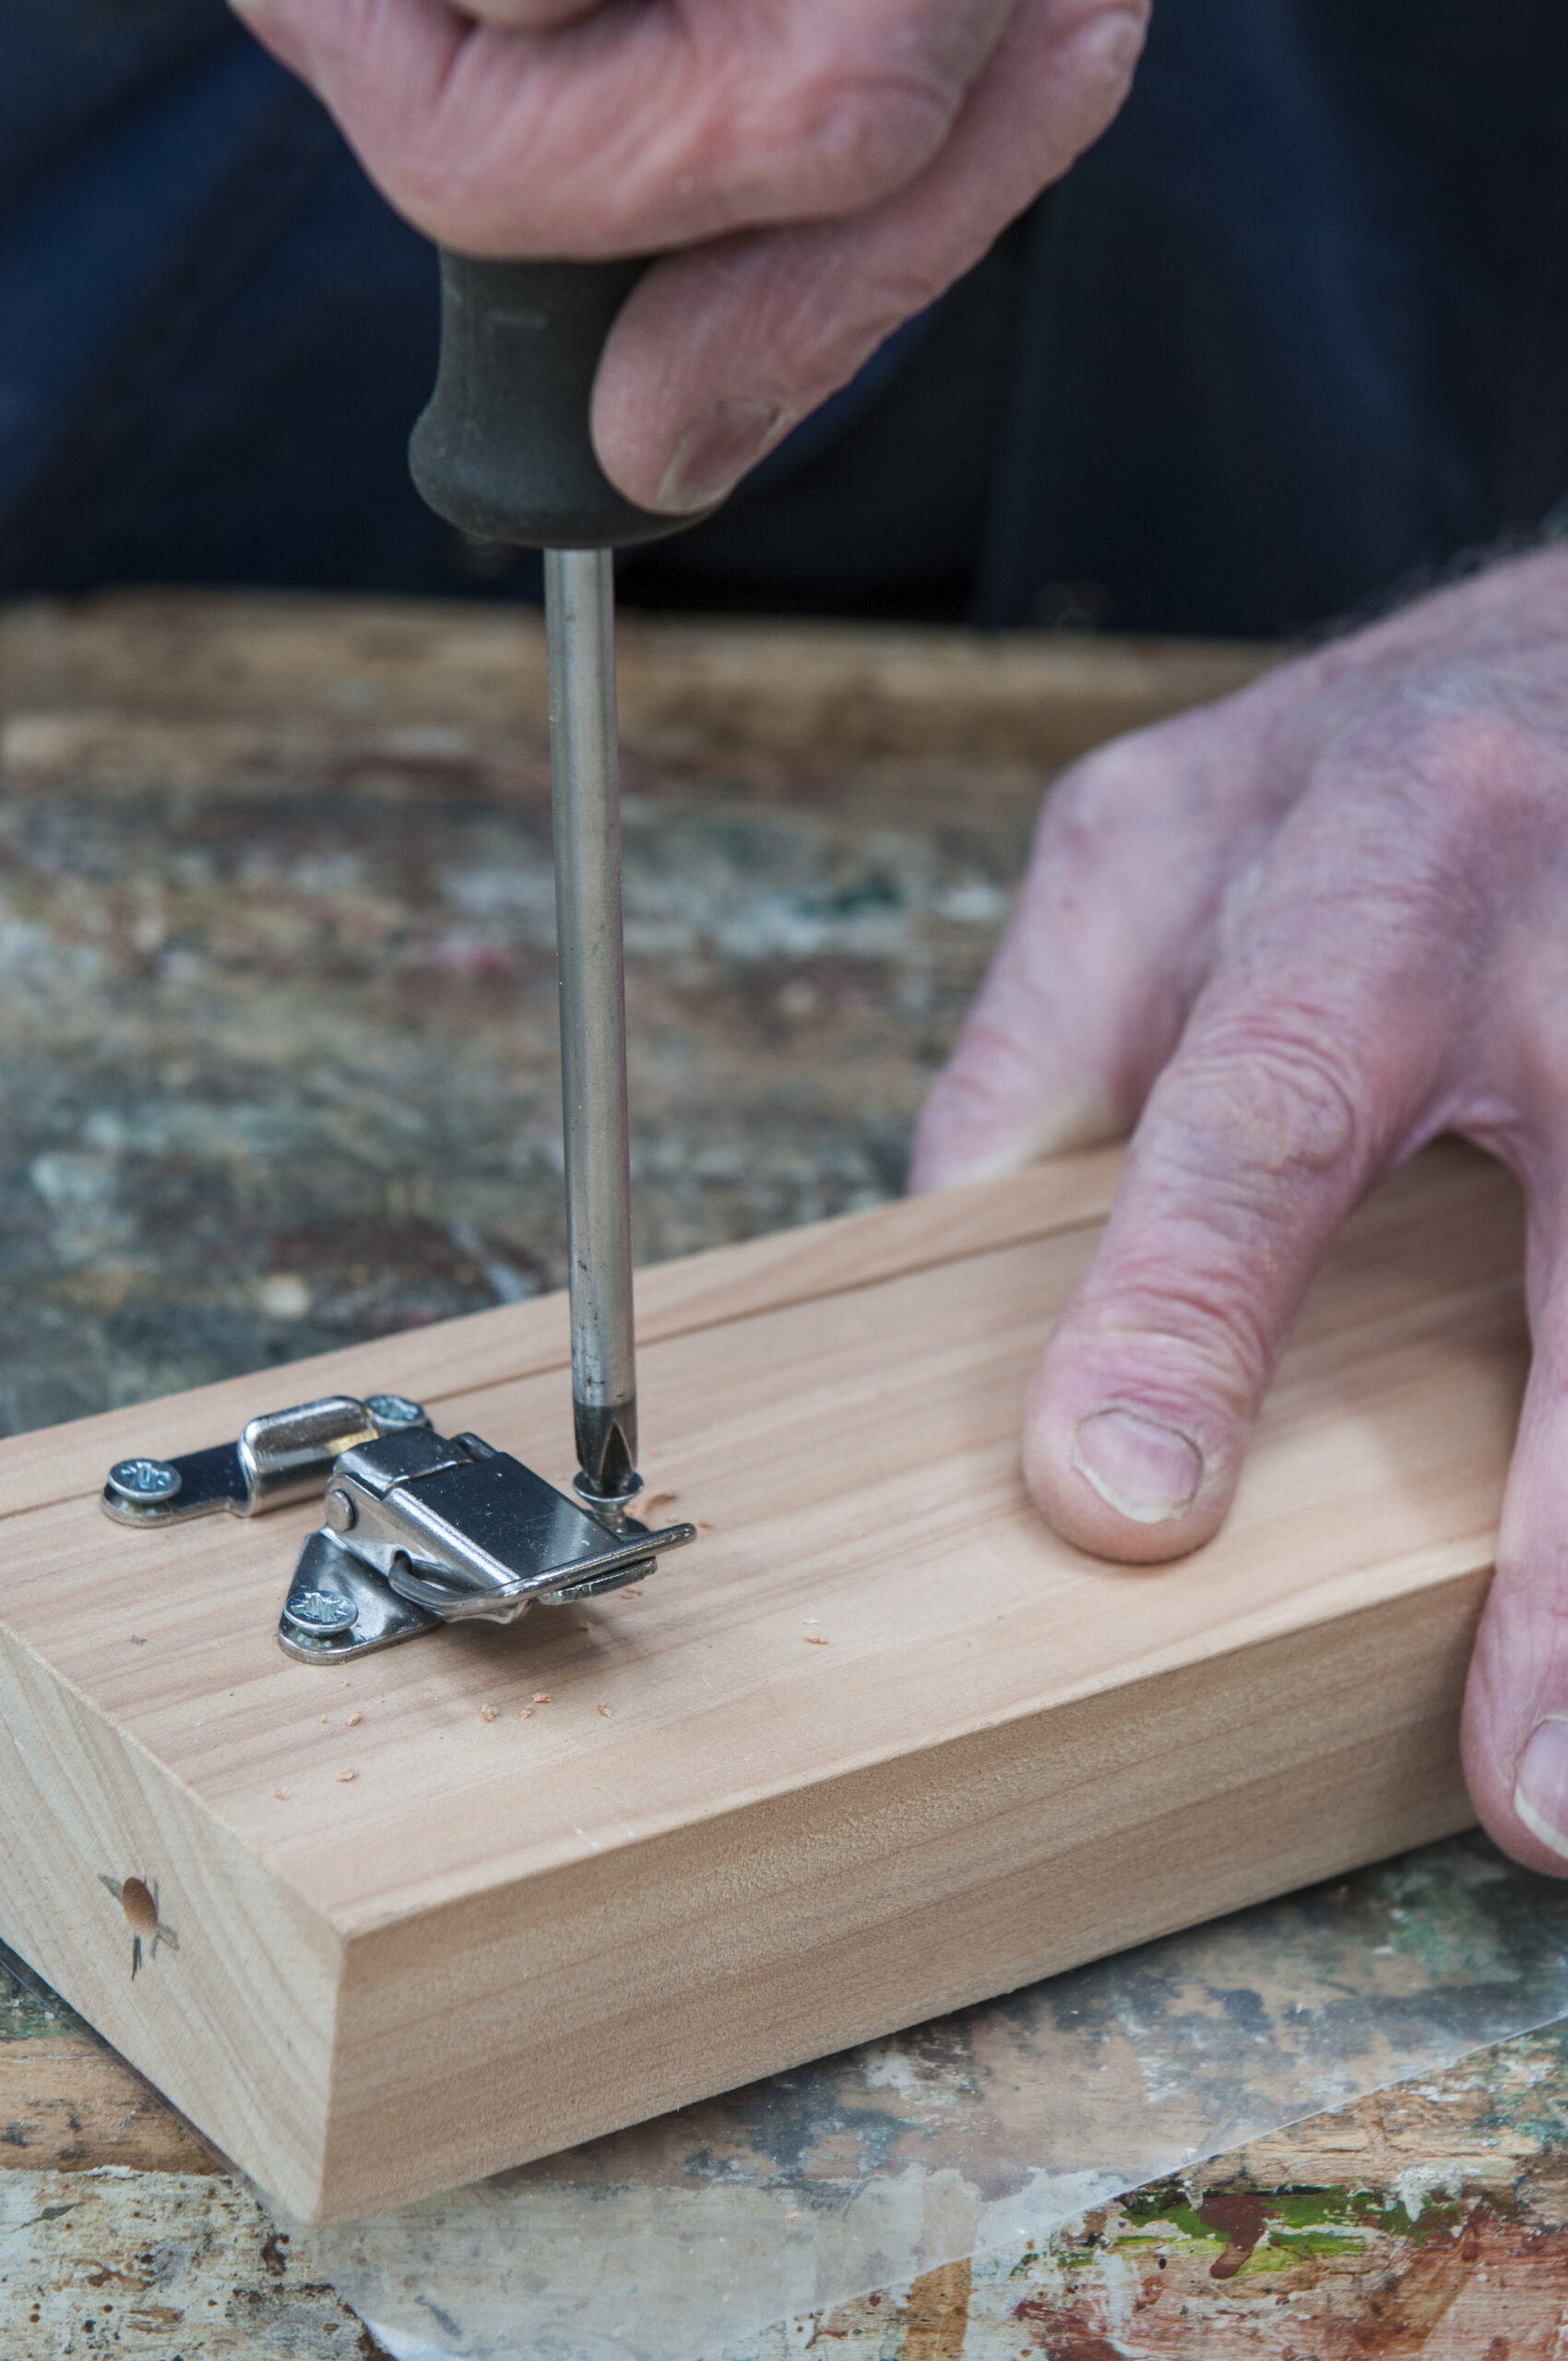
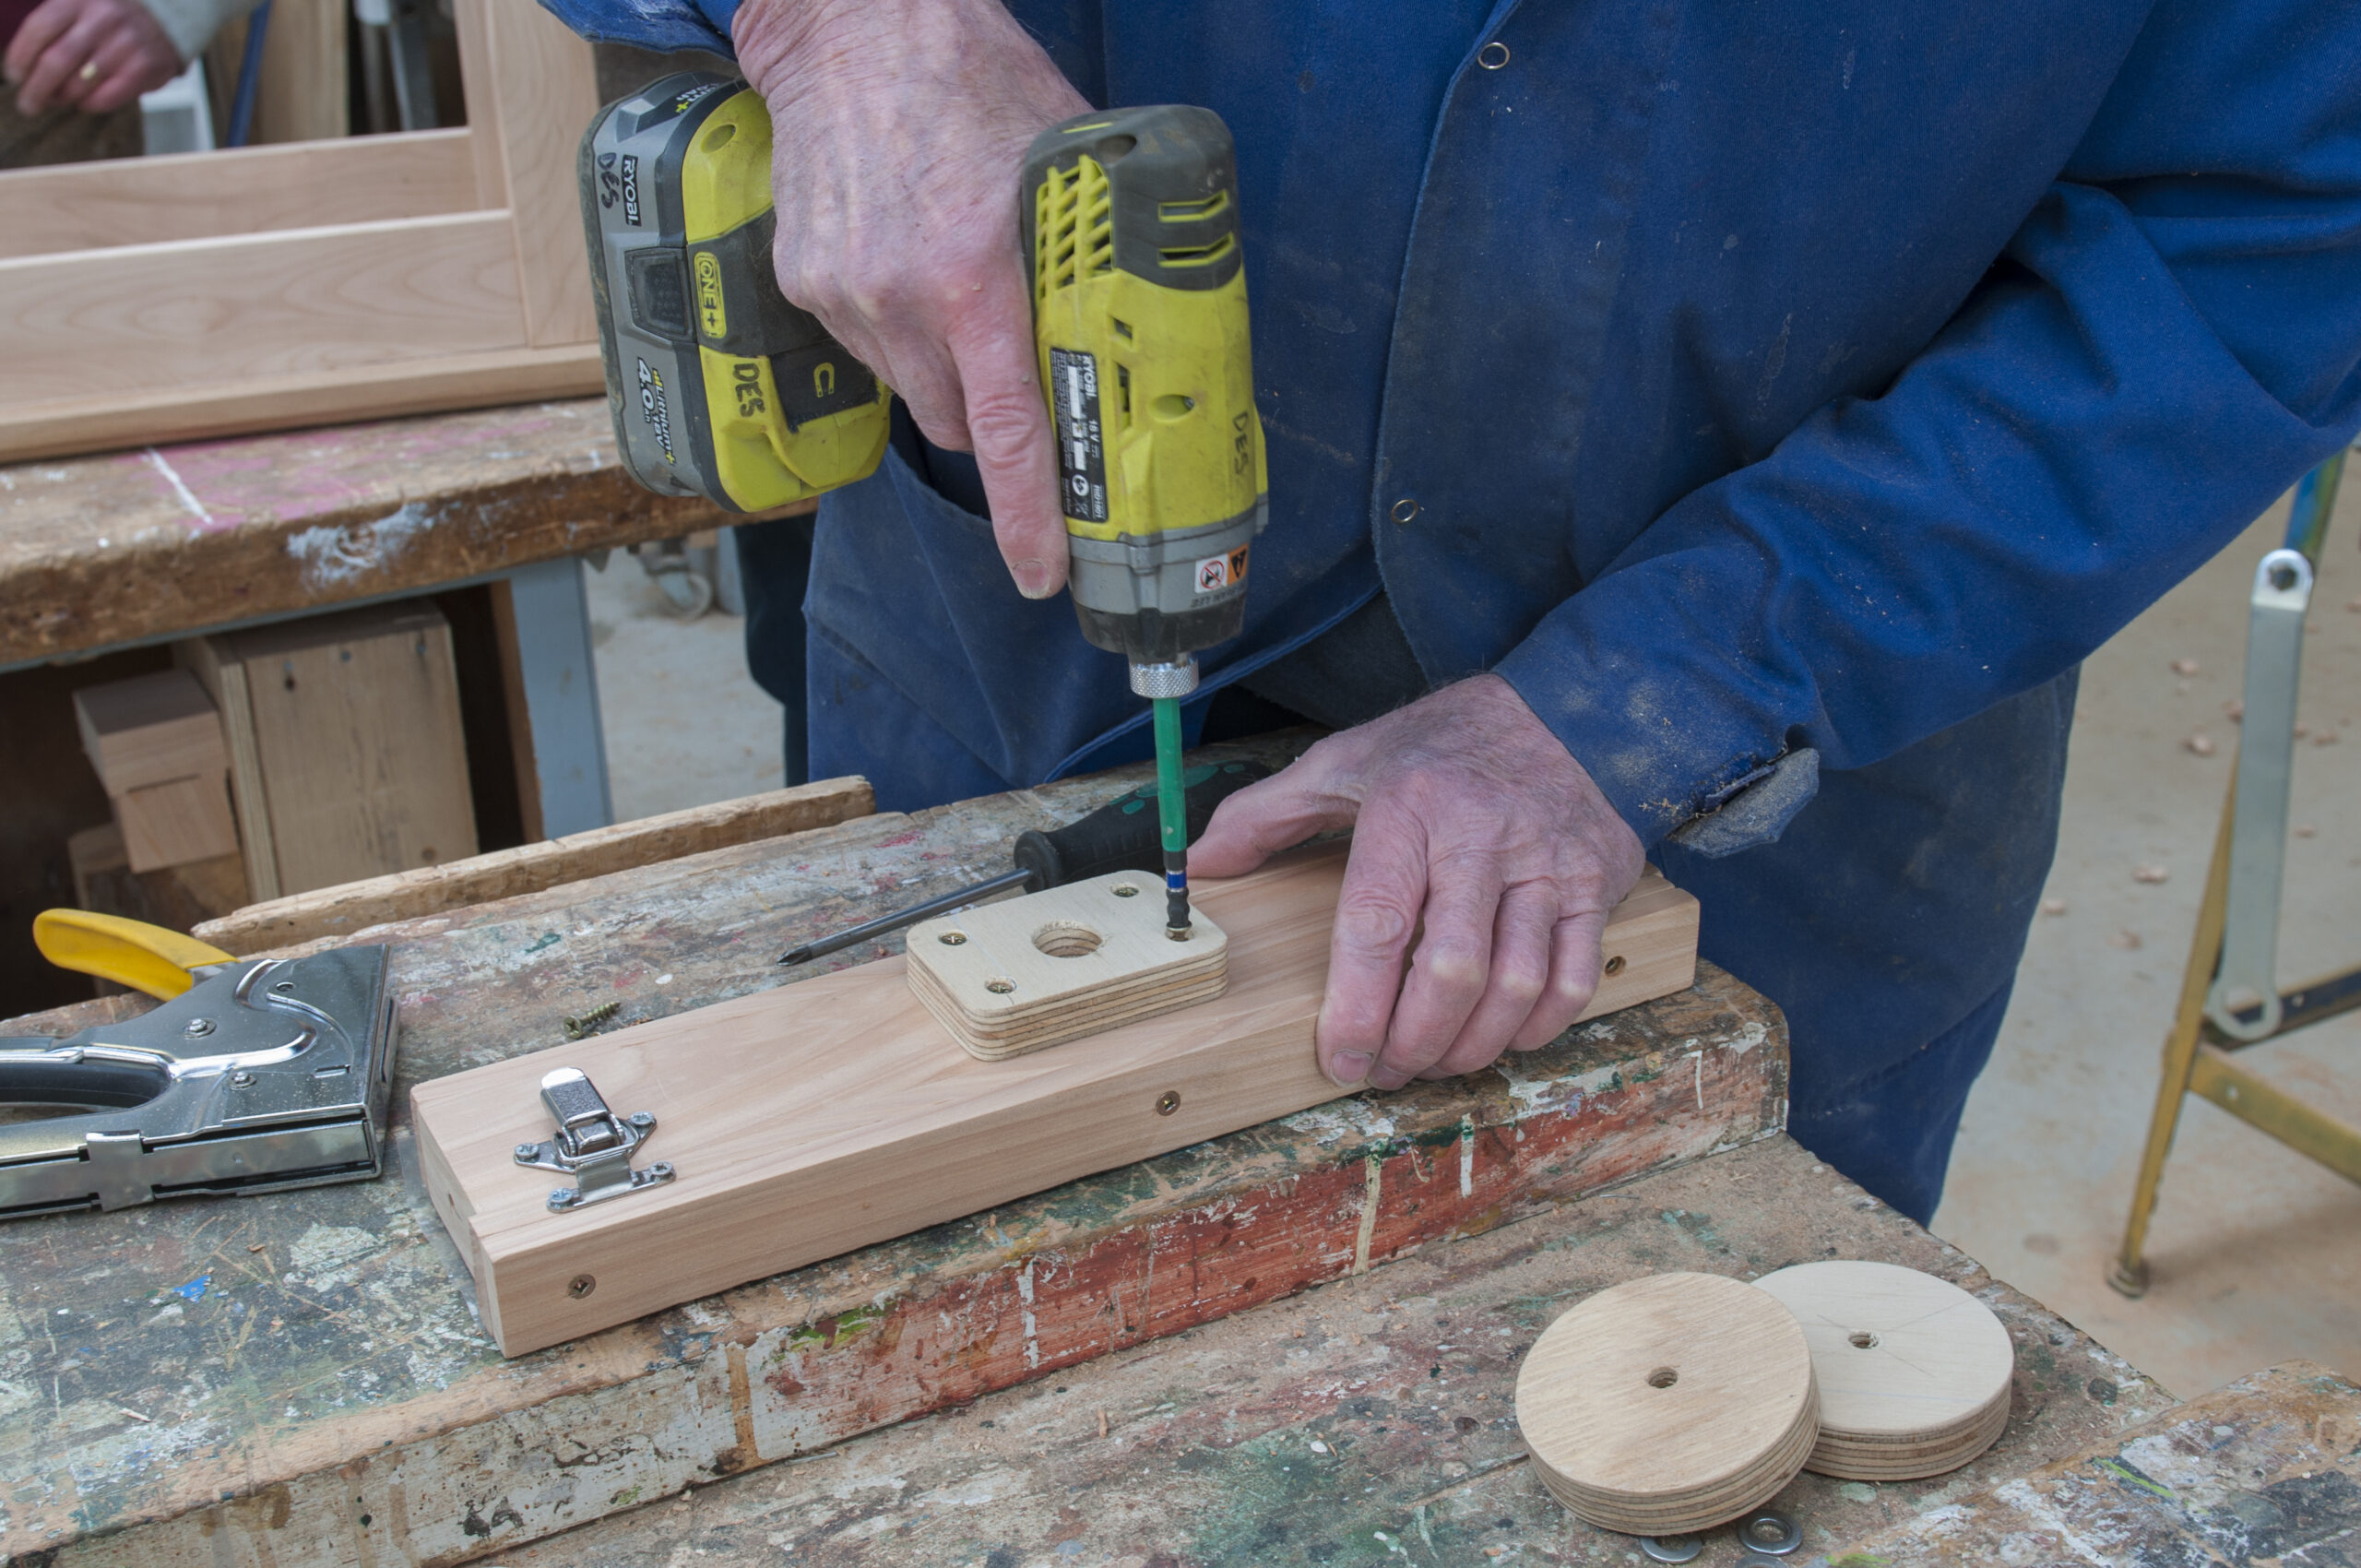
The polythene we used was a scrap left over from a tunnel house cover. It is thicker than ordinary polythene and is very strong. The first step is to sandwich one end of the plastic between two 30x12mm sticks using wood screws.
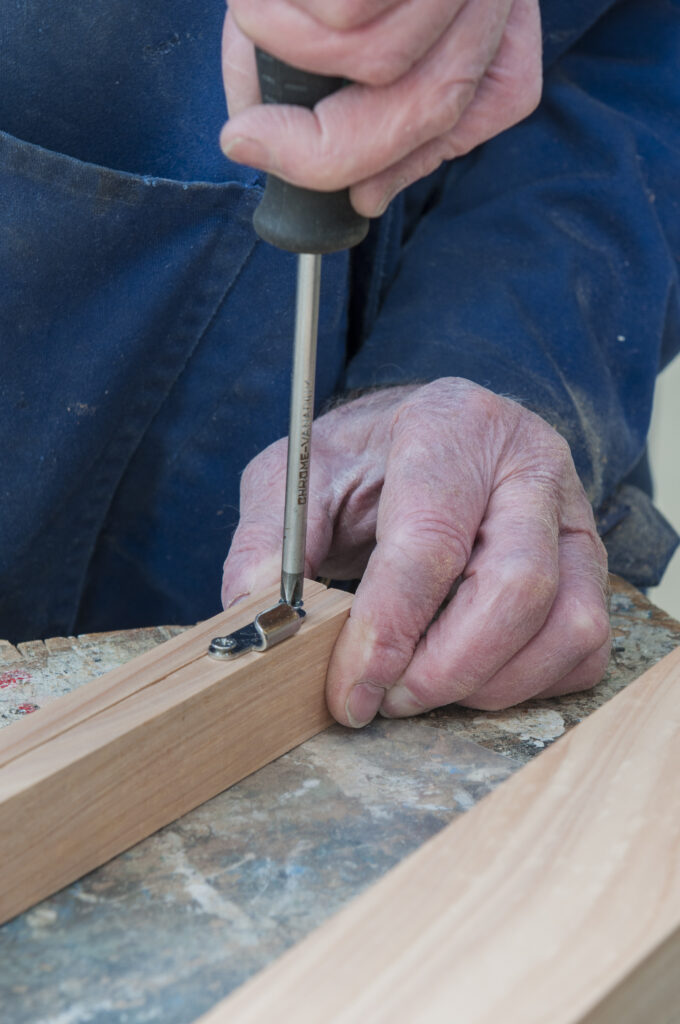
This will be held onto the carrier block by two over-centre catches. The catches can be fitted next.   
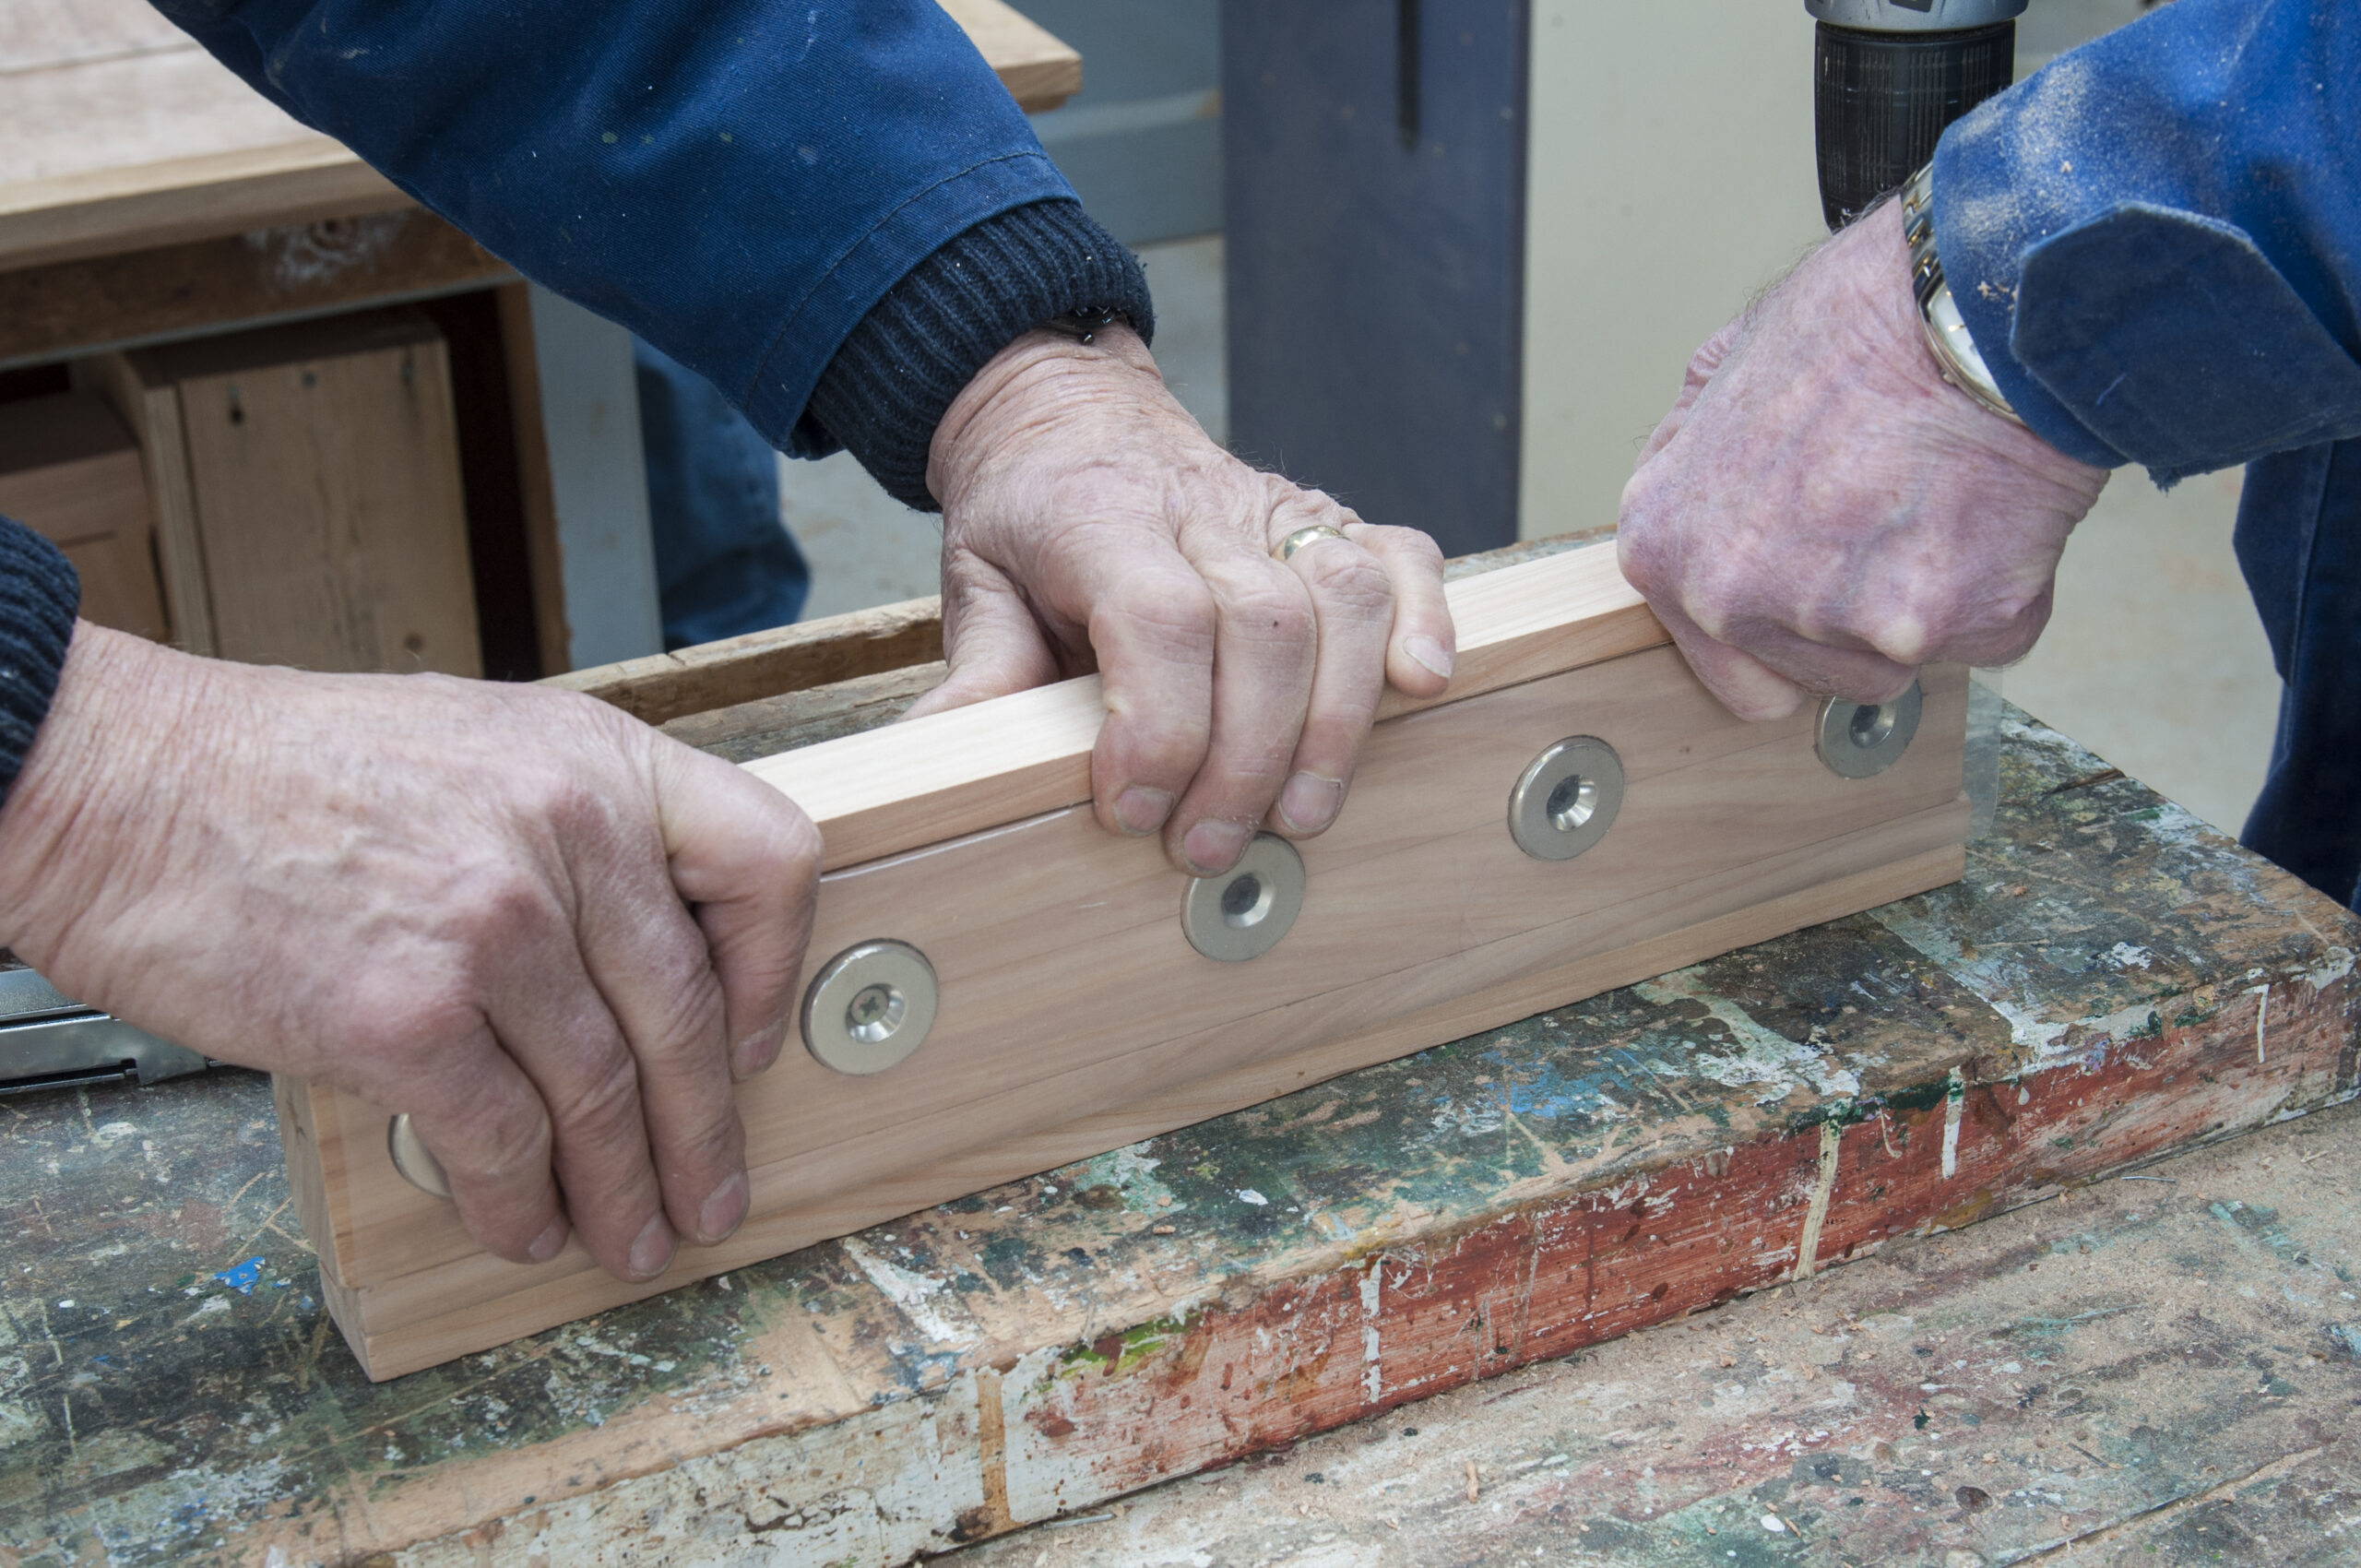
With the catch in place, the plastic can now be pulled tight over the magnets and the loose end secured onto the other side of the carrier block.
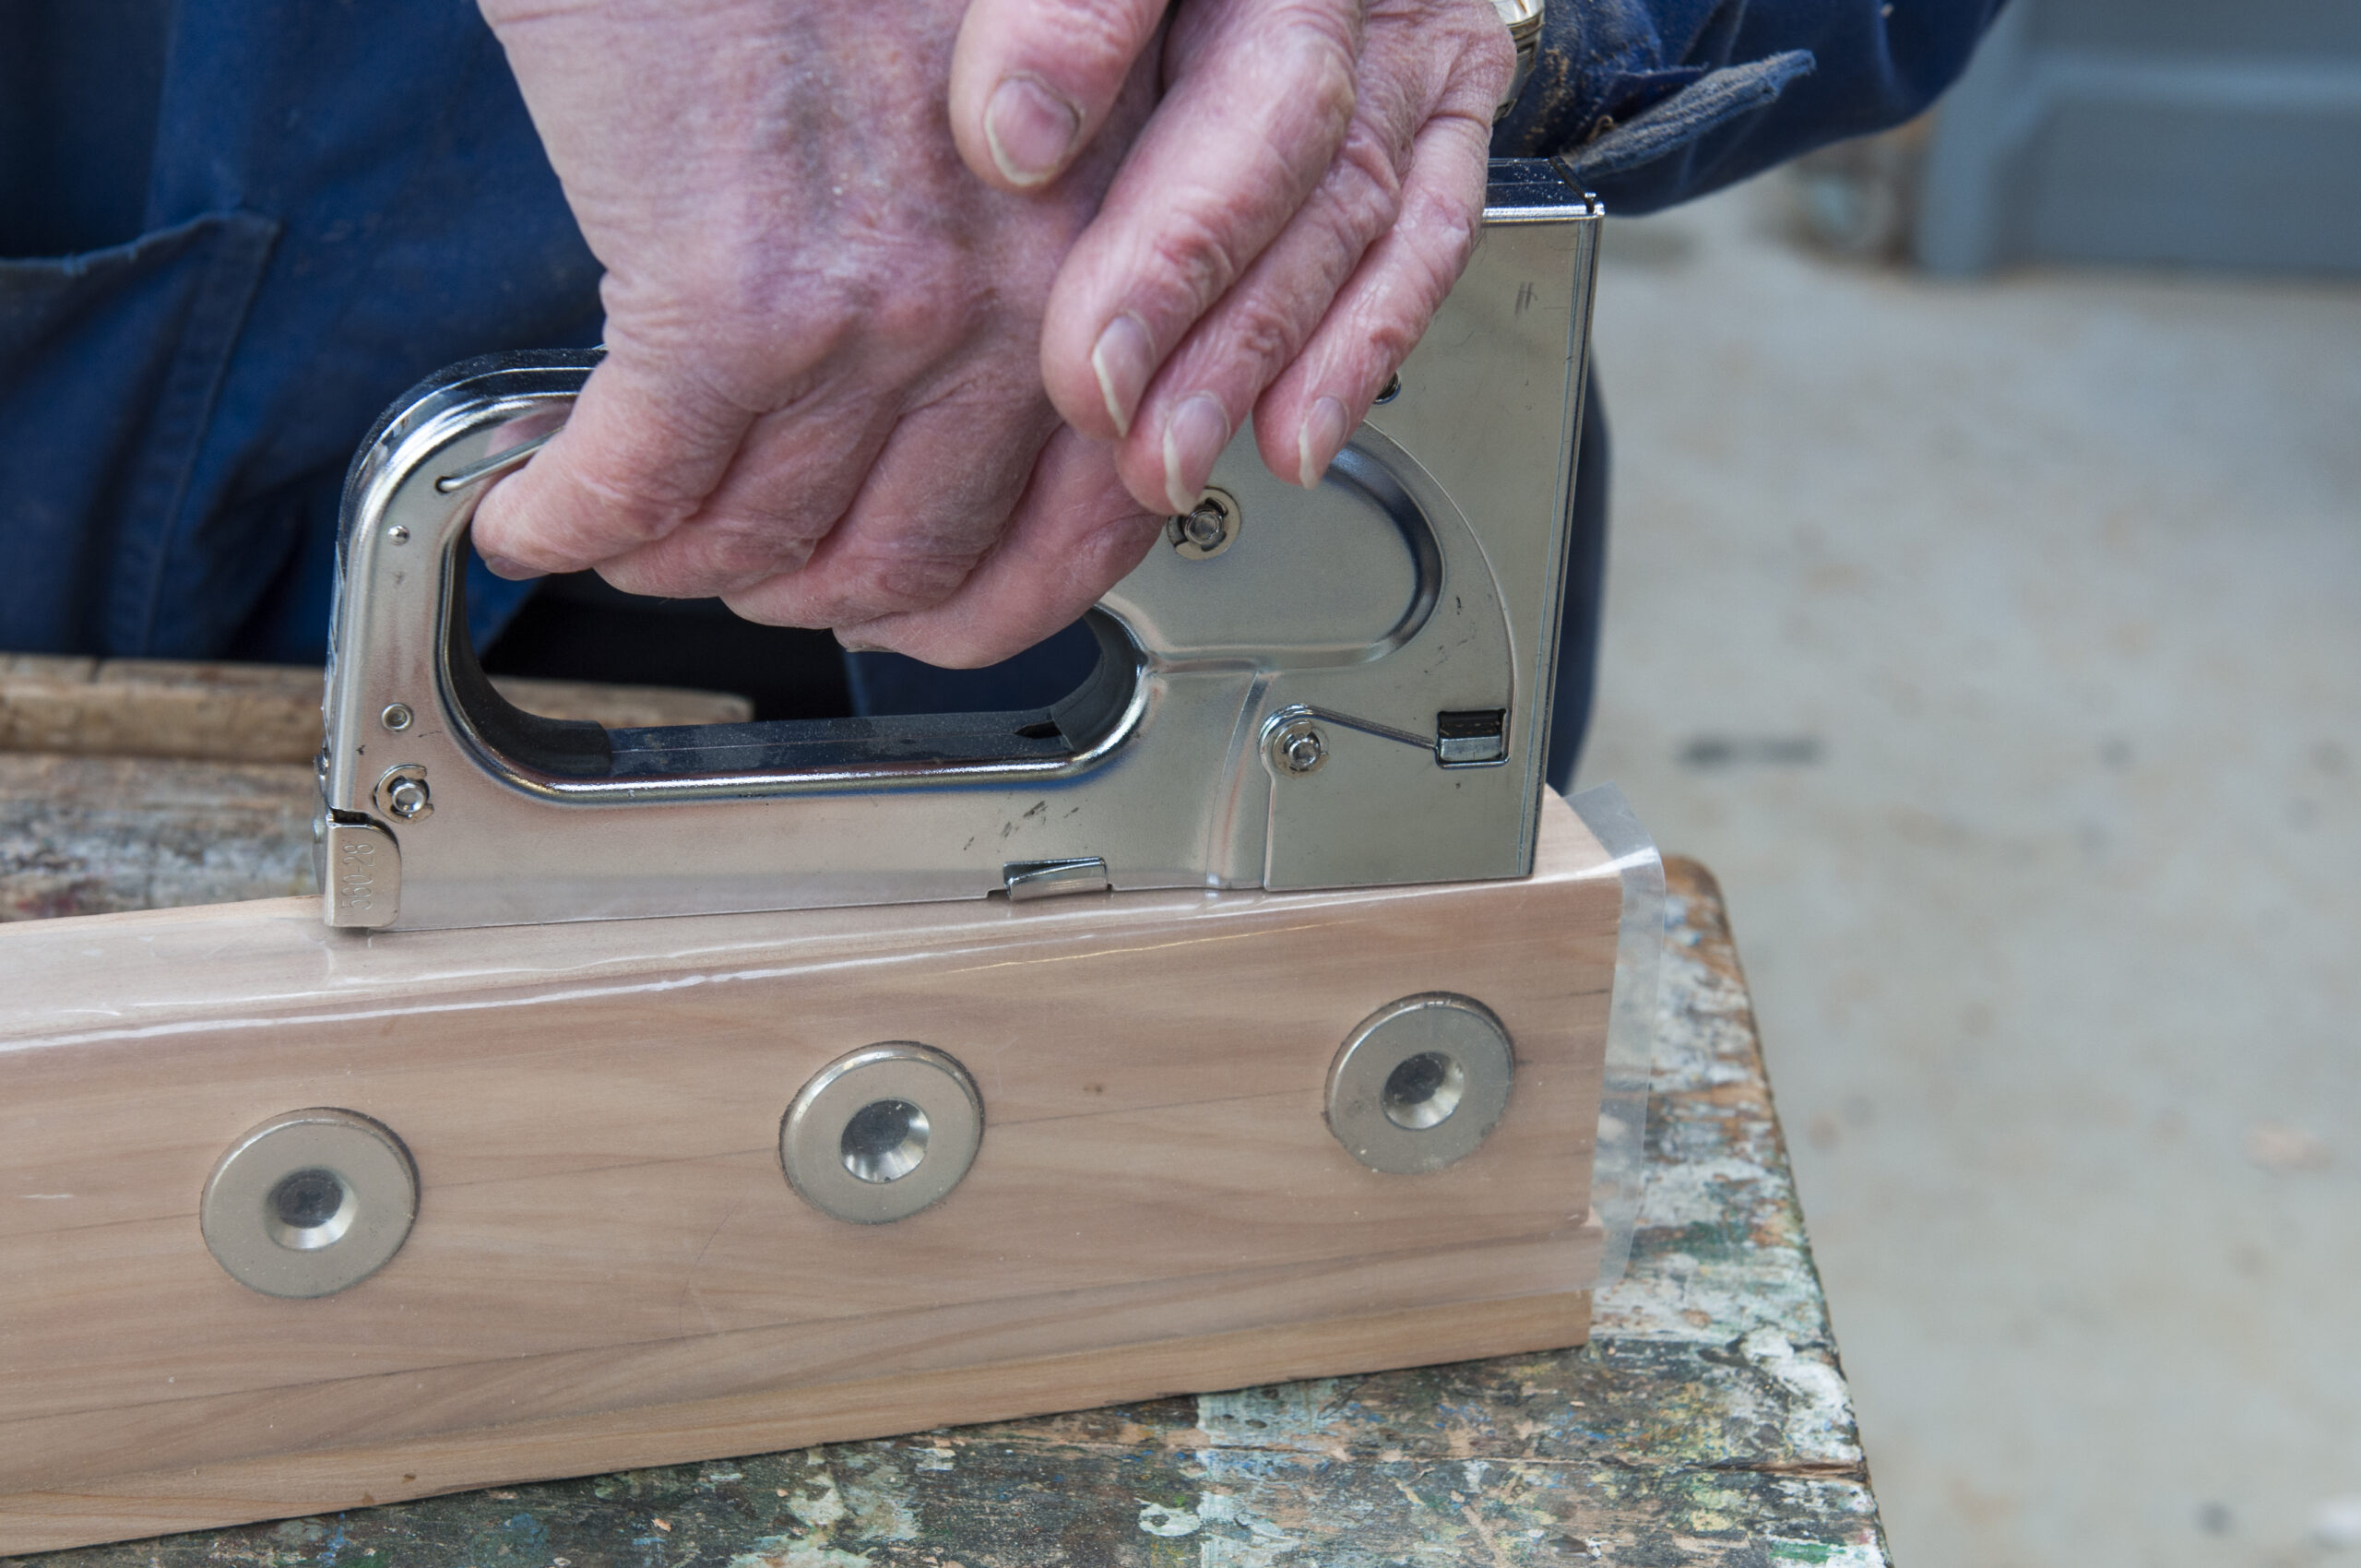
We used three staples to hold it in place while a thin strip of timber was screwed on.
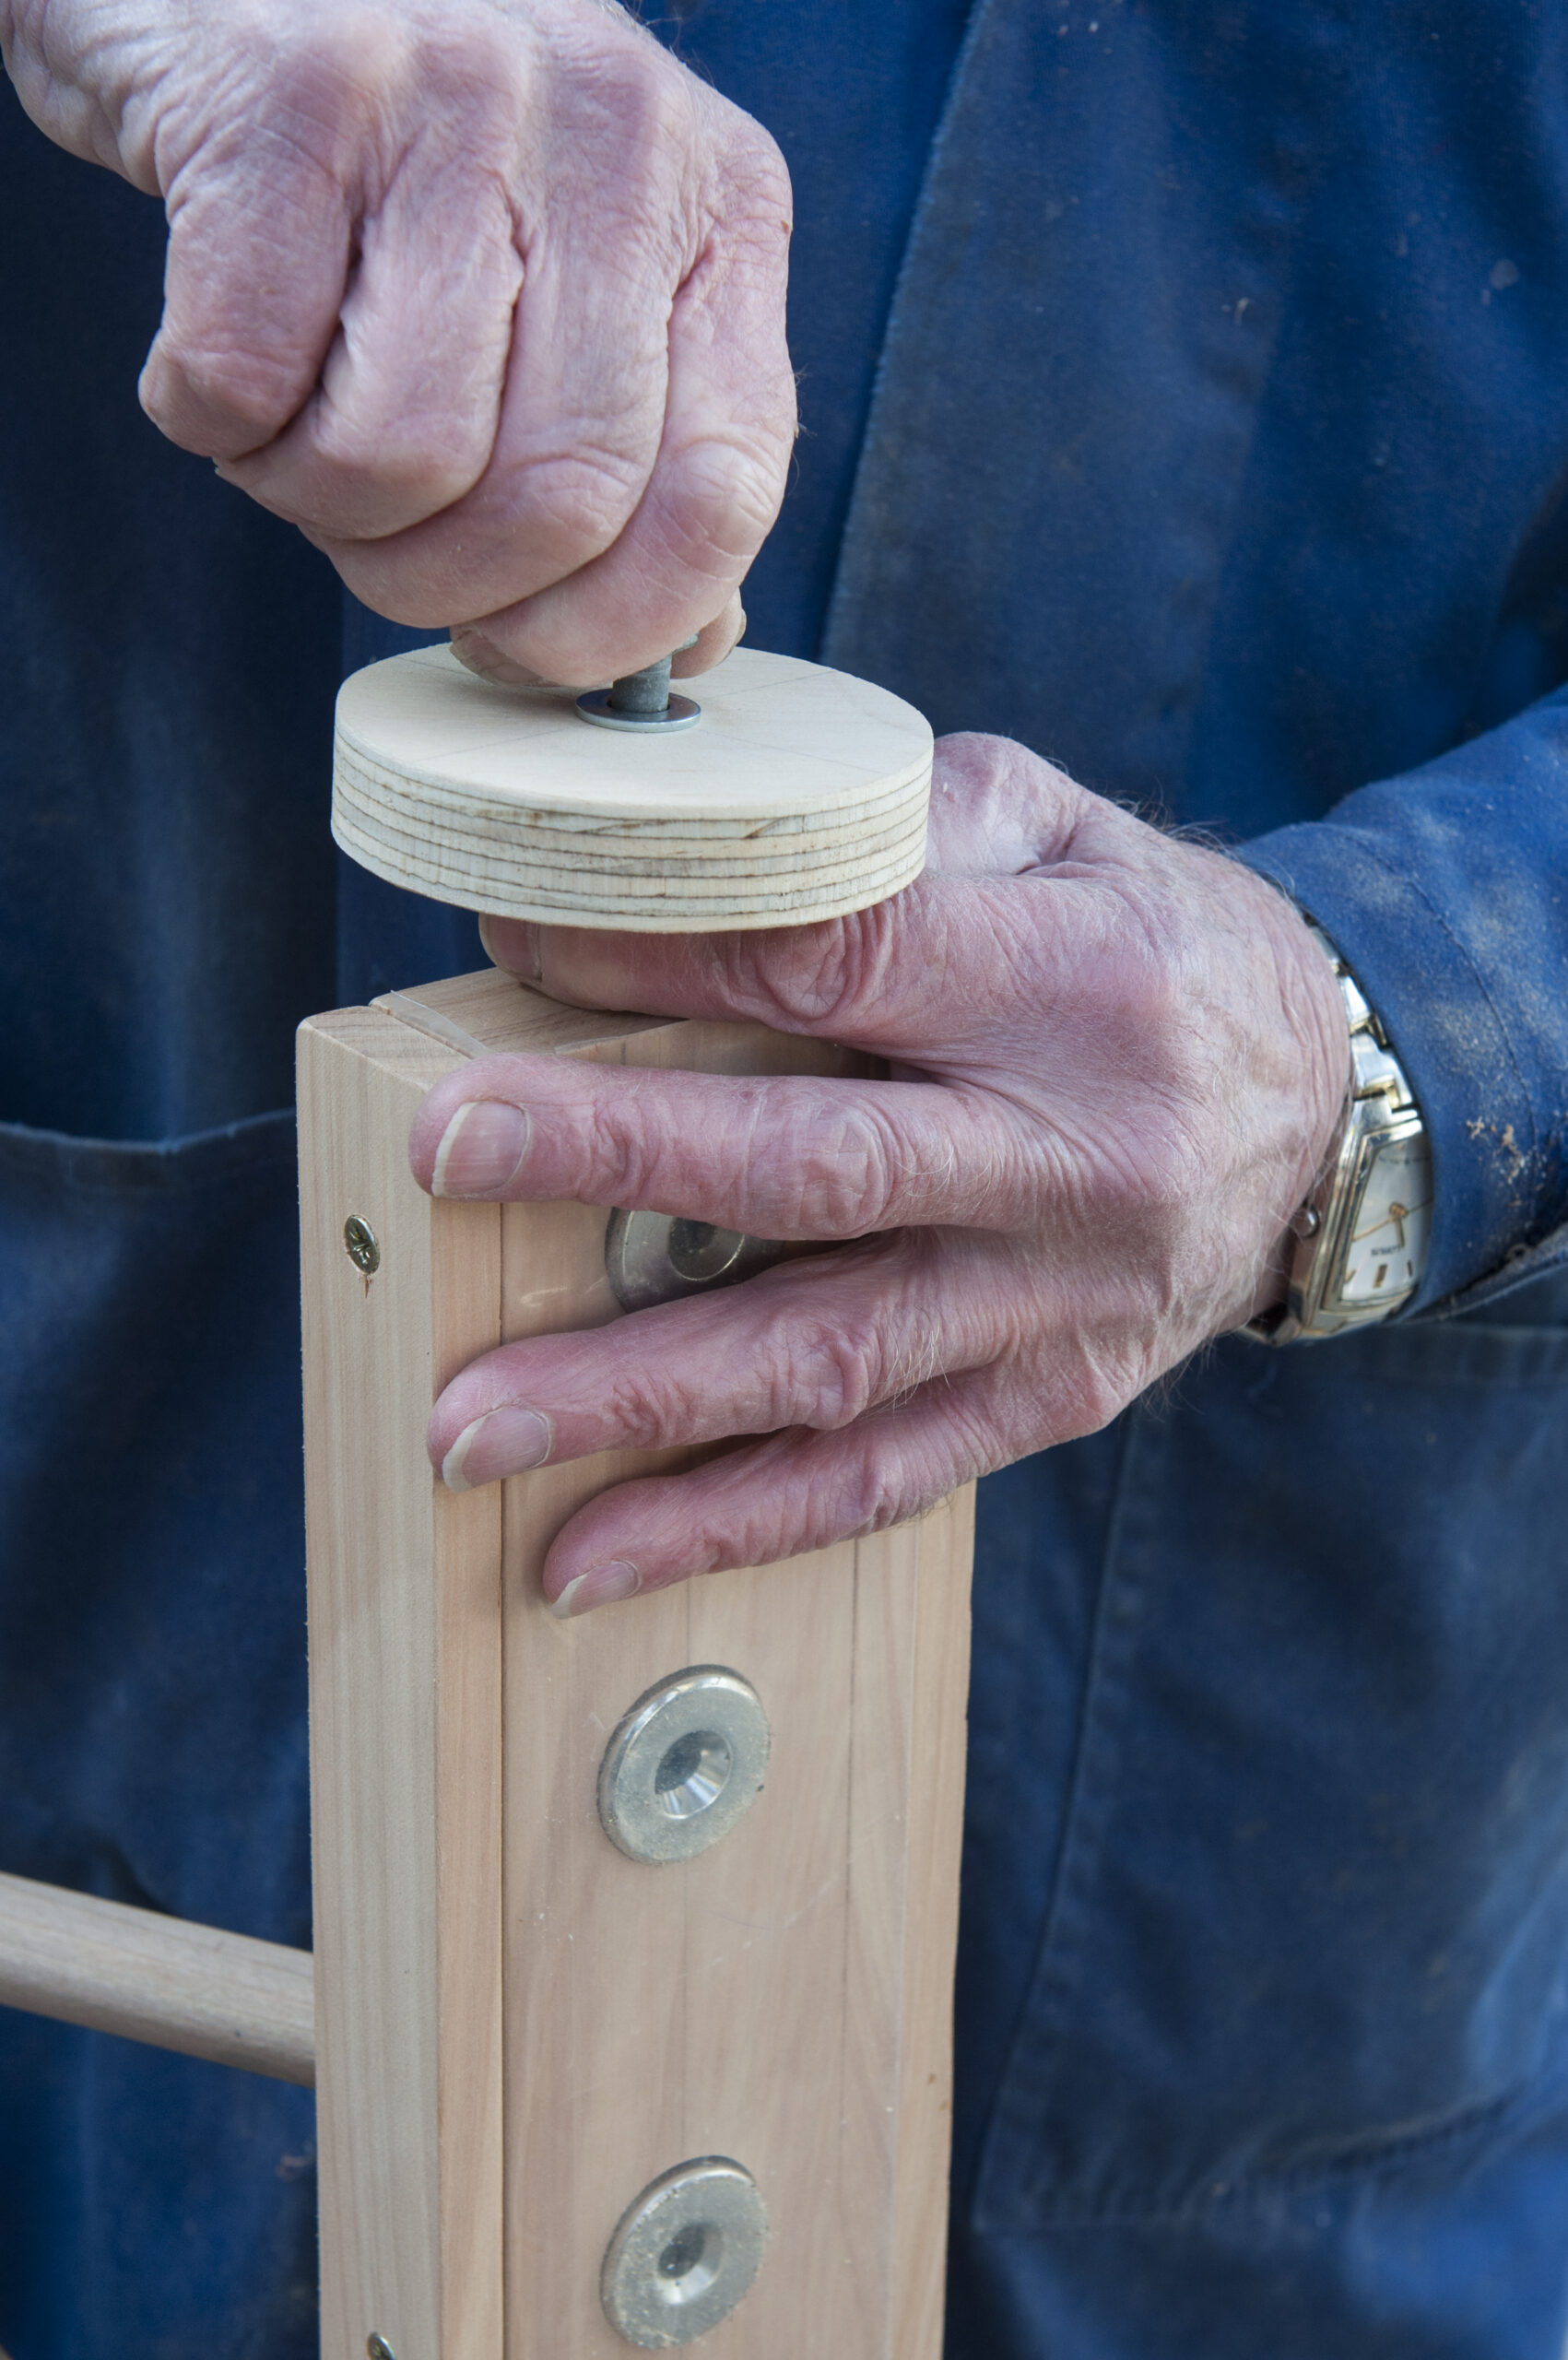
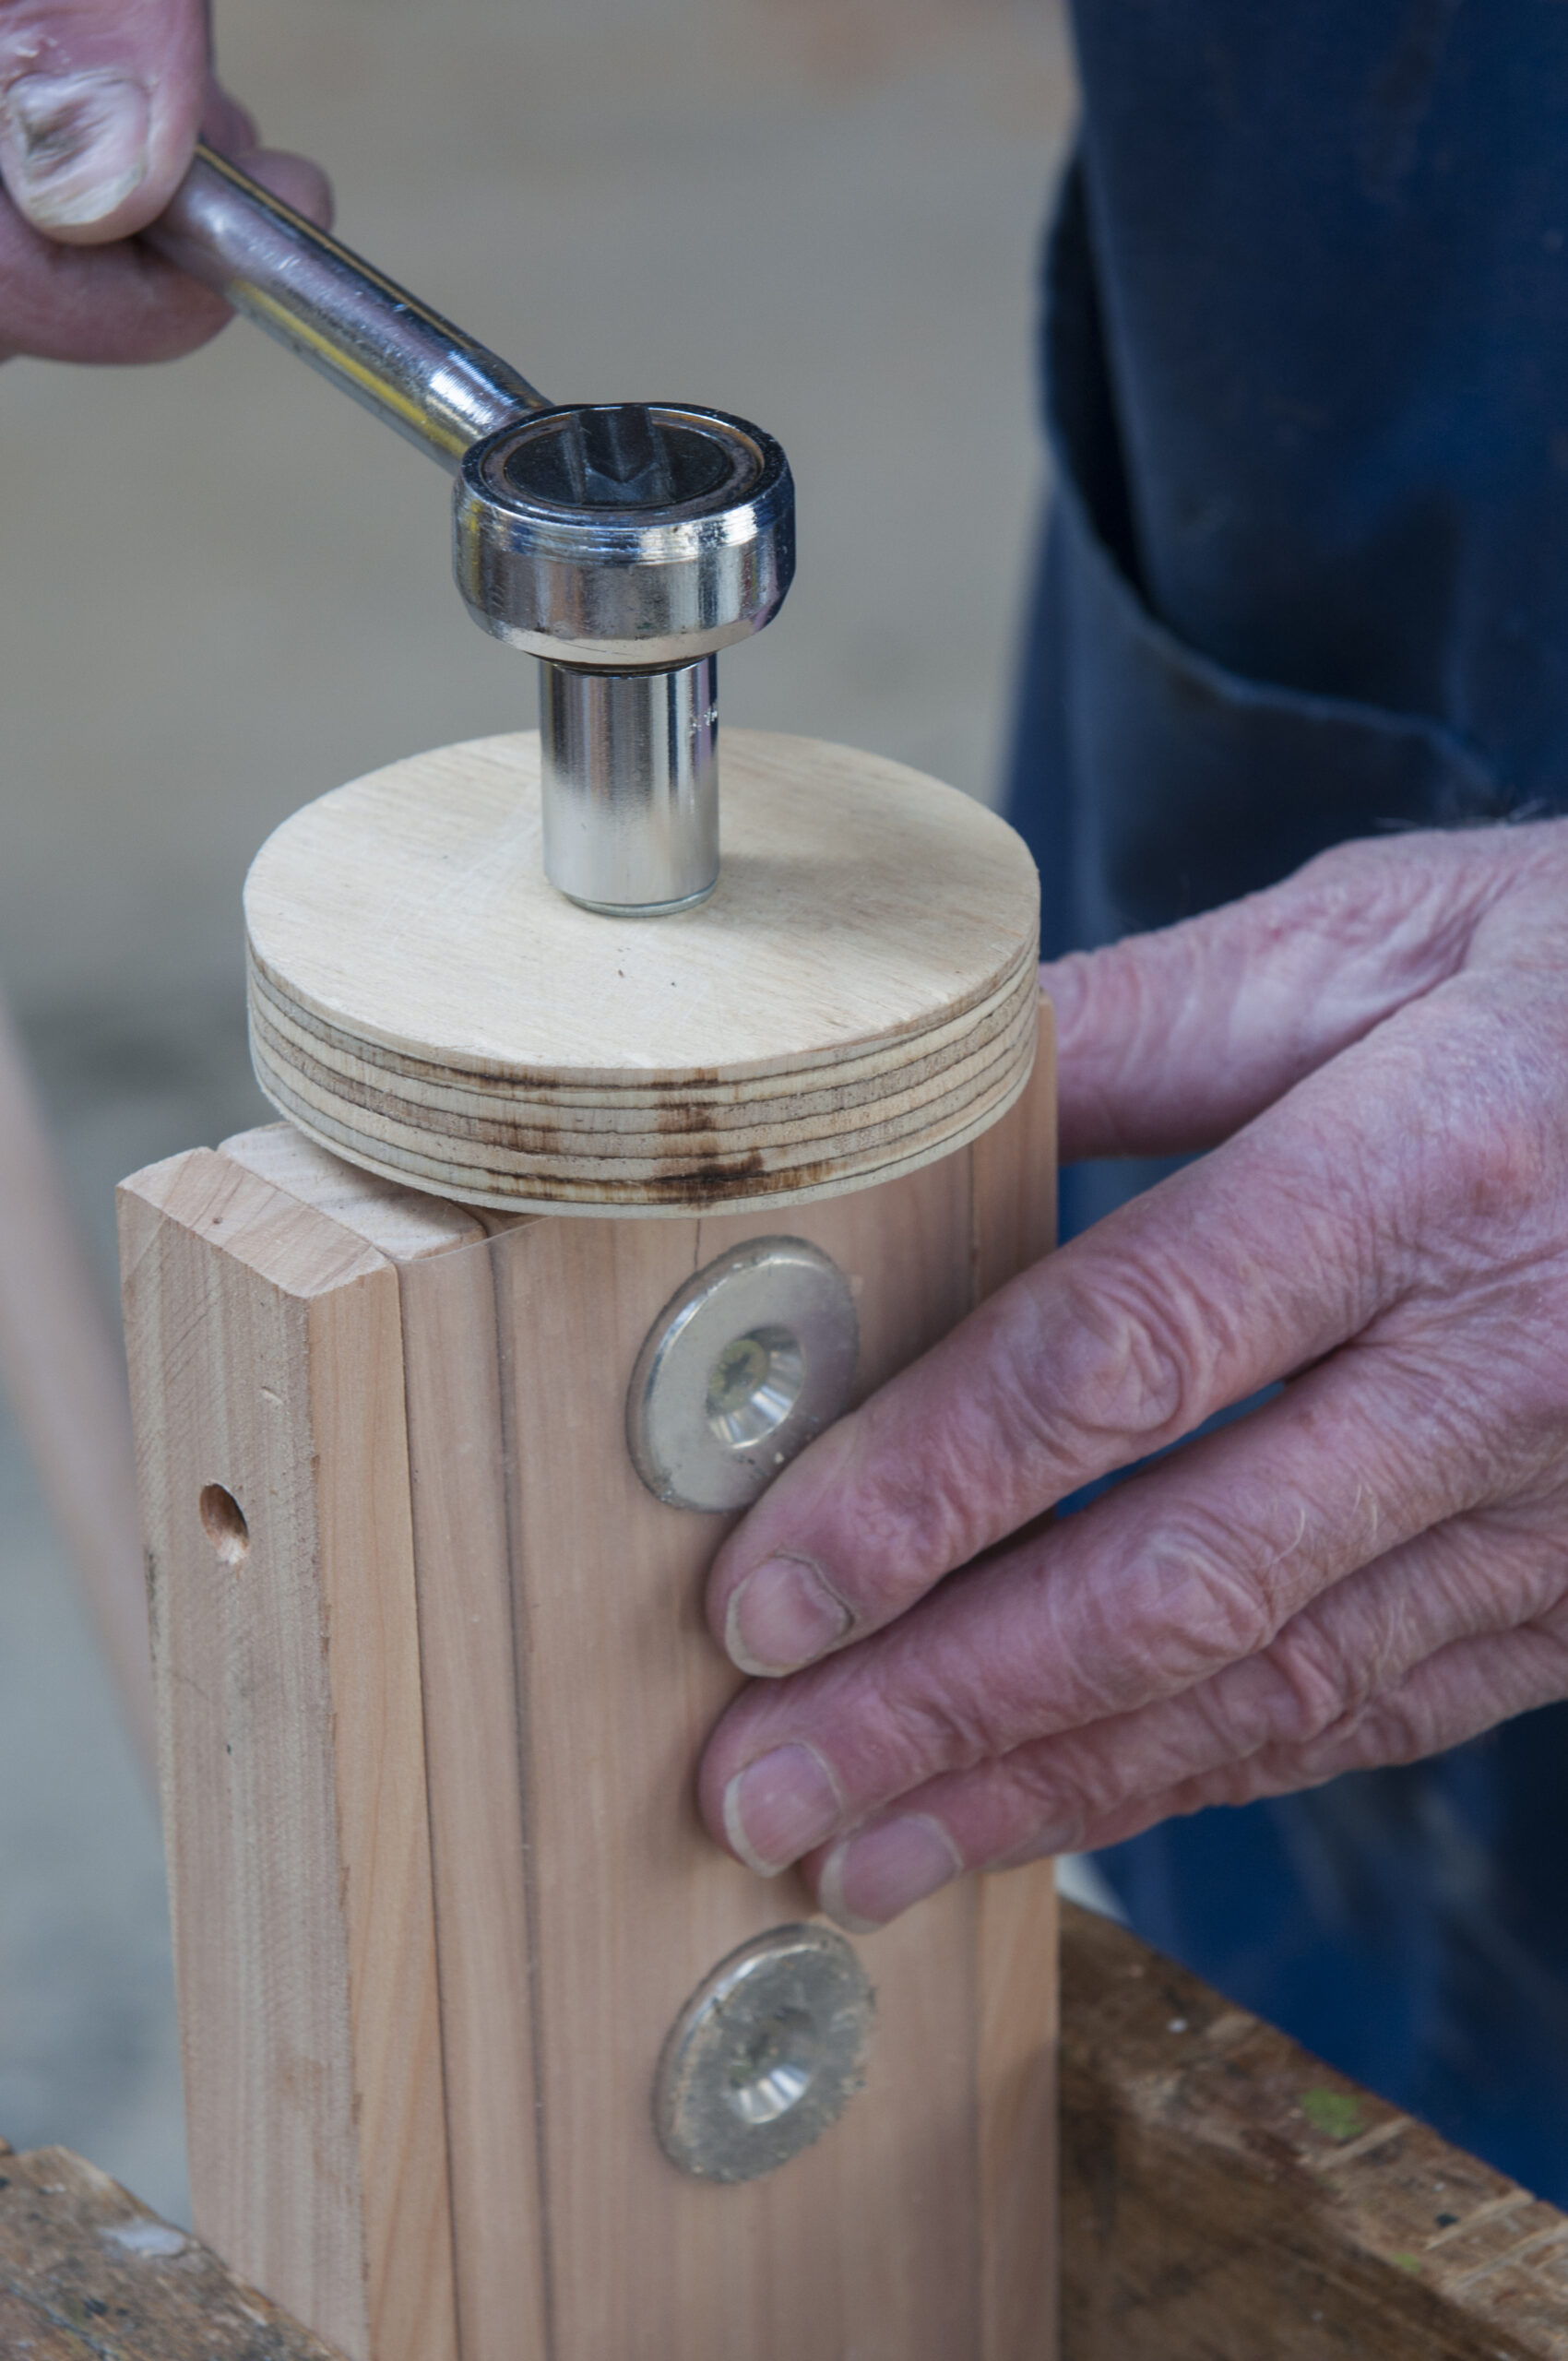
The wheels can now be screwed on using the 8mm carriage bolt screws. A flat washer is fitted on each side of the wheels.
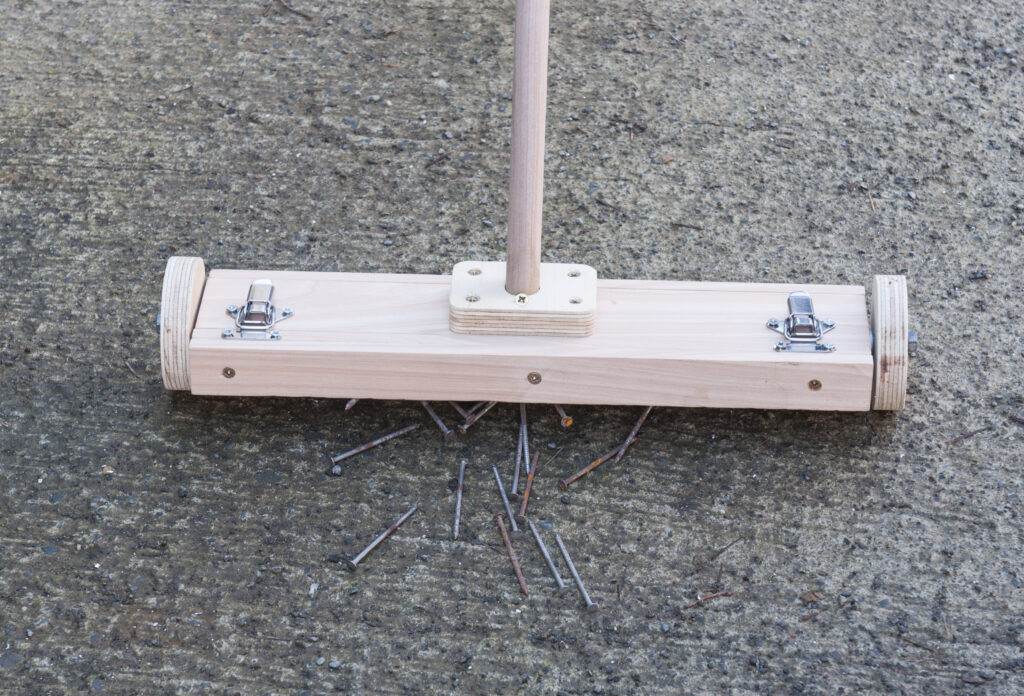
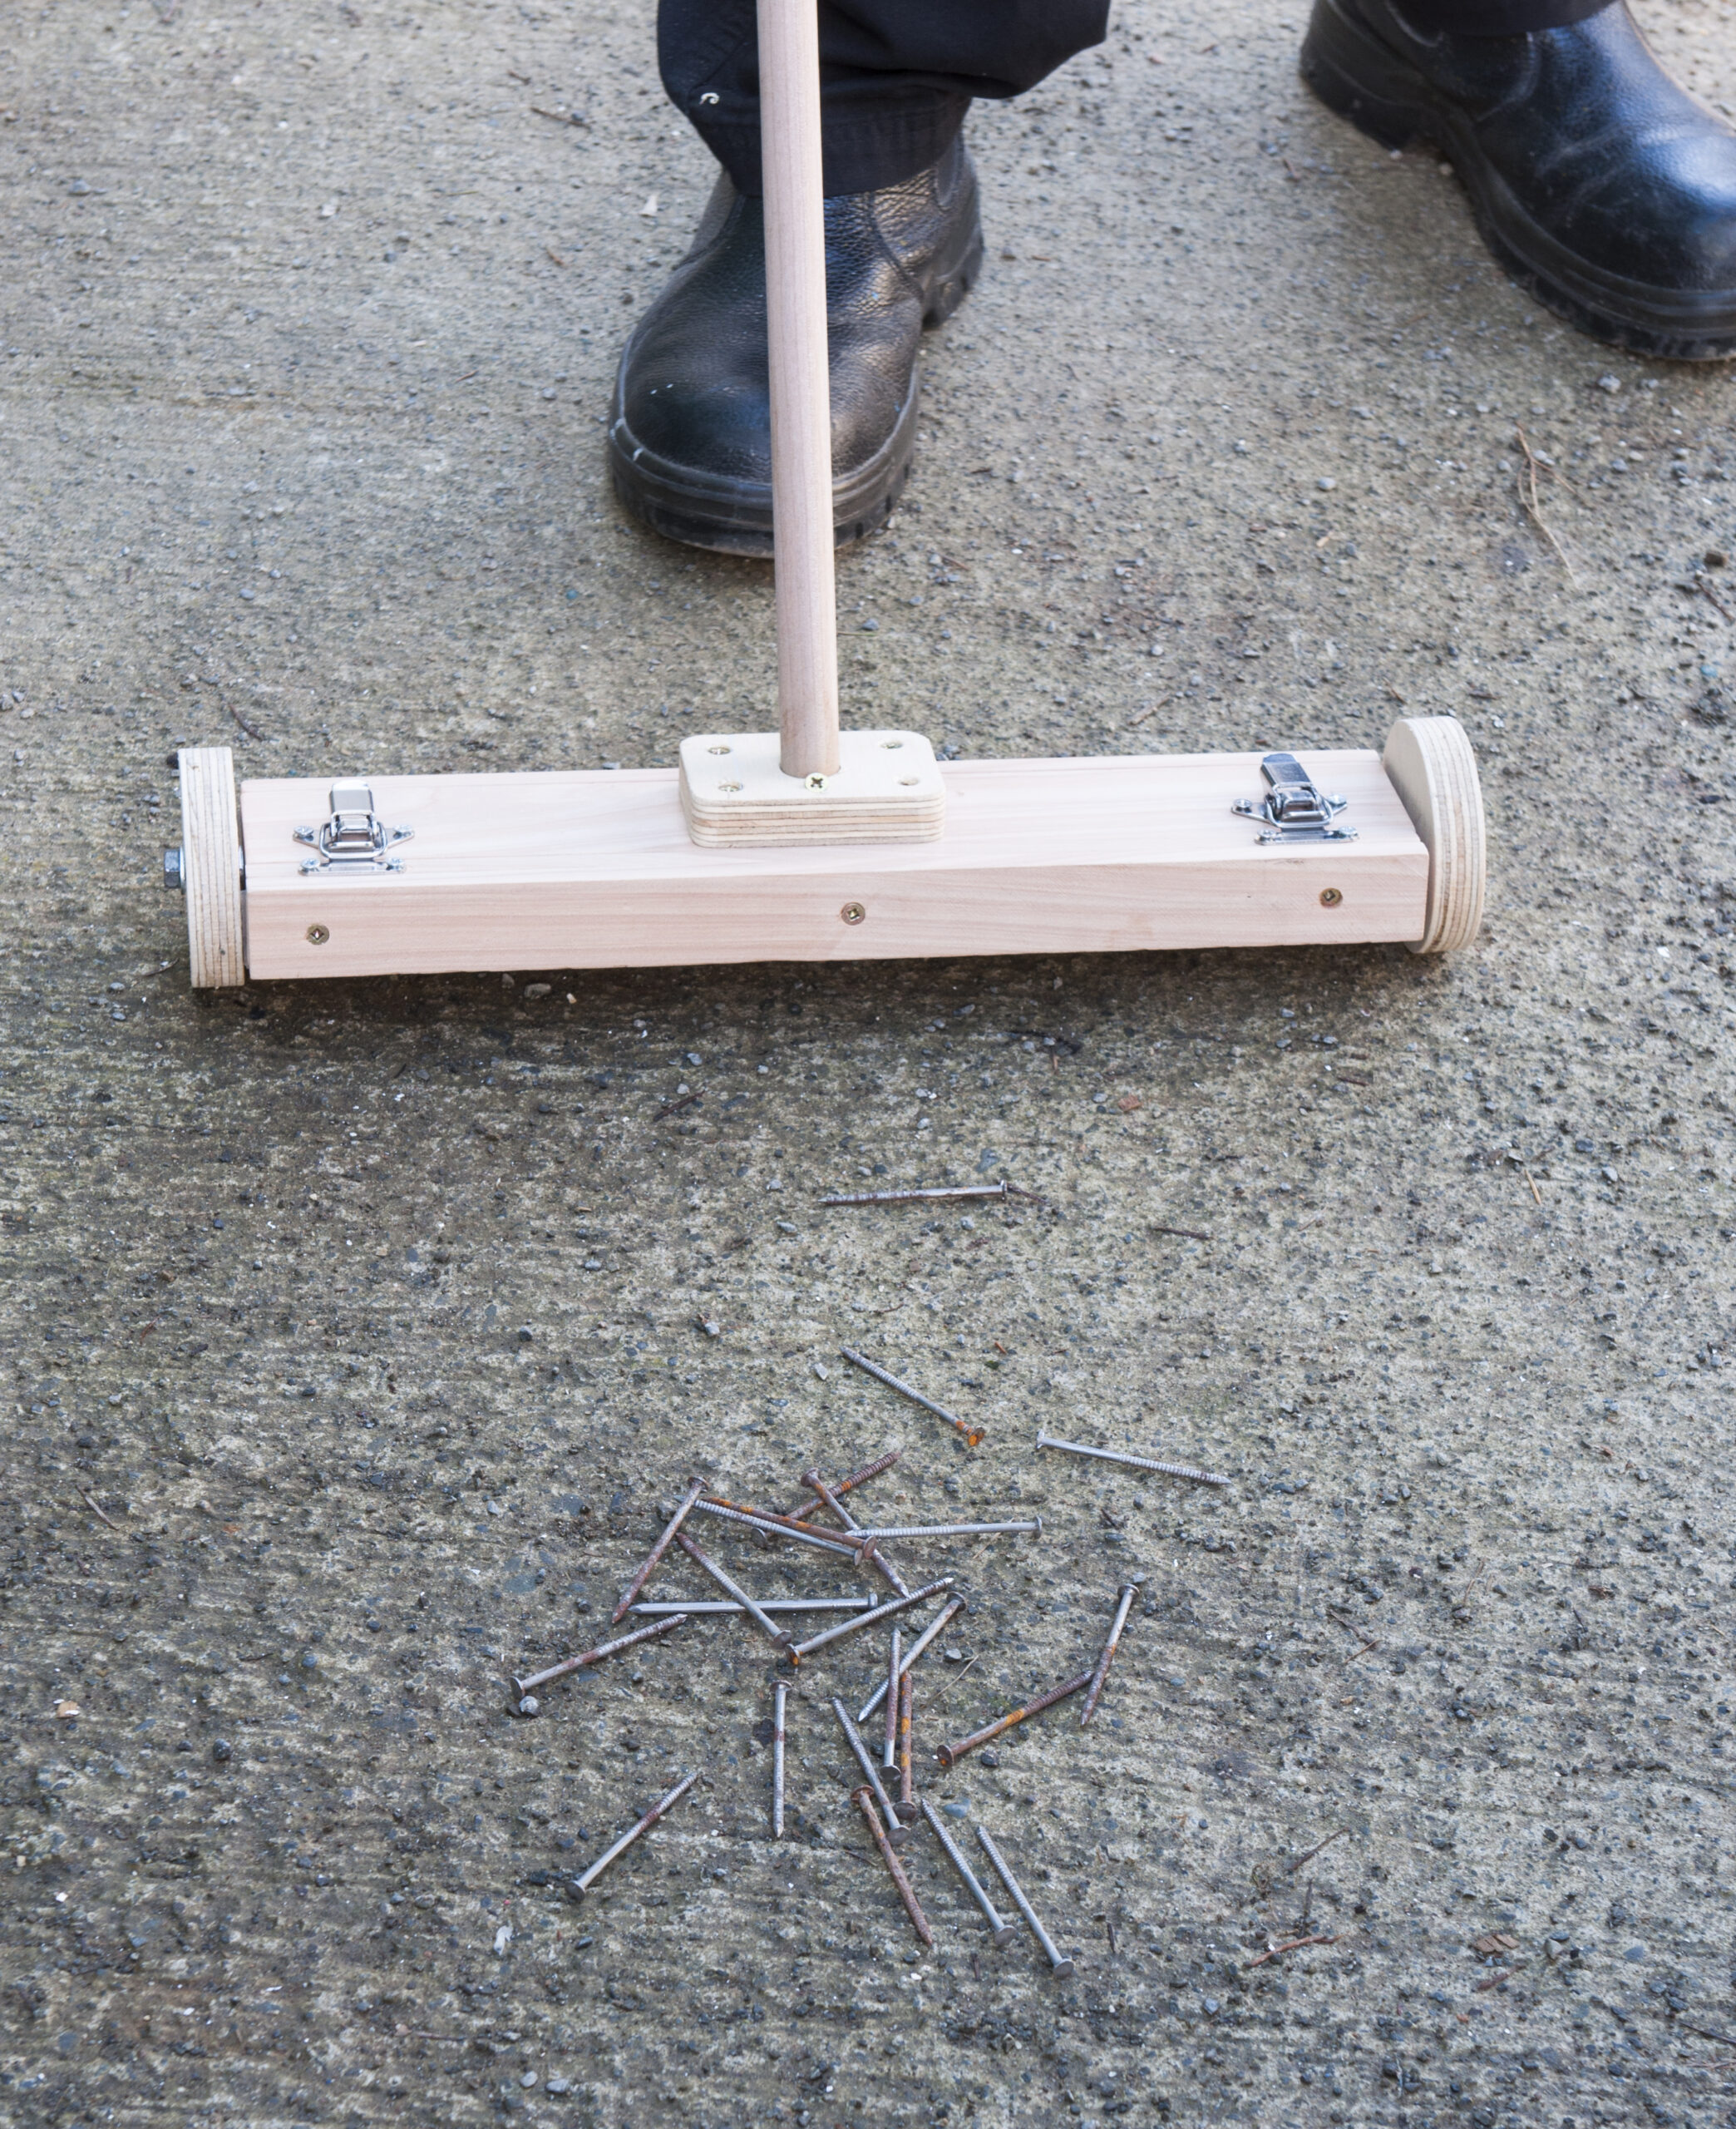
Nicknamed “The Magnetron”, the little sweeper is now ready for use after fitting the handle. It is amazing how much metal debris the little sweeper picks up. It is very effective for use on concrete or gravel and will pick up any ferrous metal from nails to the smallest staple. Unlatching the catch and pulling the plastic away from the magnets will drop all the debris into the bin.
This sweeper is well worth the $30 of magnets used in its construction – if it prevents one puncture, it will have paid for itself.

Don Reeves
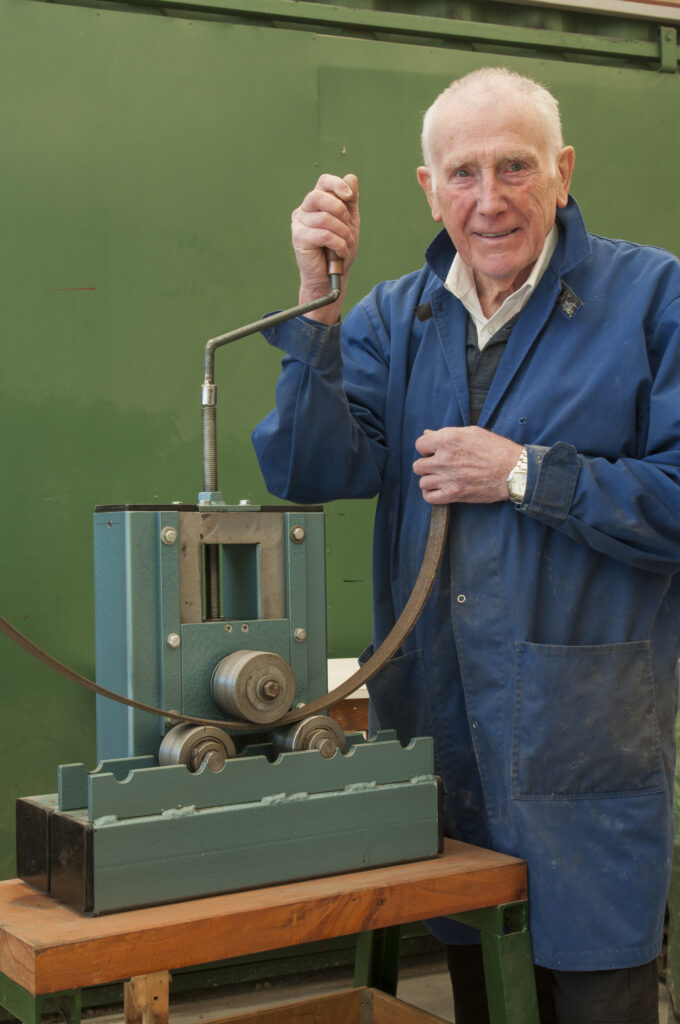
Don is one of the founding members of the Halswell shed. He emigrated from England in 1972 and has spent 55 years as a precision tool maker. His skills as an engineer have been put to good use in the shed, where he has built a variety of tools for shed members to use. The most recent is a metal ring roller. This is capable of bending rounds, flats, and square section tubing and is a joy to use. (Photo 0043)
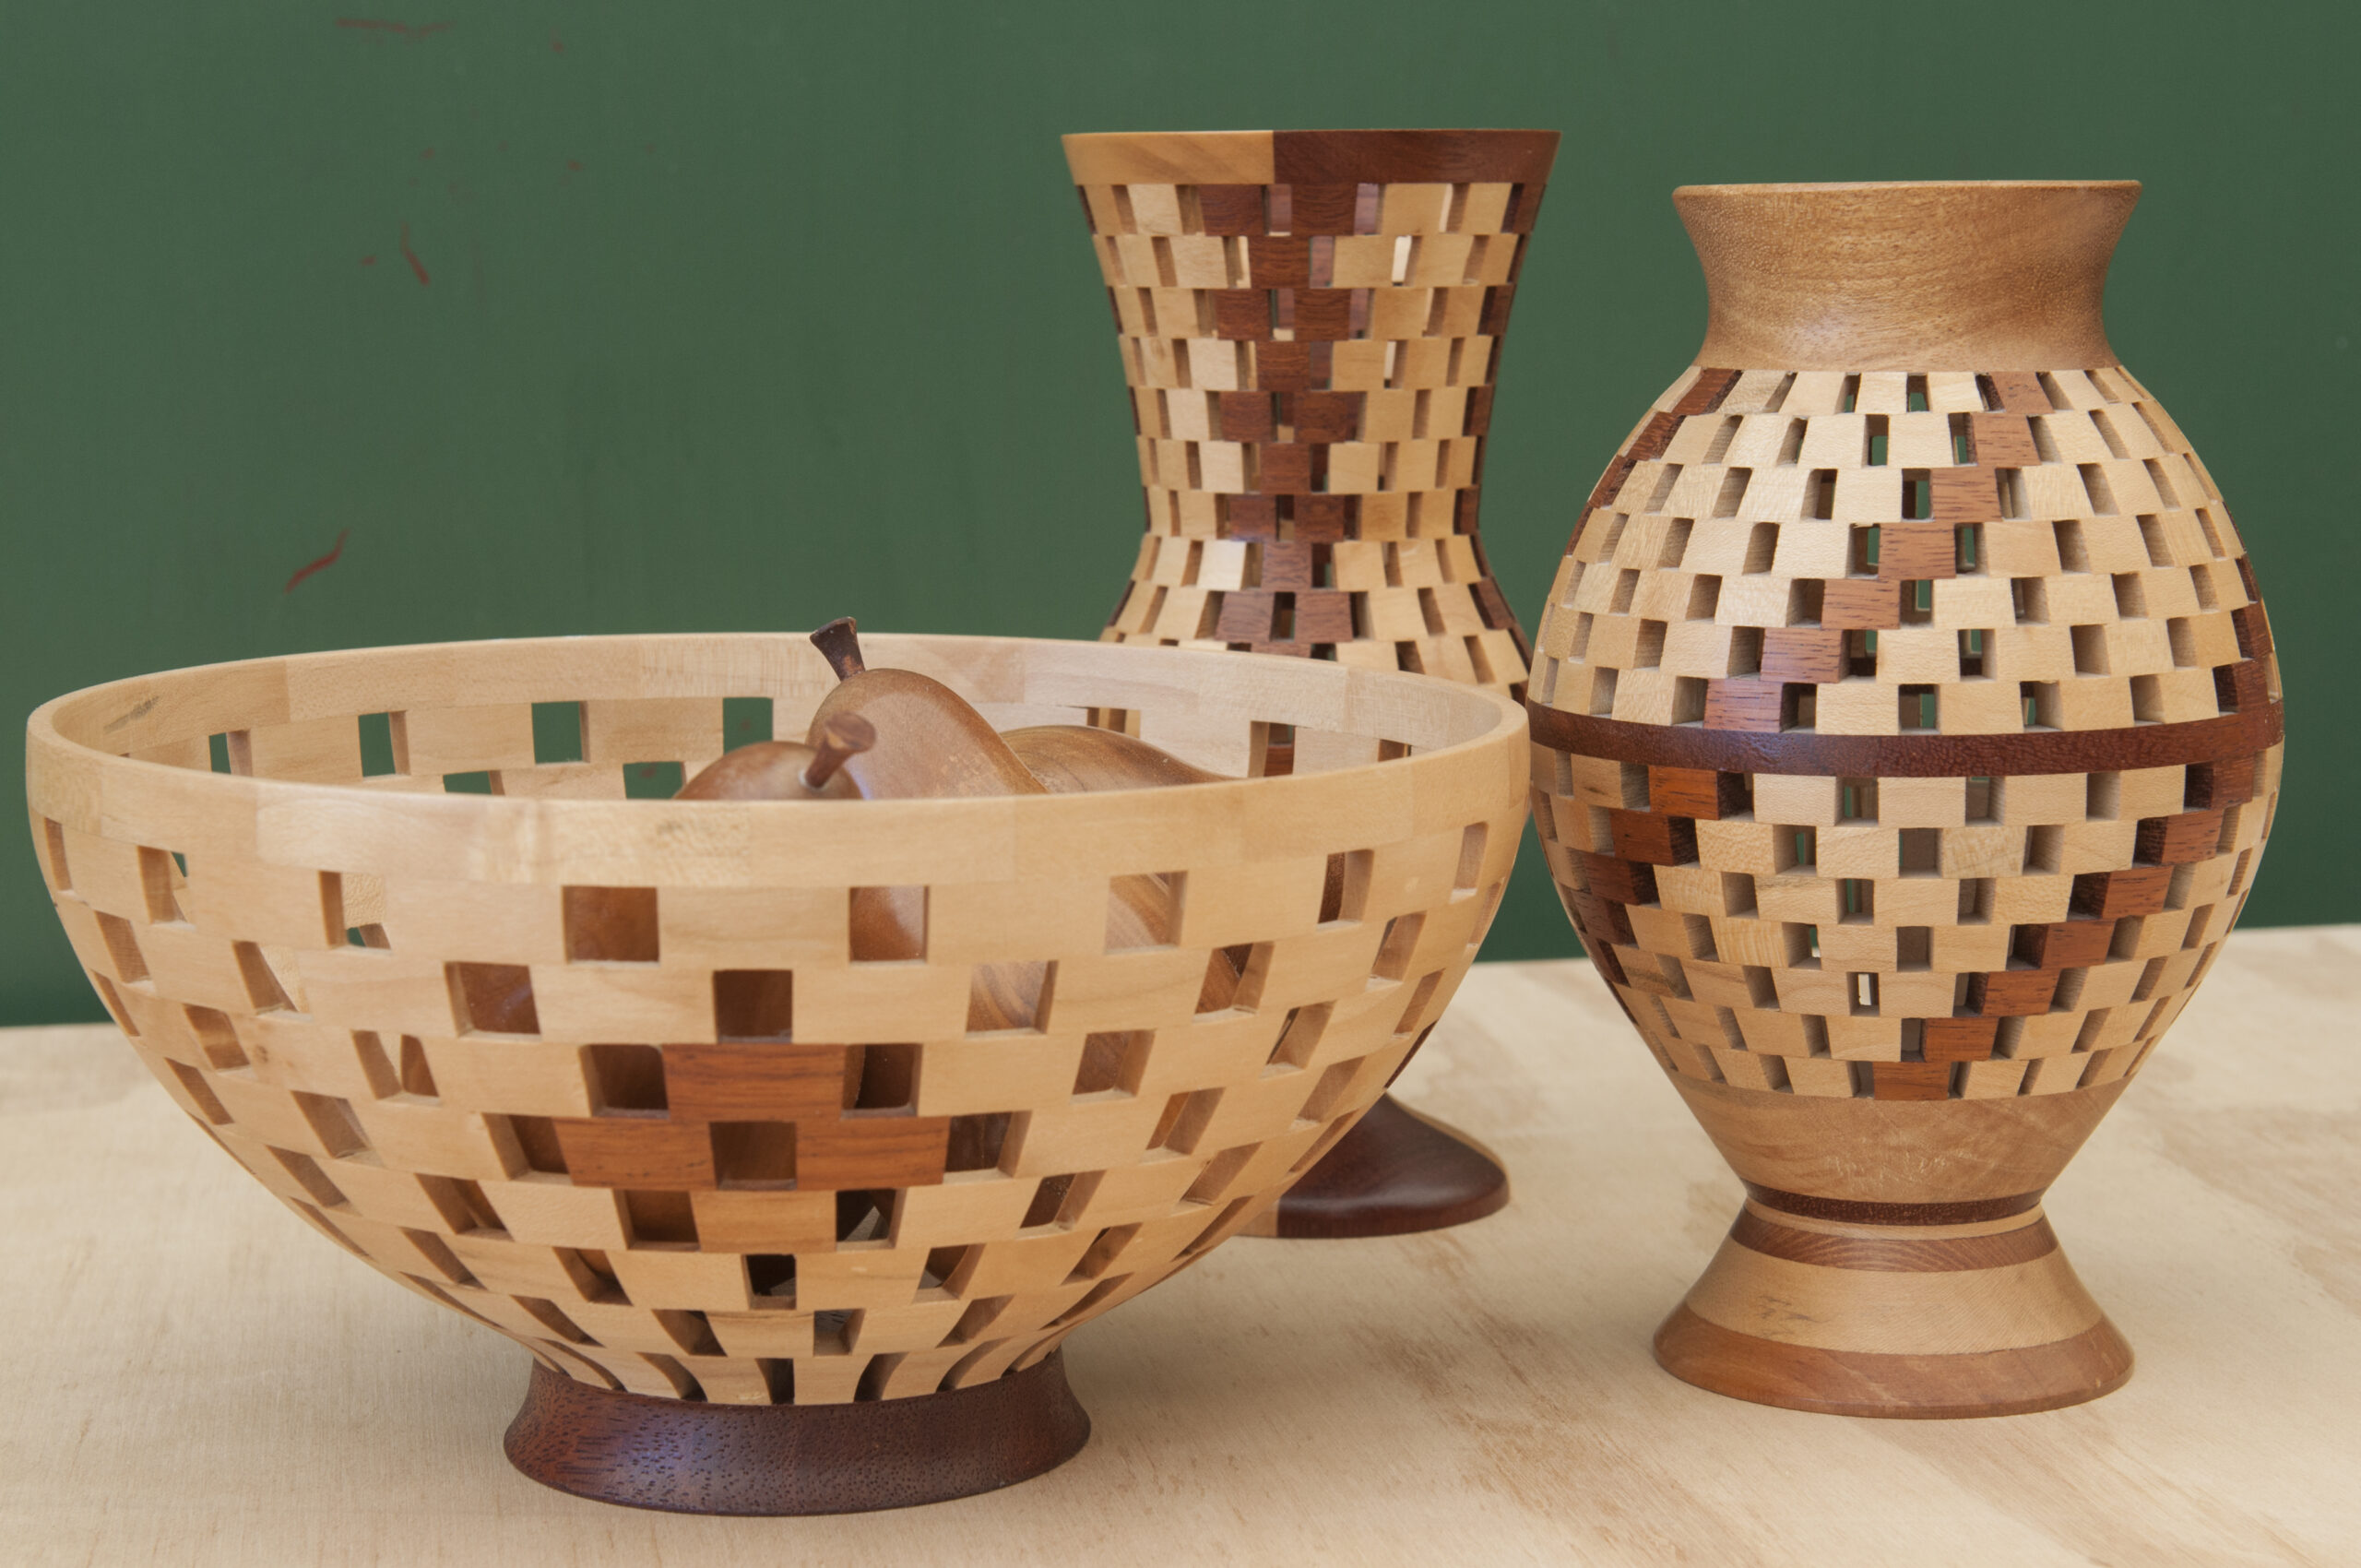
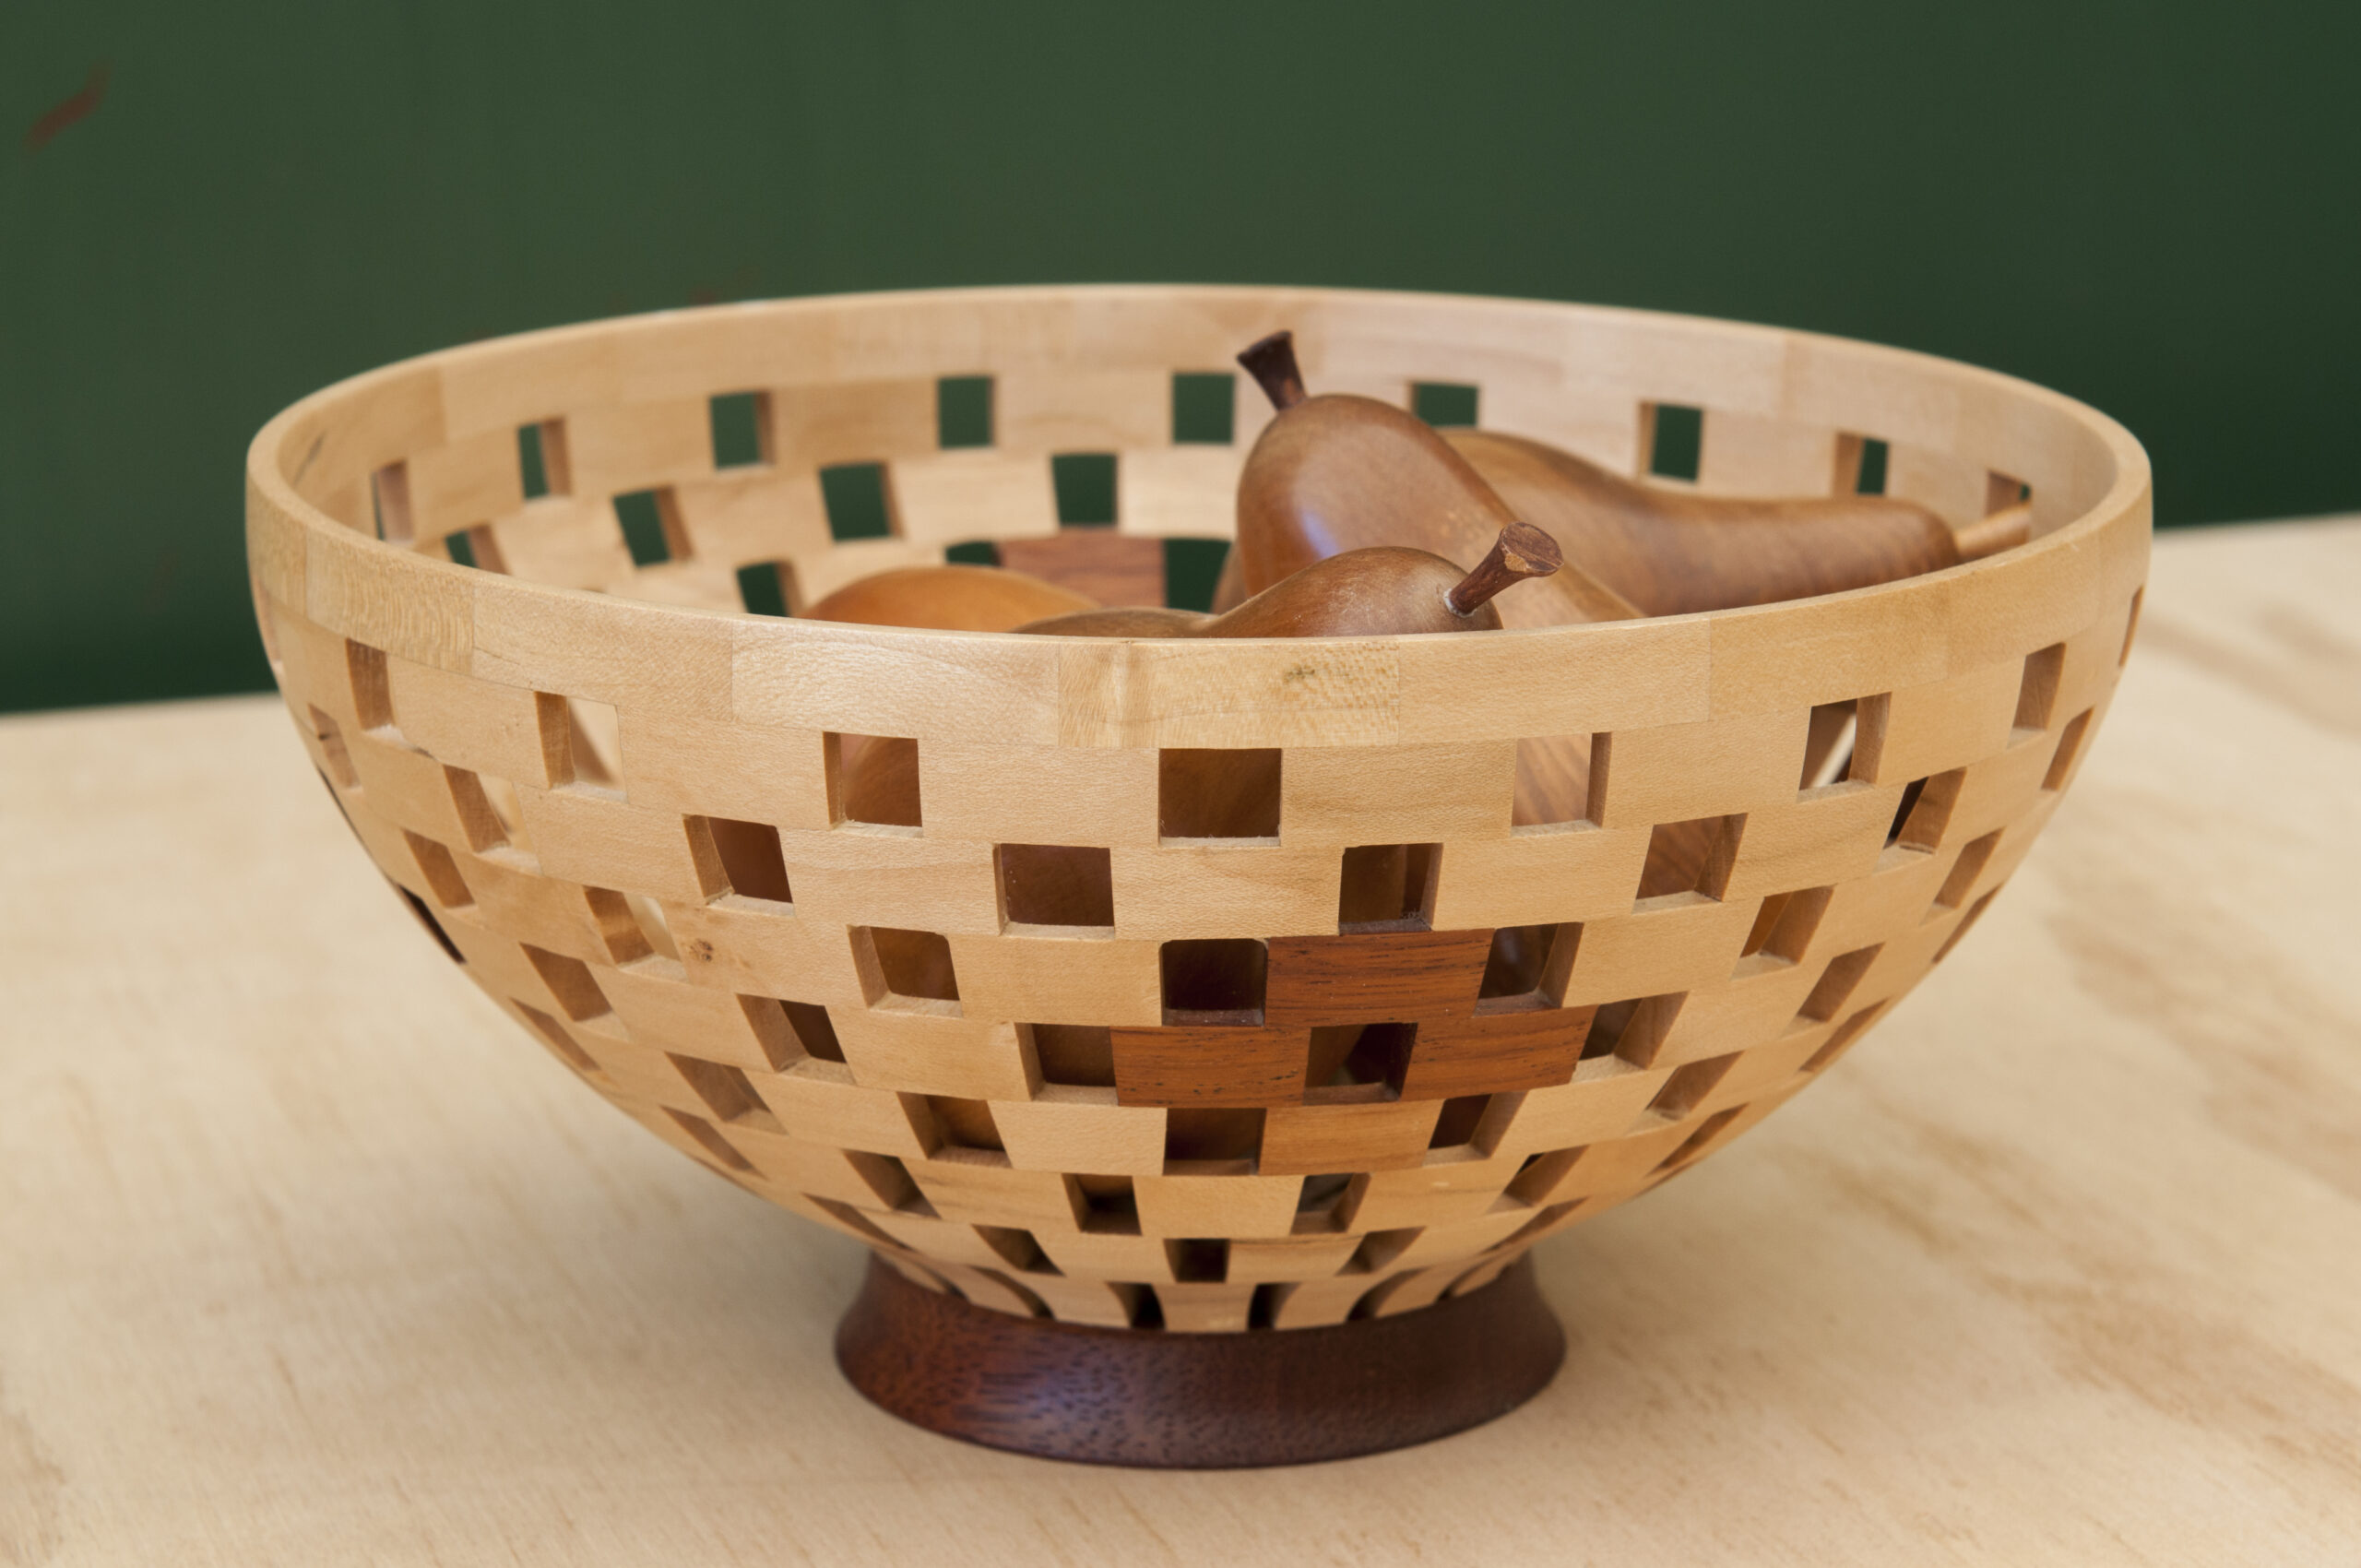
His skill on the wood lathe is amazing. His wooden fruit and segmented bowls are real works of art. (Photo 0015) Tiny segments of wood are individually glued together, and then the whole assembly is turned inside and out on the lathe. A very skilled operation where the slightest miscalculation with the chisel will result in disaster. The test of a true craftsman.
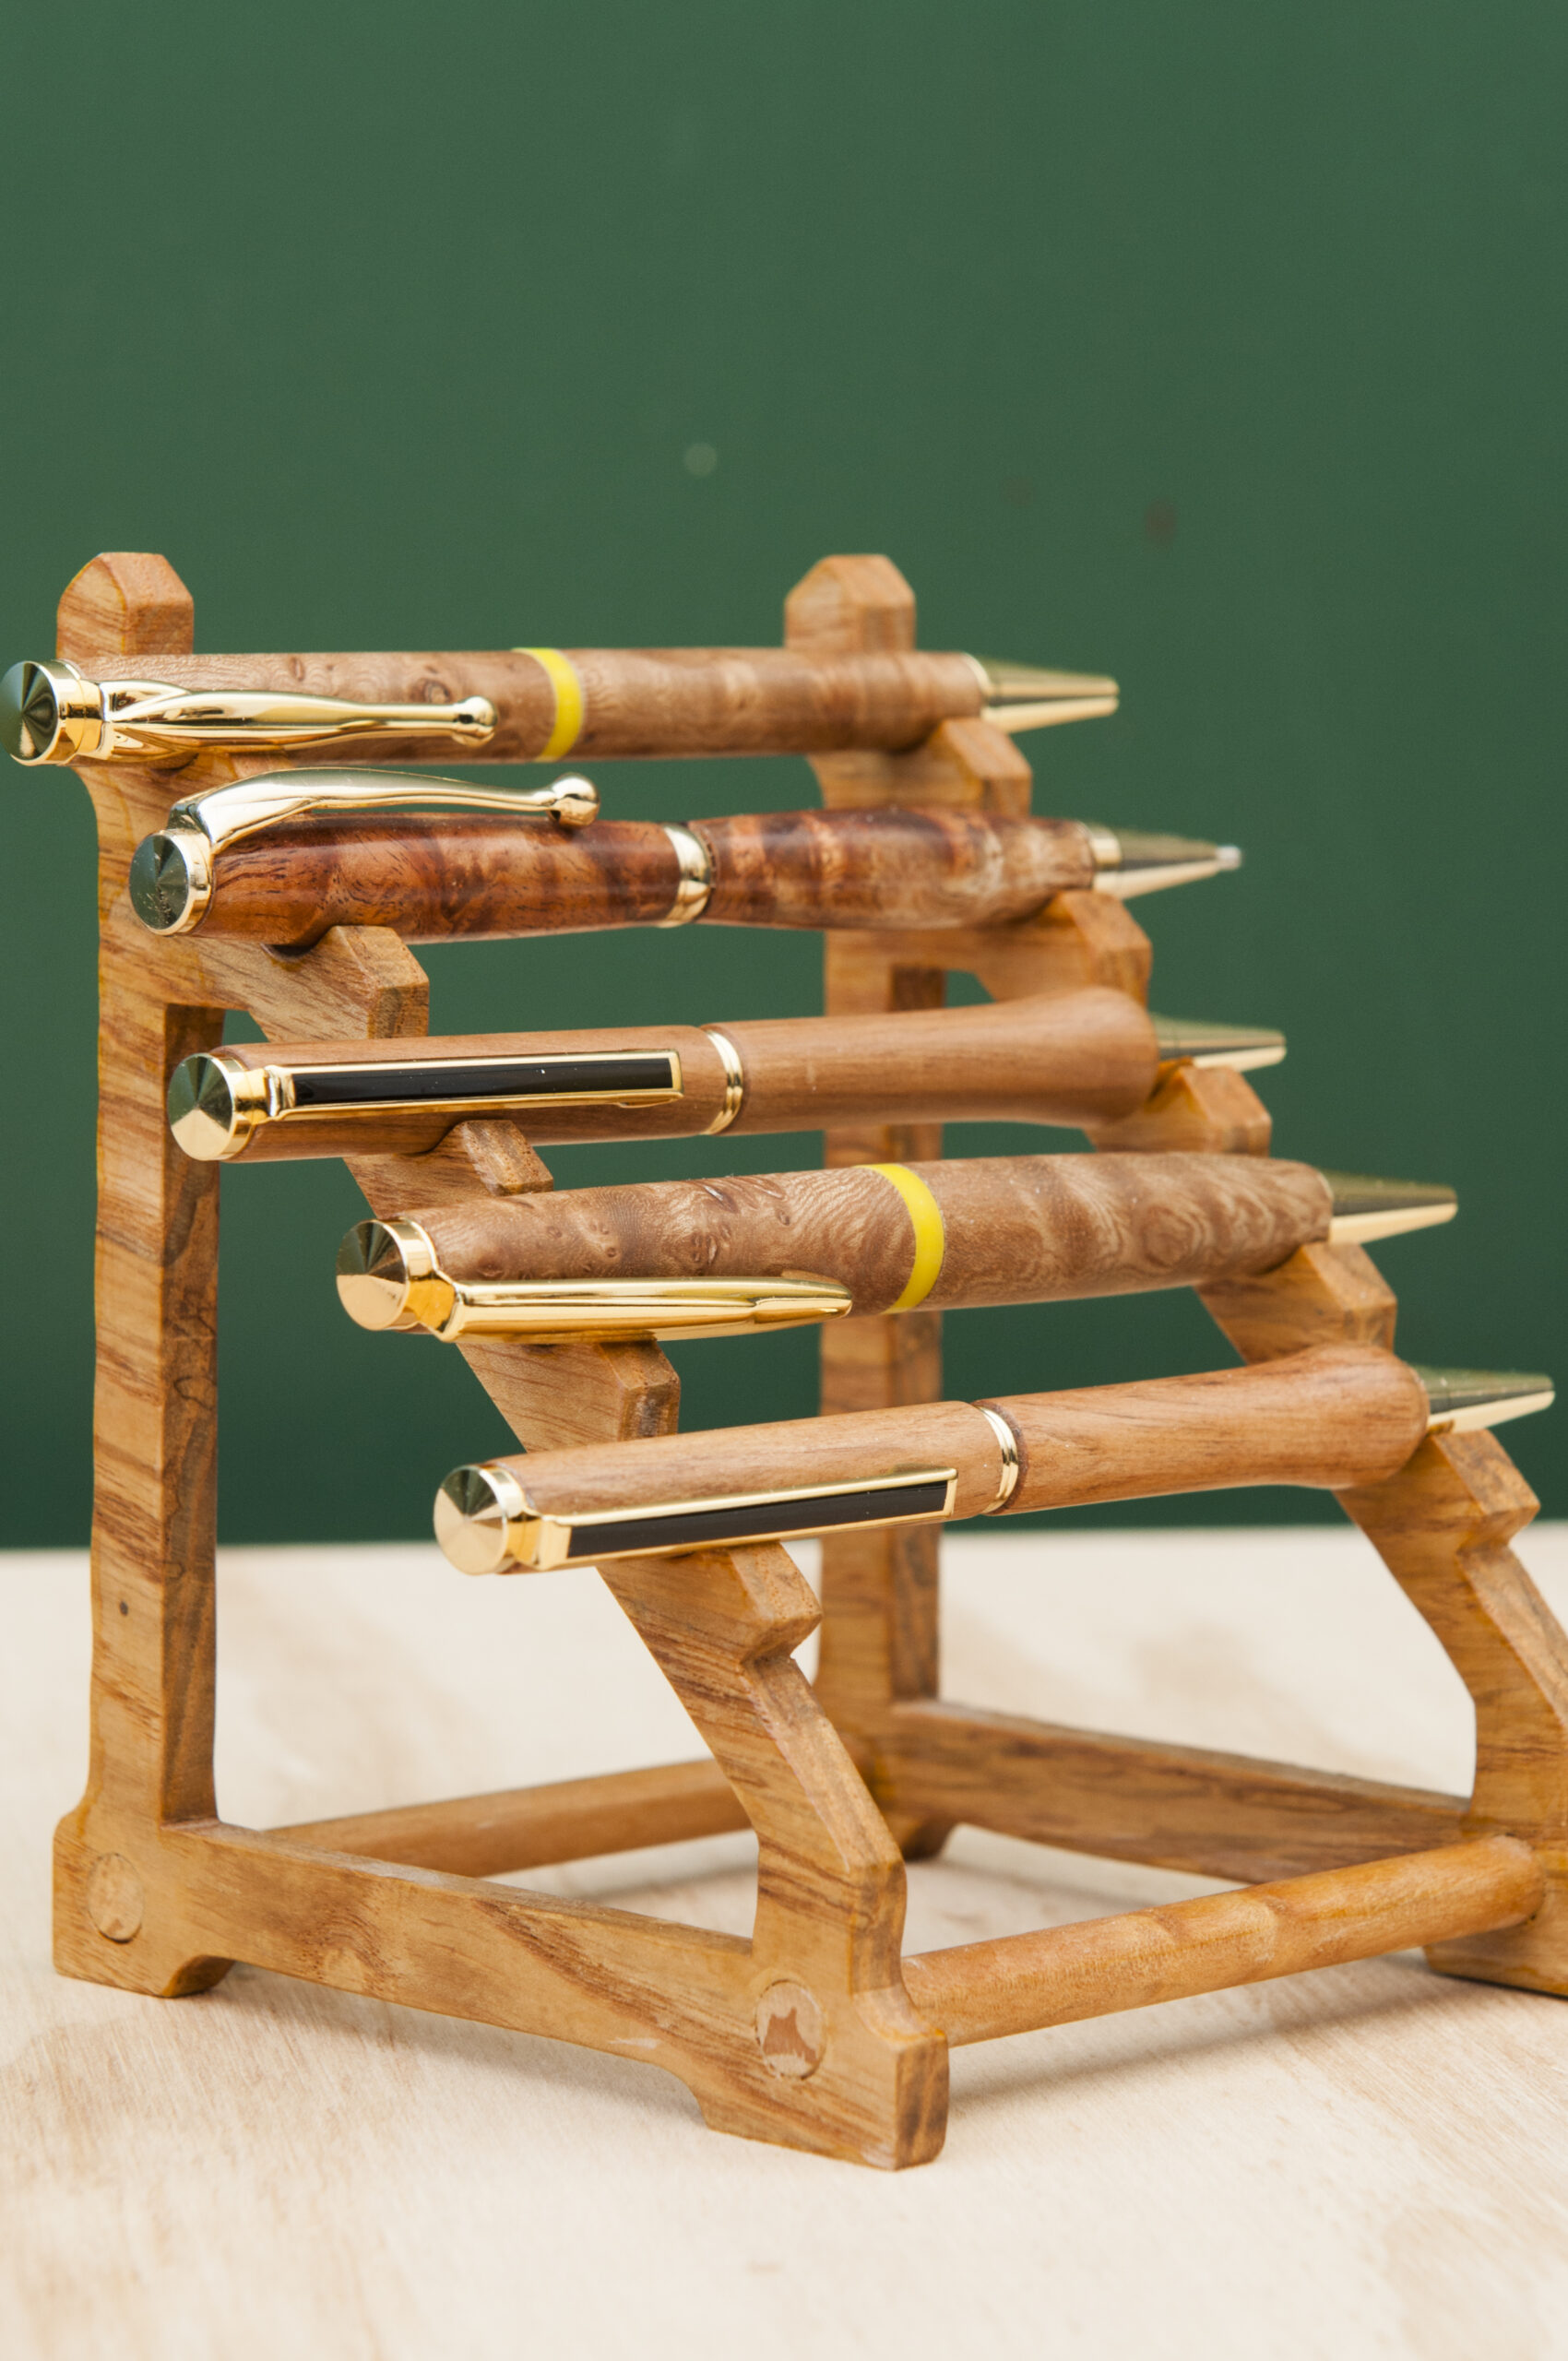
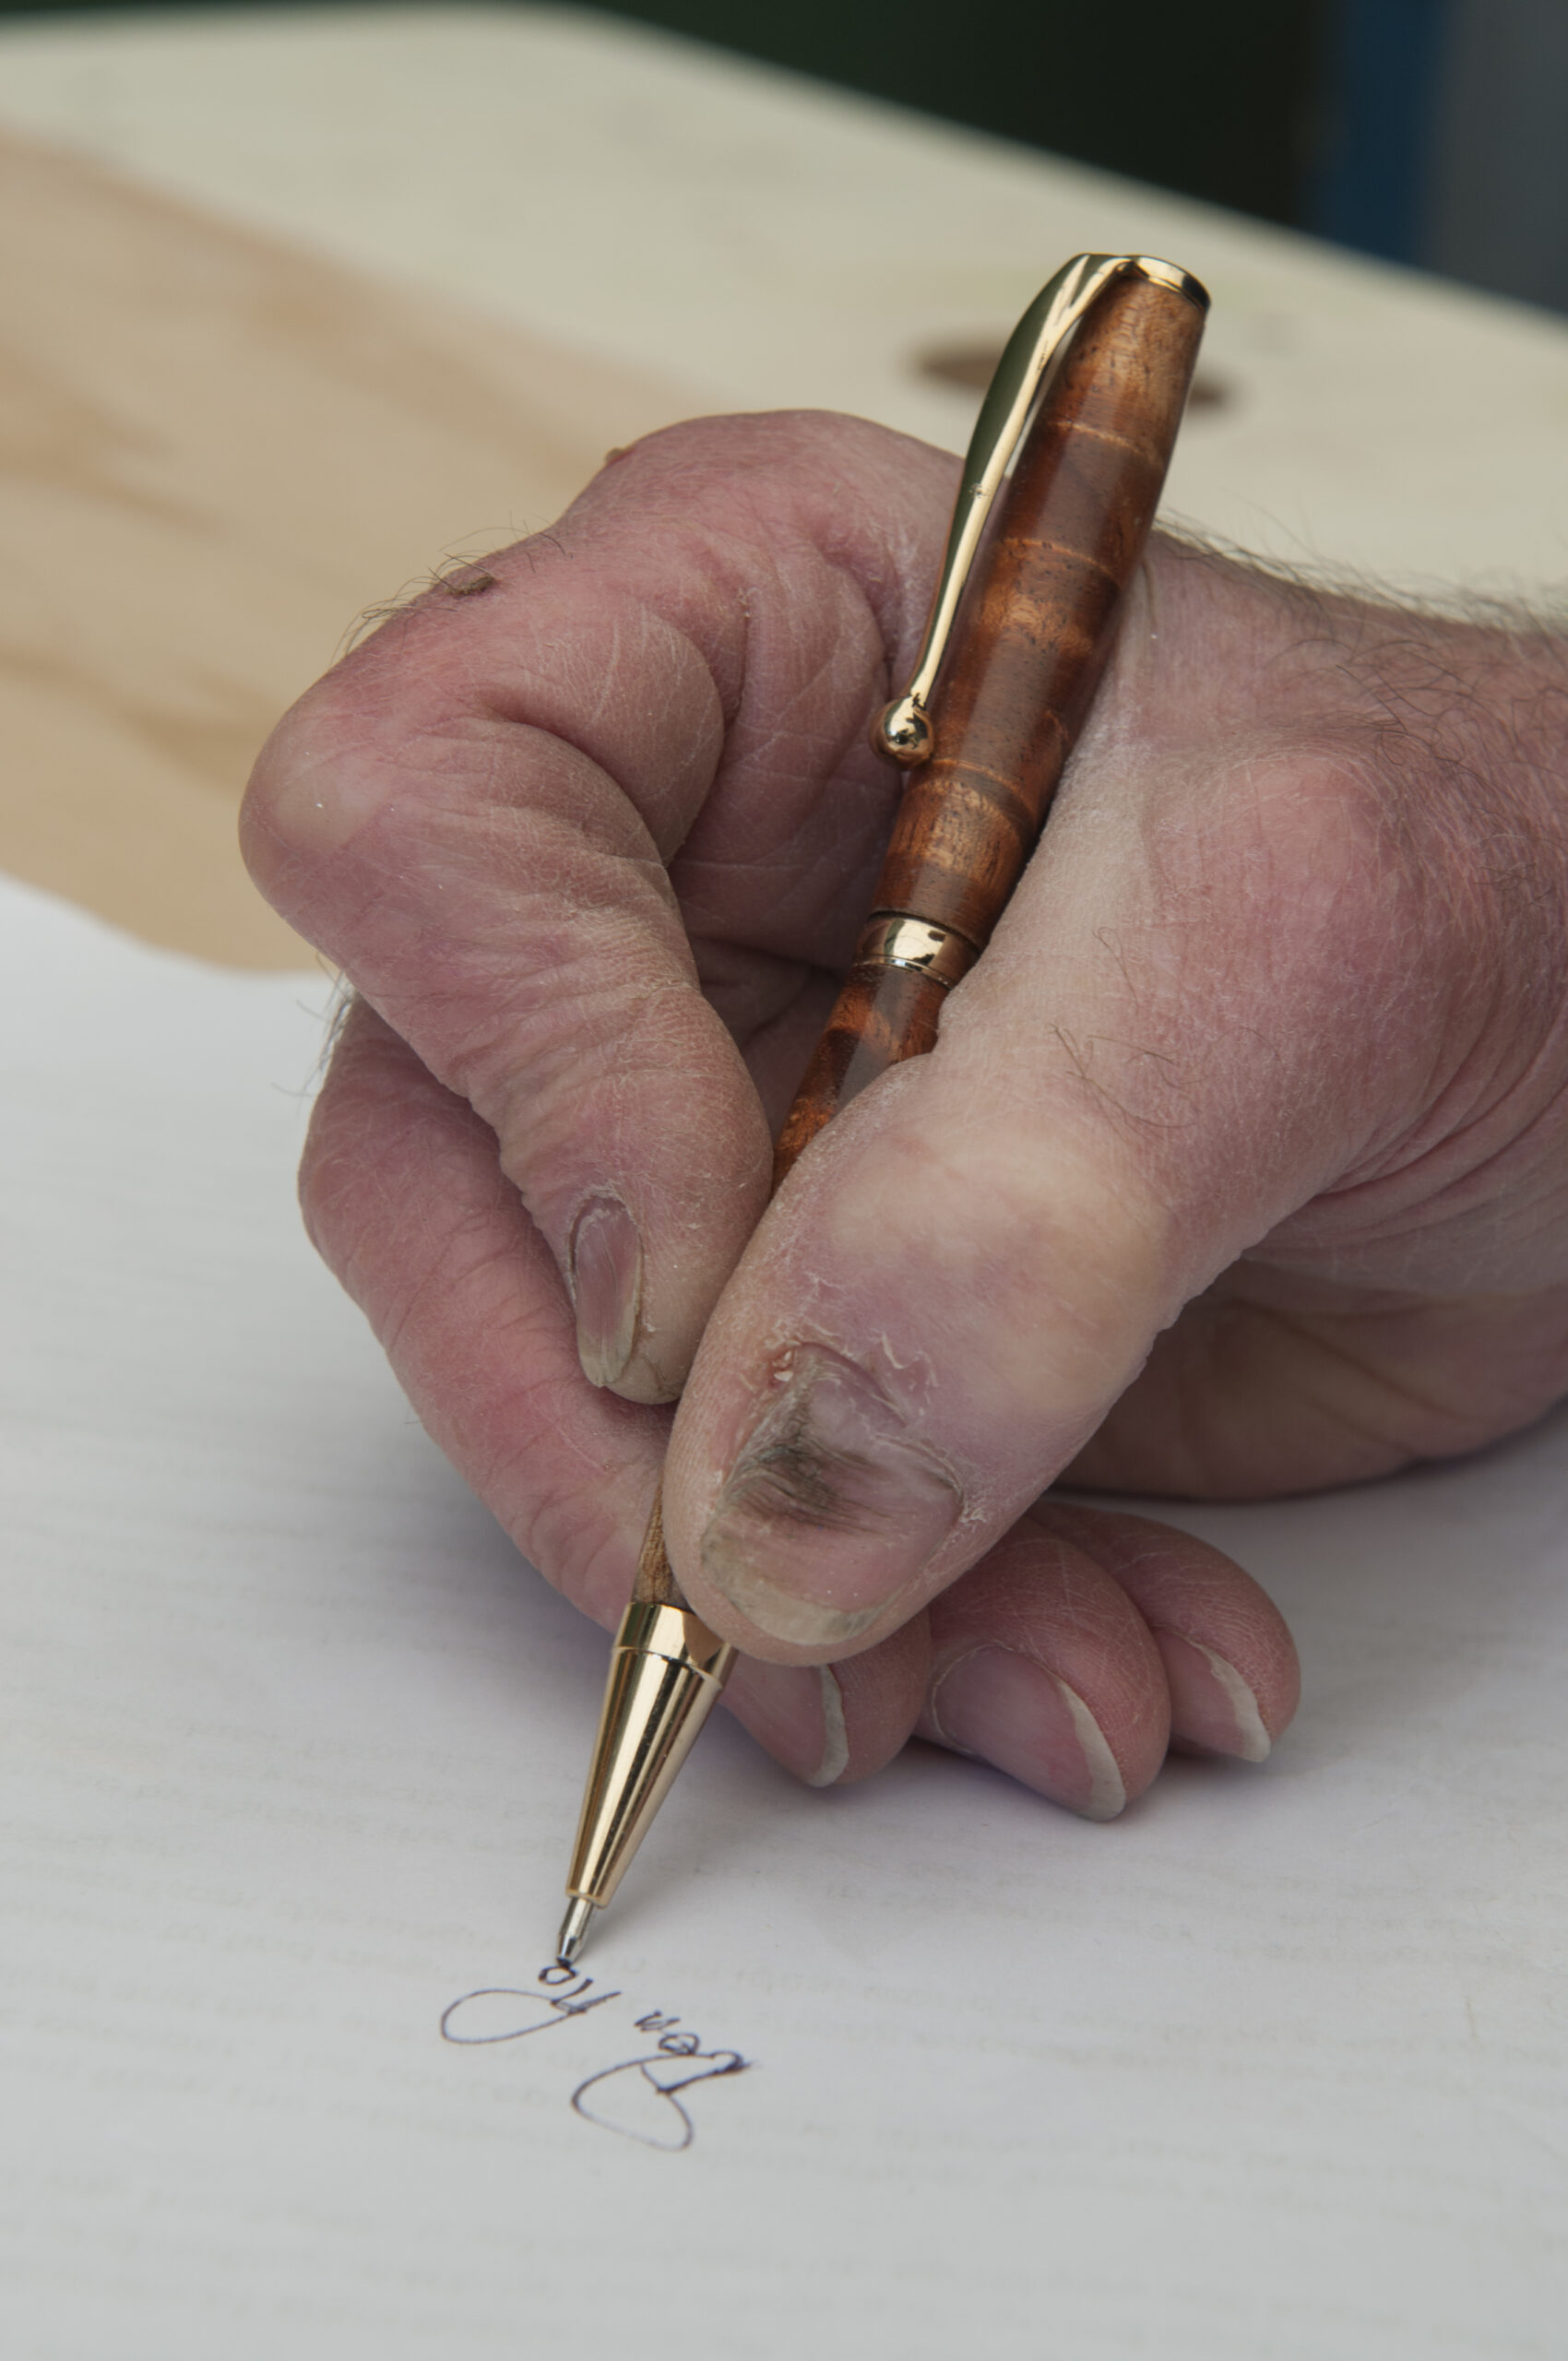
His love of precision work extends to Don making pens from all varieties of wood. (Photo 0023) He sells these to raise funds for charities

Share:

More Posts

Calling all agricultural innovations

Entries are open for the Fieldays Innovations Awards, a unique chance for agricultural innovators to test their ideas, gather information, launch products, and make connections.
Award categories include the Prototype Grassroots, for new innovations, the Prototype Established, which recognises product development, Launch NZ, which is for innovations ready to go to market, and International for launching innovations globally
Water power on the up

The first water ram was patented in 1772 by Englishman John Whitehurst. Designs have evolved since then and continue to do so particularly in Holland where, in the 1990s, one university was building 20 water rams a year for third-world projects.