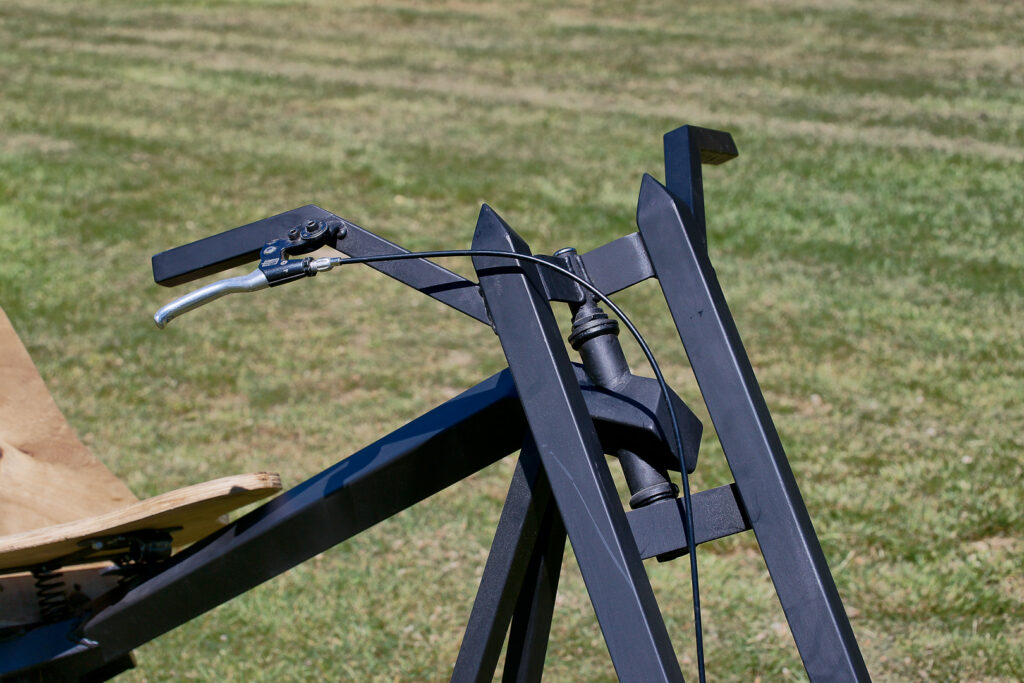
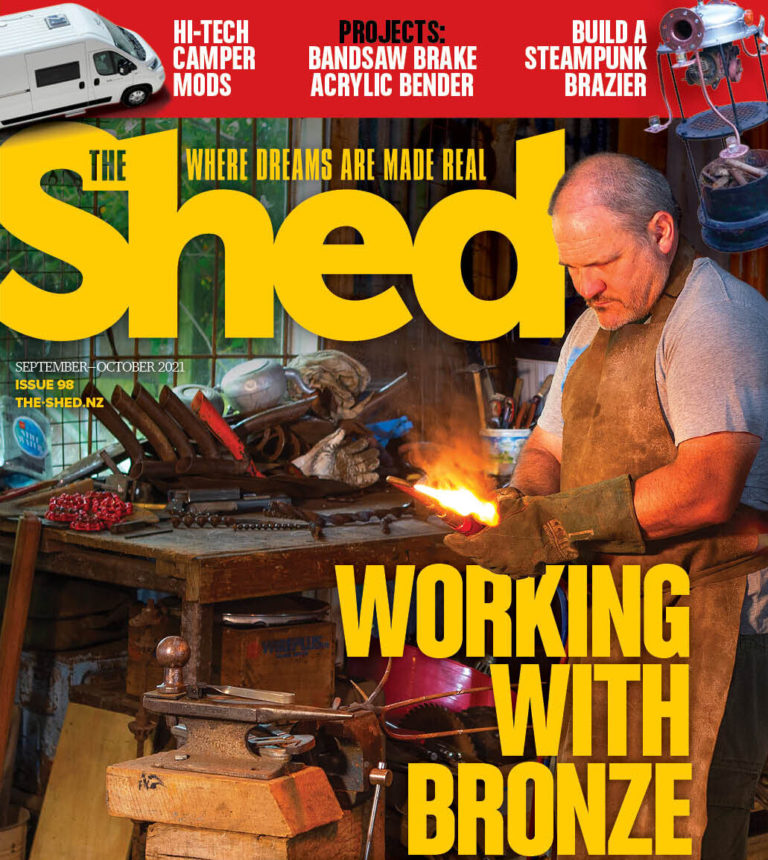
Geraldine High School’s choppers are a great success
PHOTOGRAPHS: ALAN MINNEAR, STU JACKSON
Geraldine High School technology teacher Alan Minnear built pedal-powered choppers with his Year 11 students because he wanted something to capture their interest. He says he initially got the idea for the choppers from another local teacher but then discovered the Atomic Zombie website (www. atomiczombie.com) which opened his eyes to possibilities with the clear instructions available. He paid for and downloaded the PDF files for the two choppers named Vigilante and Overkill that caught his eye.
Because of their relative inexperience, the students basically followed the book for the choppers they built. However, the book gave no measurements, wanting builders to create their own design from the basics. But, says Minnear, Overkill and Vigilante were so well-designed and so cool-looking that most students—and the teacher—just wanted to copy the original (with some individuality creeping in, for example, with the seating in the way of sissy bars). For their contribution, the students supplied an old pushbike and certain car wheels. It was very much a “build it as you go” to see how it fitted together. However, Alan Minnear says he will build jigs for future classes if a few students decide to take on the choppers again.
Overkill, Vigilante
Overkill is painted green, has five-foot (1500 mm) long forks and uses a car tyre for its back wheel. The original builder used a 15” (450 mm) tyre, but Alan Minnear was given an 8” (240 mm) tyre that he says is plenty wide enough. He says Overkill takes a bit of work to control, but gets lots of looks on the road. He built Overkill first and was keen to ride it for fun, so bought himself a skull and crossbones helmet and pedalled around town, getting plenty of attention and thumbs up from motorists. That’s when he realised that pedal choppers would make a great project for students.
Vigilante is built from square tubing and has been inspired by the stealth bomber, hence the matte-black paint and angular surfaces. Vigilante is “a real dream to ride” and rides smoothly on the road due to its rounded-profile, space-saver car tyre.
By Alan Minnear
Several students at Geraldine High School chose to build Vigilante, and the steps that follow will give an outline of how the work took place.
Steering head
The steering head used was formerly a longish front steering head on a mountain bike. The head needs to be long enough so that it will pass through a 50 mm square tube on the diagonal. If a long steering head can’t be found, a short one can be lengthened.
The hole through the square tube has to be made round to accommodate the shape of the steering head outer so that the welding is easier and neater. Start by grinding the holes on opposite sides of the square tube. When this has been roughed out, a linishing belt can be used to complete the job. Some filing is also necessary.
The steering mechanism consists of a round tube and a rod that pivots inside it. This rod is welded to flat 40 mm x 10 mm steel bar at top and bottom (the 5 mm bar first used bent under pressure during riding). The ends of the steel bar at the bottom of the pivoting rod are welded on either side to the forks, but at the top are secured on either side to the forks with 6 mm nutserts. The nutsert handpiece, a bit like a pop rivet gun, inserts a thread into thin-wall tubing not thick enough to hold a thread. The nustert arrangement means the steering mechanism can be dismantled for painting, maintenance etc.
Front forks
The front forks for the Vigilante use 1 ¼” (32 mm) tubing on the diagonal. The length of the forks can vary, but the look should be more conservative than that on Overkill. We made the pyramids at the top by cutting out the corners and bending the resulting flaps in until they met at a point. We then MIG-welded the corners and cleaned them up with a disc flap sander.
Rear wheel
The rear wheel used for Vigilante is what is commonly called a space-saver, the smaller spare wheel found in many cars for emergency use. These are readily available second-hand from any car wrecker. The centre of the space saver must be removed the best way possible, be it a cutting disc, a plasma cutter or a gas torch. If this is done carefully, the tyre can remain on the rim.
Next, the free-wheeling hub from any old bike needs to be de-spoked. This hub and the axle need to be cut and widened to allow the chain to travel around, away from the tyre.
We made spokes using square steel tube from ¾” (19 mm) to 1” (25.4 mm) in size, first fitting a master spoke and adding others until we reached the required number. Four, six, and eight spokes are common. A truing jig is helpful when aligning the rim and spokes. When the wheel is running true, the spokes are MIG-welded. Again, the tyre can remain in place.
A piece of 40 mm x 5 mm flat steel is slotted to suit the 10 mm rear axle, bent to 45º and then welded to the lower rear frame. This is cleaned up before proceeding.
Main frame
We built the main frame from 50 mm x 1.2 mm ERW (electric resistance welding) tubing, an ideal thickness for MIG welding. We cut the parts and mitred and clamped them in place for welding. There is a fair amount of trial and error in building any chopper, and this gives each build an individuality of its own. Temporary props are needed at times but you do not need jigs unless some sort of production run is planned.
Crank
Vigilante needs a three-piece crank set, not a one-piece S-shaped unit as found in a BMX bike. We used crank units from older ten-speed bikes and bikes we used to ride as kids. The three pieces are the left-hand crank with pedal, the right-hand crank with pedal and chain sprocket, and the axle going through the frame to hold both cranks.
We need the three-piece crank set for Vigilante because the crank needs to be widened to suit the rear car tyre. It’s much easier to do with a three-piece crank unit where you can cut the axle with a disc grinder (too hard to hacksaw) for widening. A one-piece “S” cannot be cut, widened and welded successfully without major problems e.g. it won’t run true afterwards.
We had cotter pins holding the cranks on, but now the cranks fit onto squares on the axle and are held on with screws into the end of the axle. The completed crank is tacked to the lower front frame. Note the scalloped leading edge. This is a piece of the tube cut from corner to corner, reversed and then welded back in.
Seating
Seating is up to the individual. I chose the classic low-rider style of seat, but this is expensive to get upholstered. Most students would not want to pay this, so a cheaper alternative is to build a sissy bar-style seat with a proper backrest. These can then be upholstered by students quite cheaply.
Make the rear mudguard from 1.6 mm steel sheet. The sides are left vertical and the top surface shaped and carefully MIG-welded. You could use gas welding but much more buckling and distortion will result. While the back mudguard is optional, it does stop the rain splashing up your back from that big back tyre. A sissy bar and wooden back would also stop the splashing and could possibly eliminate the need for a mudguard.
Drivetrains
On the Vigilante we built, the drivetrain was quite straightforward, needing approximately 1½ chains to complete the job. However, because Overkill uses a much wider tyre, you need more engineering to prevent the crank from becoming too wide. Here we used a one-piece BMX crank and the sprocket fitted on the left-hand side, which is opposite to normal use.
Overkill needed a BMX back-pedal brake as a lay shaft, fitted where the first chain ends. This is used so that the second chain is moved out to line up with the back wheel. It also serves as Overkill’s only brake. Note here that the lay shaft also needs chain adjusters for the front chain similar to those used on the rear wheel.
Chain adjuster
On Overkill, the chain adjuster has two main parts. The slotted block is 12 mm x 12 mm square steel cut 40 mm long with the outside corners rounded off. A 6 mm-wide slot is milled along one side 3 mm deep. If a small mill-drill is not available, you will need to file the slot out using a flat file on its edge. An inside-diameter 6 mm hole is drilled through for the adjusting screw. The adjusting screw is cut from a length of 6 mm diameter threaded rod 60 mm long and MIG-welded to a flat washer with 10 mm inside diameter.
Gearing
These choppers can be hard to get going, even up gentle slopes, because of the heavy rear wheels, which act as flywheels. These bikes are best thought of as steady-moving, flat-terrain cruisers, not speed machines. If they are geared too high, you will be pushing more than riding. I found after experimentation that a front-pedal sprocket with 28 teeth and a rear-wheel sprocket with 18 teeth worked well. The 28-tooth sprocket I used was the smallest from a ten-speed cluster.
Braking
Braking on a chopper is minimal. When you consider that a car with a similar rear wheel uses power-assisted disc brakes, there is really no way brakes from a pushbike will stop one in a hurry. When I took Overkill for its first run, I jammed on the back pedal brake, and the rear wheel kept turning and made the chain jump off the sprockets. They should NEVER be ridden down hills. Overkill needs a central brake fitted as the lay shaft and Vigilante needs a brake fitted to the front wheel.
These bikes are road legal but only if brakes and a rear red reflector are fitted.
Beast wins
Overkill, the green bike here, gets lots of looks and on the road, but is a beast to master. It keeps wanting to take over and feels like it is out of control around corners. Overkill uses a square-edged tyre, and you have to ride it on the right-hand edge of the tyre if the road has a camber sloping to the left.
It gets tricky when you lean into a left-handed corner because the chopper swaps to the left-hand edge of the tyre. It feels weird at first, as though the back end is letting go, but you get used to it. Also, the forks are five feet (1500 mm) long, and that means the steering tends to flick from side to side due to the shallow rake angle.
Vigilante, the black, square-tube version here (which can of course be painted any colour you like, from pink onwards) is very easy to ride due to its rounded profile tyre. It is not as radical and behaves more like a normal push bike. Which is my favourite? The students enjoy riding their Vigilante bikes with the extended, angled front forks. But for me, no question about that—it’s Overkill all the way. Although it is a handful, there is no beating the fun to be had and the attention gained on the road.
