
A DIY farm gate

The classic New Zealand five-bar farm gate is not too difficult to make on-site when you need a new one. Few people might consider building farm gates, but they can be costly and heritage gates are quite expensive so it might be worth it to build your own.

The traditional New Zealand farm gate is a classic
DIY job

By Robin Overall
Photographs: Terry Snow

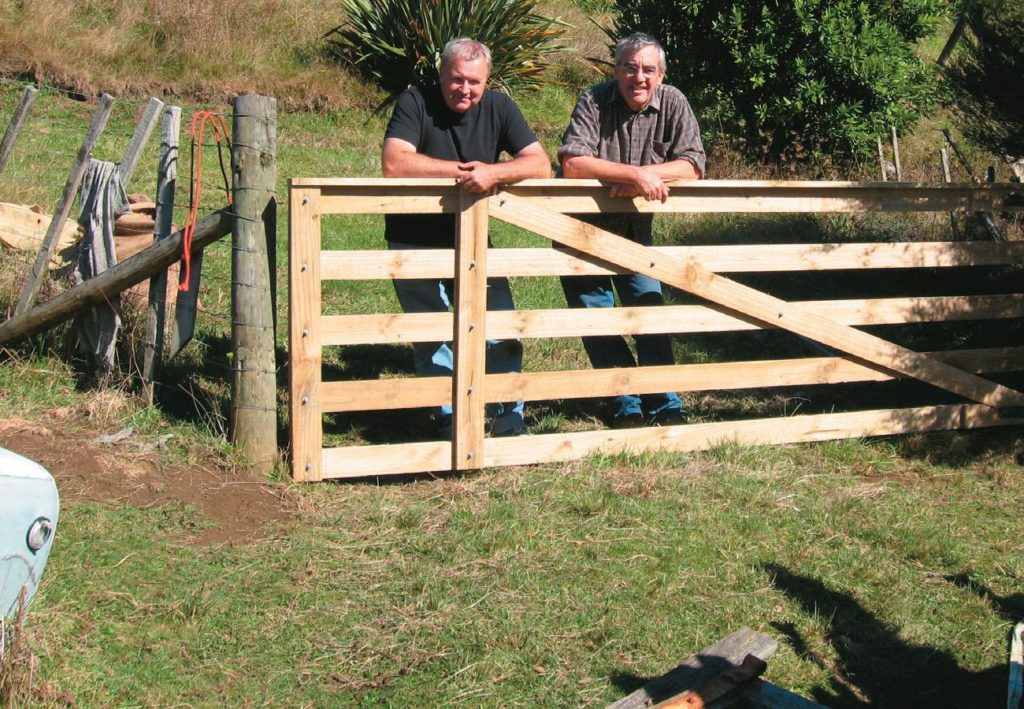
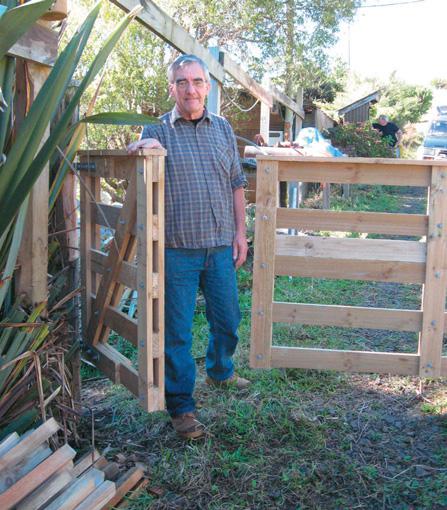
Happiness, a new DIY gate, with (left) Jeff Sole and Robin Overall

The classic New Zealand five-bar farm gate is not too difficult to make on-site when you need a new one.
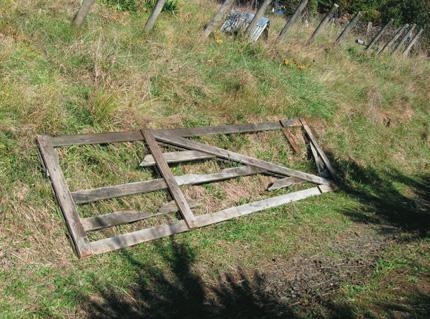
Few people might consider building farm gates, but they can be costly and heritage gates are quite expensive so it might be worth it to build your own. I had to replace one on my property because the donkey ate some of the old gate. When the animals in the paddock get bored they can take to chewing the gates and even though the timber is tanalised it apparently doesn’t harm them.

 
The gate the donkey chewed

Gap
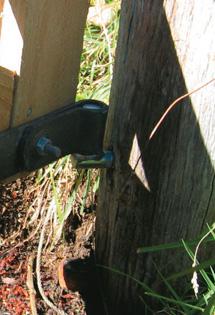
There are some crucial things to remember. It is important to leave a gap at the top hinge between the bottom of the hinge and the gudgeon, and equally important that the bottom hinge sits firmly on the bottom gudgeon. This is the major weight-bearing surface and works by compression. If the gate rested on the top pin it would cause strain on the hinge at the top as the weight of the gate pulled it down.
In the same equation to ensure the correct weight-bearing balance, the diagonal struts on the gate have to go down to meet the hinge at the bottom corner, not the other way round, to provide support for the compression. Otherwise, the timber in the gate would be expanding and pulling apart, not being forced together.
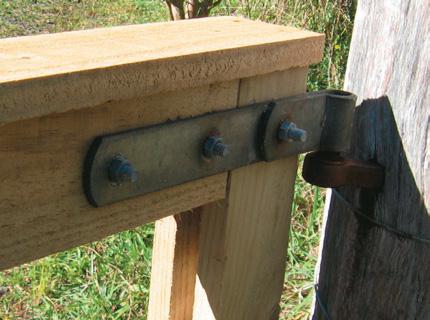
Another common sense but equally important requirement is to use bolts not nails. The bolts work by pinching together the three pieces of wood at the point where the hinges are fixed and it is this compression that does the job as the bolts take the strain, not simply the fixing of the bolts. Nails won’t work in holding the gate together; if you want to cheat and use nails, you’ll find they won’t do the work properly.

Hinge gap at top gudgeon...
...but flush at bottom gudgeon

Rough-sawn
I am using rough-sawn 100 x 25 mm warehouse timber for this farm gate and you will find supplies at a timber yard or stores like ITM rather than a suburban hardware chain. The gate will be 3.6 metres across to enclose the existing entrance and the uprights are about 1200 mm high. They can be as much 1400 mm—people with alpacas, for example, would need high gates.
The timber normally comes in six-metre so ask the timber yard to cut them into appropriate lengths for your work and they will also fit better on the trailer. There is a variation which I made for one gate—instead of a gate right across the drive I built a three-quarter gate linked with a small quarter gate. The small gate is on the same principle and is easier for a high-traffic area. It saves opening the big gate every time and is one less temptation for the kids who always want to swing on a big gate. I am using the gudgeon pins in the existing gate posts as this is a replacement gate.
But if you are putting in new gate posts and gudgeons, beware of the trap—you have to drill the hole for the gudgeon pin in the post below and off-centre from where the gate is centred because the hole for the gudgeon pin in the hinge is offset.

Check for square
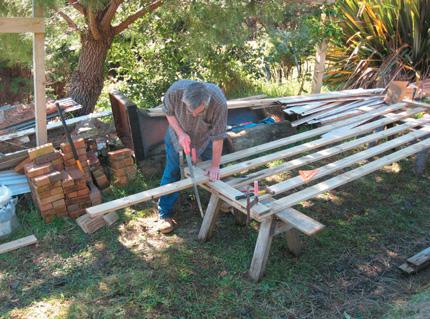
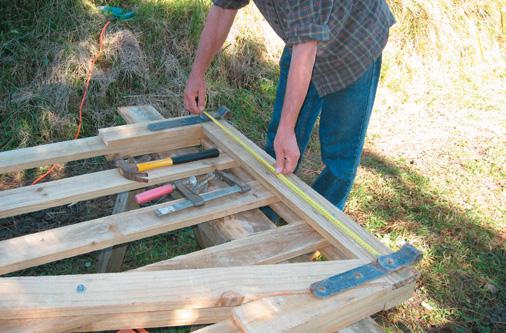
Hand tools for a simple gate
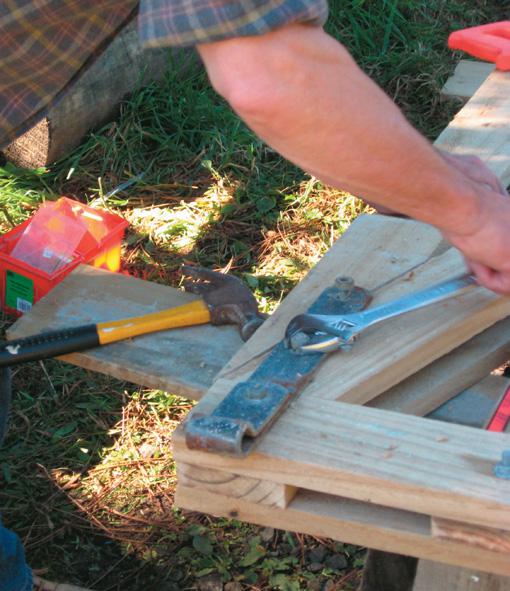
On hinge double plate, use 110 mm bolt
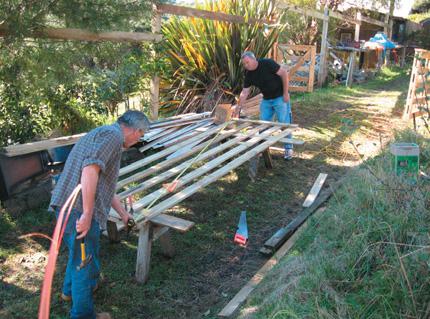
Lay bars evenly across sawhorses
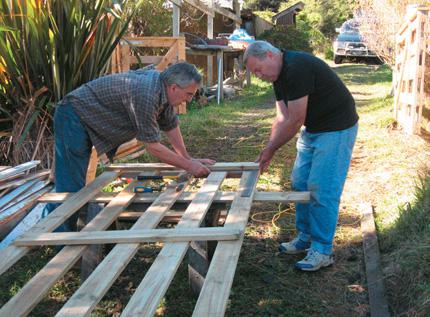
Nails tack gate in place for bolting
Check gap spacing

Reduced-shank
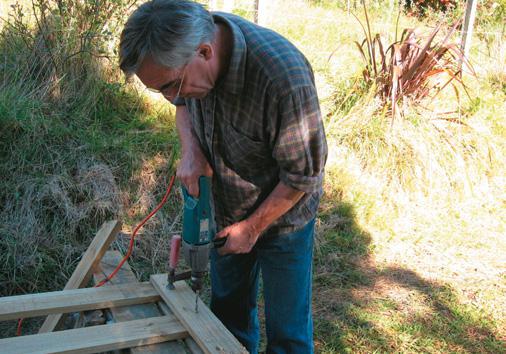
Beware before you start that you need reduced-shank drills. If you don’t have a drill with a 13 mm chuck or can’t go bigger than 10 mm, you will start the project and realise you can’t get the drill holes right through the wood. You will also need an 18 v cordless drill with some grunt.
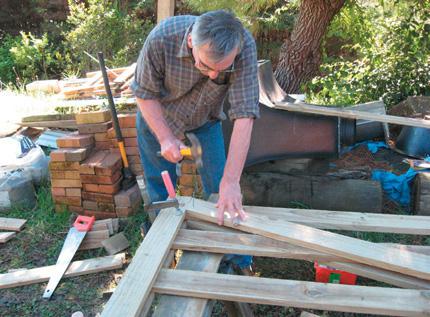
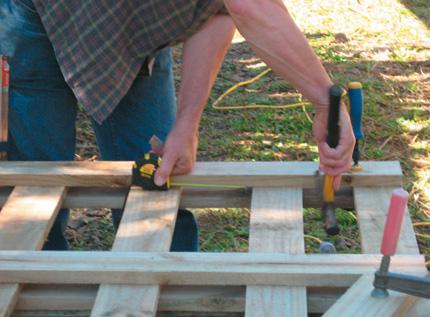
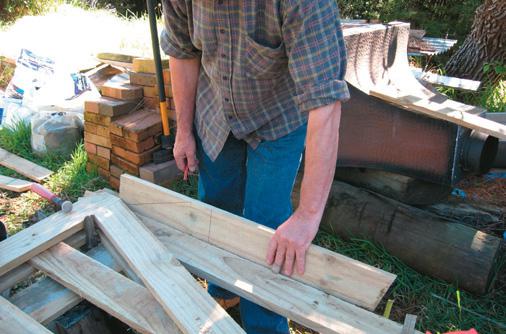
I was able to build this gate using just two sawhorses, a power drill, handsaw, hammer, and spanner or socket set. I laid out the five main bars equally across the sawhorses to give an even spacing. The gap between the bars I worked out when calculated from under the top bar and from the top of the bottom bar, was 136 mm which I measured with a tape while adjusting with a hammer. It was just a question of sawing the planks to the right length and then cramping the whole lot together before starting to bolt it.
I placed two uprights each on either side at each end and at a point one-third of the way along (for looks as much as for support). These uprights on either side of the gate clamp the five bars together when bolted. After they were in place, we put the diagonals on either side of the gate to run from the bottom hinge end to the top of the middle uprights. An aid was to write “hinge end” and “top” on one side of the gate so we knew where to place the diagonal to the bottom hinge end.

Reduced-shank drills needed
Extra timber pieces support hinges
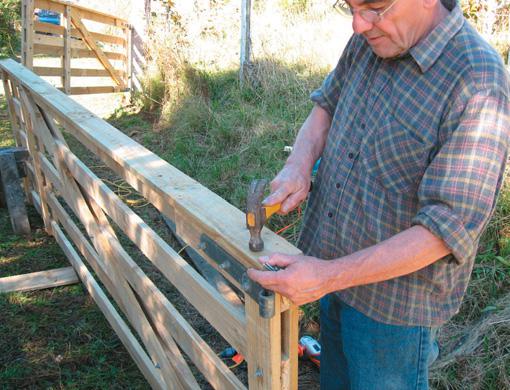
Ensure hinge bolts are tight
Allow extra between hinges to adjust fit

Nails
Once you have cut the gate lengths and uprights and cramped them in place using a large T-square or roofing square to check for square. We measured to the opposite diagonals and tapped the timber into square so the diagonals were at 3510 mm each. We tidied up the ends and then put in a few nails to hold the gate in place while we drilled and bolted it.
CAUTION: Put the nails to the side of where you plan to drill the bolt holes otherwise you would hit them when drilling. Be sure to use coach bolts with the domed flange head and square part under the flange and not hexagon head bolts, popularly called engineers’ bolts, which would not draw into the wood.
I used M 8s to pin the diagonal, uprights, and ends on either side of the parallel bars and M 10s for hinges. You will need 100 mm bolts to get through the hinge part of the gate but 110 mm bolts where there’s a double plate in the hinge at the end. In total, we used 17 of the 90 mm M 8 bolts (one extra at the bottom of the diagonal near the hinge), four of the 100 mm, and two of 110 mm.
The nuts have to be really tight on the bolts because:
1. Green timber dries out; and 2. The gate works because the bolts and nuts squeeze the pieces of timber together—friction holds the gate together, not the bolts as such.

Nail plank to top
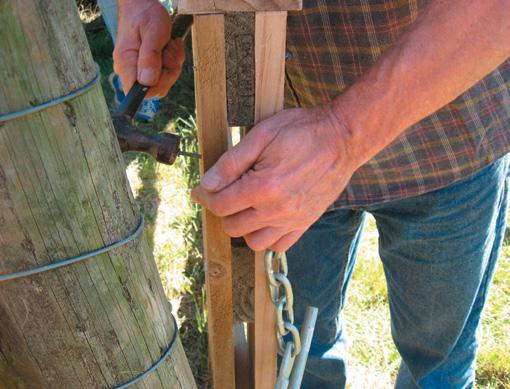
Finish with hook, chain and staple

Hinges
The hinges come in sizes 12, 16, or 20 with matching gudgeons and while12 is the normal domestic garage size I have used 20s in this gate. I find it’s worth using hinges as big as possible. Before working on the hinges, we propped up the gate for a parallel and square check. The hinges go inside the gate as it opens inside towards the animals in the paddock.
The bolts have the heads all pointing on the same side for safety. At the bottom hinge end, the diagonal butts right to the upright on the end of the gate. Then extra pieces of timber (length depending on the length of the hinge) are cut to be nailed along both sides of the bottom bar as an extra support for the hinge to bolt onto. At the top hinge, similar pieces of timber are nailed on both sides of the top bar for the hinge to bolt to.

Measure
Measure down the upright between the hinges to ensure that this distance matches the distance between the gudgeon plates on the gate post. For me, this was 935 mm. The heel of each hinge is flush with the edge of the gate and the holes for the gudgeon pins are over the edge. Ensure that the hinges are square to each other. Getting the measurement right between the hinges is crucial – this has to be the right profile if the gate is to swing properly.
A good tip is to leave a 2 mm extra space between hinges on the gate in case it doesn’t fit. If the fit is too tight on the post your job is ruined. If the fit is slightly loose, you can work by adjusting the space left between hinge and gudgeon plate.
Nail a single plank onto the top and the gate is ready to fit. Ensure all the bolts are tight, carry the gate to the hinges and fit it on. It may take a few taps with the hammer to ensure the bottom hinge is sitting down onto the bottom gudgeon plate.

Chain
The chain and hook for hooking over the staple on the gate post when the gate closed is simply nailed into the gap between the uprights at the end of the gate. This gate doesn’t take long to make and is a satisfying job. As the gate simply sits on the hinge pins, some farmers may weld a washer or similar into the top hinge-pin set up to stop the gate being lifted by unsavoury characters.

Three-quarter gate variation

Share:

More Posts

Creative duet

For Dave Pauling, making guitars is the natural fusion of two passions – music and wood.
Dave, who has been playing the guitar since he was 13, also knew the pleasure of pottering in sheds from a young age. His father is a “sheddie” from way back who, among other things, still spends many hours restoring vintage vehicles.
“I grew up helping him with his Model Ts, making bows and arrows, or working on a model railway we had in the loft,” he says.
While Dave himself has spent a fair few hours restoring a 1965 Mustang imported from San Francisco, he prefers working with wood. There’s something about the malleability and smell of wood, as well as its provenance, he says. Wood, especially the recycled timber he uses to construct his guitars, has had a previous life. “Every guitar I make comes with a pre-history.”

Rust, me and CRC Evapo-Rust

My tools and machinery were housed in an unlined shed for a few years, resulting in plenty of surface rust.
I tried removing it with abrasive products, but that involves an awful lot of manual labour and doesn’t always work well, not to mention the scratches it leaves on the tool’s surface. So I looked for a decent rust killer. CRC Evapo-Rust had a reputation, so I gave it a go.
Most of my affected tools were small enough to be immersed in the liquid. I had a container that I filled with Evapo-Rust, and an overnight immersion generally cleaned them up. The beauty of Evapo-Rust is that it’s reusable, so that container will last for the foreseeable future, probably a year for me.

A butterfly takes wing

This simple butterfly pendant or brooch (depending on the back fittings) is a very good exercise in several basic goldsmithing techniques. It also can be decorated in several different ways to produce strikingly different finished pieces of jewellery.
I drew this design more than 25 years ago for a company that then made paua-shell jewellery. They stamped out their products, so I often made the master patterns in copper and from these patterns they spark-eroded the dies.
If this design was being made in an art school, it would be stuck to a sheet of silver and the basic shapes cut from there. If a design was made this way in, say, 18-carat gold and the wing outlines (as here) made from 2.5 mm thick metal, the outlay and waste material would be considerable from a 2.5 mm-thick sheet of 18-carat gold plate. But we will make it like a professional craftsman who has to live in the real world where costs matter.