
A stylish yet simple television stand can be made with minimal tools and modest skills
By David Blackwell
Photographs: David Blackwell
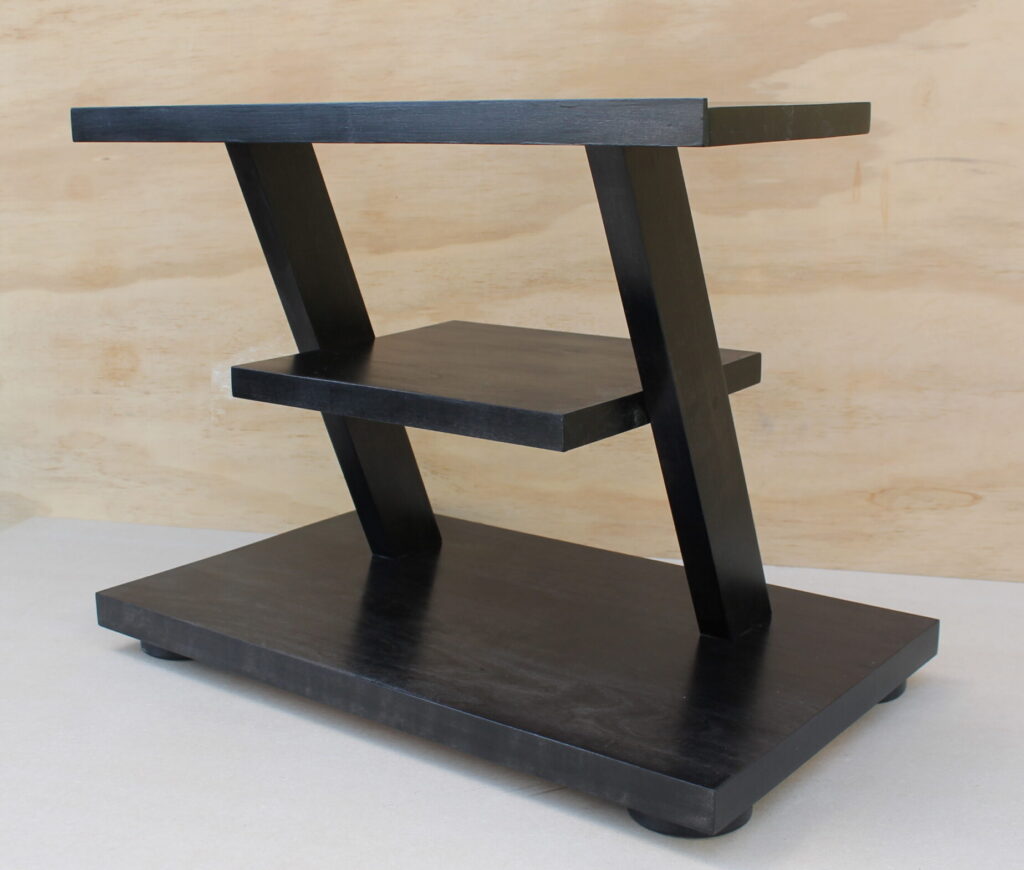
This television stand has been designed for a flat-screen 32-inch television and has also been designed to be made with minimal tools, enabling the weekend warrior/hobbyist to make it in not much more than a day. You certainly do not need advanced skills to make it. To complete it in a day, the glueing up of the timber will need to be done the day before, and obviously the stain and varnish will need to be done over several days.
While I have the equipment in my home workshop to machine the timber, I want to stress that this television stand could be made in the home workshop or garage with little in the way of tools. For example, you could ask the timber yard to dress the timber for you (you might even find the sizes you require already dressed at the big shed DIY stores), and all the cutting could be done with a handsaw.
Enjoying the design process
I enjoy the design process and often mull the concept over in my mind for several days, sometimes much longer. I also look around furniture stores for similar products, although in this instance I was unable to find anything remotely similar.
My stand has one shelf for the Sky box, but if you had a second box, you might add another shelf or place it on the base. The woodworking purists might not like how I have designed this product by relying on screws to hold it together, but I believe they are strong enough for modern lightweight televisions, particularly the 32-inch size or smaller; more importantly, it makes it a very simple project for the hobbyist with only modest woodworking skills.
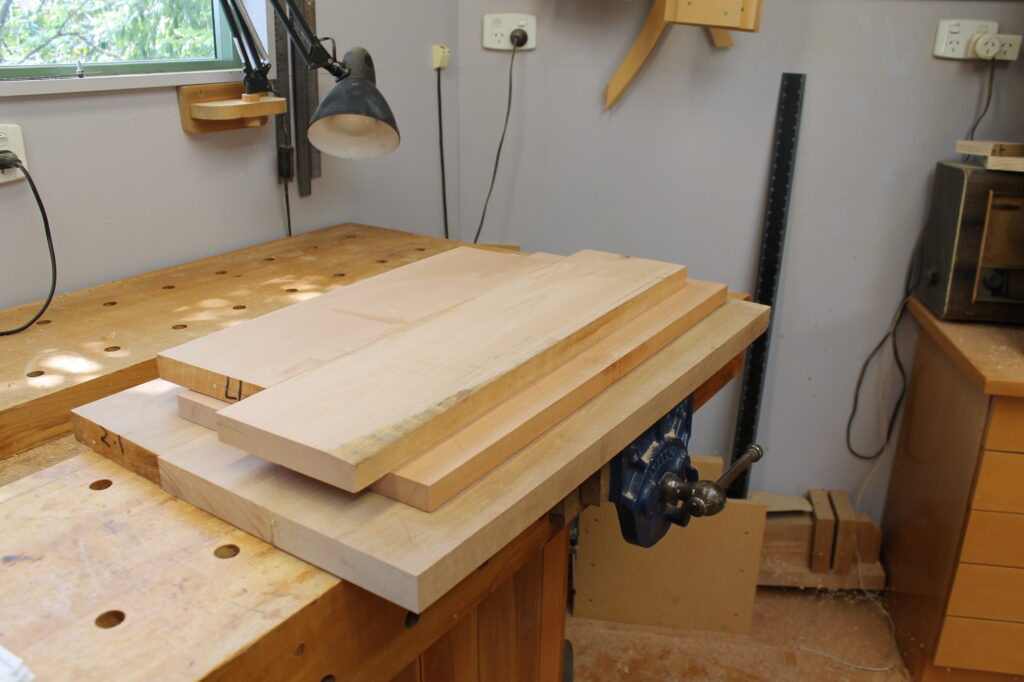
I decided to make the stand out of beech as it is a wood I use often and I know it could have the finish I was looking for – a black stain and a satin varnish, similar to a lamp stand I made several years ago (see The Shed, Issue No 59). Almost any sort of timber would work well, including pine or even recycled timber. I get all my new timber, as opposed to recycled timber, from Halswell Timber in Christchurch, as they let me scratch around selecting the pieces I require without standing over my shoulder.
Plans and sizes
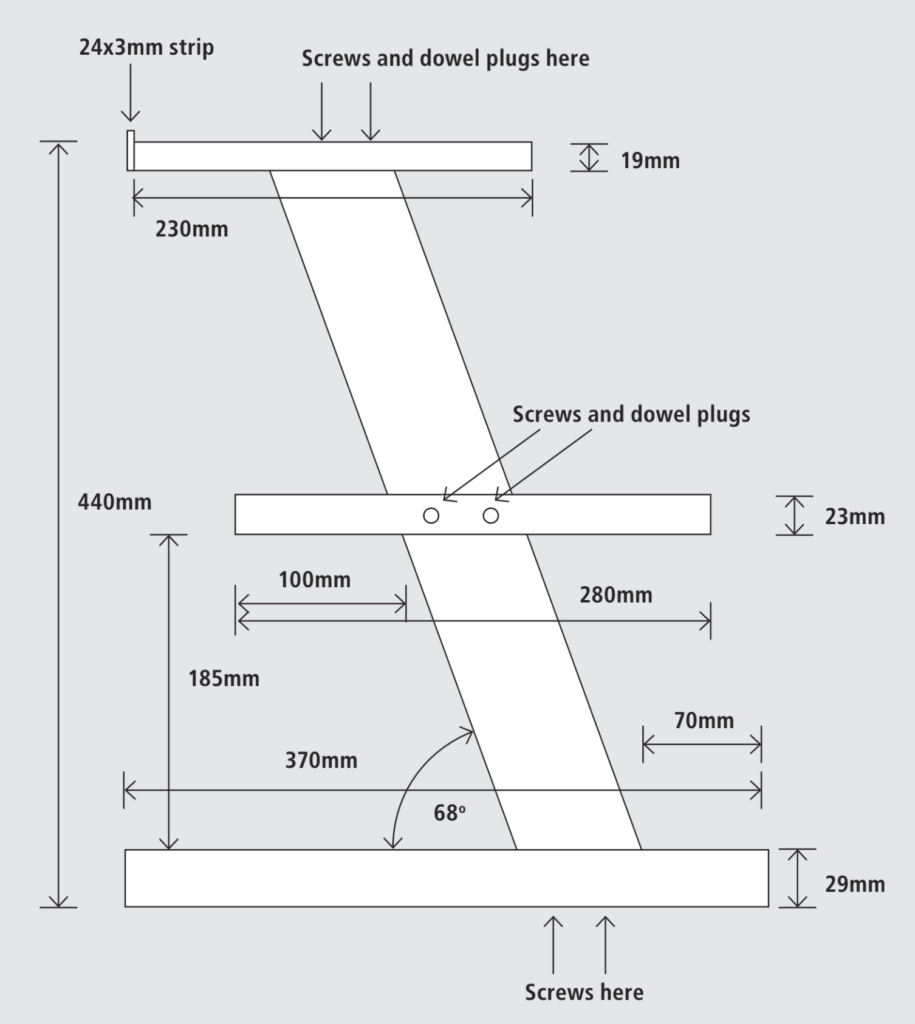
I started the process on my drawing board, drawing it out at 50 per cent scale, and this allowed me to work out what I thought was about right aesthetically. As I am a visual person, I then made a full-size mock-up using some off-cuts of pine that I had left over from a previous project. After making the mock-up, I decided to change the angle of the uprights slightly before starting on the main project.
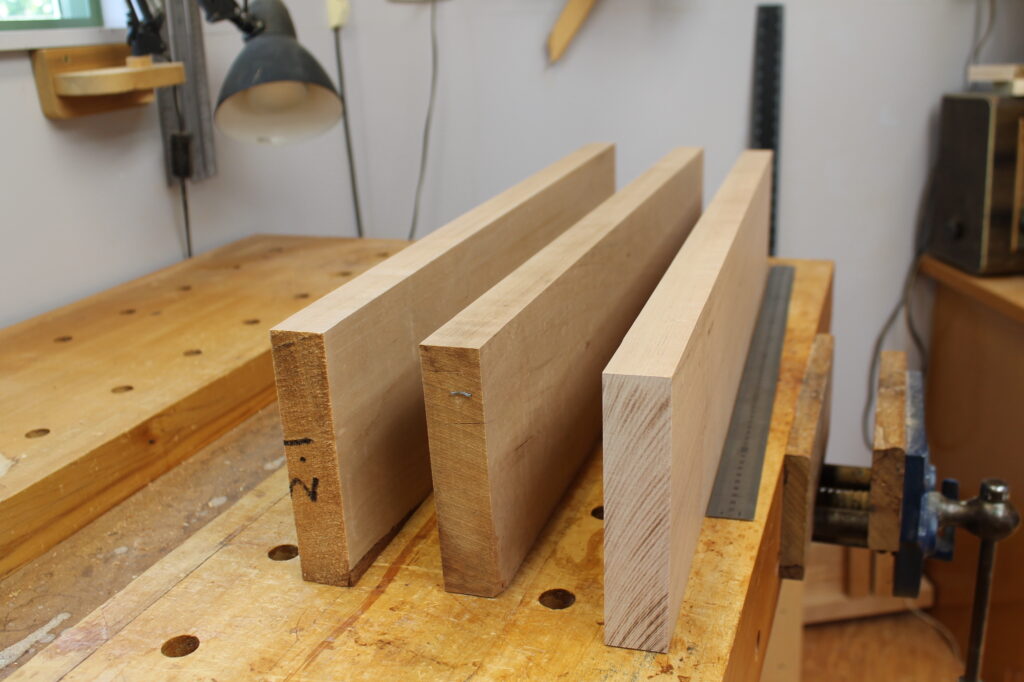
The base of the stand is 620 mm x 370 mm x 30 mm thick. There are no required measurements, and you can change the sizes a little to suit the type and size of timber you can buy. Avoid the end grain facing the front for aesthetic reasons. I purchased 150 mm x 40 mm rough-sawn timber, machined it, and glued three pieces together to get the desired width before trimming. As I said earlier, I machined the rough-sawn timber myself, but you could ask the timber yard to machine it for you or buy pre-machined timber.
The finished base is 620 mm x 370 mm x 29 mm.
The shelf is 330 mm x 280 mm x 23 mm (trim to length partway through the assembly process to ensure the length is correct).
The top is 580 mm x 230 mm x 19 mm.
The front strip along the top is 580 mm x 24 mm x 3 mm.
The uprights are 65 mm x 28 mm, rough-cut to 500mm long before cutting the angles.
Jointing options
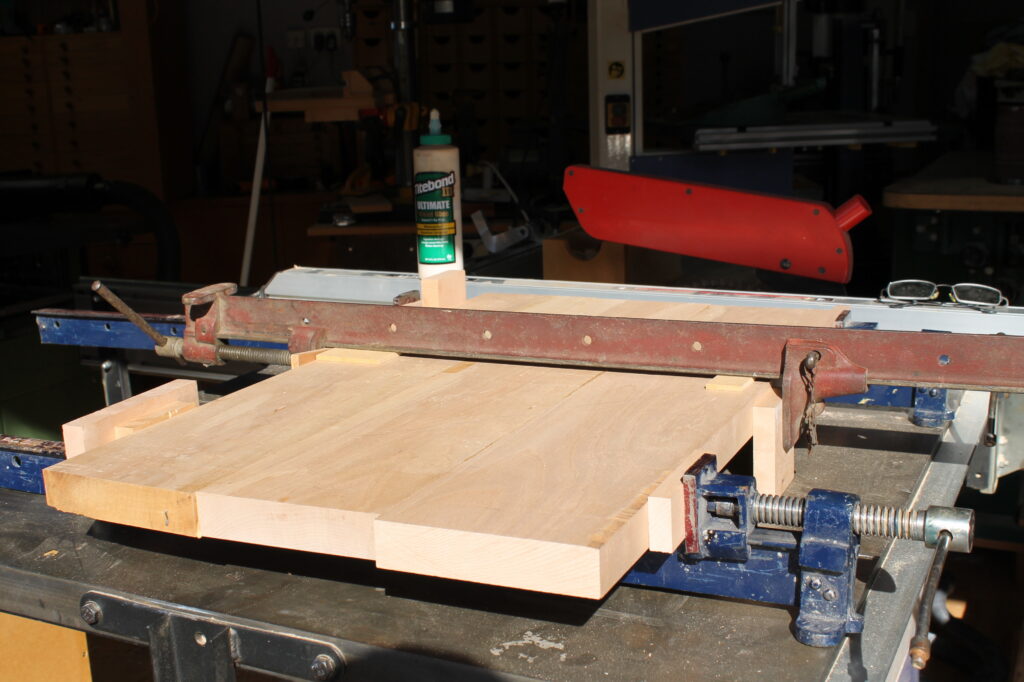
To glue the pieces together, you will need clamps to lock the timber in place while the glue dries. I have about half a dozen of these clamps, and if I need more, I can always borrow them from my neighbour, as he does from me from time to time. My clamps, mostly, are not high-quality, expensive ones but they certainly do the job.
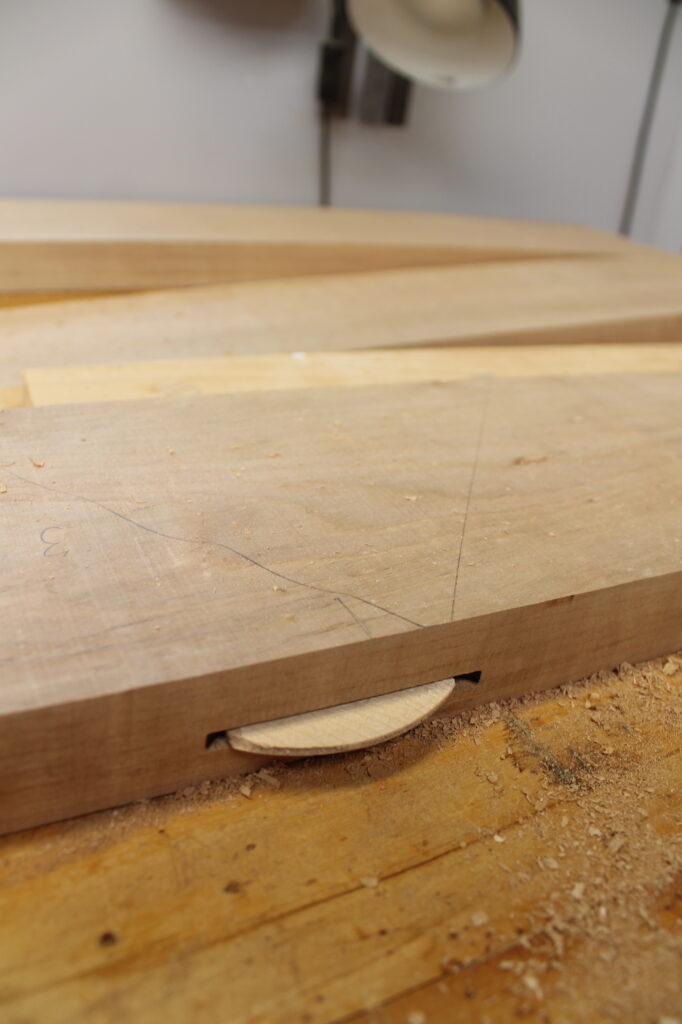
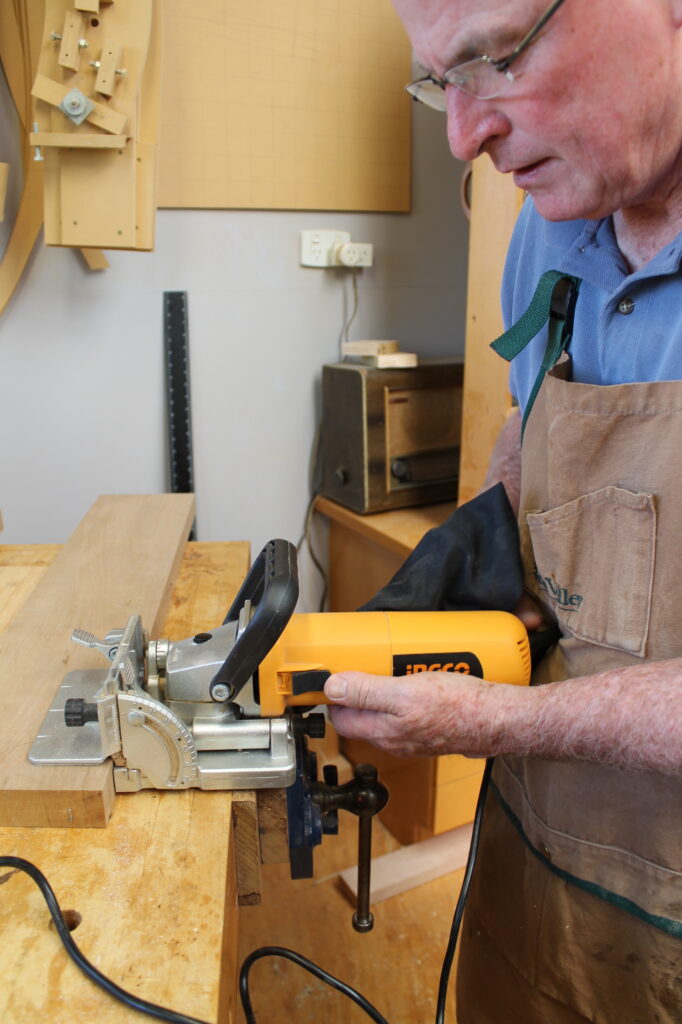
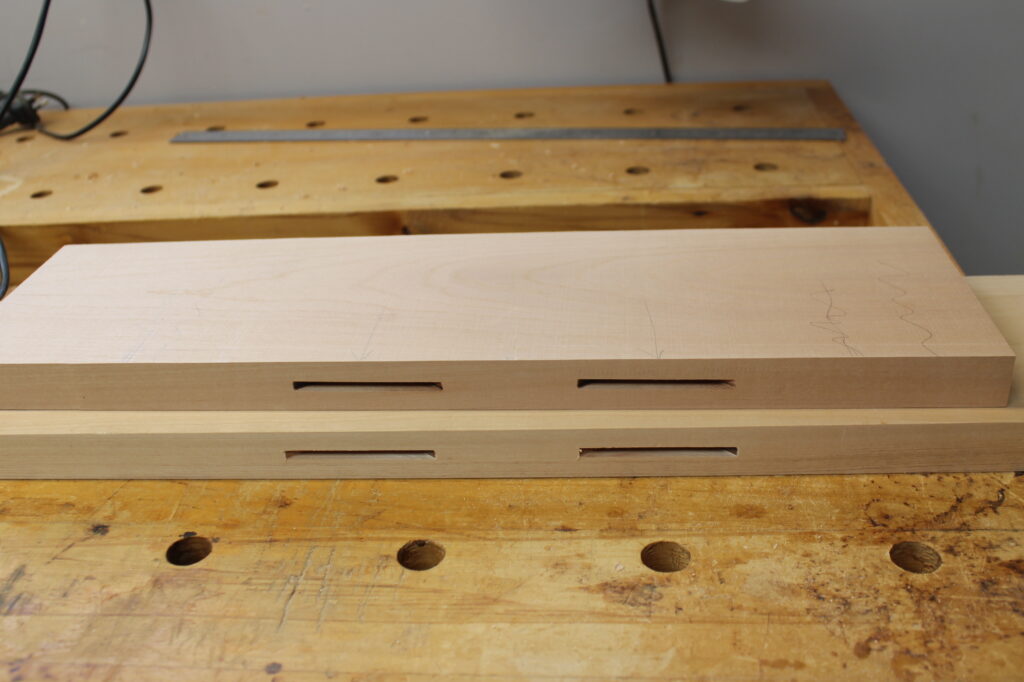
I have inserted biscuits into the joints when glueing the timber together. This adds strength to the joint but, in my view, certainly the base and the centre shelf are thick enough to allow good strength by glueing them together without the biscuits. If you do not have a biscuit slotter, you might consider using dowels. The holes for dowels should be carefully marked out and drilled.
Take a little time with the glue-ups to ensure you have at least one surface where the three pieces all line up. This saves a lot of additional planing or sanding when finishing the base. I usually place greased cooking paper on the clamp where the timber sits to avoid the water in the glue causing a chemical reaction with the steel of the clamp and leaving a black mark on the timber.
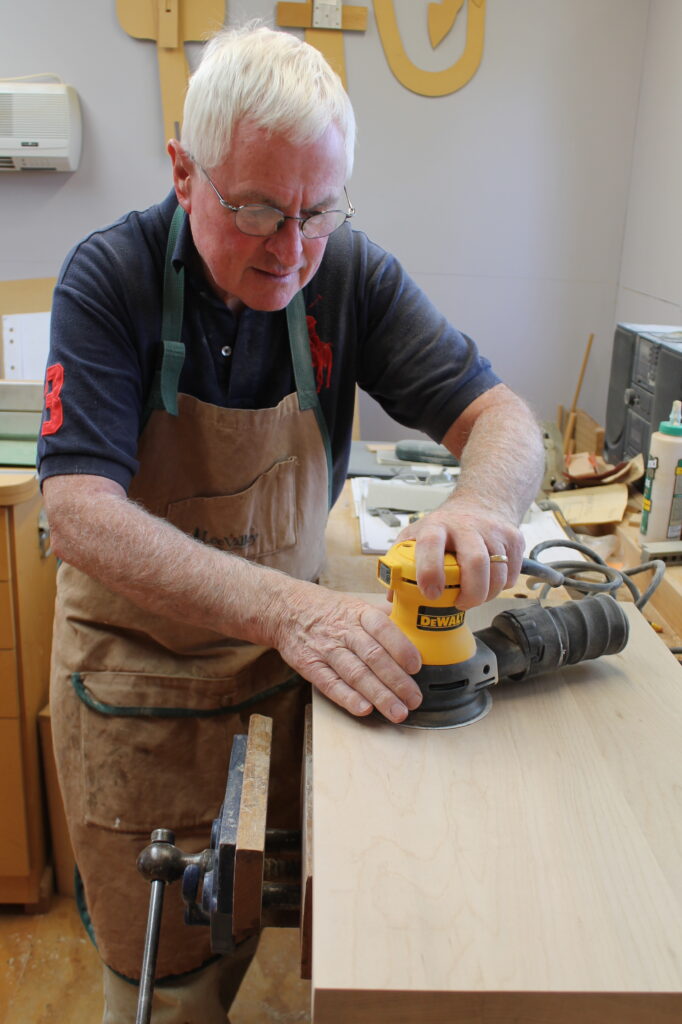
Once the glue is dry, trim the base to the required sizes. I then use an orbital sander to sand the surfaces to the finish I require. I do not find this task pleasant, but it is necessary to make a quality product.
The shelf and the top
The centre shelf is 280mm wide, so I started with two pieces of 150 mm x 40 mm, machined them to size, and glued them together — the same process as used for the base using biscuits.
The top is 230 mm x 19 mm, and while I might have been able to find some timber that width, I decided to glue two narrower pieces together to try to alleviate the risk of it bowing due to the ever-changing climate conditions. With this timber only being 19mm thick, it is more desirable to use biscuits or dowels to give the joint that additional strength. Again, not a necessity, but it certainly gives a little more peace of mind.
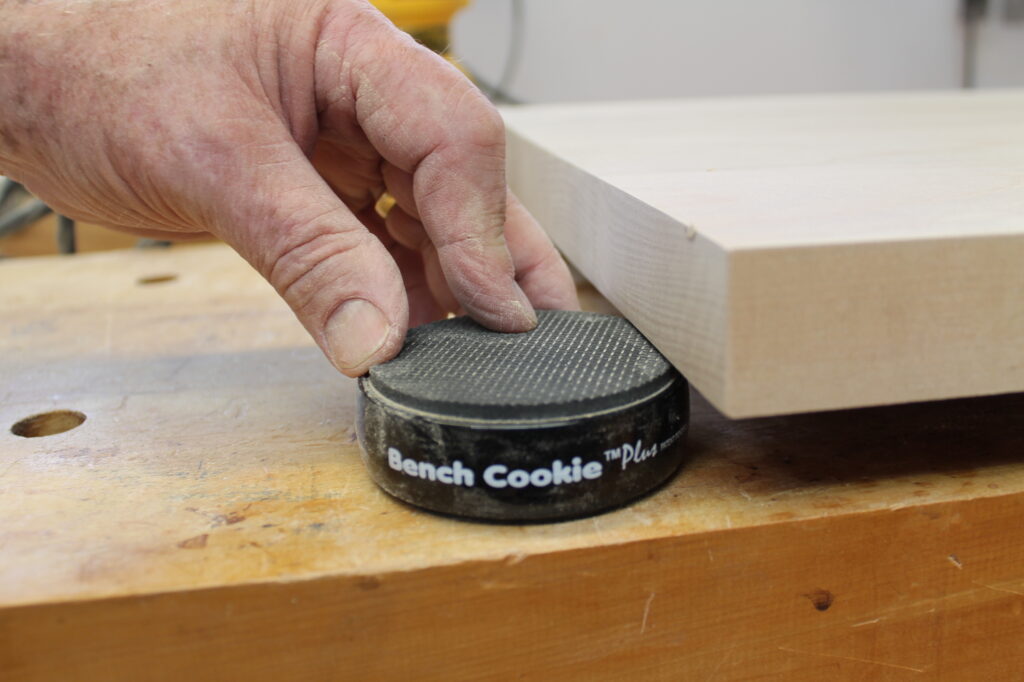
At this stage, with the components all trimmed to size, it is time to sand them all to the desired finish. Holding the components while you are sanding them can be a little difficult, but I have found that ‘Bench Cookies’ are ideal and really do hold the pieces while you sand them. They are relatively inexpensive to buy in a packet of four from a specialist shop like Carbatec. I use my orbital sander, as I find it best, but you could easily use a flat sheet sander or, if you are really keen, sandpaper and a sanding block. This can be a messy job, and you should use safety equipment like a mask and ear muffs (I use earplugs).
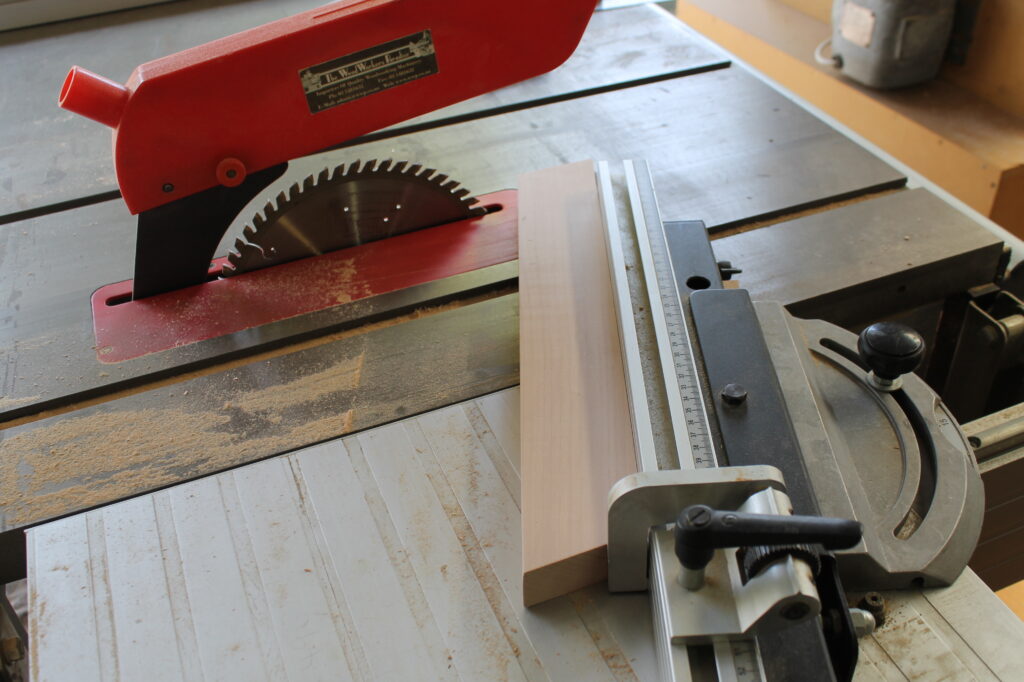
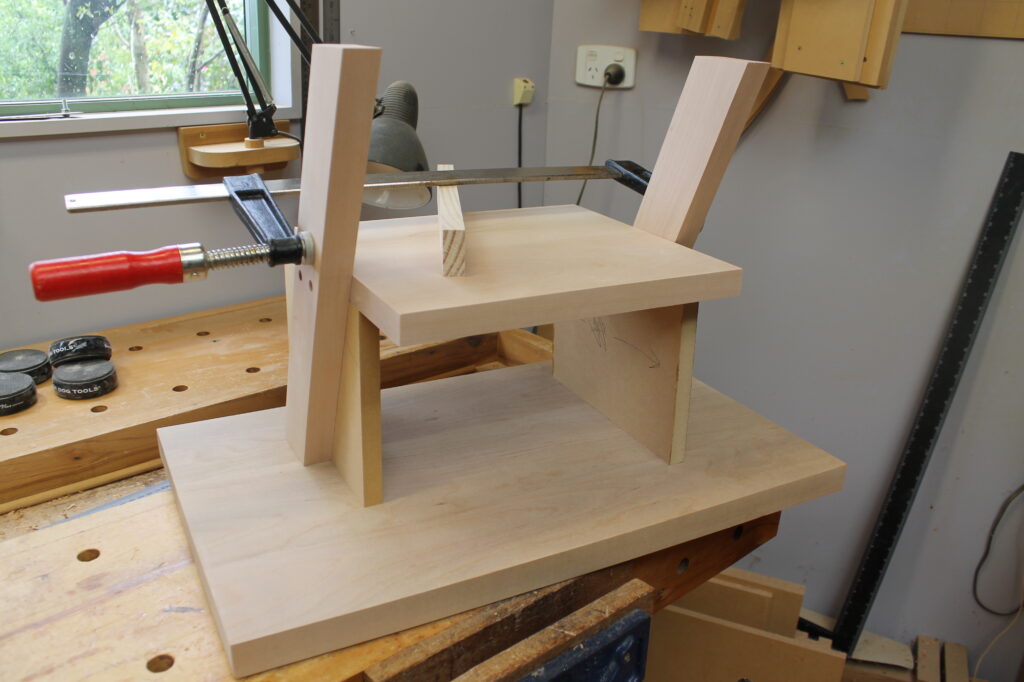
Cut the angles on the uprights, making sure you cut them the correct way around. I was able to cut these on my bench saw, but they can easily be cut by hand. Using 185mm MDF spacers, I worked out and marked the place for the screw holes in the uprights. Remember though, the 185mm spacers are the bottom of the shelf, so the holes are marked, and drill about 10mm above them.
Assembly
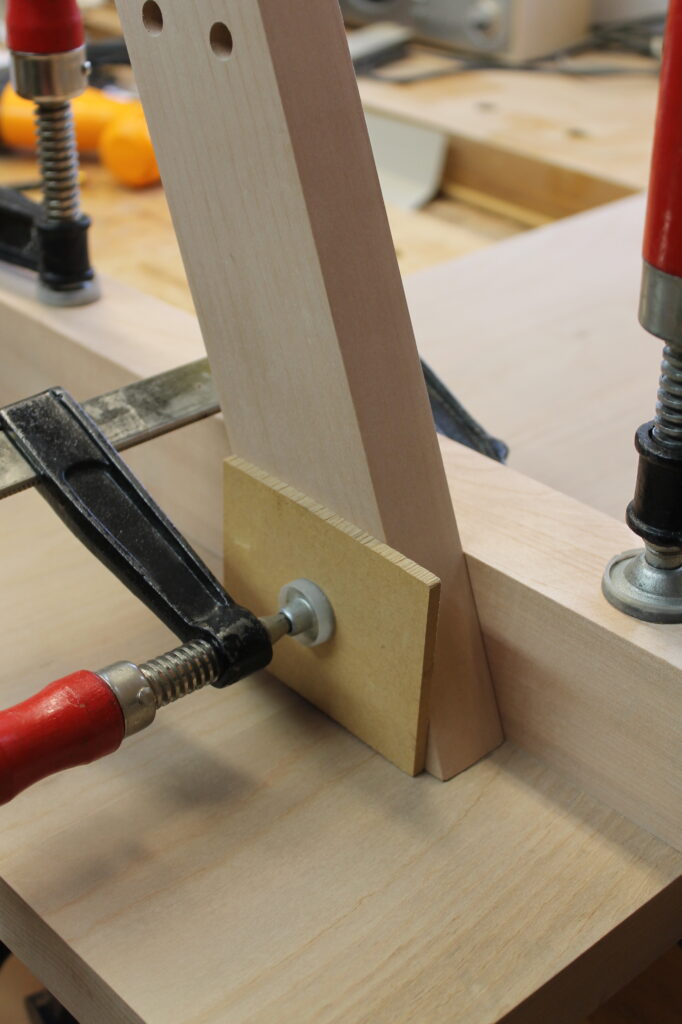
I started the assembly process by marking out exactly where on the base I wanted to place the base of the uprights and drilling the holes for the four screws. When assembling, I used a scrap piece to clamp to the base, knowing the upright was at the correct angle, and then did the same with the second upright. Just in case I was a millimetre or so out with the width of the uprights, I did the final trimming to length of the shelf after the uprights were screwed in place.
The bottom of the middle shelf is 185mm up from the base, so I cut two scrap pieces of MDF to 185mm wide and used them to set the shelf in place parallel to the base. From there, I was able to mark out exactly where I would place the screws to hold the shelf in place.
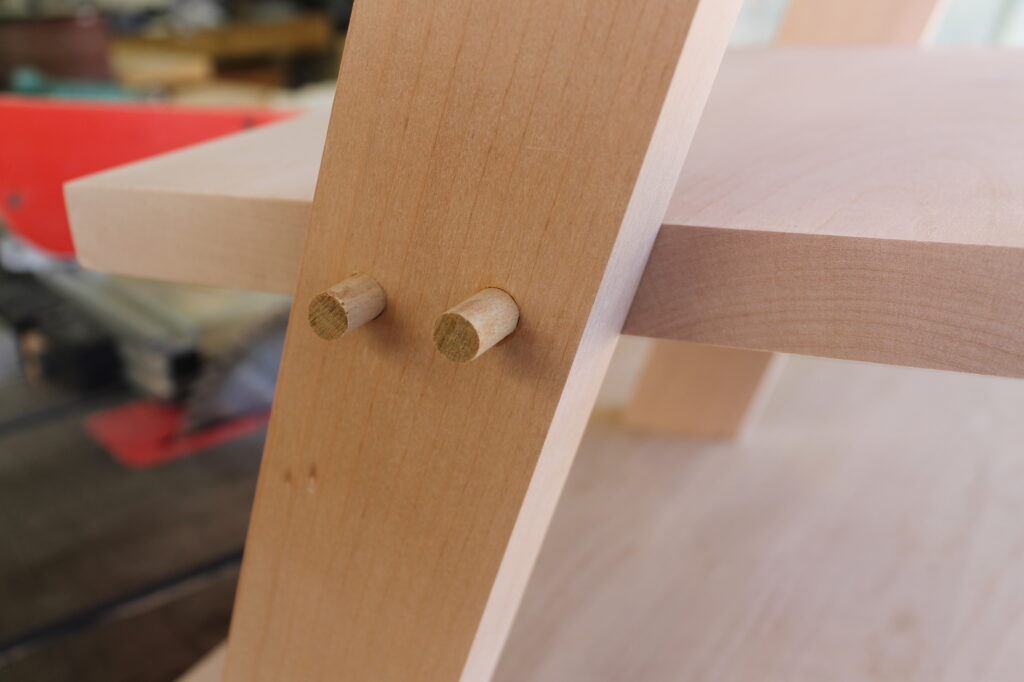
I considered leaving the heads of all the screws on the uprights and the top visible, as per the mock-up version, but decided I should make it look a little more classy than that. The screw holes holding the shelf in place were plugged with a dowel glued in place and then sanded smooth with the surface. I drilled a 10mm hole about 10mm deep before drilling the holes for the screws and, once everything was assembled, I glued in a short length of 10mm dowel, cutting it off and sanding it smooth when the glue was dry.
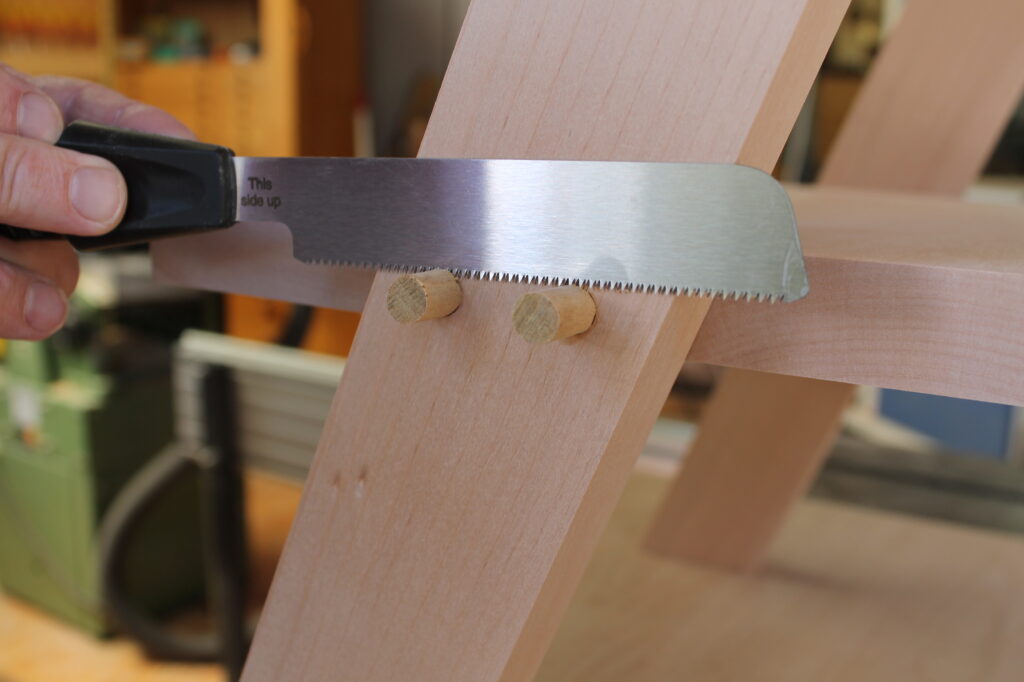
I have a small, inexpensive, single-sided saw for cutting off plugs that does not leave a mark on the wood, but you could use any smaller ordinary saw by placing thin cardboard next to the wood to avoid the unwelcome marking of the wood.
Fitting the top and finishing
To screw the top in place, I carefully marked out where it was to go and then drilled the four holes, firstly for the dowel plugs, and then for the screws. I then attached the top.
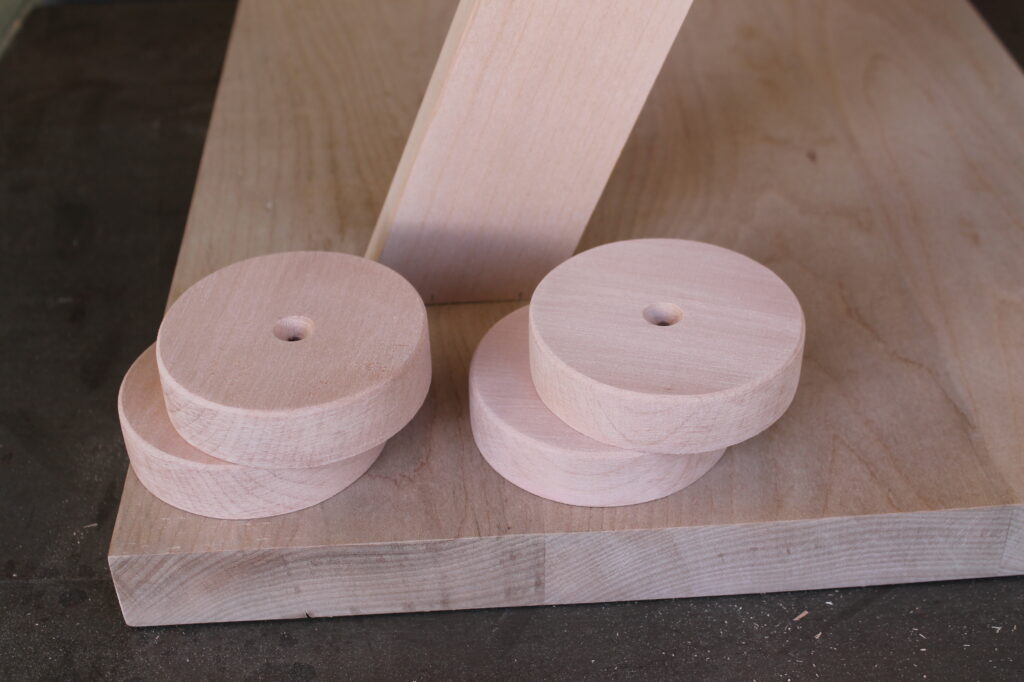
Under the base, I considered fitting four small rollers but finally decided on four round discs about 75mm in diameter by about 20mm thick. I cut these on my bandsaw, but they could easily be cut by hand. I screwed them in place about 10mm from the edges. I used a small dab of glue before I finally screwed each disc in place.
The finishing is not one of my favourite tasks, but it still needs to be done well. I put on two coats of black Briwax water-based wood dye, and then two coats of clear satin varnish. I would suggest you always apply these sorts of finishes onto offcuts first to ensure you get the finish you require. My favourite finish in beech is Danish oil, but this was not suitable for this project.
The top where the television sits is a flat surface, so to avoid the television vibrating forward, I placed a 3mm thick strip along the front, upstanding from the base by 5mm. I attached this with four small brads and glue. I punched the brads below the surface and filled the holes with a wood filler.
Safety warning
If you have or are likely to have babies or toddlers in your house, you should consider tying the television to the top with simple generic clips available from a hardware store, or perhaps drilling several 1mm holes and using clear nylon fishing line to hold things in place should there ever be an earthquake. Sadly, a very young child perished when a television fell during the Christchurch earthquakes.
Timber materials
Base: 620 mm x 370 mm x 29 mm.
Shelf: 330 mm x 280 mm x 23 mm
Top: 580 mm x 230 mm x 19 mm
Front strip: 580mmx24mmx3mm
Uprights: 65 mm x 28 mm, rough cut to 500mm long