
The renovated cottage reaches its goal
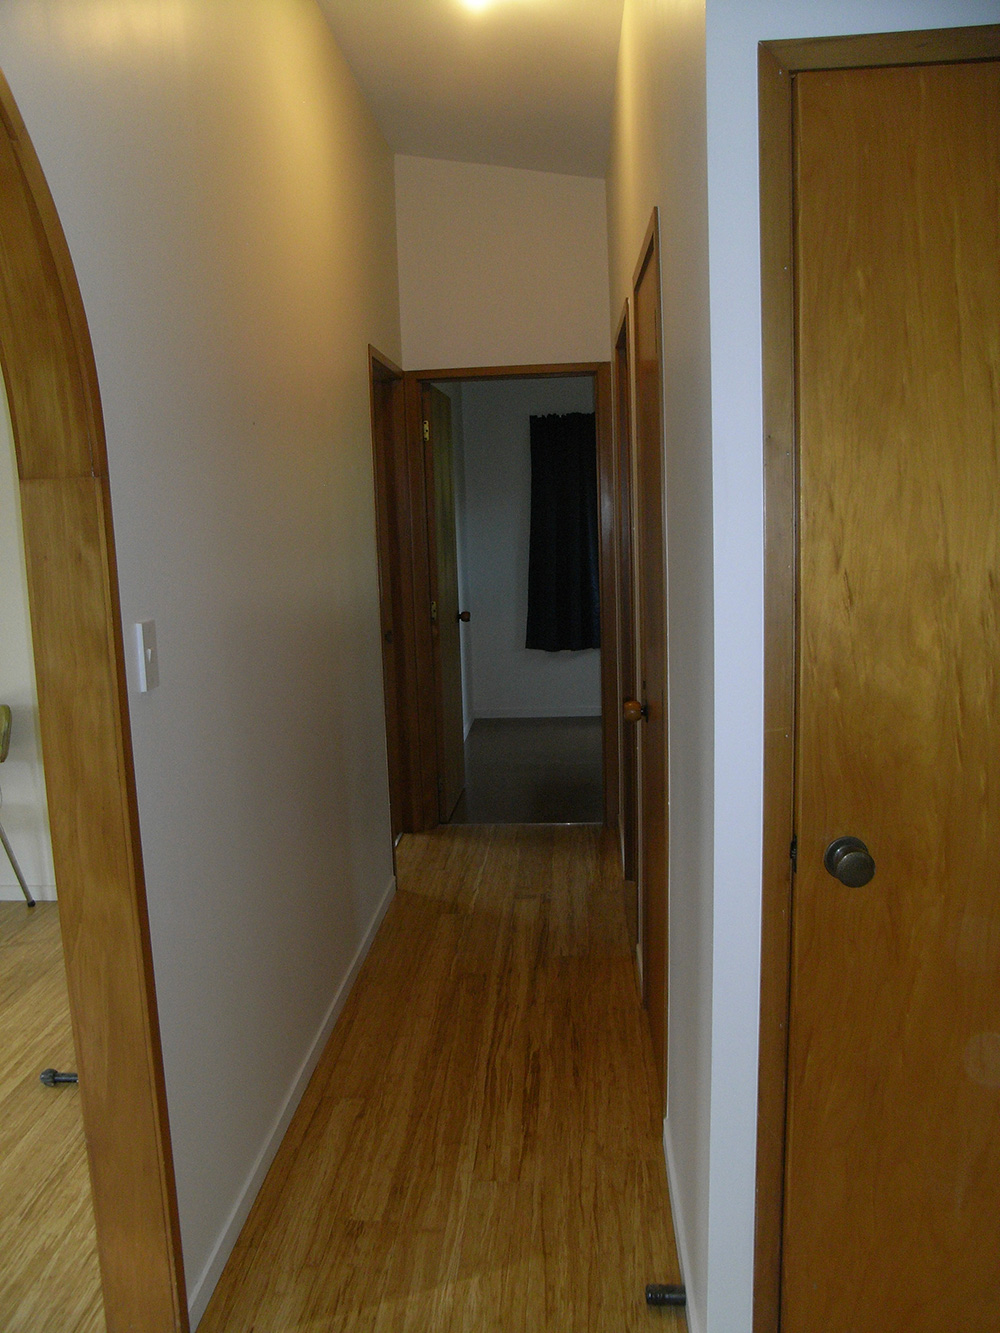
The goal of this Eco Design Advisor series of articles in eleven issues of The Shed magazine has been to show the stages of turning a cold, damp 1986 cottage into a warm dry one, using good eco design principles. We wanted to convert the cottage from a mouldy dump into a bright, healthy home that would need little maintenance for the next five years. All on a budget and in the most eco-friendly way. One of the biggest parts of the job was the interior refurbishment. I knew I wouldn’t have time to do most of that myself in my annual leave. Reline or repair? We inherited peeling wallpaper, cracks in the plasterboard and mould. Should I rip out the old plasterboard and re-line? Or strip the wallpaper, repair the cracks and dings, skim-coat and repaint? I got quotes from four contractors for each of the two options. Though there were some big differences between the contractors, on average it would cost slightly more to repair than to reline. When I pulled off some of the wallpaper I could see the plasterboard was mostly sound and the framing straight enough not to need attention. If I were to reline, though, I’d be sending more than a tonne of plasterboard to landfill, and one of our main aims was to limit the amount of solid waste generated. I’d still need the same amount of paint and probably even more stopping compounds. Also the reline quotes didn’t include a figure for disposal of the waste. So I decided to repair and spend a little more, to save on waste.
Choosing the contractor
It’s really important to get the right person, someone you can work with and trust. The tradesman I chose to do 24 the wallboard repairs and skim-coating wasn’t the cheapest but he was very experienced and knowledgeable. He came with the best references and he was easy to talk to. In order to fit more insulation, I was planning to install a new ceiling under the exposed rafters. This meant carefully removing the existing 30 x 10 mm timber scotia. I stored it for reuse in other projects and Dennis did a beautiful job of square-stopping (without a scotia) against the new ceiling for a cleaner look.
Mould treatment
The interior mould was mostly on the vinyl wallpaper and hadn’t penetrated into the board. I would have needed to think again if it had, because removing mould from porous building materials like plasterboard or timber is practically impossible. This is because the mould filaments (hyphae) penetrate deep into the material and are out of reach of mould killers, so they can regrow from the inside. The exterior mould was superficial and easily dealt to with a good wash and anti-mould.
Kitchen
The basic 1980s kitchen was sound: good for another five years. A good clean and repaint made a world of difference and anyway I didn’t have the budget to upgrade it. The range and fridge were munted so they went to the scrap dealer. There was no rangehood. Lack of a rangehood contributes to mould in a house, so I installed a new one vented to the outside.
Bathroom
The bathroom, sound but dilapidated, was also good for another five years. It had a shub but no extractor fan. I replaced the rusty vanity hinges and repainted the room. I planned to install a quiet fan wired to its own separate switch, with a run-on timer. This is a great way to make sure the fan runs on for a few minutes after you leave the bathroom. It helps get rid of the excess moisture after a shower and so reduces the risk of mould. But I dropped the ball on this one and forgot to ask the electrician to run the necessary cable in the rafter space between the switch and the fan location, before the new ceiling went in. So I had to settle for a through-wall extractor wired to a nearby light, missing out on the run-on feature.
Floors
As I mentioned in last month’s article, the existing floor had unsightly patches and the finish was worn. In the interests of durability and appearance I overlaid it with bamboo click-together strip flooring in high-wear areas and cork tiles in the bathroom and bedrooms.
Windows and doors
The existing aluminium joinery was sound and weathertight. The moisture damage on the windowsills was all internal, from condensation. Like all single-glazed joinery it didn’t do much for the thermal performance. However it let light in, kept the weather out, and should continue to function for another ten years. Not to mention that I didn’t have budget to upgrade it. I added security stays to improve the ventilation options. Many homes are shut up all day, which leads to under-ventilation, condensation, and overheating in summer. In the future, I could retrofit double glazing into existing units or replace them with new double-glazed thermally broken aluminium, PVC or timber units for better thermal performance. This is a rapidly changing field and there may be new technologies available by then. The choice will depend on costs at the time.
Cladding and roof
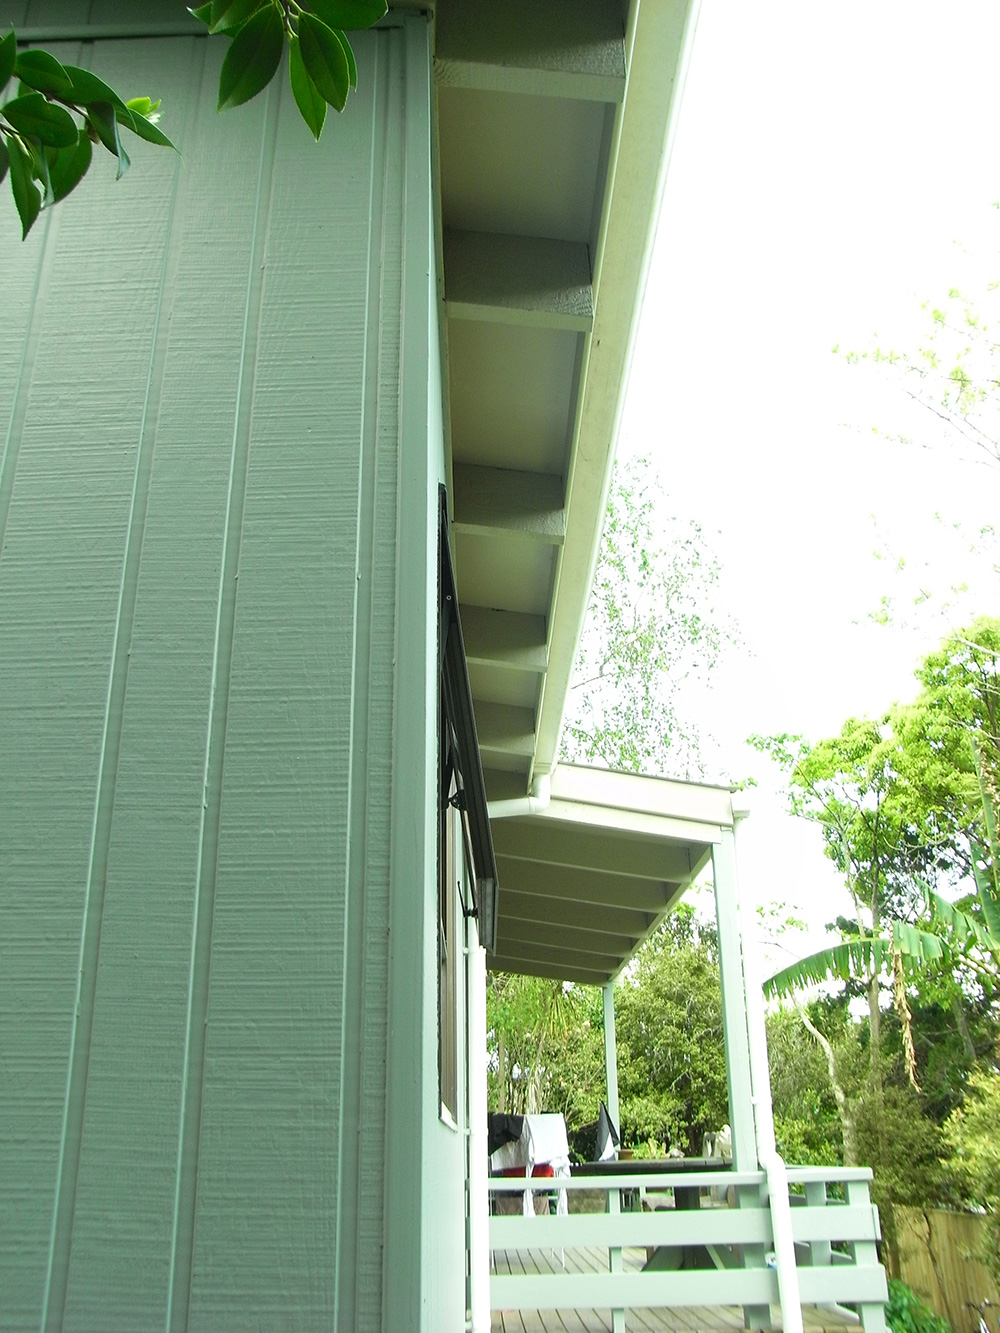
The cladding was OK. There was no damage showing and it needed only a repaint. The mould in the shady areas was superficial and I treated it as mentioned above. To discourage future mould growth I removed foliage that was causing excessive shading. The roof, painted corrugated steel, was sound. I took a sheet off to check the underside for rust. A waterblast and repaint was all it needed.
Budget
The work took place in winter 2010. The original budget was $25,000 but, as is usual for a renovation, not only did the scope of the work increase but there were some cost overruns. The final figure was $35,000.
The result?
After 2½ years accommodating two adults and a young child, the cottage has internal and external finishes in good condition, showing the benefit of good preparation. The floors still look like new. The house is easy to clean. The living areas need almost no heating in winter because of the emphasis on insulation and letting the sun in. Running costs are low. Insulation and solar access coupled with good moisture control mean there are no mould problems. The tenants love the way the house is comfortable and healthy and don’t want to leave.