
We showcase the metal-shaping and coachbuilding skills of Rod Tempero Motor Body Builders Ltd from Oamaru in The Shed Issue No. 93. The company’s world-famous and internationally sought-after car-building talents make it one of this country’s finest coachbuilders. We head to the mainland to meet Rod and his team and do our best to dig out as many metal-shaping and car-building secrets as we can.
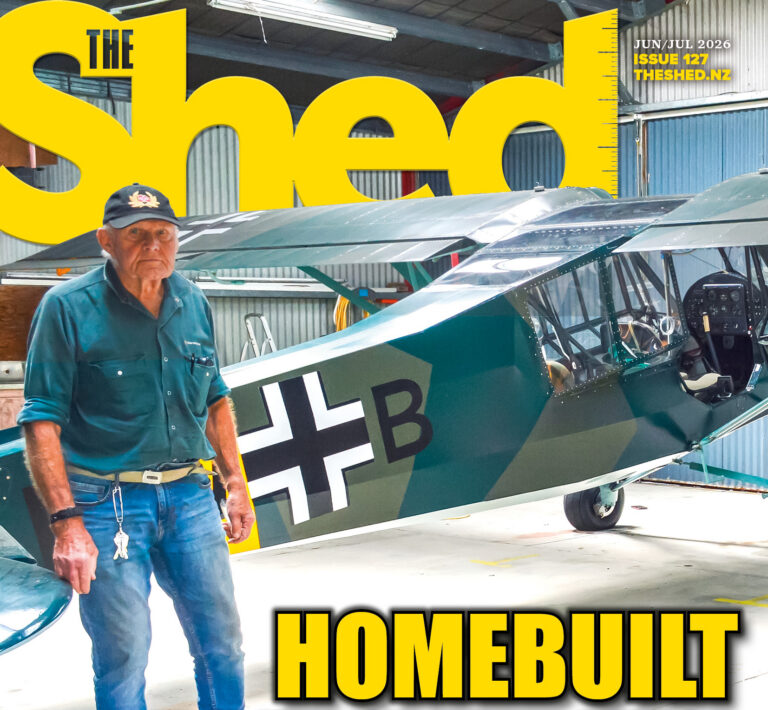
Murray Belfield is a phenomenon
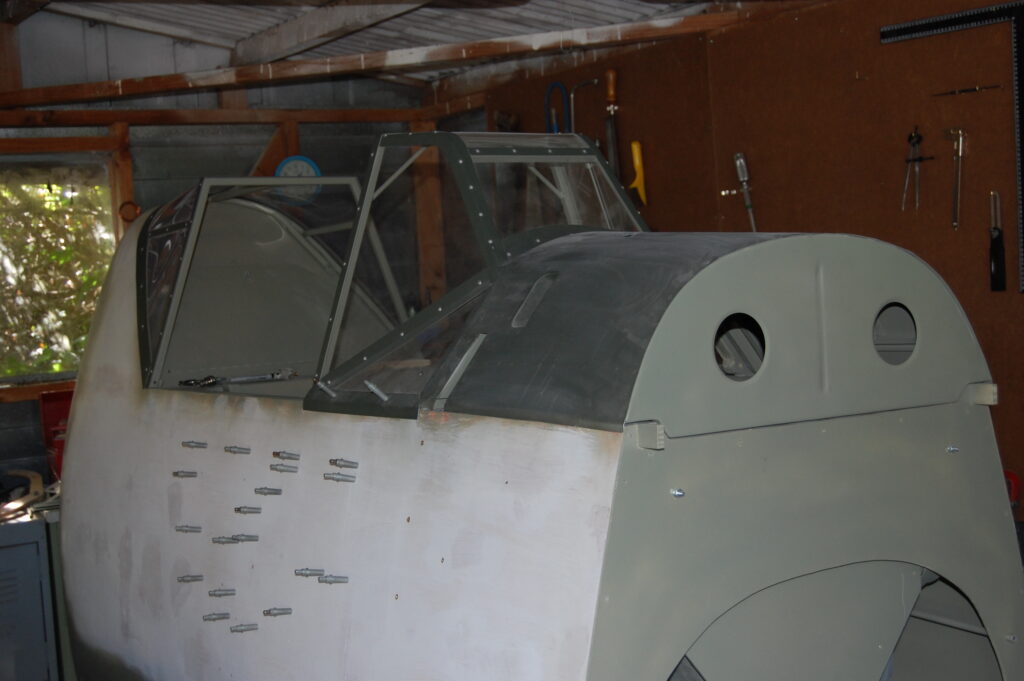
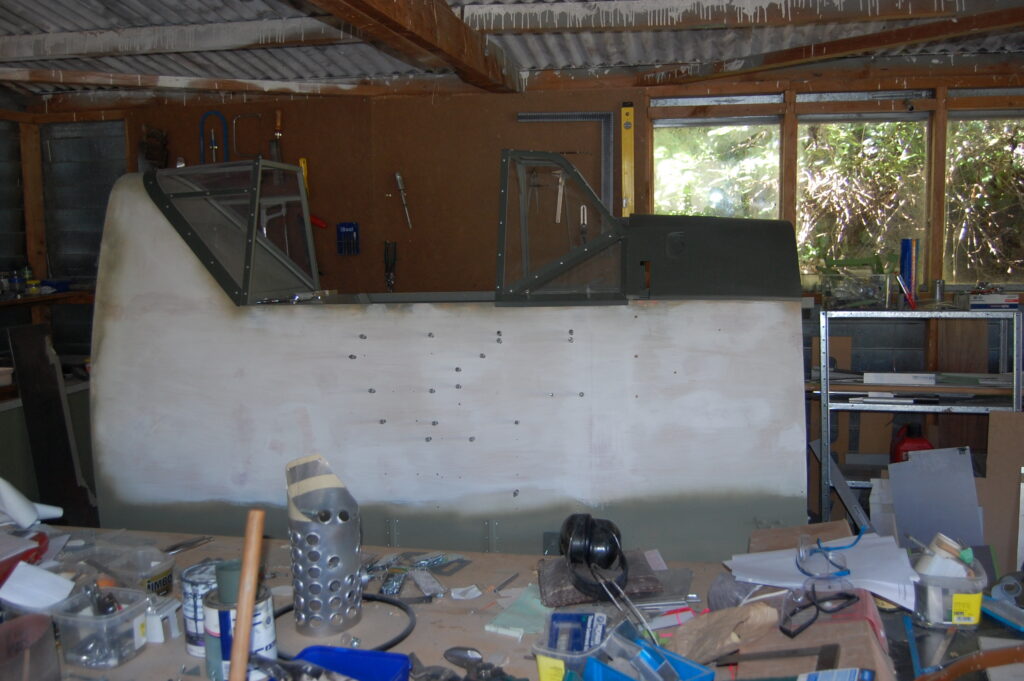
He has built a few planes over the years, but none gave Murray the performance and thrills he really wanted until he built his scaled-down German paratrooper’s plane, a Storch. Building this rarest of planes consumed nine years of this 86-year-old’s life. And the result? He couldn’t be happier.
For most of us, stalking a deer across the back country, shooting it cleanly and lugging it home to furnish the table would be accomplishment enough for any evening’s bragging rights.
But when that involves landing an aeroplane you built in your shed onto a handkerchief-sized patch of hilltop scrub, finding and shooting the quarry, manoeuvring the carcase into the spare seat and getting off the ground again, and doing all that at the age of 86, bragging just vanishes in the slipstream. Murray Belfield is, anyway, far too practical and busy a guy to waste his evenings boasting to his mates, but he is, nevertheless, a phenomenon. His plane, the second he has built by hand, is another. Highly specialised for short take-offs and landings (STOL), it is a three-quarters-scale replica of a WWII flying legend, the Fieseler Storch.
The replica, designed by famed aircraft engineer Ladislao Pazmany, is so challenging to build that, to Murray’s knowledge, only one other Pazmany model has been completed to the flying stage, by an enthusiast in Alaska. As if that wasn’t a hard enough ask, Murray has incorporated many improvements of his own based on his many years of bush flying experience (and his dislike of fibreglass).