


We are now calling for entries for your shed to be featured in our 2022 The Shed Calendar.

As New Zealand was in this stay at home order for five weeks, sheddies were busy and very active.
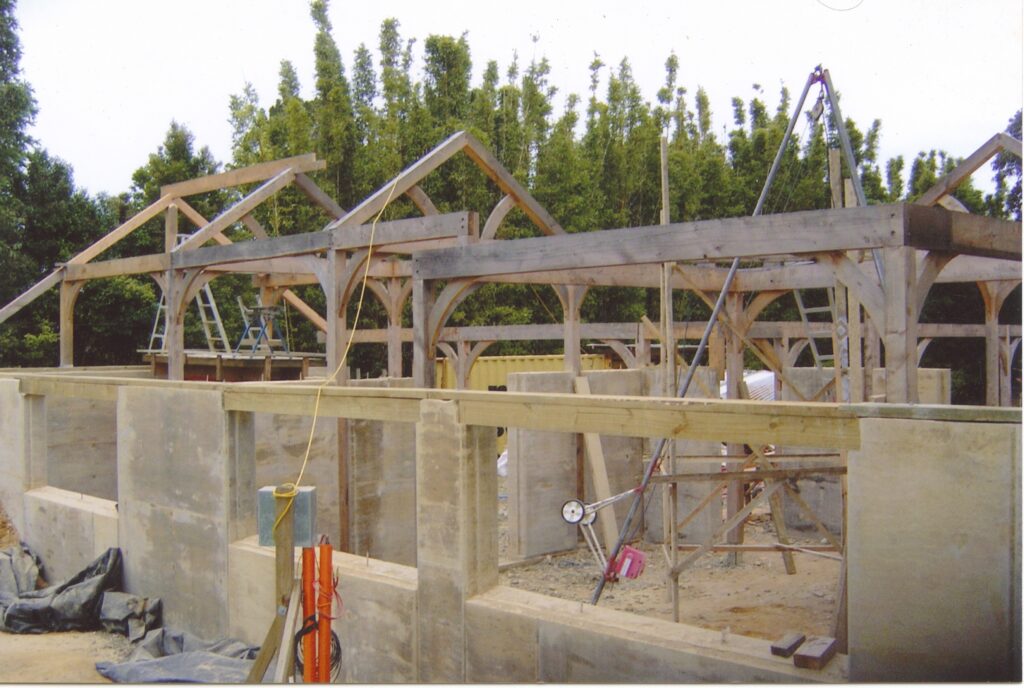
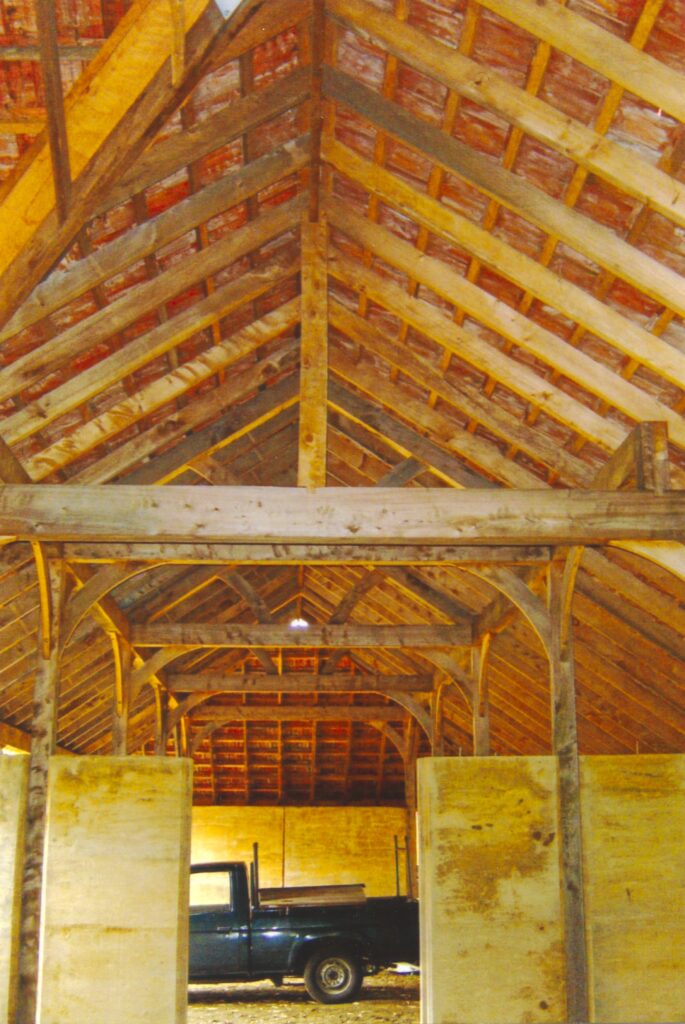
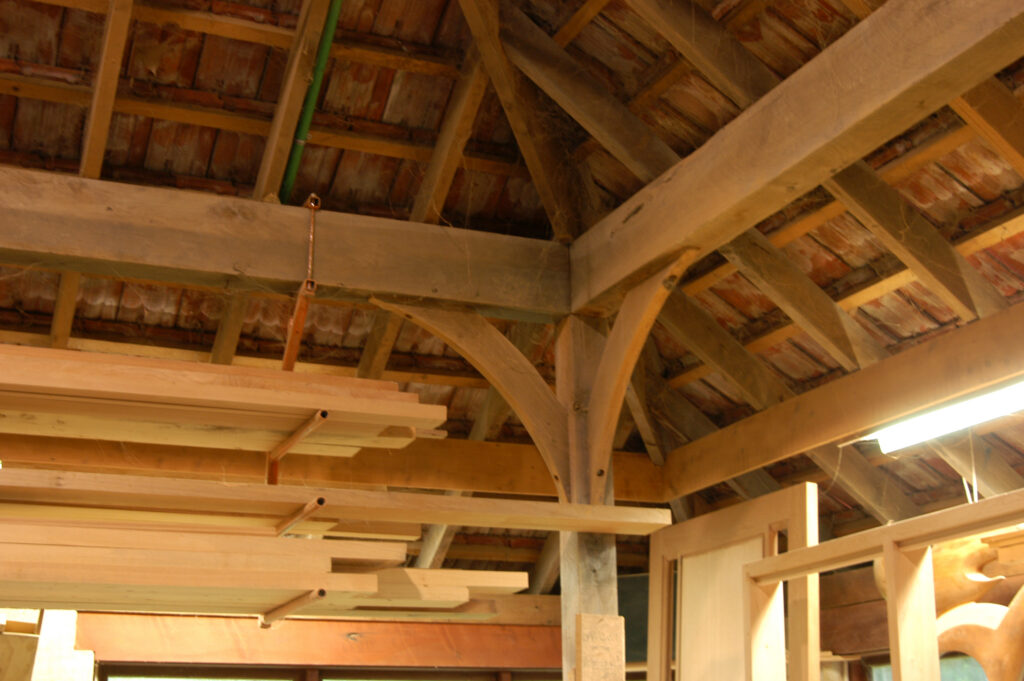
Here are some of them that shared their sheds, families and projects with us.

The next issue of The Shed is a milestone magazine, our 100th and we are building a bumper issue, our biggest magazine for many a year.
There will be plenty of special anniversary content along with our usual projects and advice.
One of the articles we are particularly looking forward to publishing is a visit to the home shed of Mitre 10 DIY guru, Stan Scott. Stan shows us around his home shed and shares with us what he creates in his leisure time.