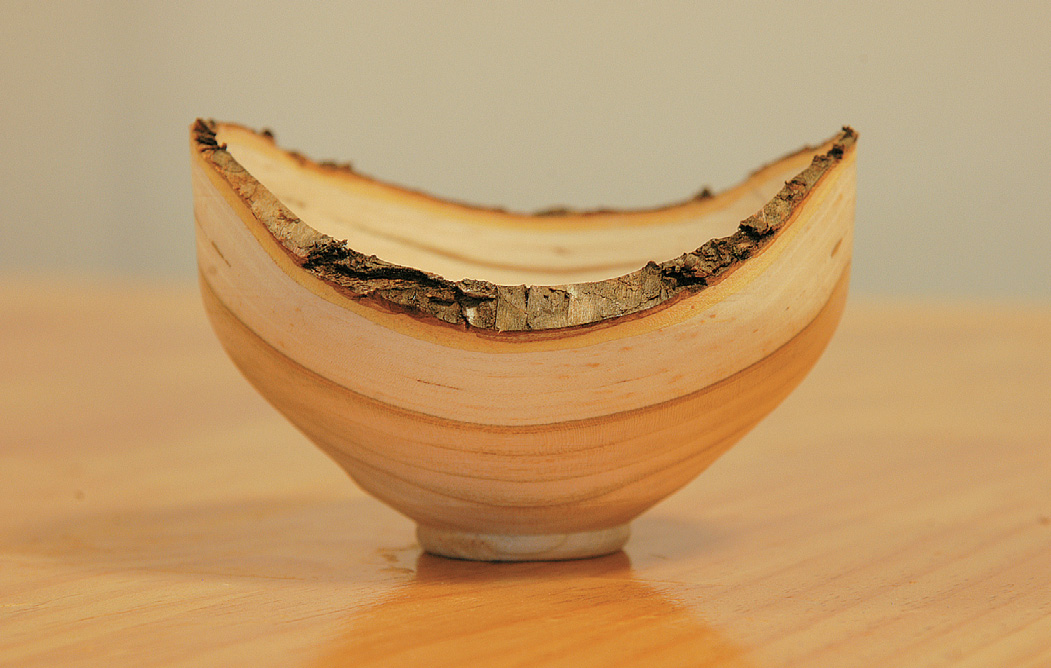
A bowl with a decent bark
A natural-edged bowl presents its own challegnes to the wood turner
FOR A SPECIAL piece of wood craft in the home, a smoothly finished bowl with its rough natural bark retained on the rim will always have extra appeal. The best timber for this kind of bowl is any fruit tree, the flowering cherry tree, olive tree or any tree with not too thick bark. Pohutukawa is a good wood, but the bark is fragile.
1
The secret to capturing this natural-edged look is to turn the bowl from a piece of timber that has not yet totally dried out. If you wait for bark-covered wood to dry, which you would normally do for most woodturning, the bark could come off naturally. When wood dries, so does the adhesive layer between the timber and the bark, and so the log sheds its rough outer coating more easily. Think of trying to pick up dried logs from a woodpile. You will find the bark shredding off in pieces in your hands.
2
But you also have to be aware not to turn a bowl too early when it’s green wood. Wood dries from the outside, and if the turned bowl is too green it may crack as the outside dries, and the inside remains damp.
To start you need a piece of timber from a small tree trunk, as round as you can get, and about 50mm longer than the width. Draw a straight line from end to end on one side. To split the log, I place the timber in a cradle and cut along the line. This gives you enough for two natural-edged bowls.
3
Here, I have used a piece of cherry wood. Cherry wood is known to hold bark well, and in a bowl it lets the colour come up brilliantly. You will be able to see the lovely contrasts between the cherry heart wood which is dark, sap wood which is lighter and the bark edging of the bowl. Cherry is also a soft wood and easier to turn.
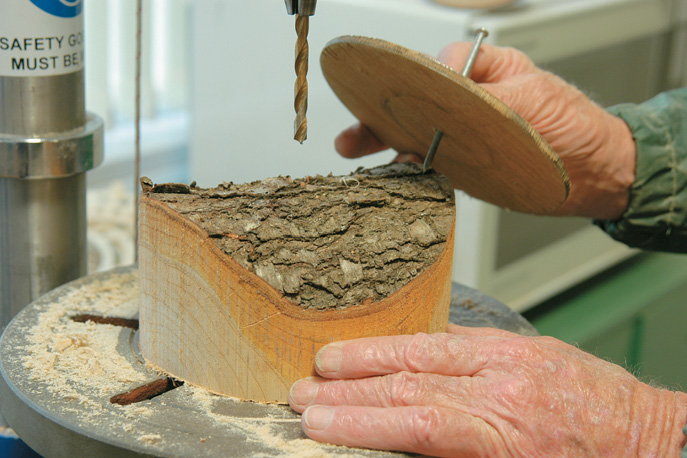
I nail a disc to the side covered in bark to get the approximate diameter of the bowl top i.e. the open side of bowl. It’s difficult to mark the circumference of the bowl on the bark with a compass, so I use a disc nailed on the top to give me an approximate measure. (1) I carefully cut the round out with a bandsaw. The next step is to drill a hole through the bark for the chuck to go into. I use a drill press with a drill size which suits the root size of the screw chuck I’m going to use.
4
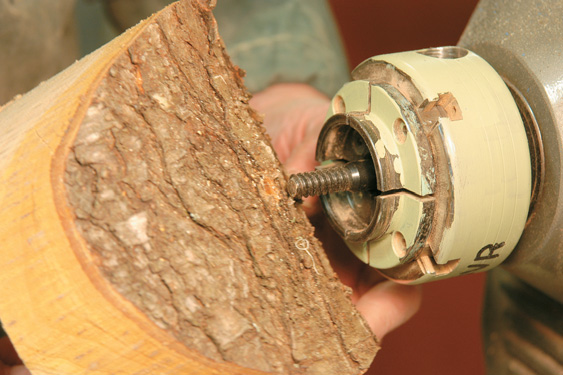
I fi t my screw chuck to a suitable four-jaw chuck on the woodturning lathe (2) and screw the wood blank on. You may need to make a little flat area on the bark top, to make the fit stable enough. The wood blank now presents the fl at section to the tool rest. Be aware that the bark moves from high to low around the bowl, because of the way the round was cut out of the hemisphere of the log.
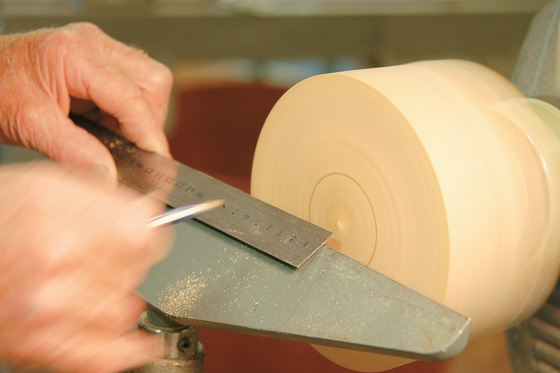
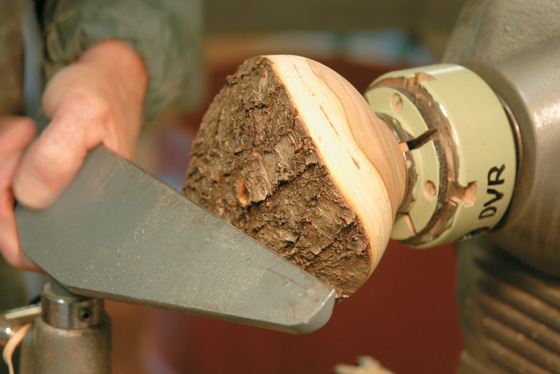
I tune up the wood chuck so it’s in balance. Then I true up the edge of the wood blank. Now I hold the pencil against the spinning blank to measure a 50mm diameter circle (3) to make a spigot on the bottom of the bowl. (4) This will fi t the chuck that will hold the bowl when I turn it around. It could be a 100mm spigot depending on the size of the bowl. A platter could have a 600mm spigot.
5
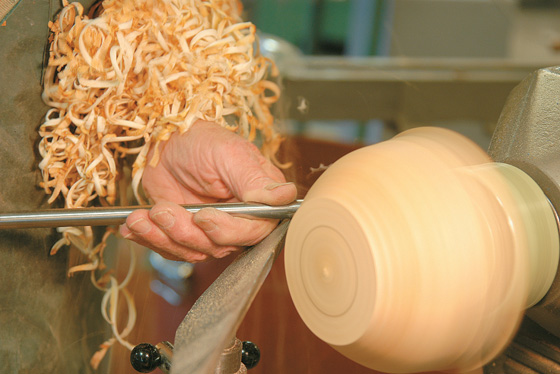
It’s very important to put a centre mark in the spigot. (5) Otherwise later, when you turn the bowl to put it on the friction chuck, it will be difficult to centre. Turn the blank, and secure the spigot in the chuck. (6) I now round the bark-covered section of the bowl to form the bottom shape of the bowl. (7) Woodturning lathes have variable speeds and the faster you can turn a bowl, the better finish you can get. It also makes turning easier.
6
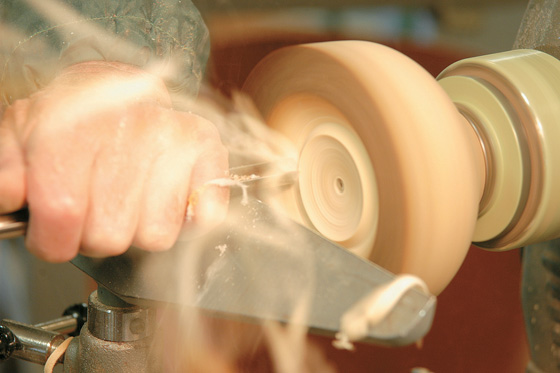
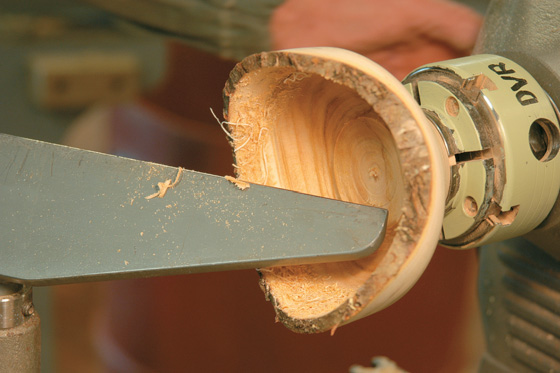
When turning natural-edged bowls, you have to be careful not to break off the bark. To safeguard against this happening, it’s best, when coming from the bottom to the rim, to stop about 25mm from the top. Then start from beyond the top edge of the bark with your chisel. (8) With the fl ute facing up, draw back to where you have already shaped from the bottom. (9) It’s essential to check the bark for any looseness during the turning. (10) I do advise anyone turning a green wood bowl to have some super glue ready for any tears or a breakoff in the bark. One woodturner is always well supplied with a super glue when he turns a bowl from pohutukawa, which is well known for shedding its bark.
7
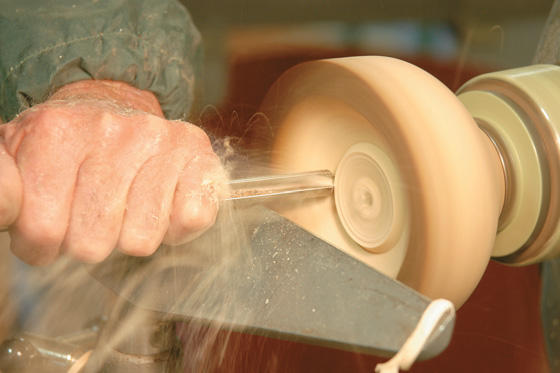
As you get deeper down into the bowl, you may find the reach of the chisel too much, and it will protest and judder. This is because too much of the blade is away from the tool rest. The answer is to move the tool rest closer to the bottom of the bowl. (11)

8
You have to measure how far down the chisel is going as it gets toward the bottom of the bowl. You want to get as close as you can without putting a hole through. A few woodturning mates might give you a bit of stick if you turn out a nicely fi nished bowl that retains a decent thickness – “why have you got all this timber on the bowl?” you get asked, when it might look reasonably thin to the ordinary eye.
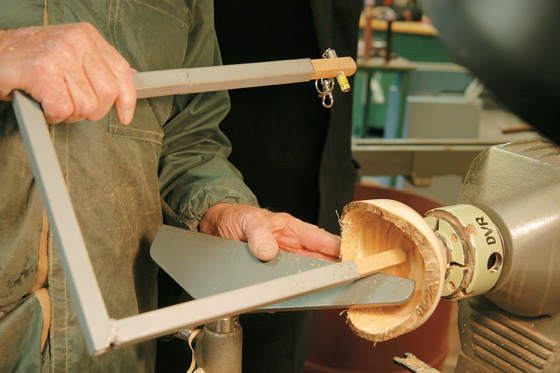
I check for the required depth with a small laser measurement frame I’ve made up. (12) The laser light from the little torch on the outside of the bowl pinpoints the depth you have reached inside. It’s clear how much wood remains to the bottom of the bowl from this measurement. (For details of the laser light measuring frame, see TIPS, page 7).
9
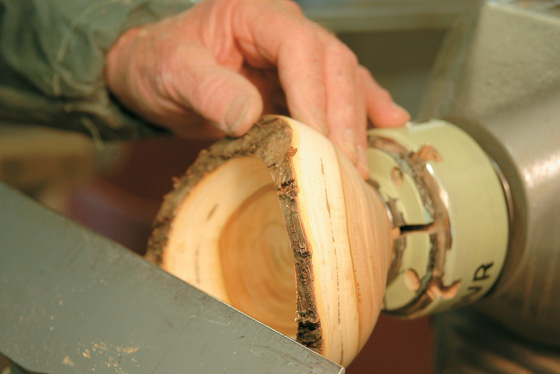
When the bowl has been finished to your satisfaction, leave it to dry for some time before sanding and finishing it with oil. Before the finishing process, I take off the spigot and create a concave base. Normally I would leave the spigot on, but on a green, turned bowl, the spigot can warp as the wood dries and the bowl may sit unevenly on a rocky base.
10
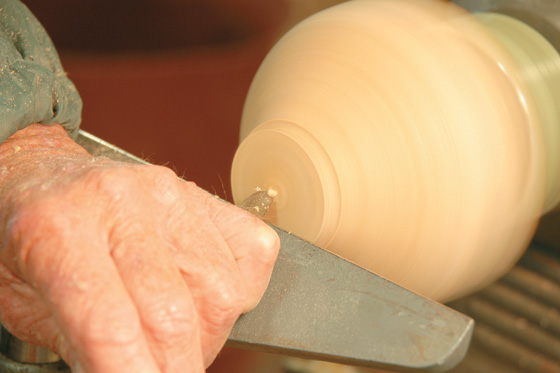
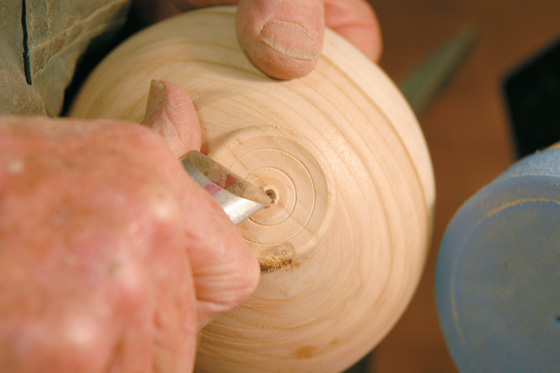
Place the bowl on a friction chuck to hold it and pull up the tailstock to the base. I take the spigot off and then create a concave bottom on the bowl so it will be stable. There is less chance of the concave base warping and being uneven, than a spigot which may have distorted in the drying process. Take the remaining nub off the bottom with a sharp chisel. (13)
11
12
13
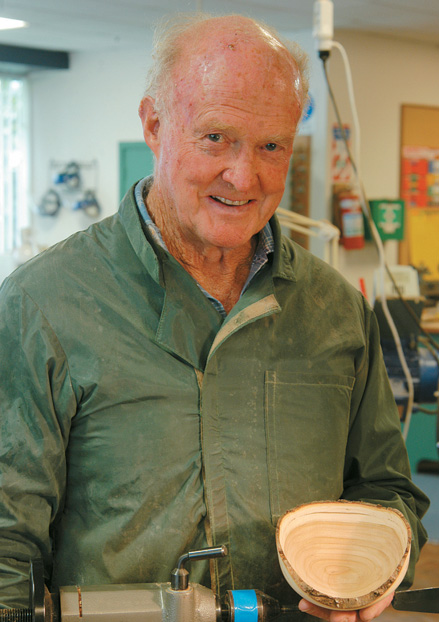
Mac Duane is a member of the South Auckland Woodturners’ Guild, the largest woodturning club in New Zealand. Early in his career he trained as a carpenter and joiner, before establishing a career in trucking, and various manufacturing industries. He has a special interest in producing crescent clocks.
Mac Duane