Rub-a-Dub-Dub

Chris decided the solution was build an outdoor bathroom featuring two baths so he and Meg could both enjoy a long soak together.

NO SPACE FOR A BATH INSIDE? AN ENTERPRISING COUPLE INSTALL AN OUTSIDE BATHROOM SO THEY CAN ENJOY A GOOD OLD SOAK.

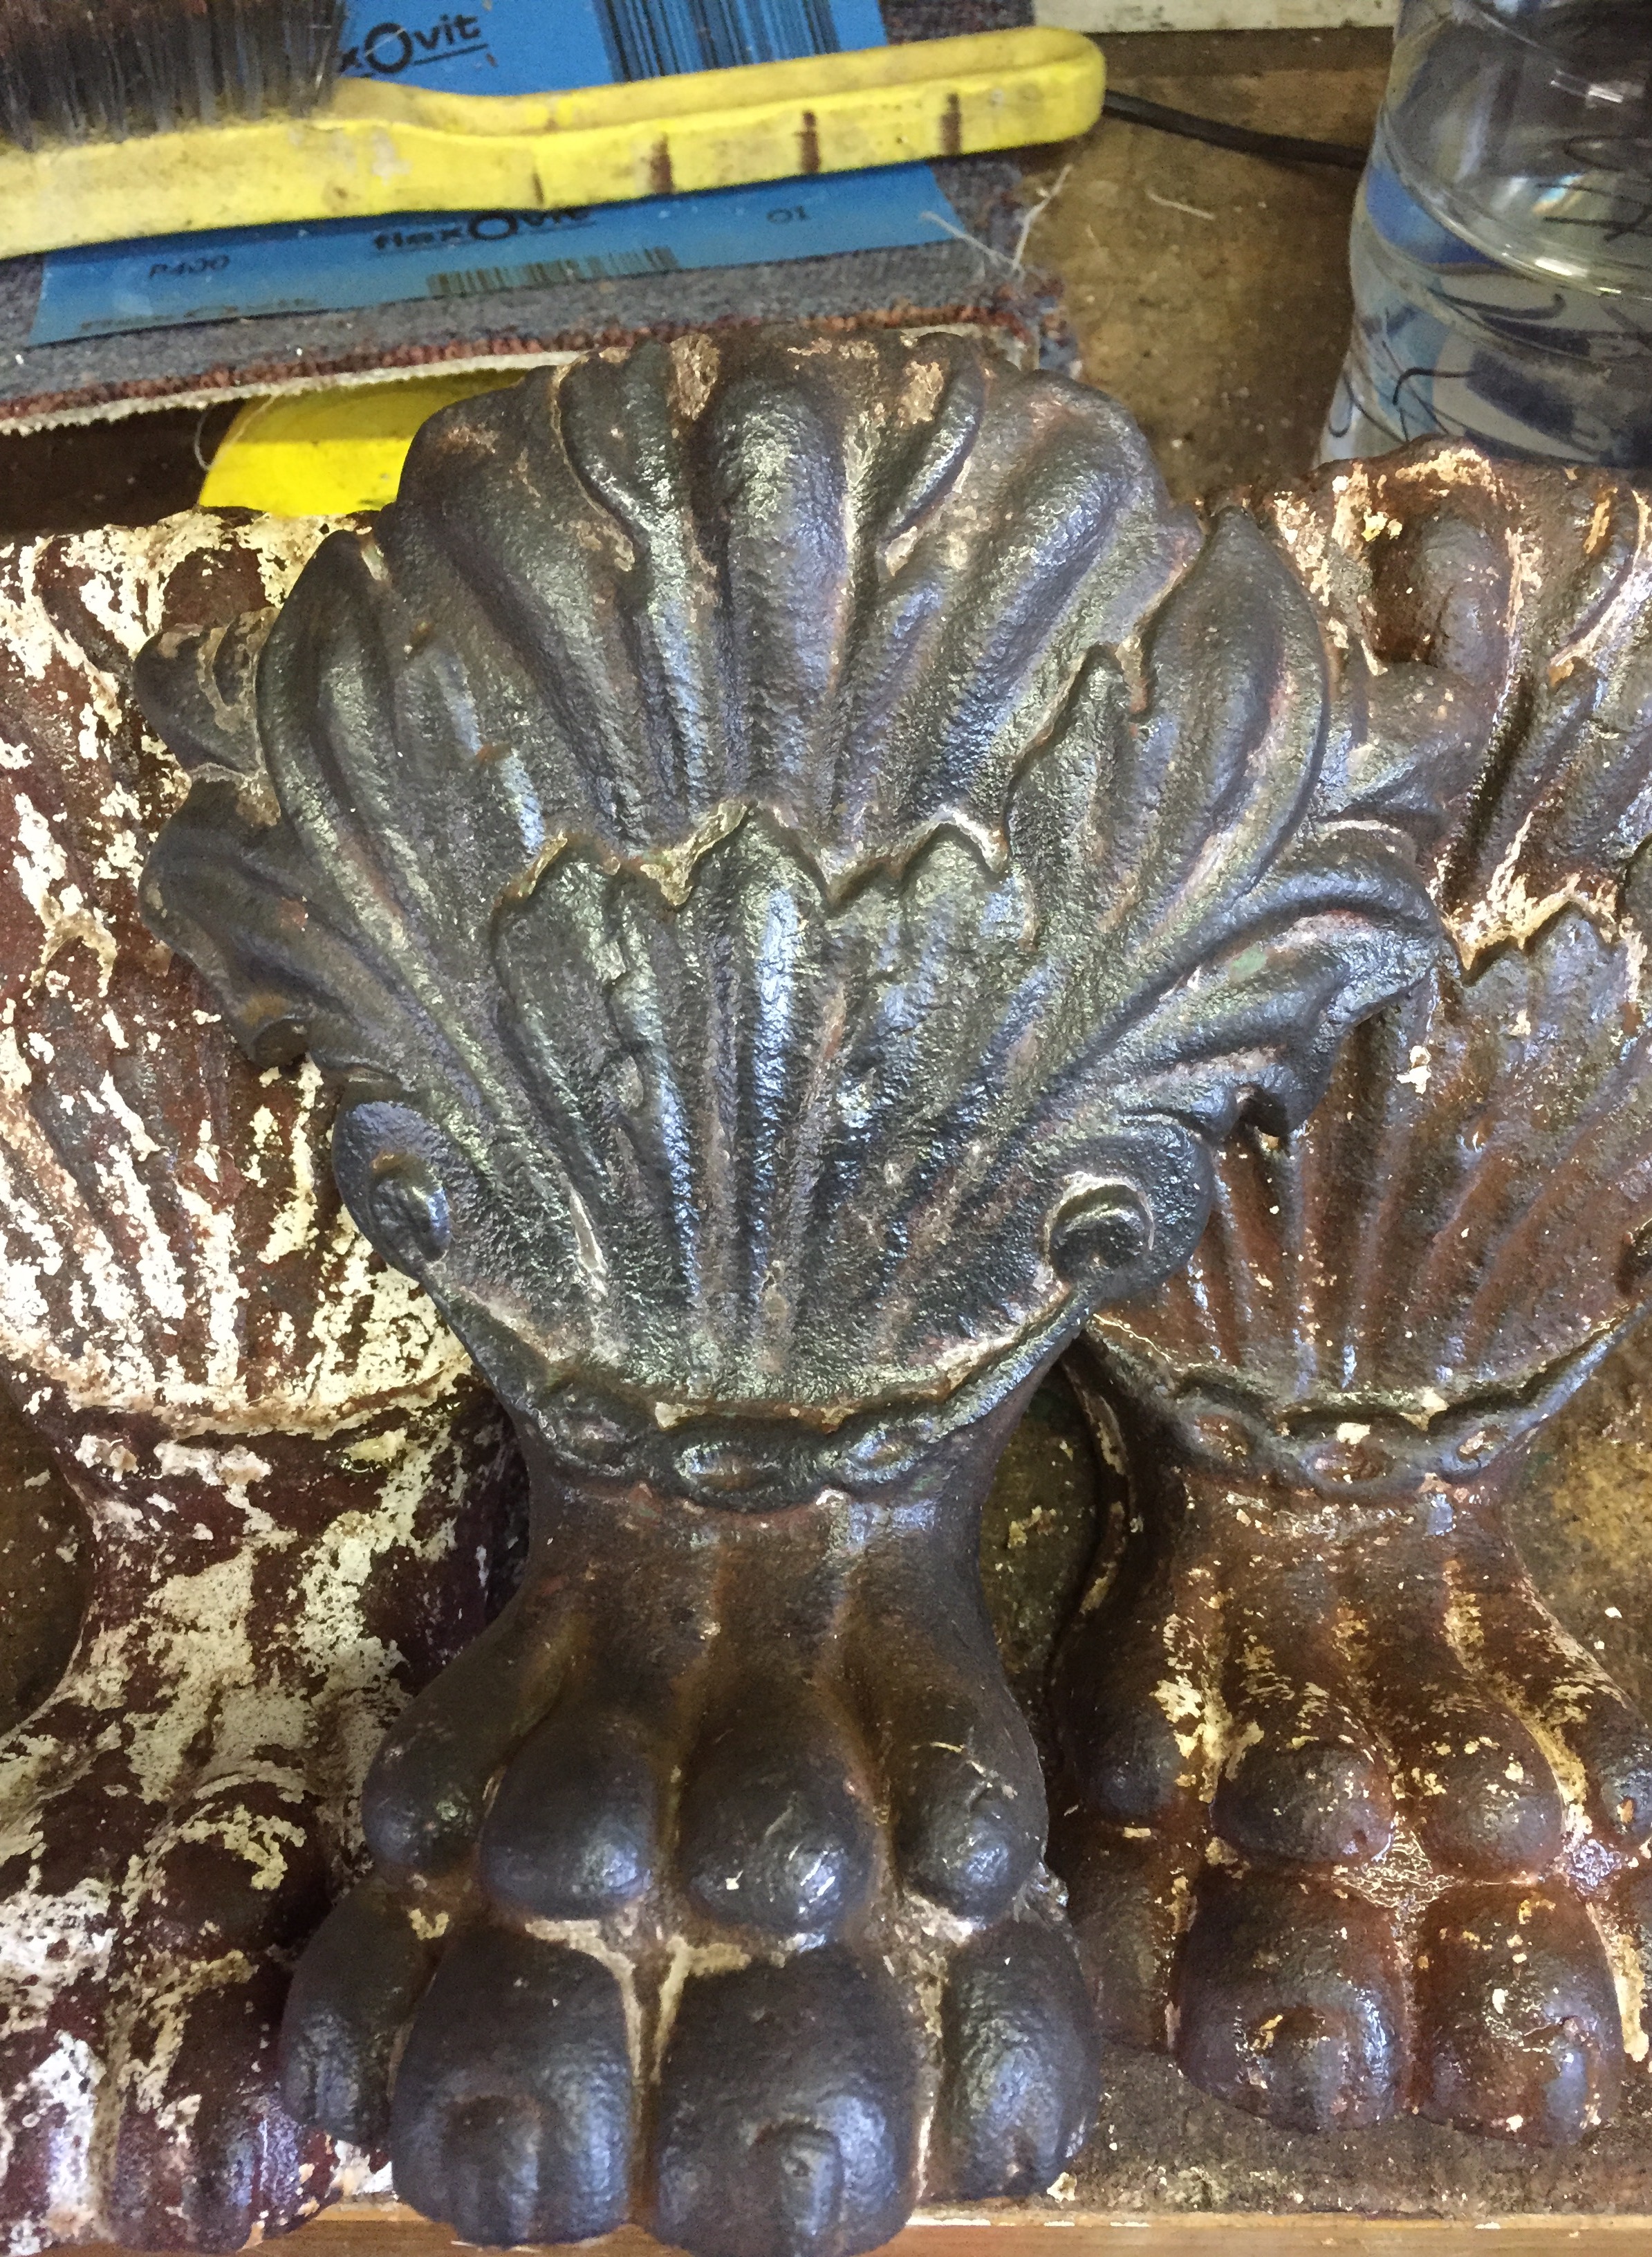
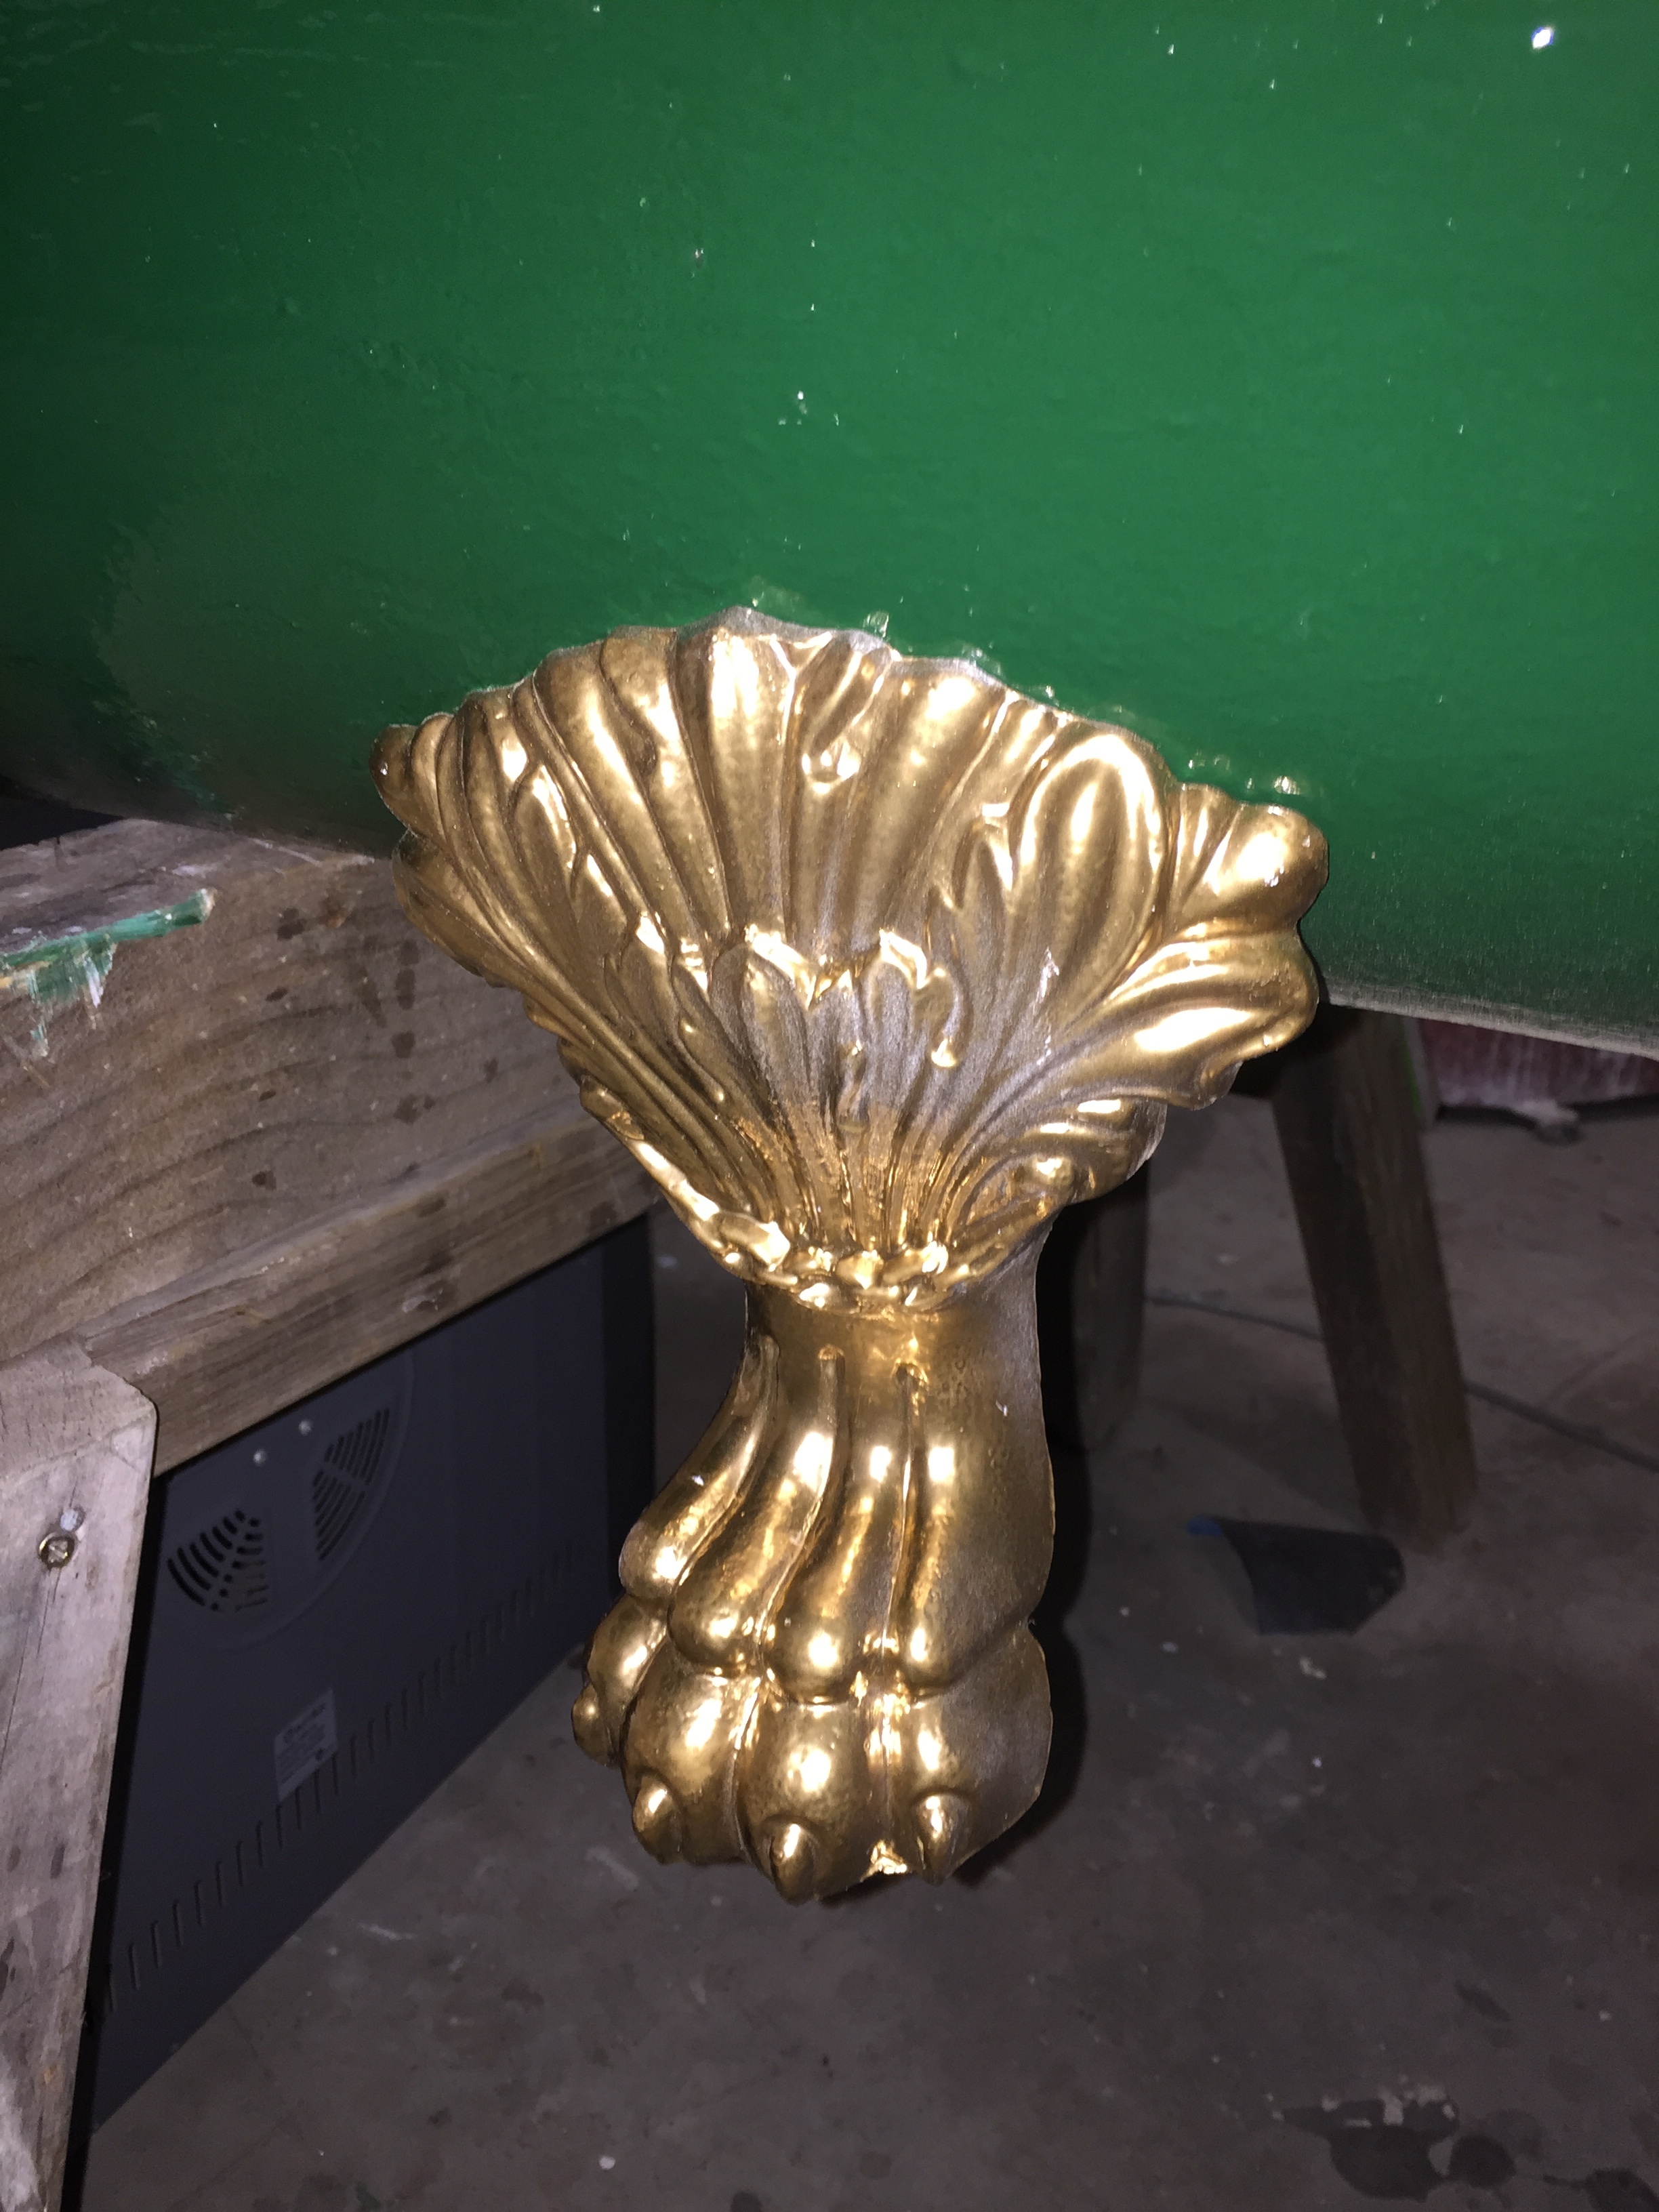
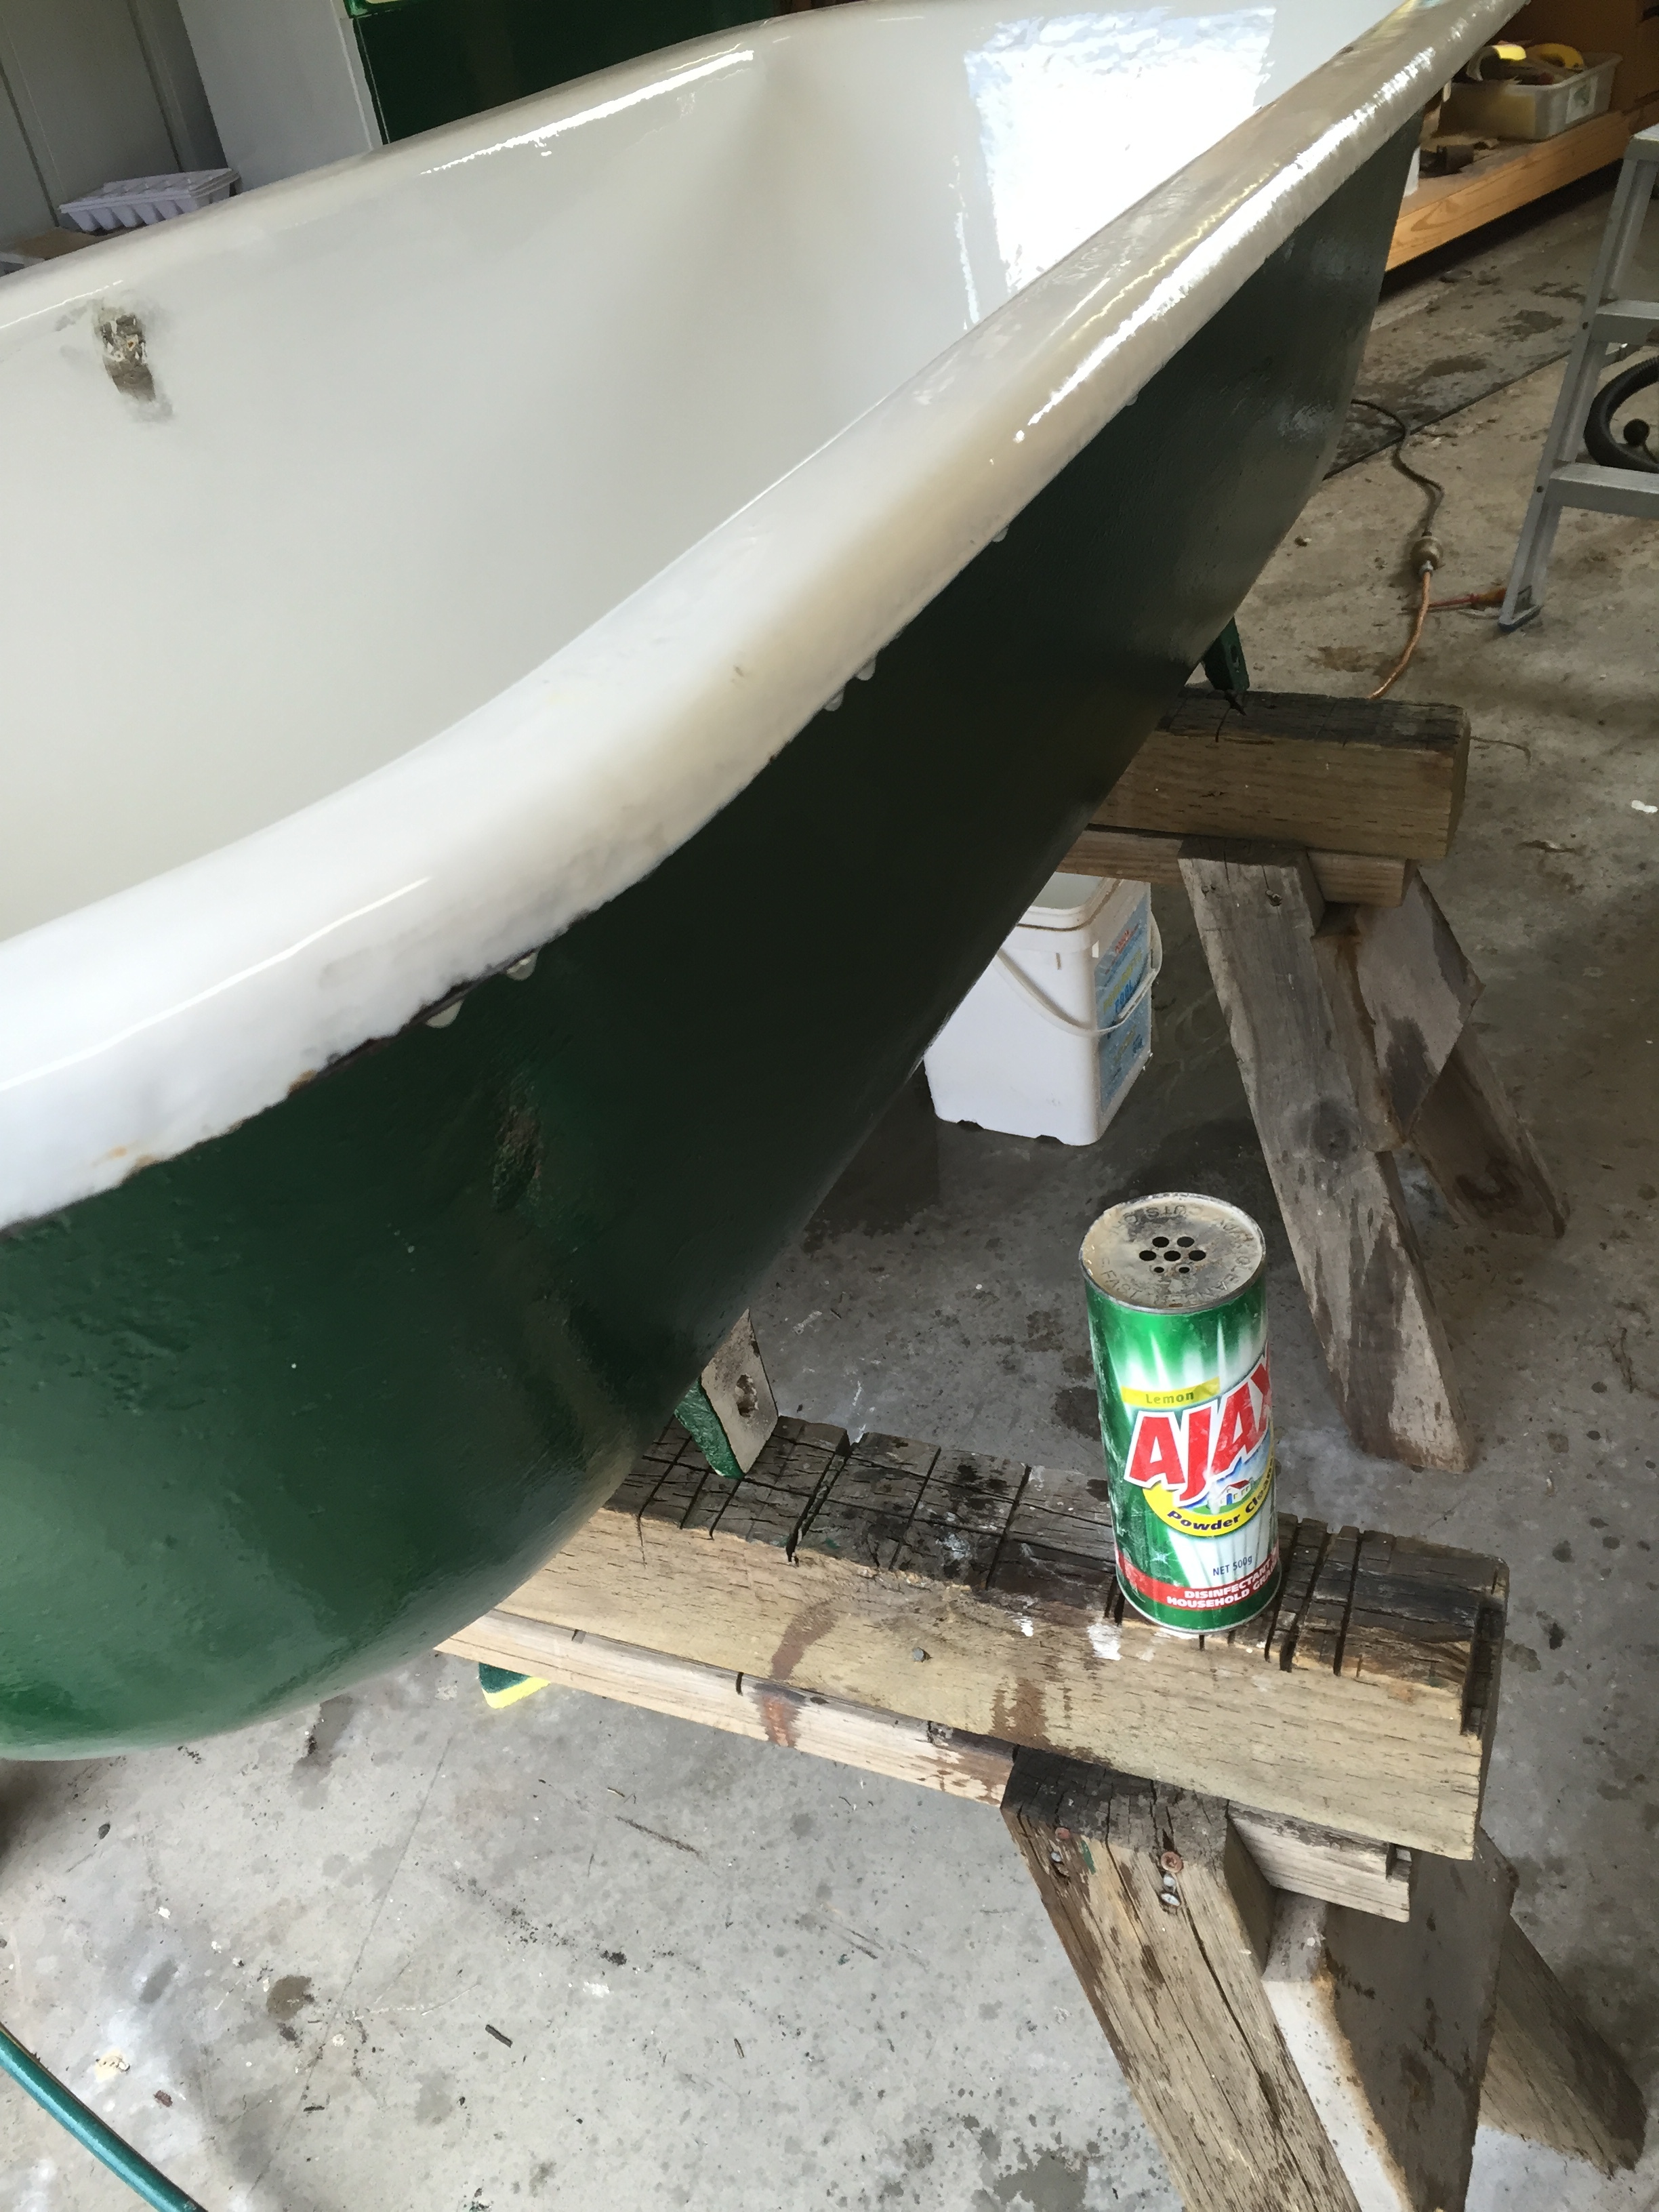
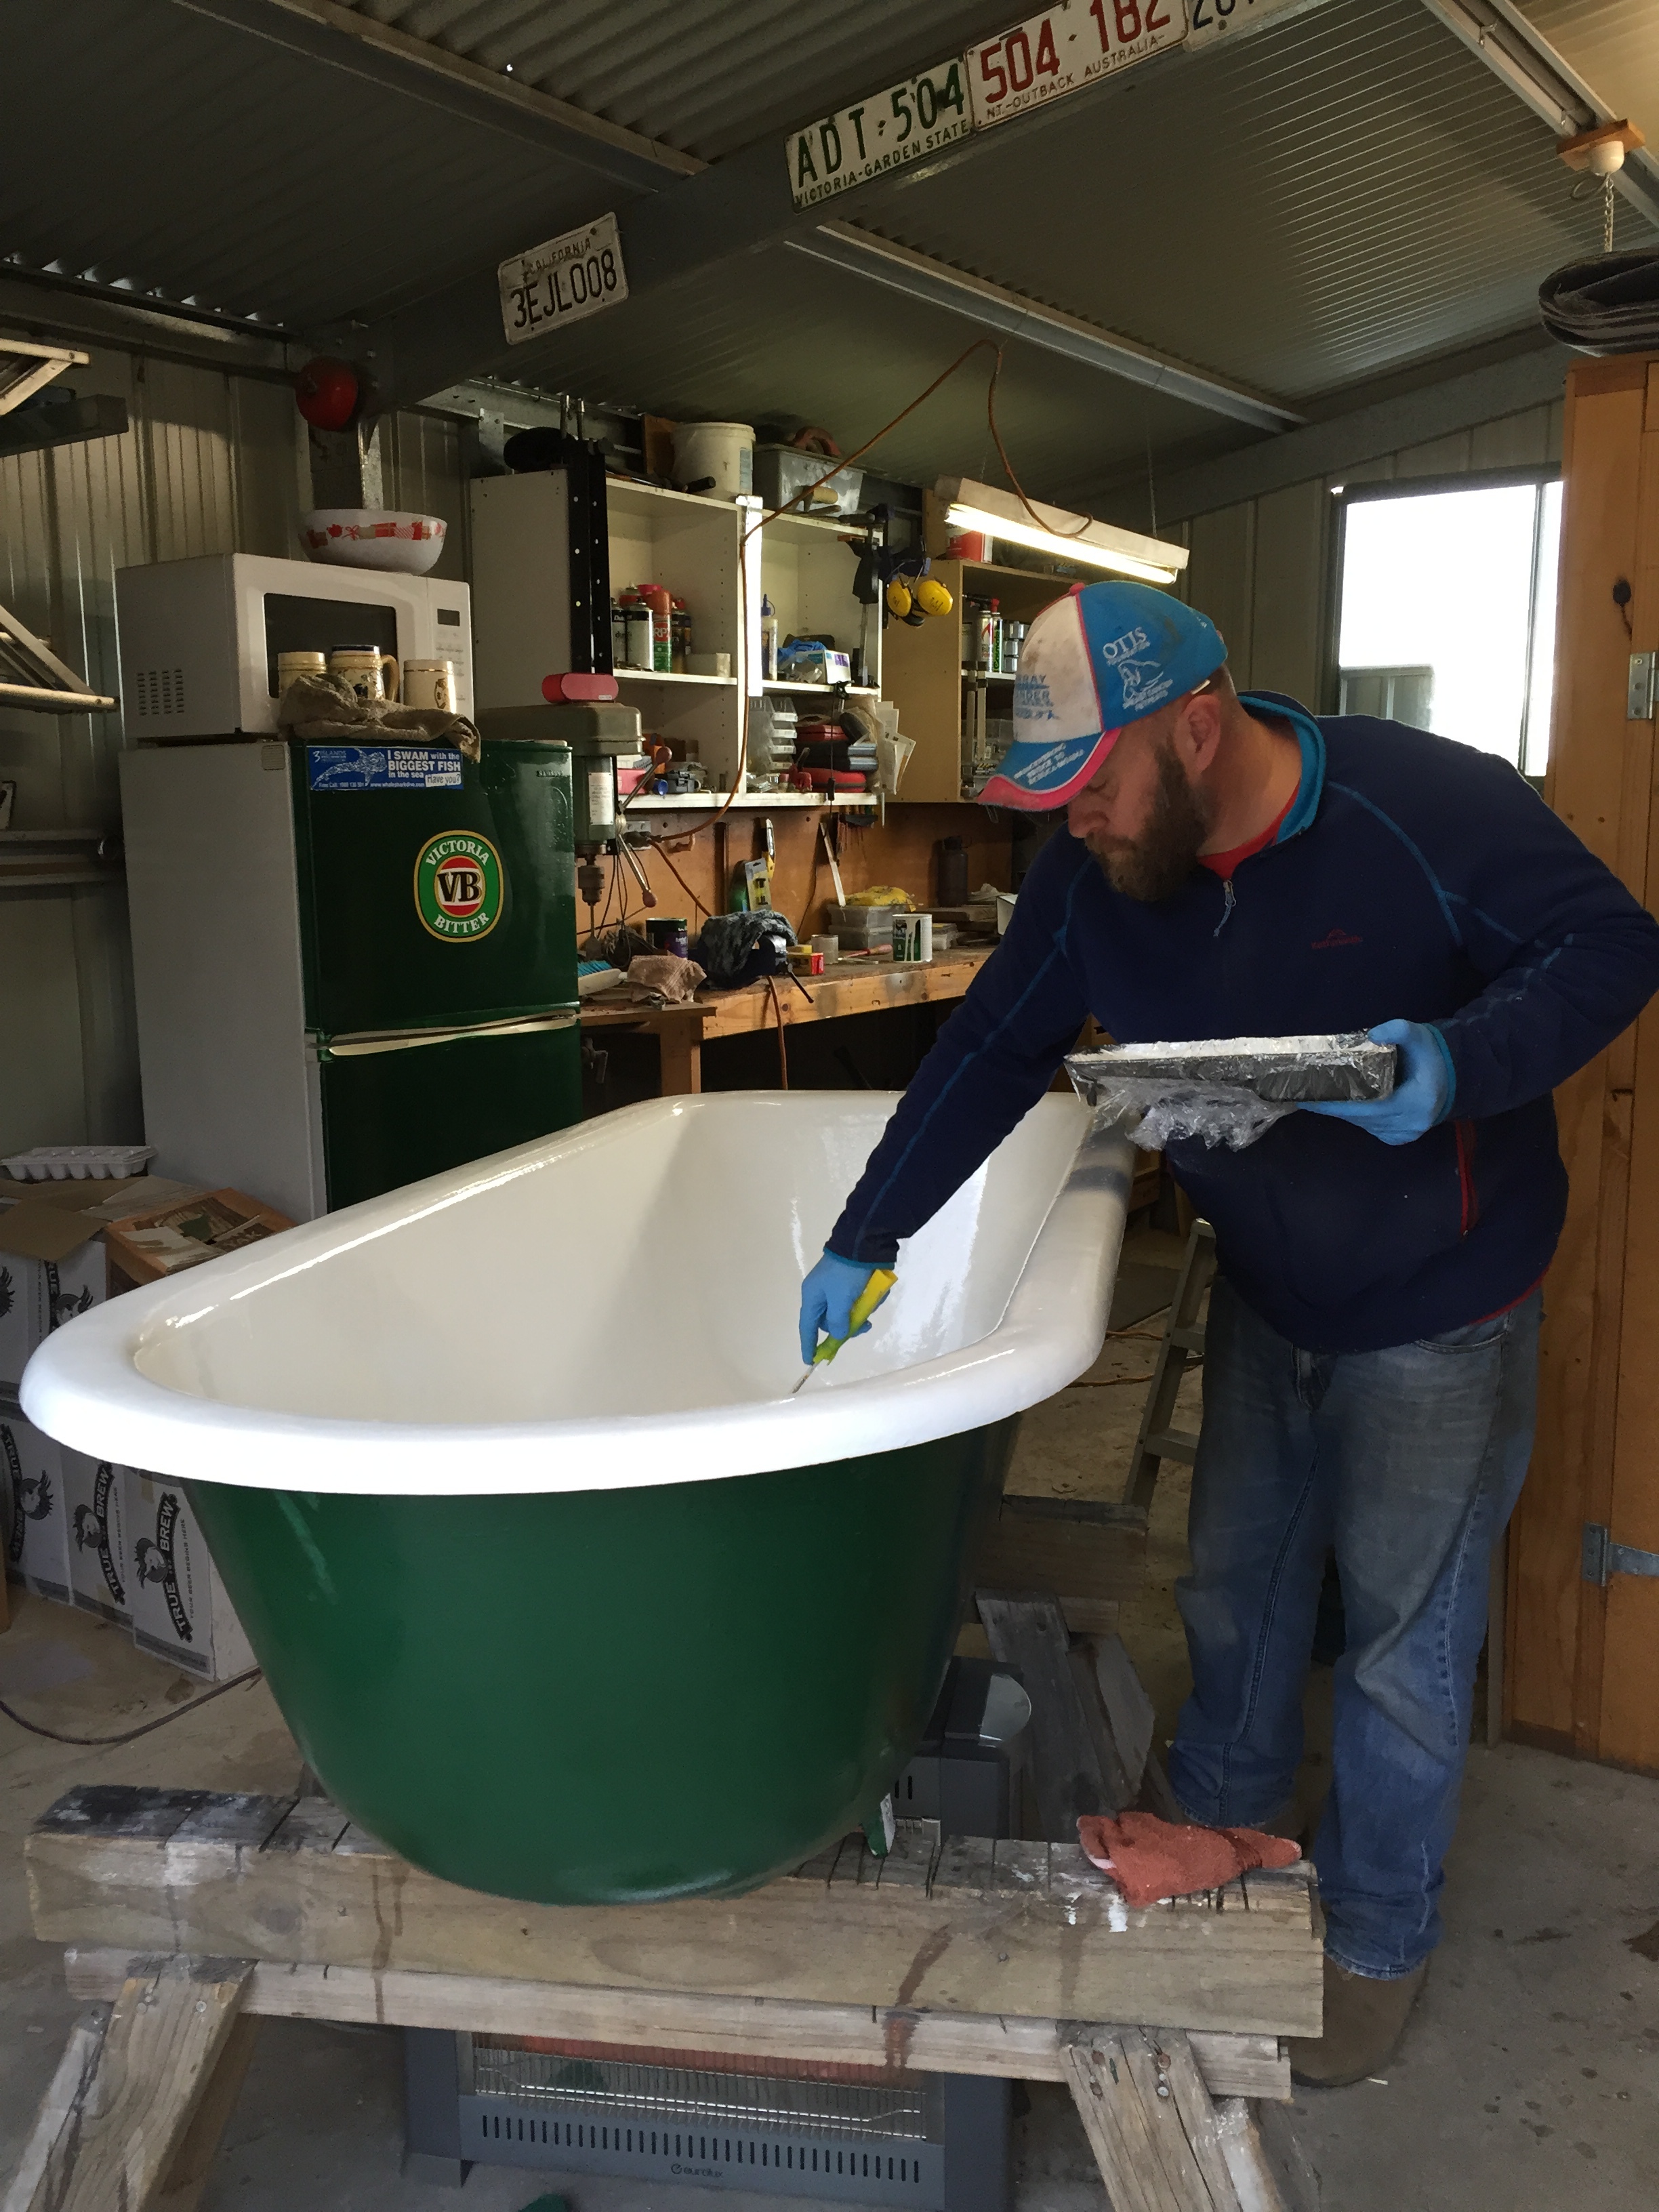
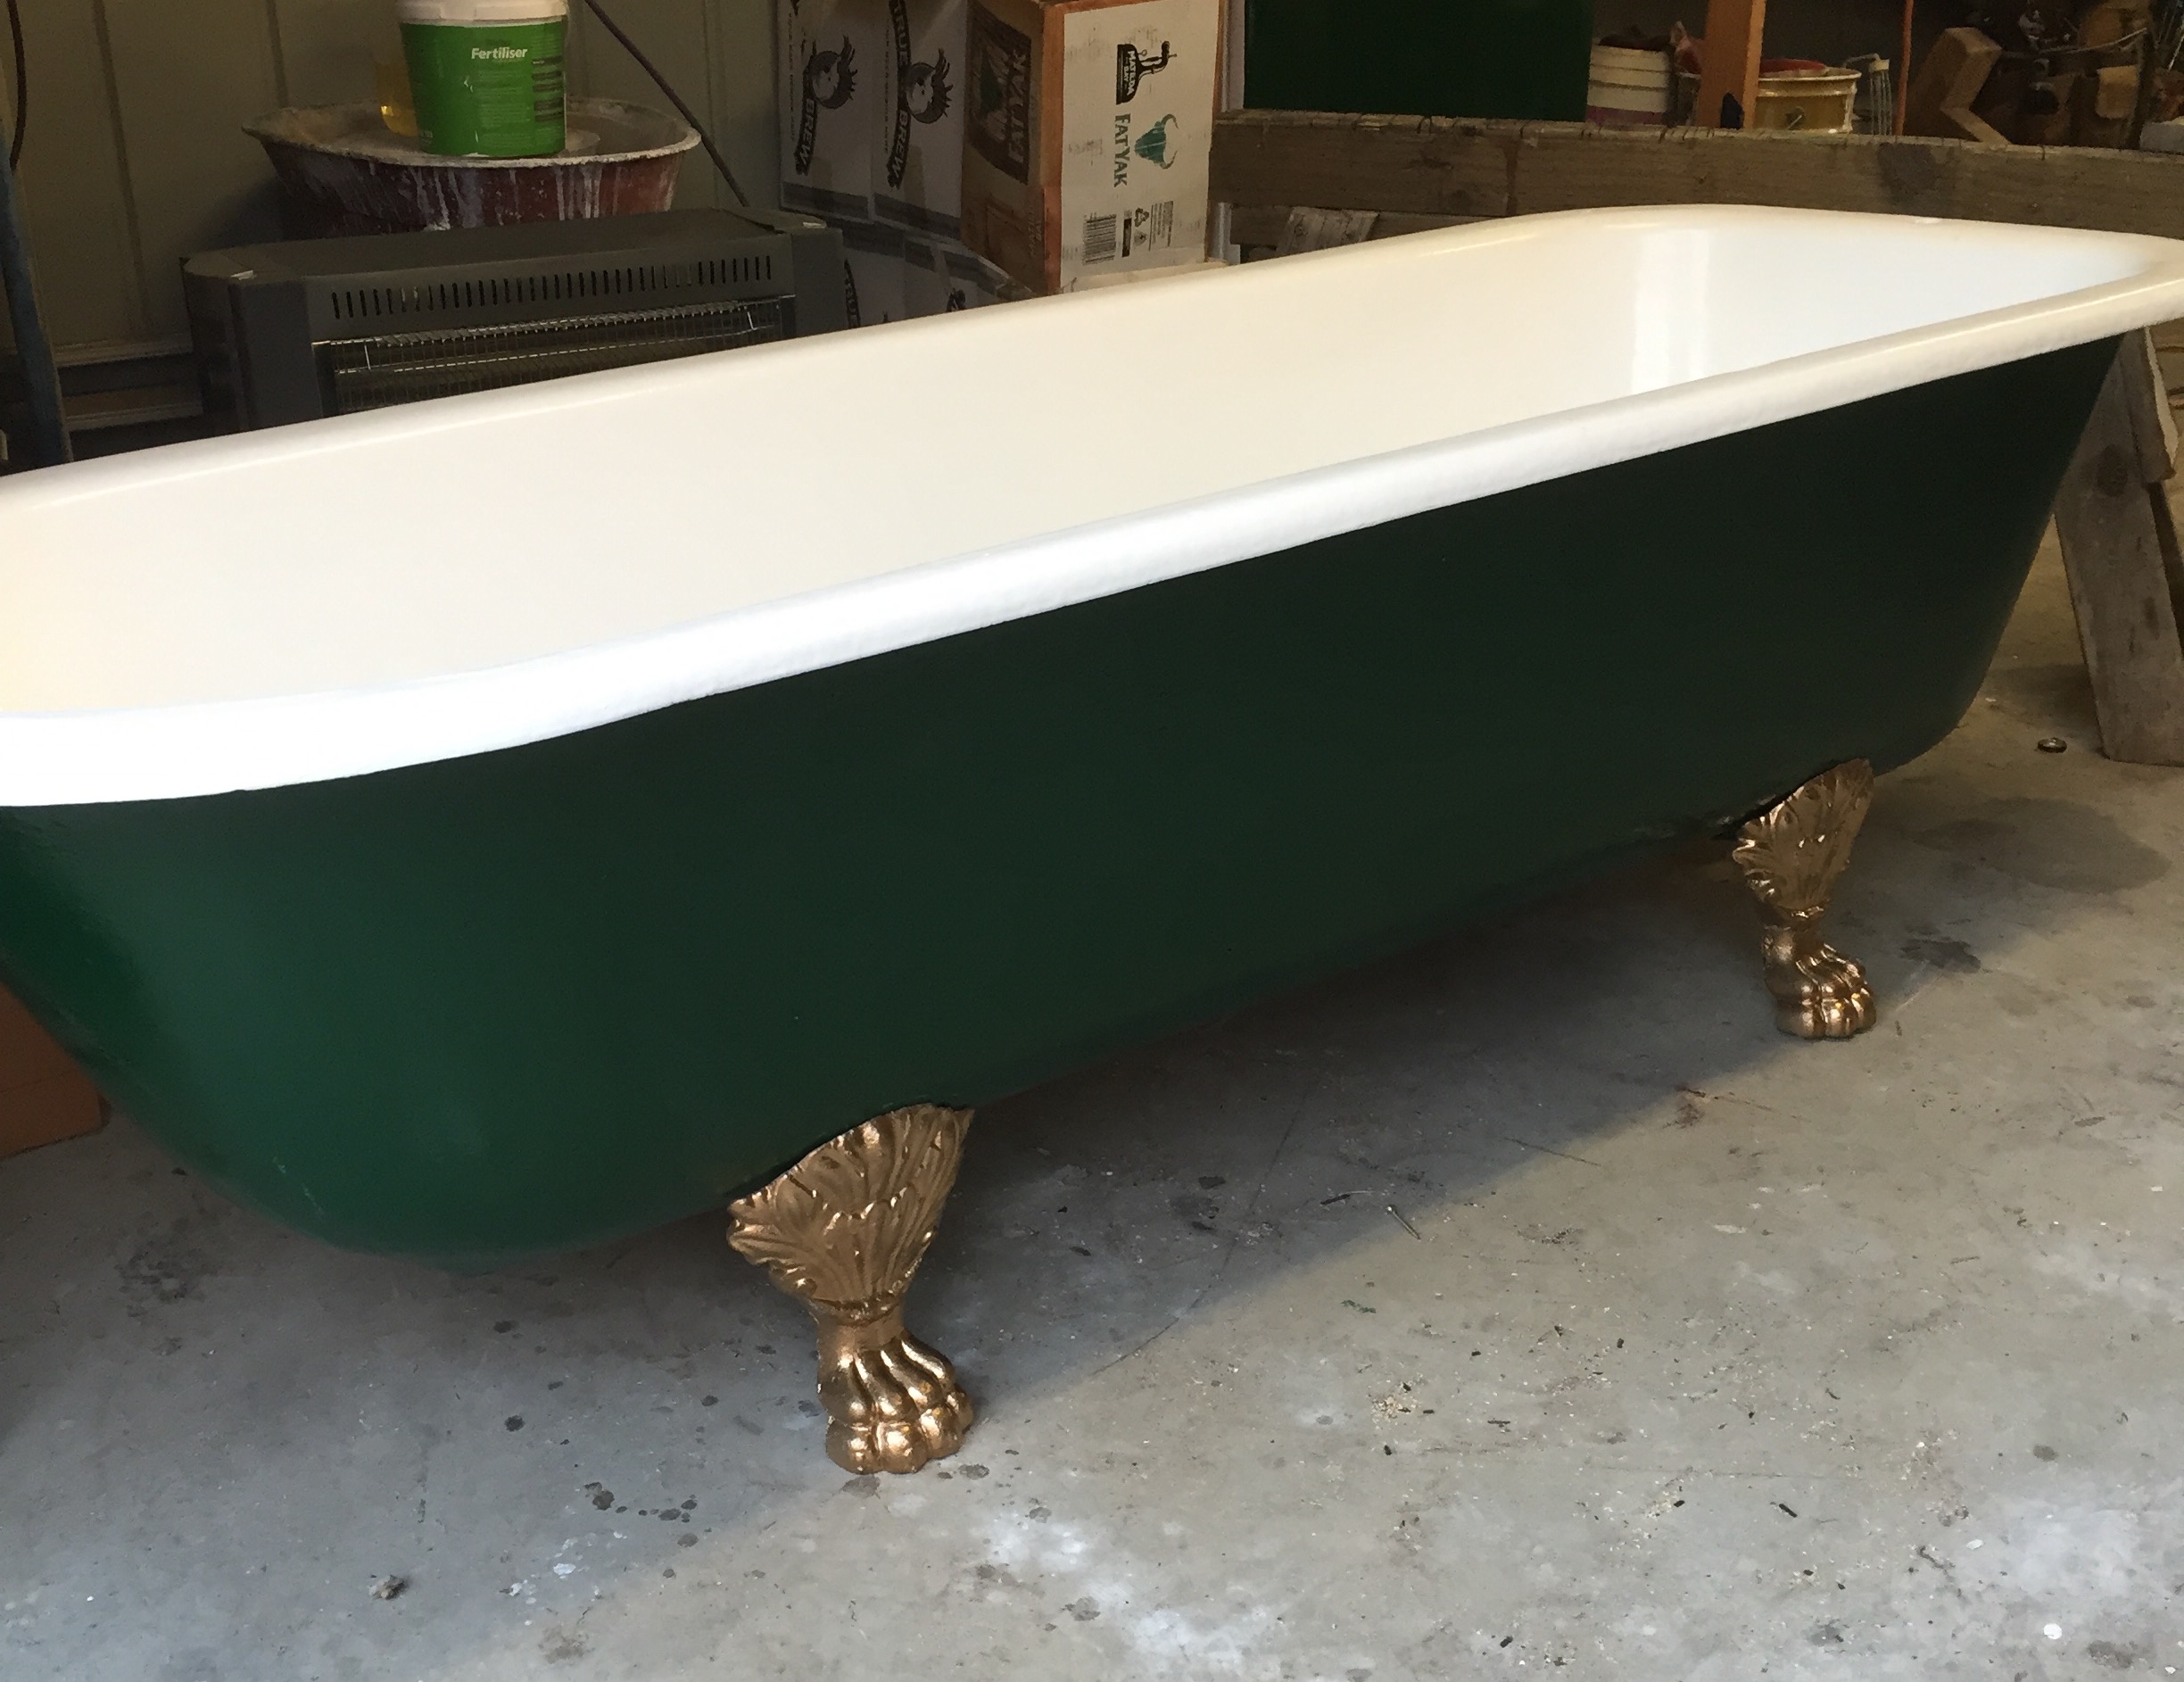
Chris decided the solution was build an outdoor bathroom featuring two baths so he and Meg could both enjoy a long soak together. The main criteria was plumbing both baths with hot water so that it was easy to fill them and keep the water hot if the couple were wallowing for a long time. Chris sourced two old cast iron baths from Gumtree classified ads and both were pretty rough as they had been used as garden beds and only had two feet between them. He tracked down some claw feet on Ebay and was surprised at how many different styles of feet are available. Over winter Chris spent hours in the shed using a wire brush attached to a drill to get the loose paint off. Then he cleaned up the inside of the baths with Ajax and a run over with wet and dry sandpaper. He painted the outside of the baths with gloss enamel and then painted the inside with Tub and Tile using a roller to get a smooth finish without having to send them to Melbourne to get them enamelled. A strategically placed heater helped the paint to dry. Next job was to clean up the feet with the wire brush attached to a drill and paint stripper. Once the surface was clean, the feet were sprayed with gold paint and attached. The baths were ready for action.
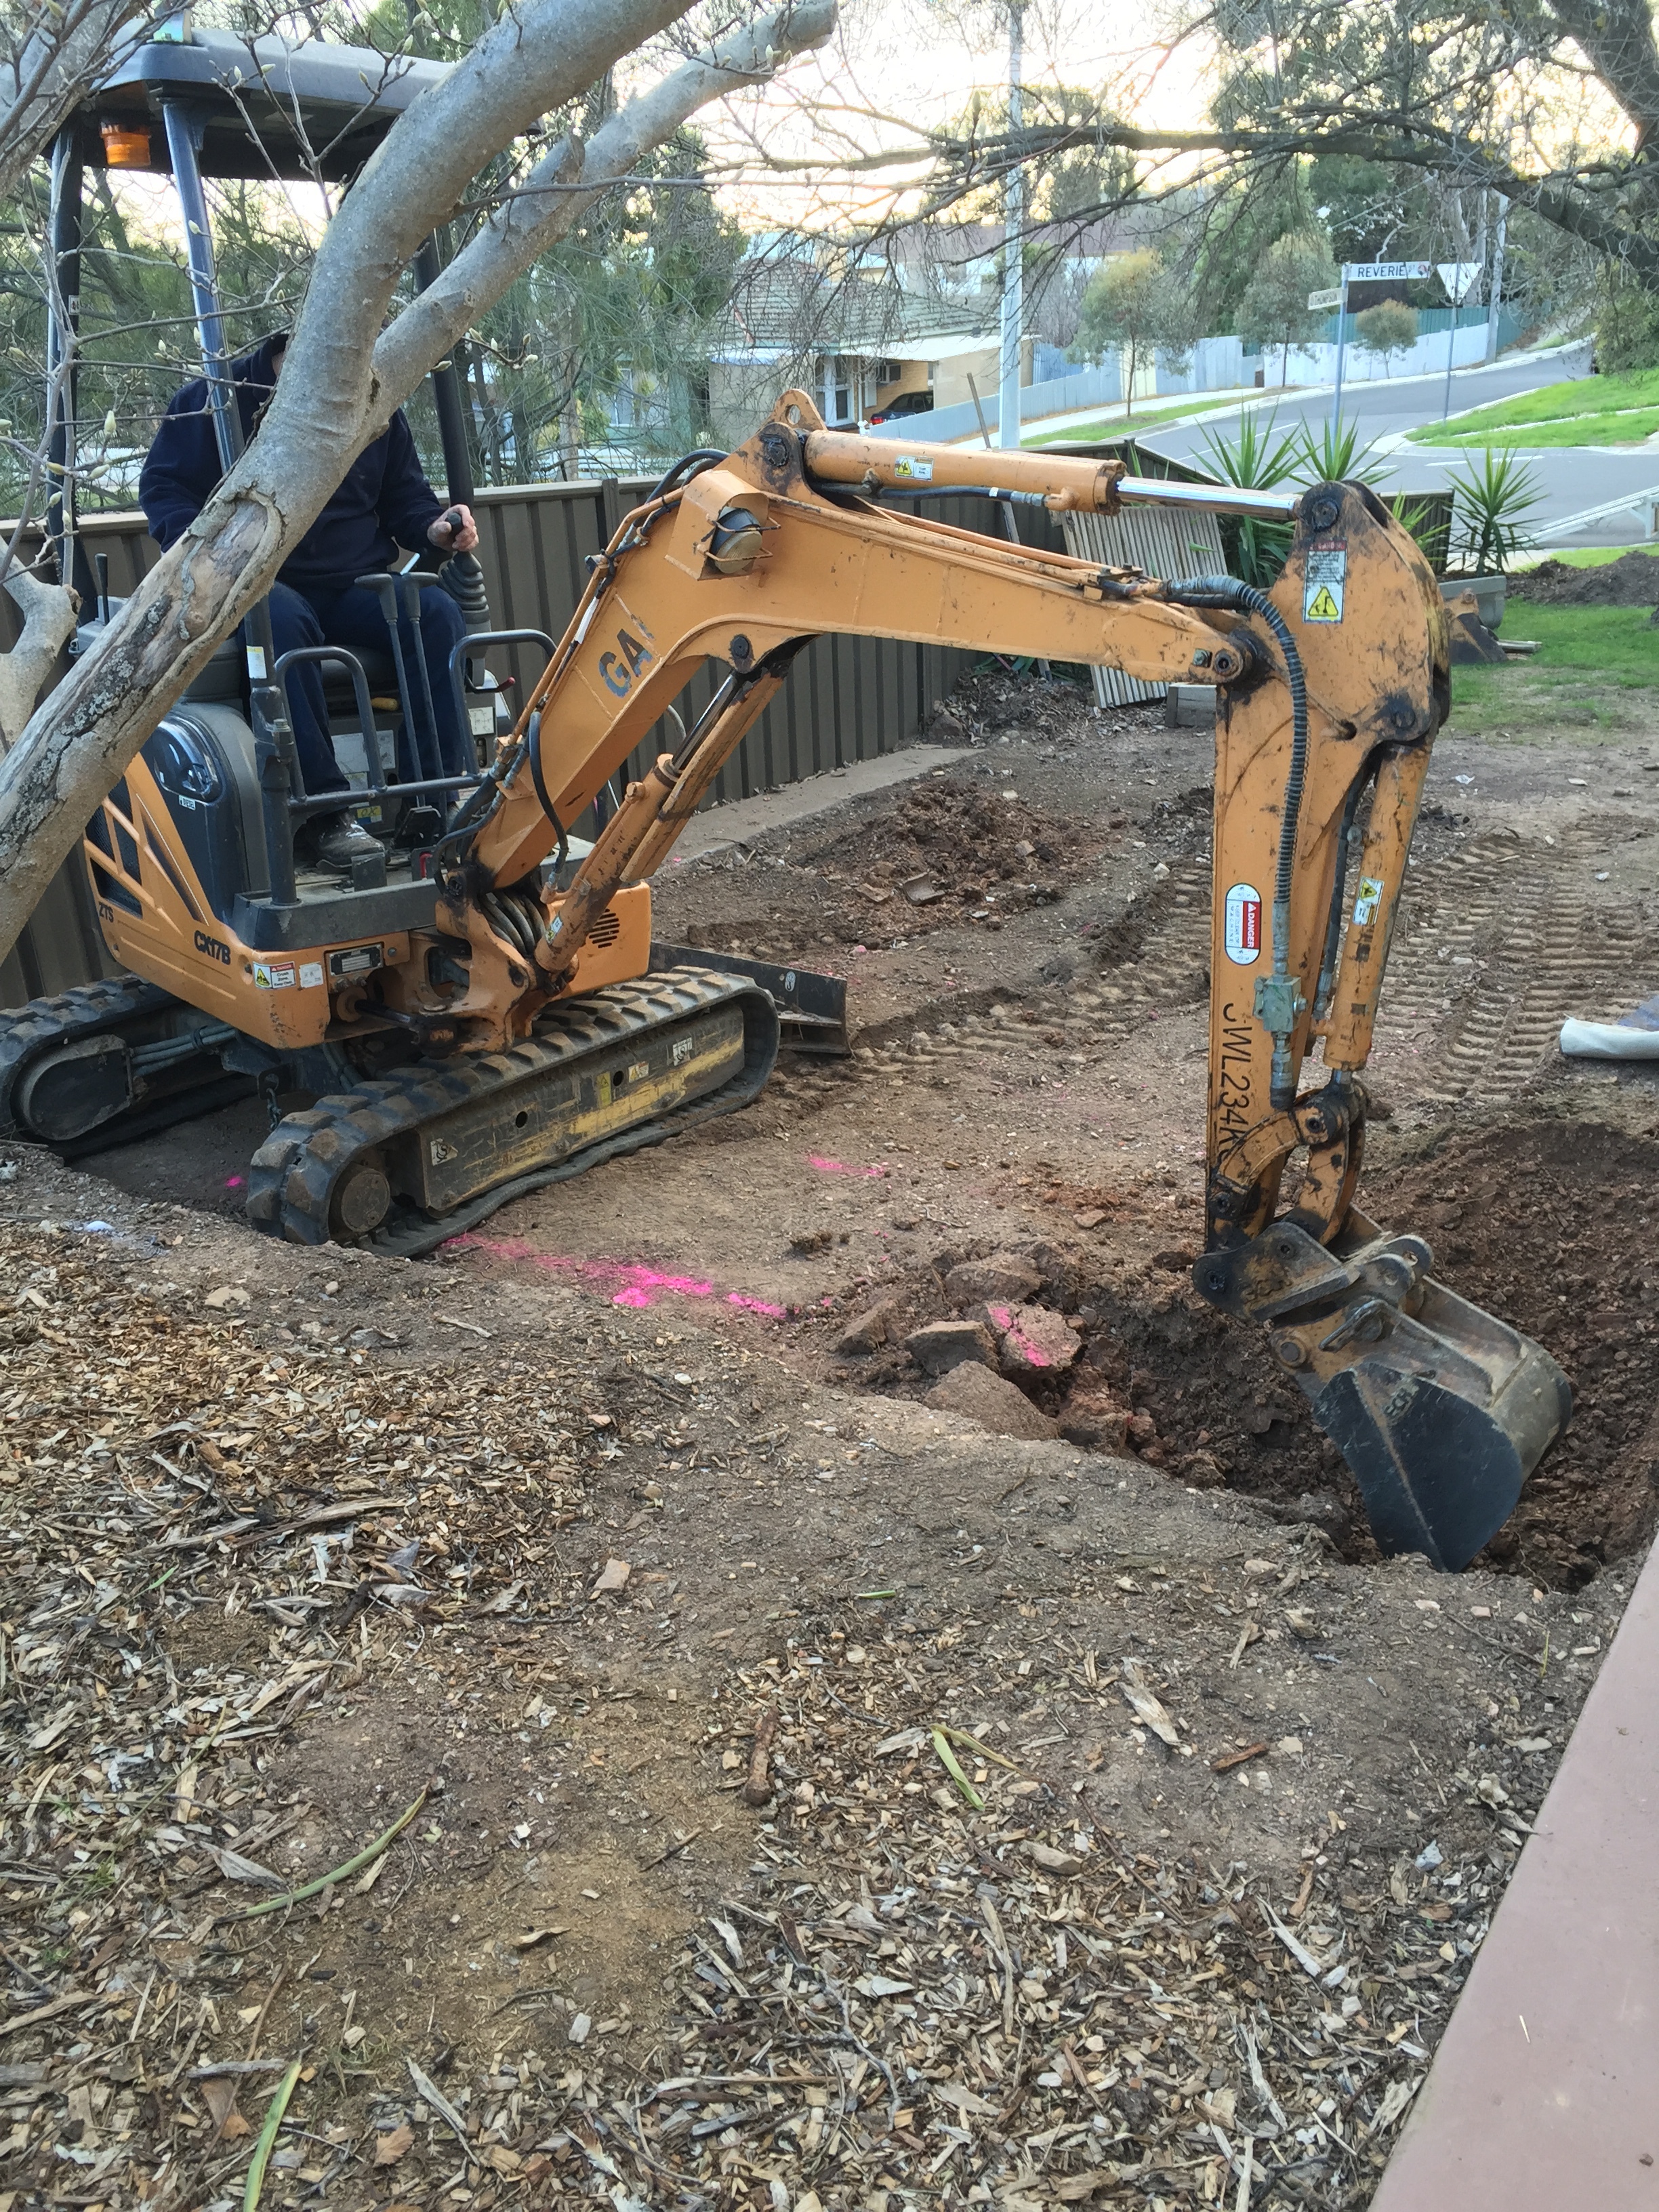
Clearing site

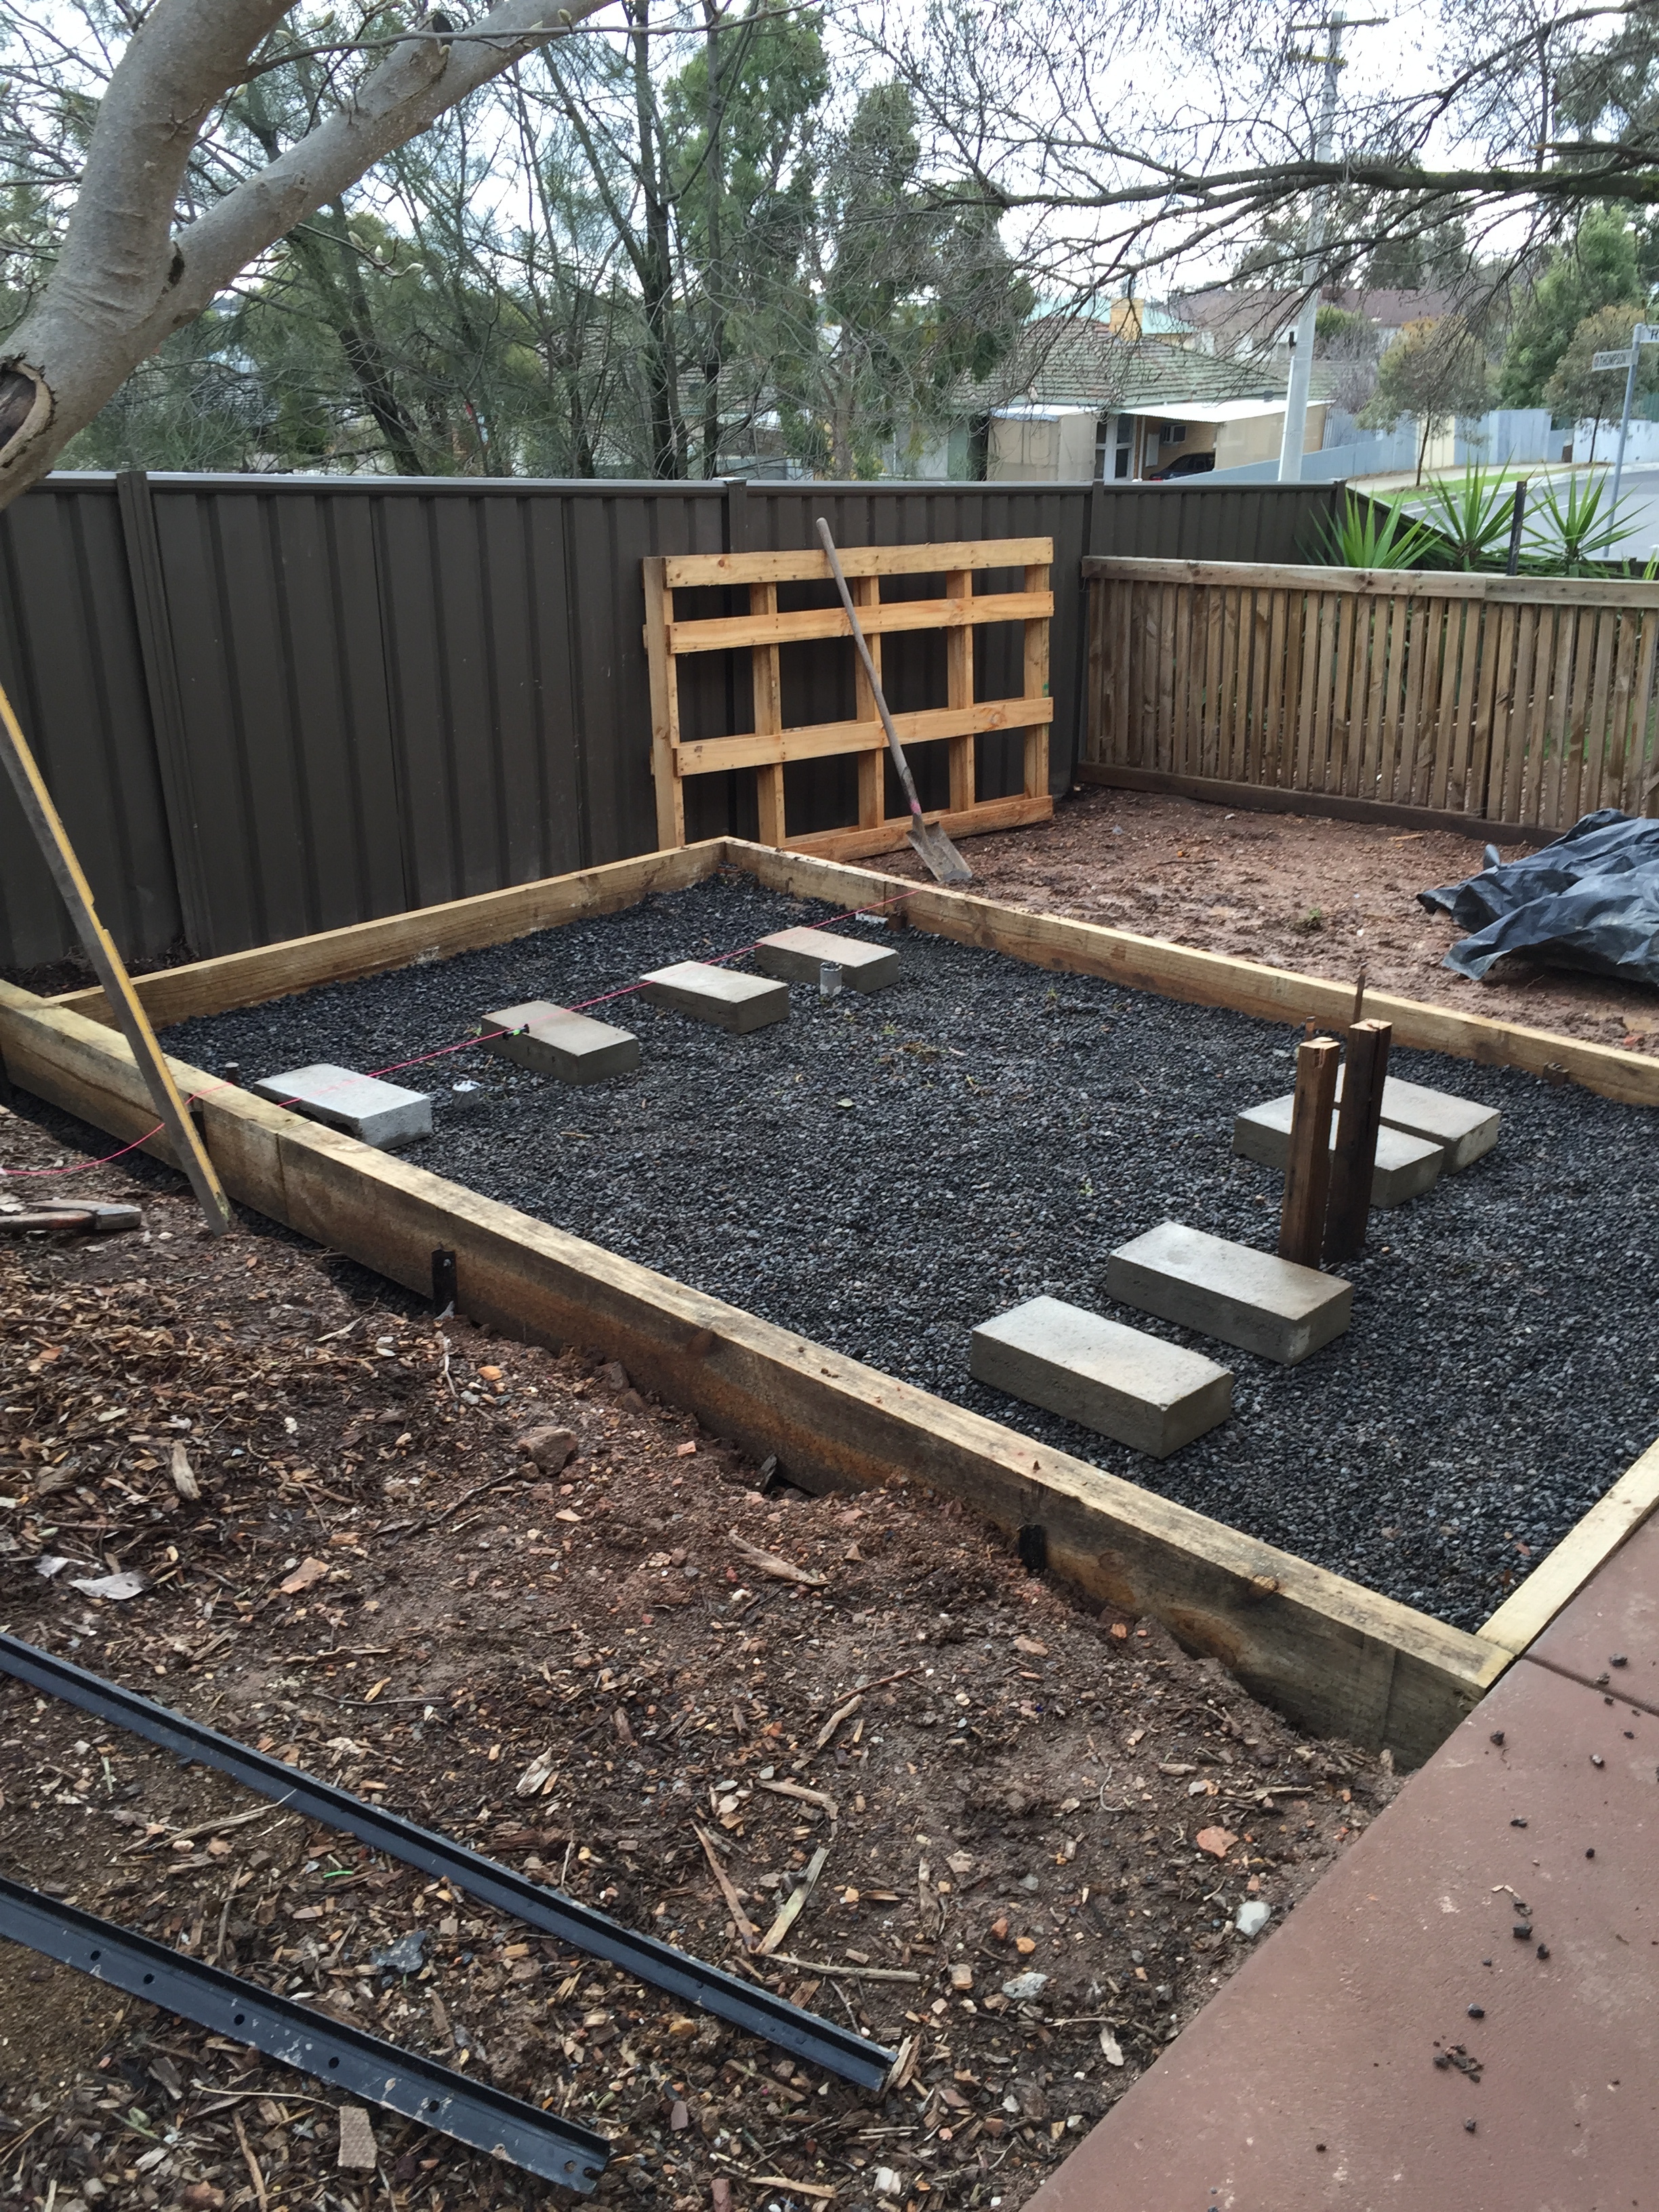
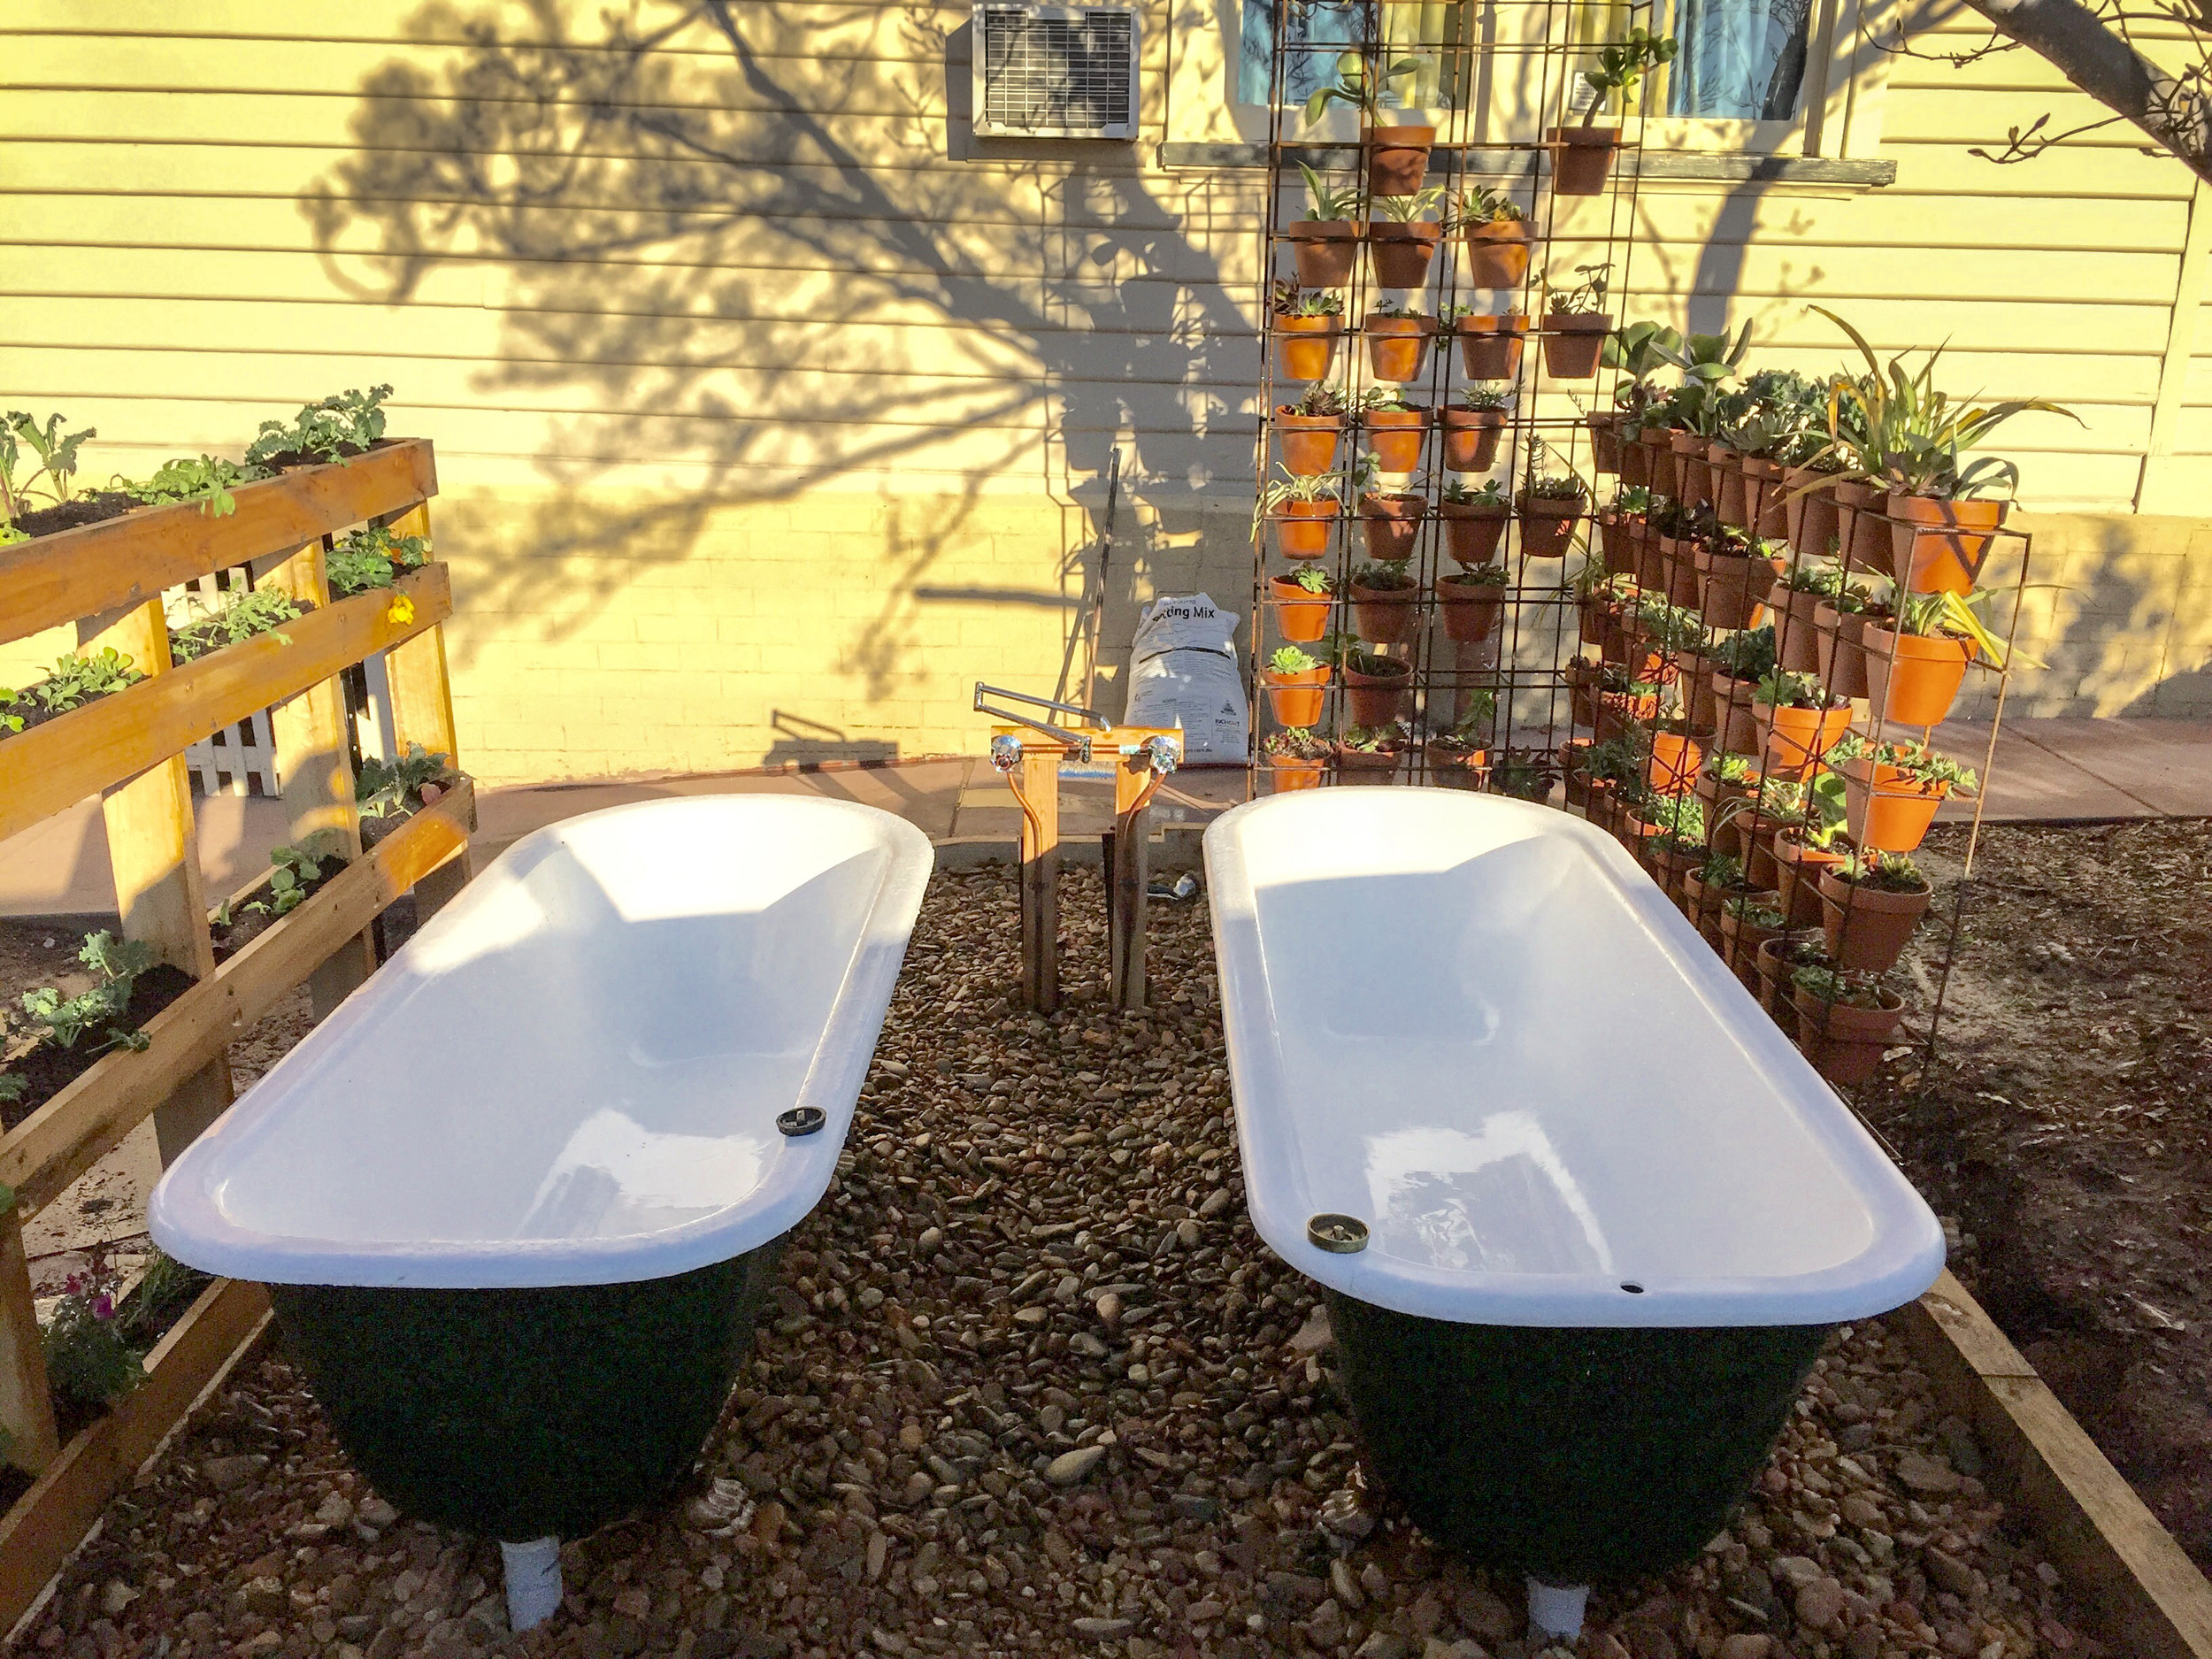
Tagline Then came the installation. Firstly, greenery had to be removed from the site so the excavator could access the area and make it level. The plumber came and dug all the trenches to lay the pipes under the house to the solar hot water (with gas backup) and then the drains from the baths out to the sewer. Chris boxed up the area with 2000 mm x 500 mm pine sleepers and filled it with a layer of crushed rock with besser blocks placed where the feet would be to spread the weight evenly. Then the new “bathroom” floor was topped with smooth river stones. Once the baths were in place vertical gardens were erected for privacy. The succulent garden is made from welded concrete reinforced wire mesh sheets just big enough to hold the terracotta pots. On the other side of the bathroom a vertical herb and flower garden was built to hide bathers from the street. Spiky yucca plants and a lime tree on the fence line are also great for providing privacy. “A beautiful magnolia tree with hanging lanterns lights up the area,” says Meg. “But when we are enjoying a bath after dark with a bottle of wine or a couple of beers the lanterns get turned off so we can see the shooting stars.”
Share:

More Posts

Turning back time – a waterwheel replica

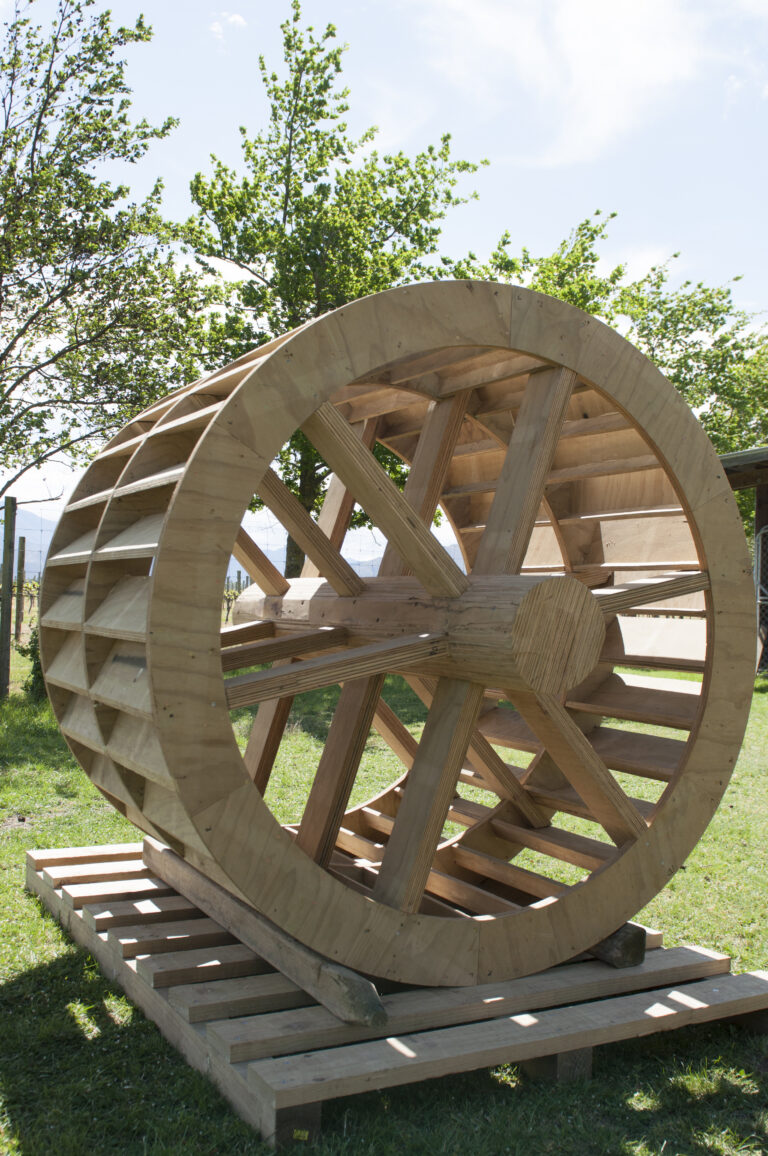
When a Marlborough farmer with a passion for history took to his stream with a digger, he knew what he was looking for and came up trumps. John Walsh, of Woodbourne Farm, near Blenheim, was searching for remains of the waterwheel that powered the province’s first flour mill in the mid-1850s.
The concrete weir, although breached in a couple of places, was still standing on the Mill Stream, along with rusty debris from the metal operating system. The waterwheel itself had rotted away, save for two blades (or paddles) and a portion of the rim, but when John went digging below the weir, he unearthed the wheel’s wooden hub virtually intact.
“There was enough left to make a pattern from which to build a replica,” says John, who runs a private museum on the property, Woodbourne Homestead and Historic Farm, which is a NZ Heritage-registered site.
The waterwheel had been built for the original landowner, Henry Godfrey, by the Barton Brothers, who were early bridge builders in Marlborough. “These structures were built by the finest-quality tradesmen,” says John. But despite the workmanship, the water-powered mill operated for less than two decades, closing in 1873. Unlike the gentle streams of England, the meandering Marlborough creek could turn from a trickle to a torrent in a matter of hours. “It wasn’t a hugely successful site,” says John.

Create a classy TV stand

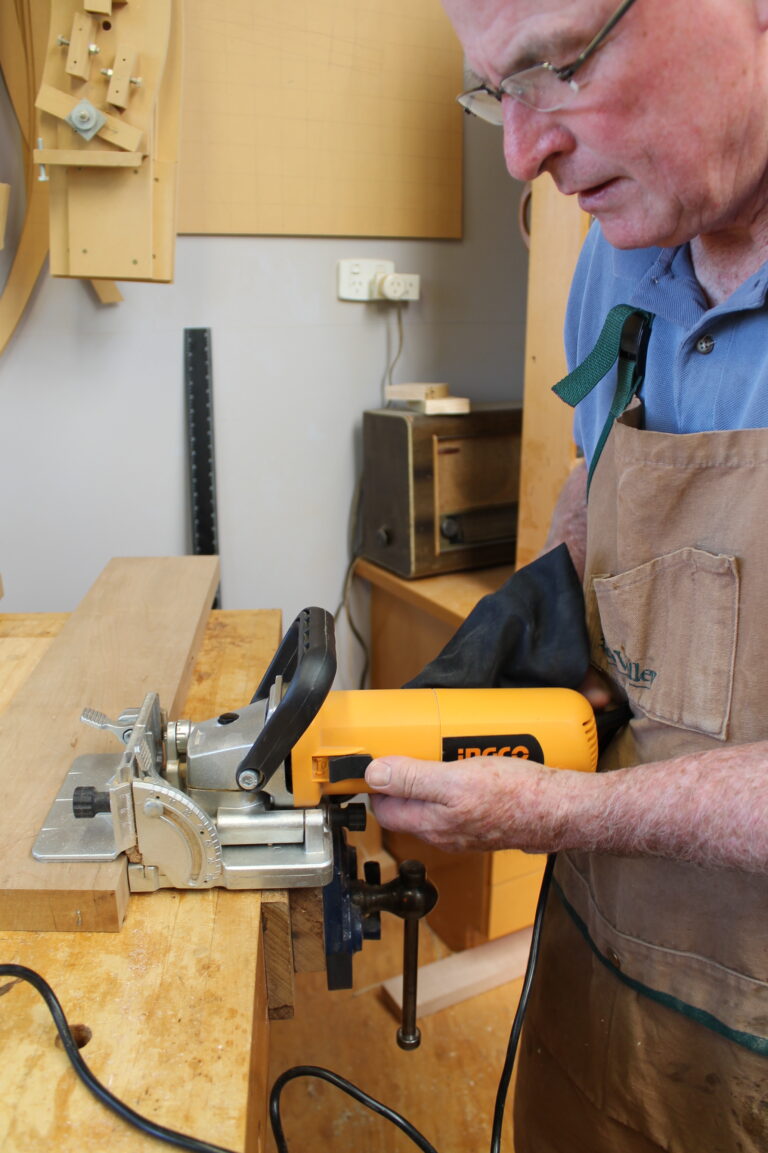
This television stand has been designed for a flat-screen 32-inch television and has also been designed to be made with minimal tools, enabling the weekend warrior/hobbyist to make it in not much more than a day. You certainly do not need advanced skills to make it. To complete it in a day, the glueing up of the timber will need to be done the day before, and obviously the stain and varnish will need to be done over several days.
While I have the equipment in my home workshop to machine the timber, I want to stress that this television stand could be made in the home workshop or garage with little in the way of tools. For example, you could ask the timber yard to dress the timber for you (you might even find the sizes you require already dressed at the big shed DIY stores), and all the cutting could be done with a handsaw.

Preserving the tools of yesteryear

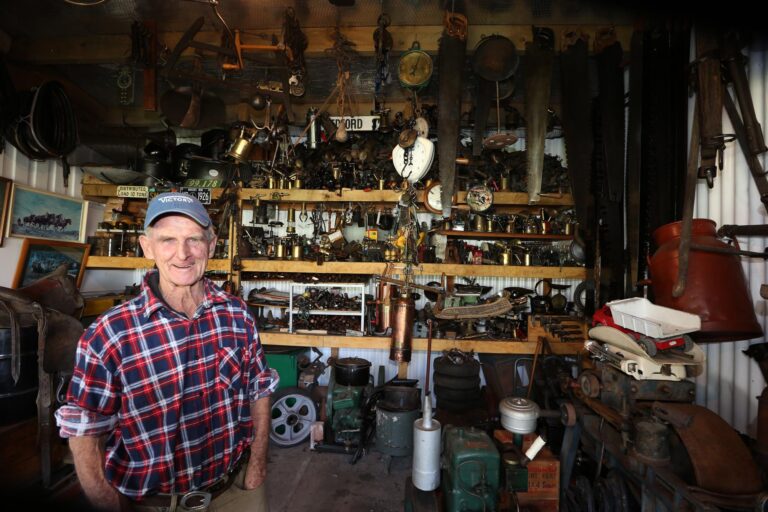
Collecting and preserving tools and machinery used by generations gone by is a passion and obsession for many sheddies. There’s nothing like using the shed for a restoration project on something that was made to last. Getting up close to the work of craftsmen and tools made with pride.
Our mainly rural pioneering past has meant bygone equipment is often left lying about and rusting in old farm sheds or thrown out at the tip but sometimes reverently collected and restored by people who care.
One of these is farrier Kevin Schimanski of Wanganui. A lifetime of shoeing and riding horses has kept Kevin pretty fit. Aged 78, he still shoes horses and enjoys getting into the saddle to play polo.