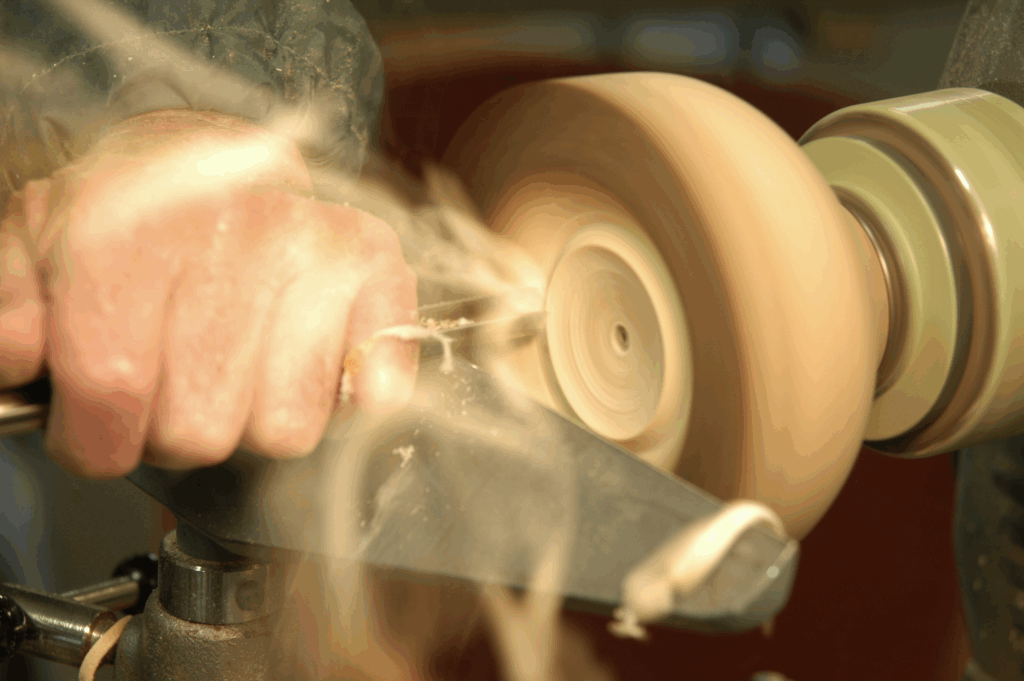


When honing a cutting edge on a steel blade, you are progressively over three or four stages reducing the size of the scratches on the two faces which meet up to make the sharp point.
The much-vaunted “mirror” edge simply refers to the stage where we cannot easily see the scratches with the naked eye and hence it looks smooth and shiny. This process, therefore, requires several sharpening stones with finer and finer surfaces (325 grit, then 1200 grit, then 6000 grit).
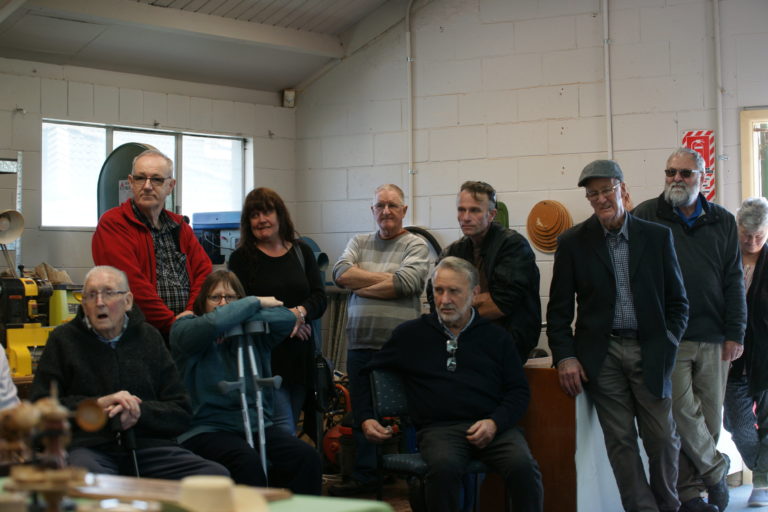
On Saturday, 24 August 2019, the Christchurch Woodturners Association (CWA) finally saw its long-term dream come to fruition with the opening of its very own clubrooms on the Auburn Ave Reserve in Upper Riccarton.
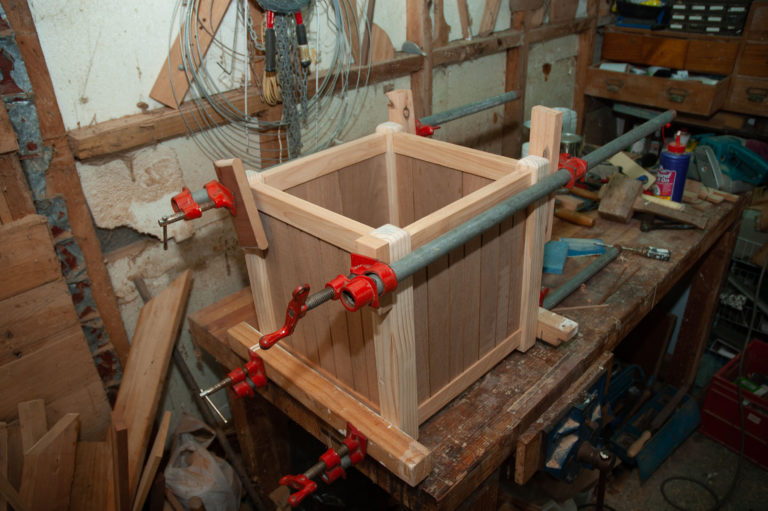
The “Leader of the Opposition” has pointed me to the great outdoors and is making noises about things to house the shrubbery that materialises from the garden centre every weekend