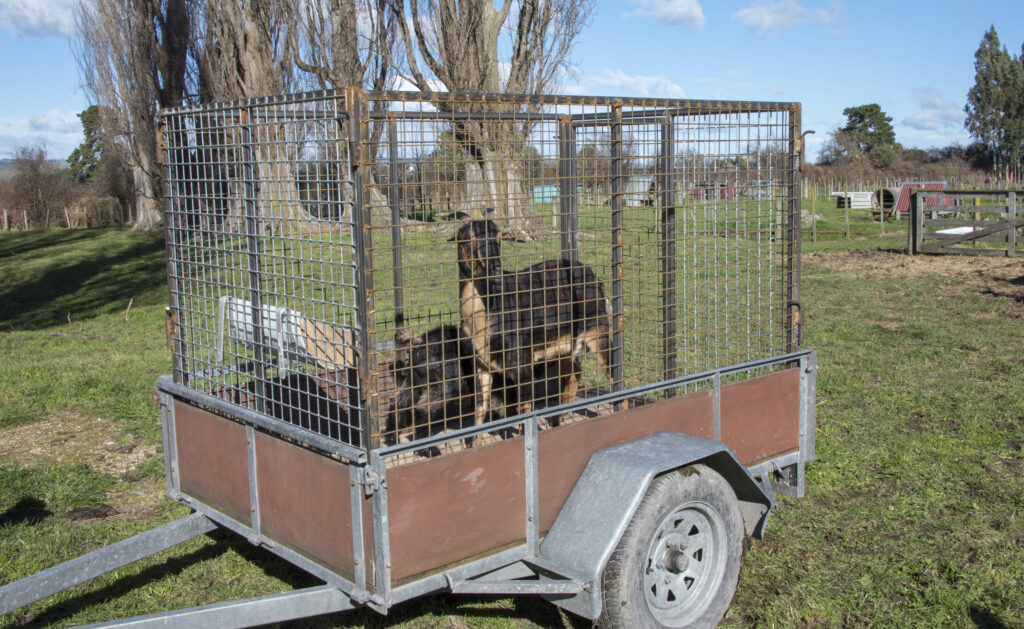
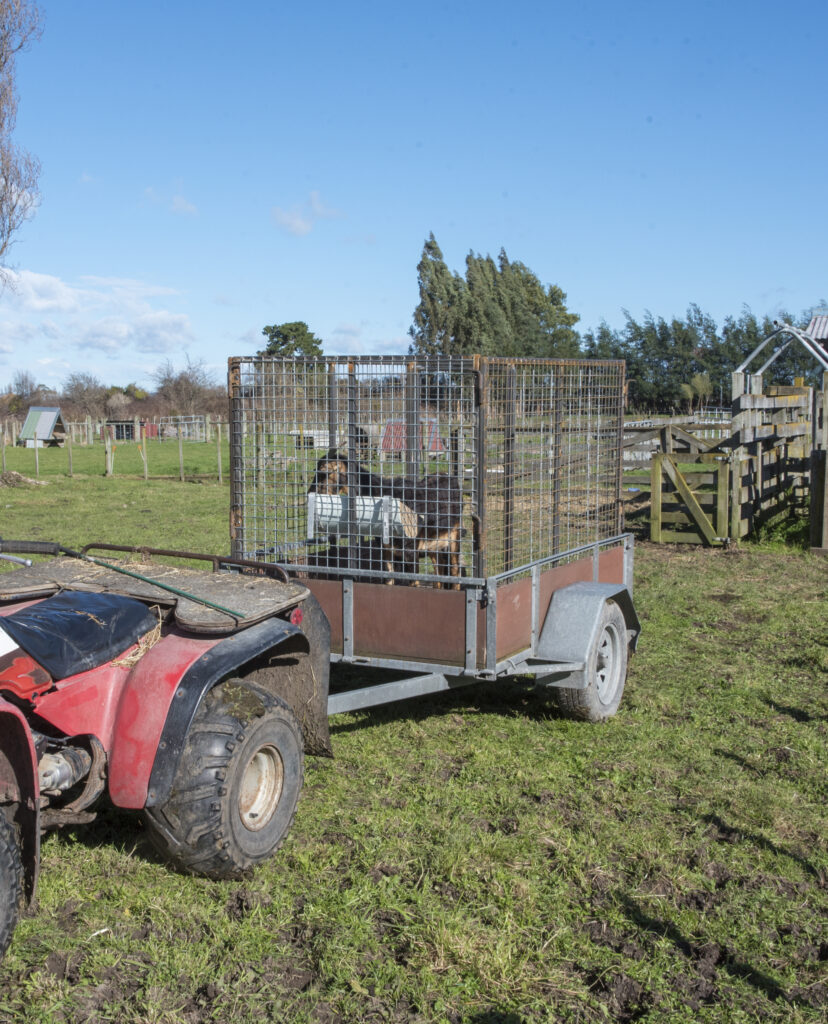
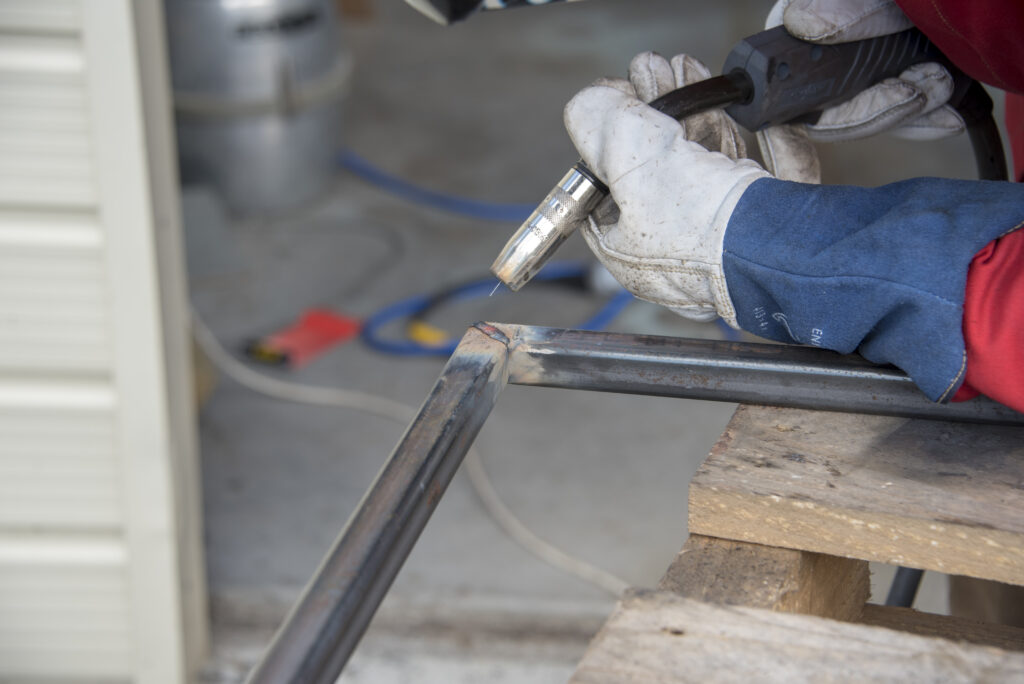
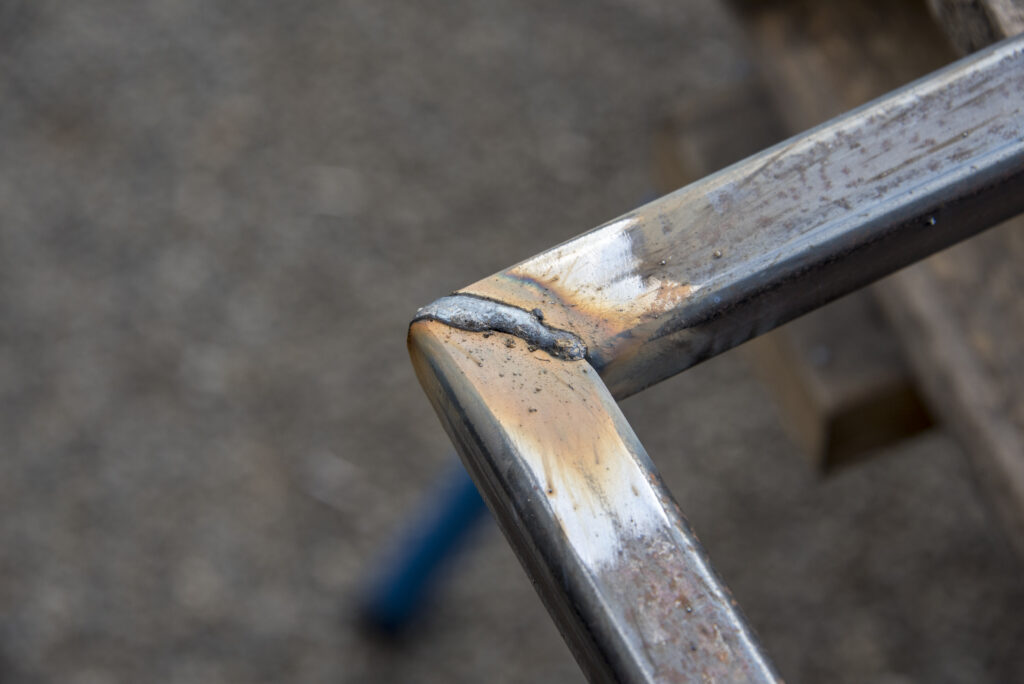
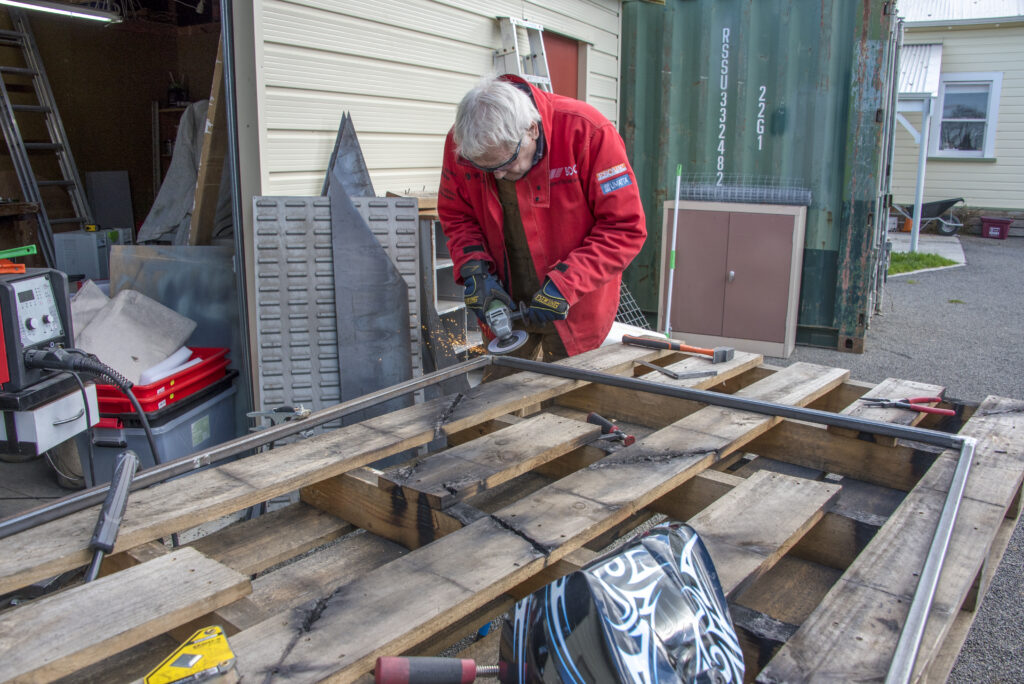
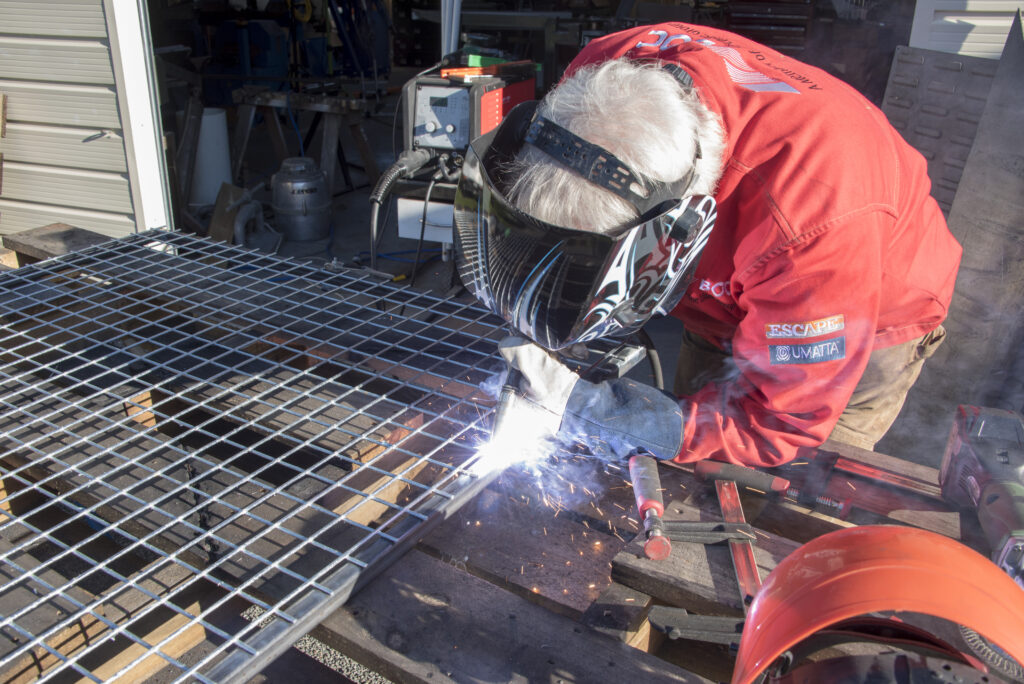
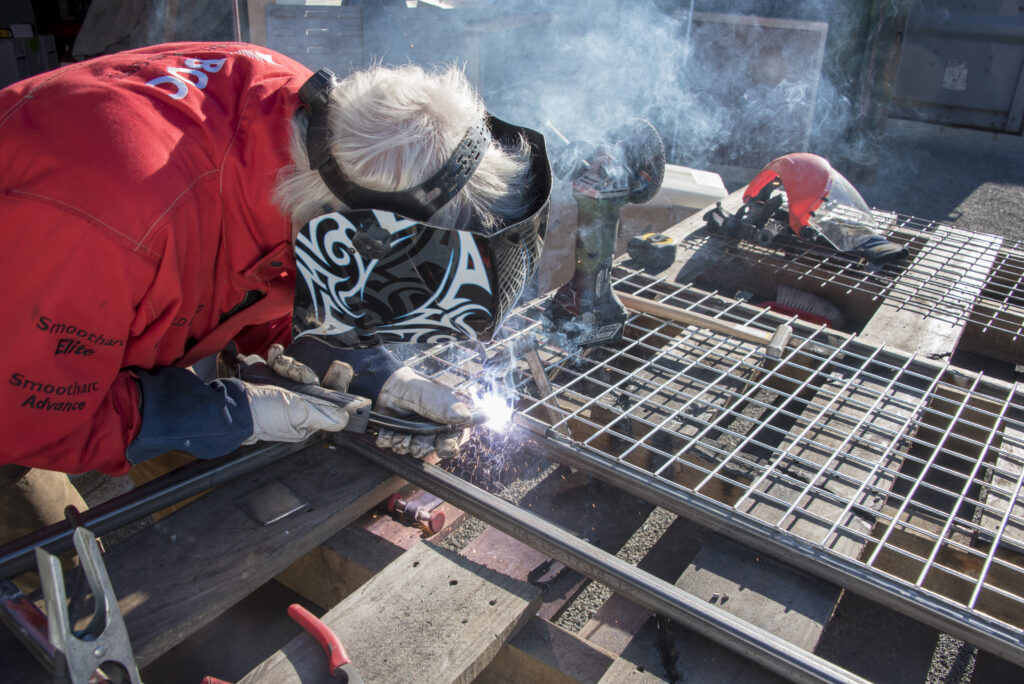
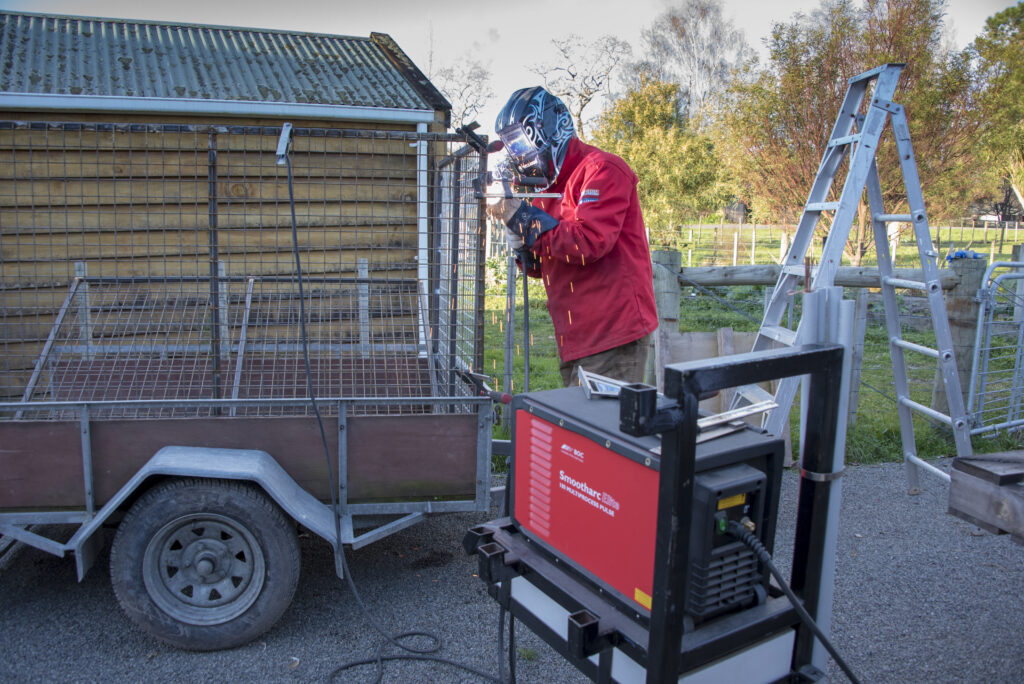

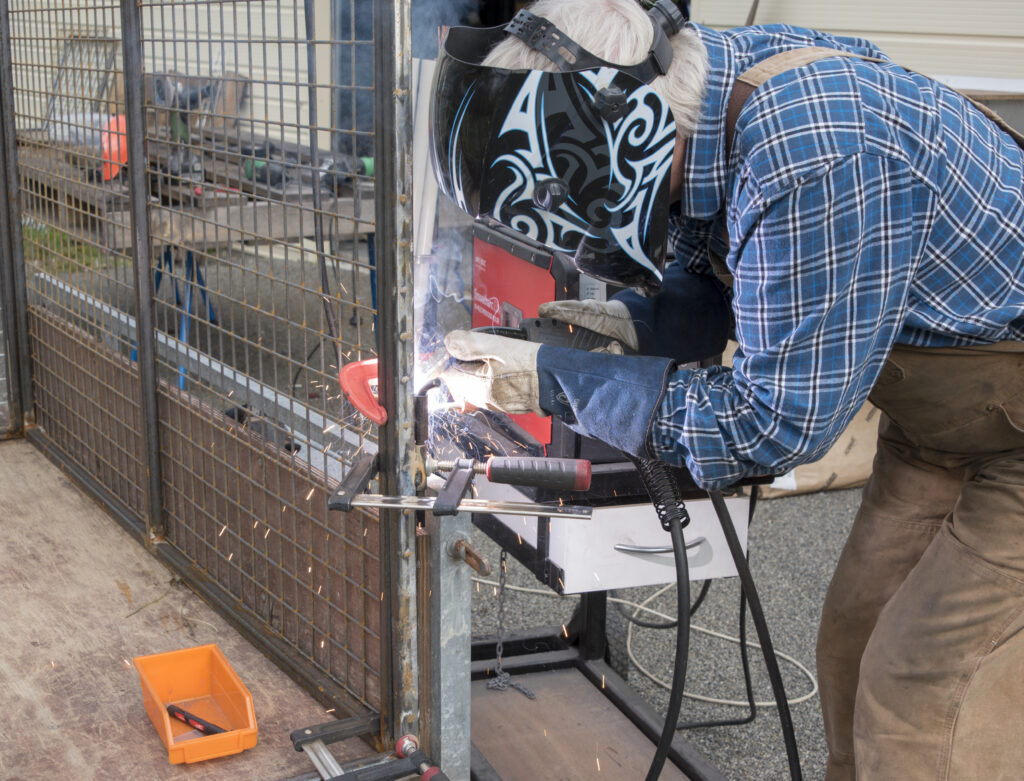

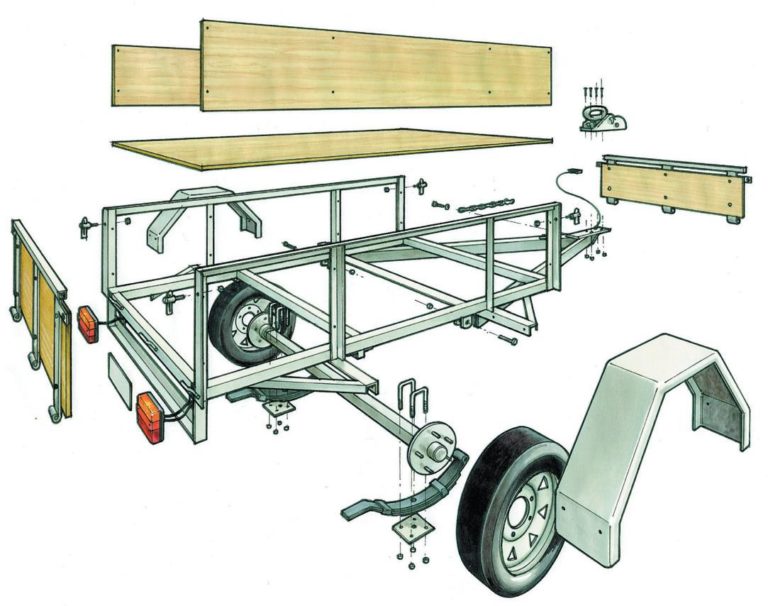
The frame is braced by angle-iron cross members and has a sturdy, ply wooden deck. It’s best to use not less than 5-ply 12 mm minimum — in this case we have used 7-ply 17 mm. With minor variations, I have built a standard 1200 mm x 1800 mm (6ft by 4ft ) domestic trailer with a solid frame of rectangular hollow section (RHS) mild steel.
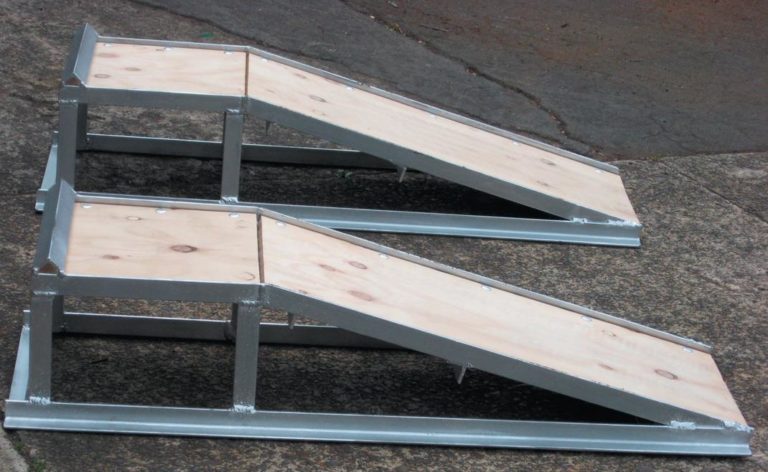
This story comes about because of a mishap with my trusty car ramps which I had for more than 20 years. They were a clever pressed-steel design, a product of Spedding Ltd, one of the country’s original importers and wholesalers who took on manufacturing as a response to the import restrictions and import licensing laws of the time.
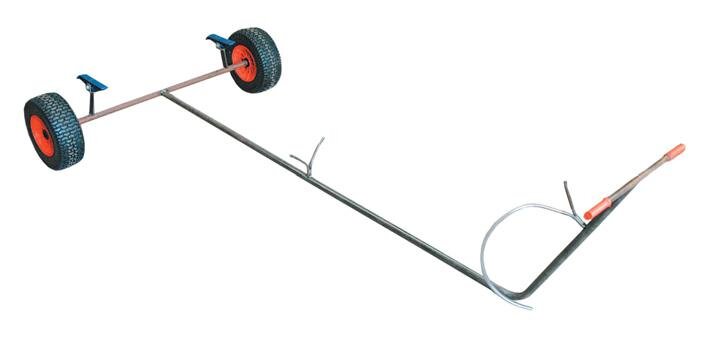
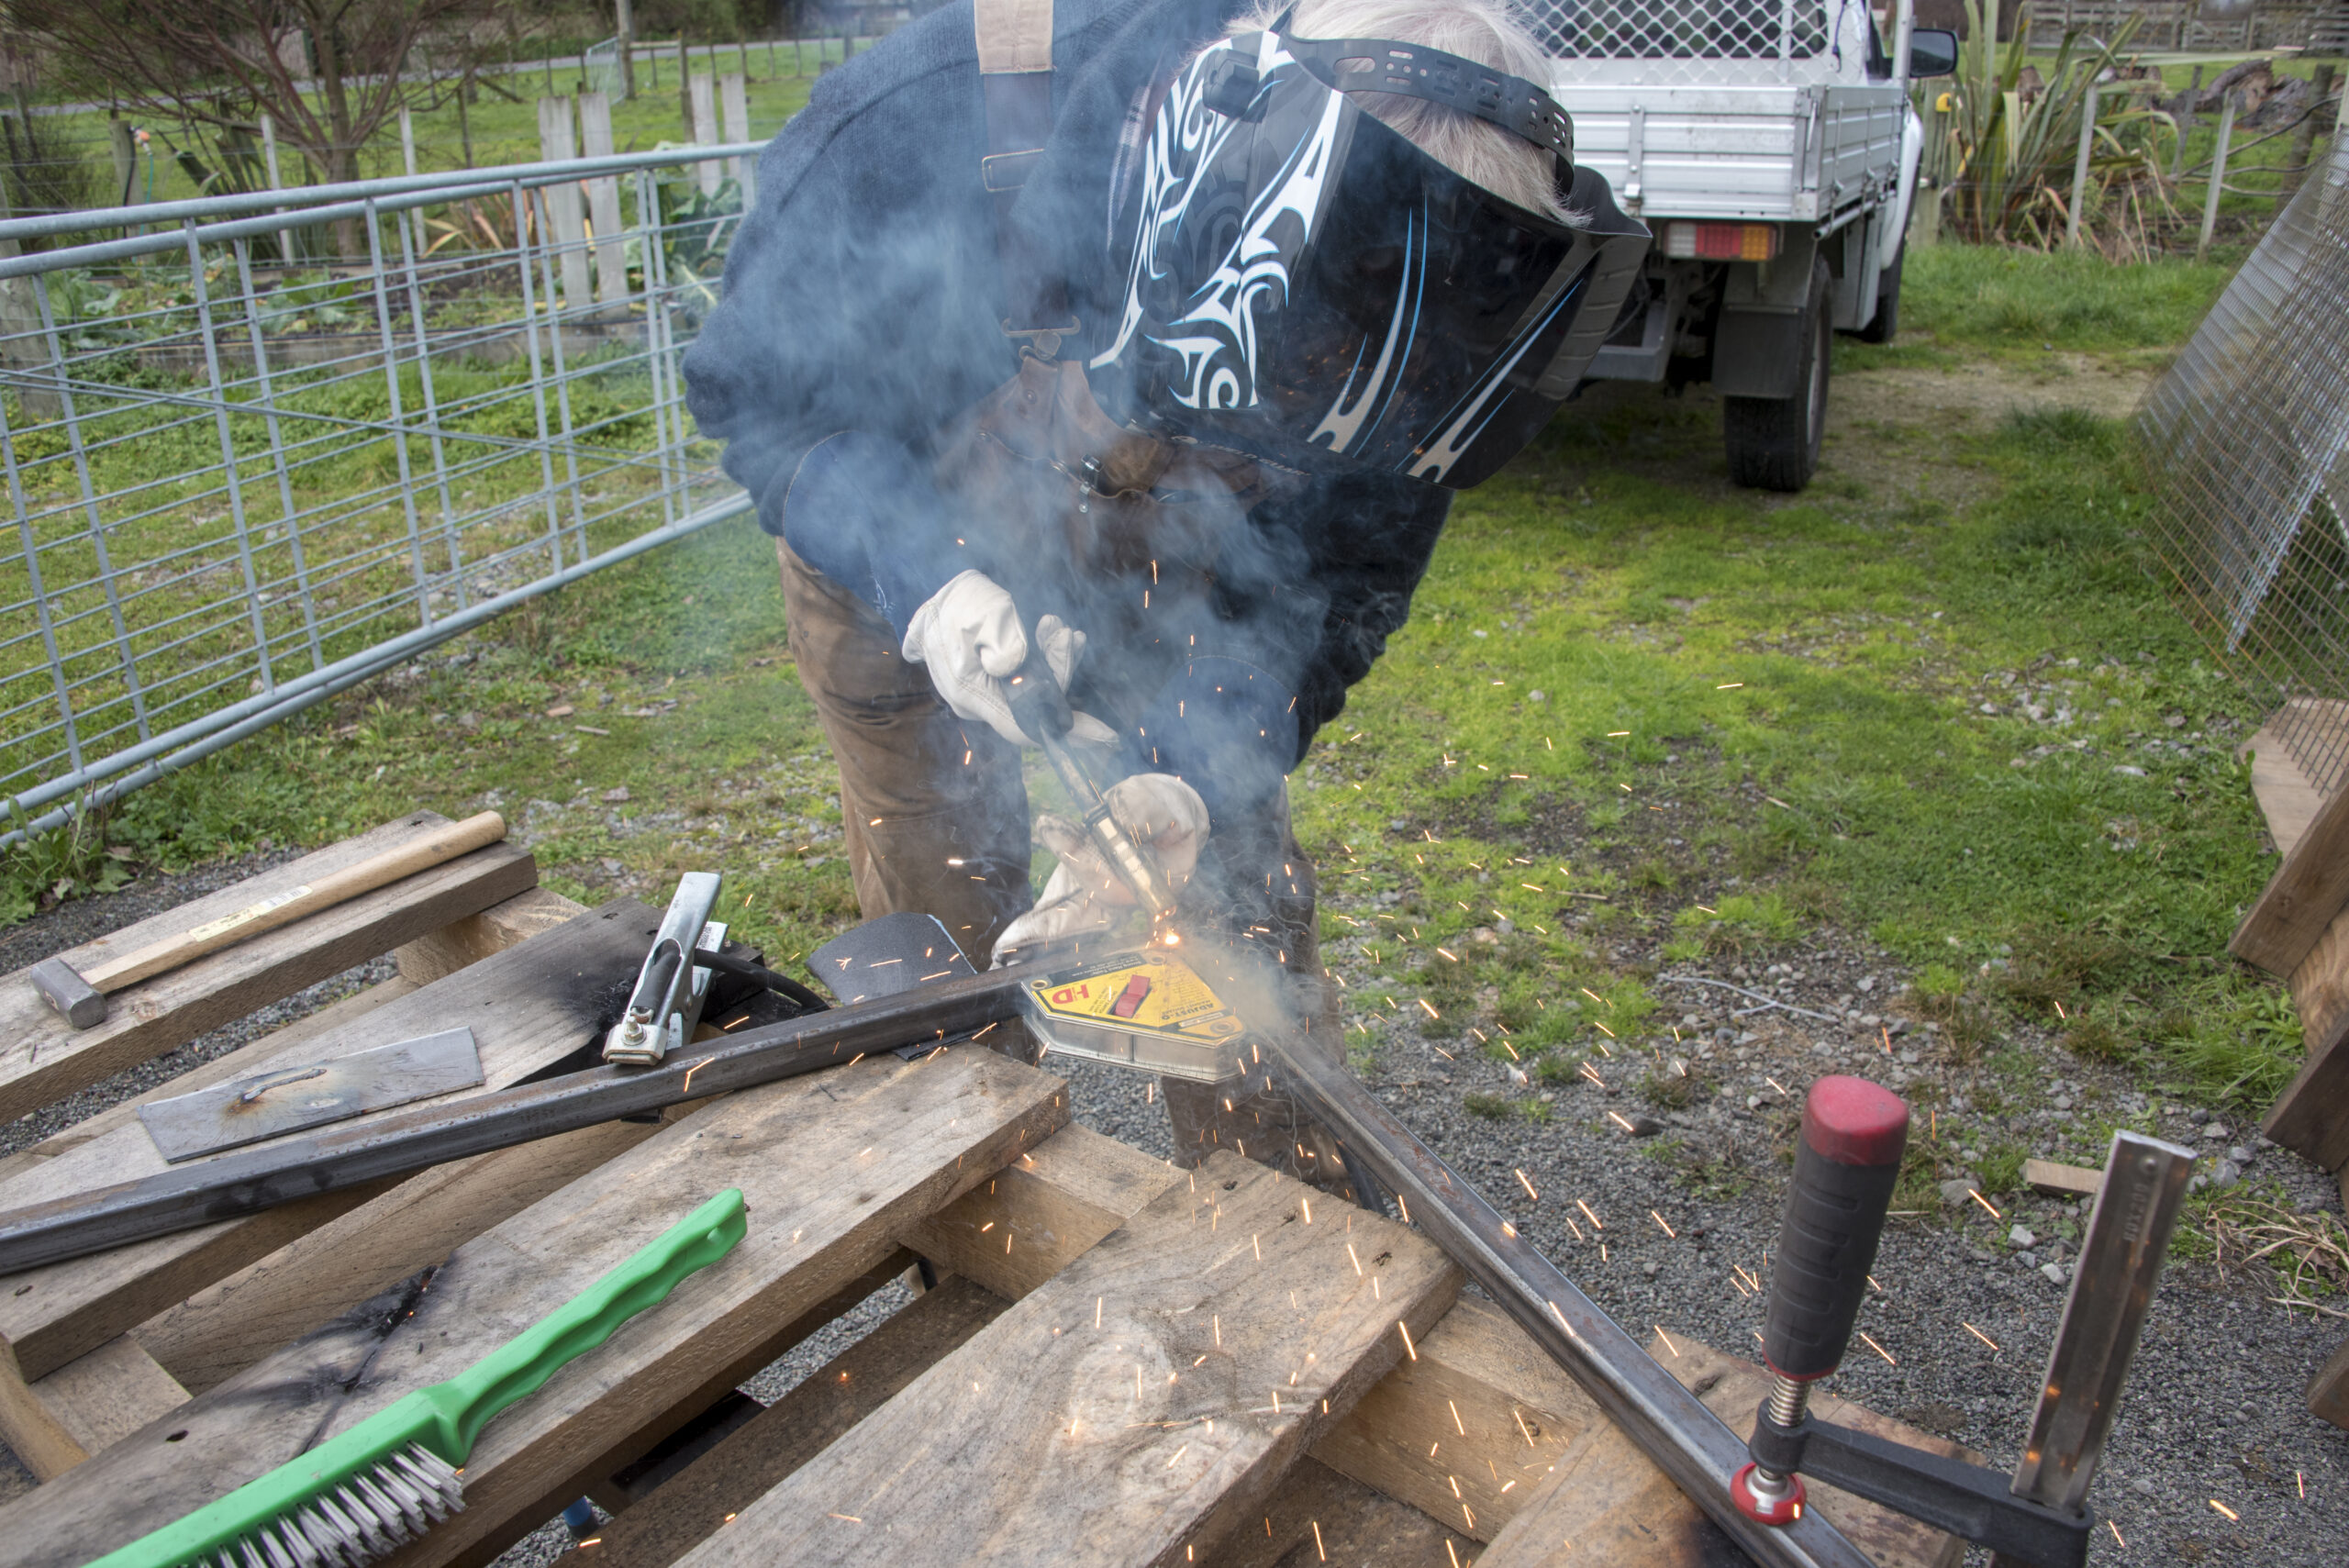
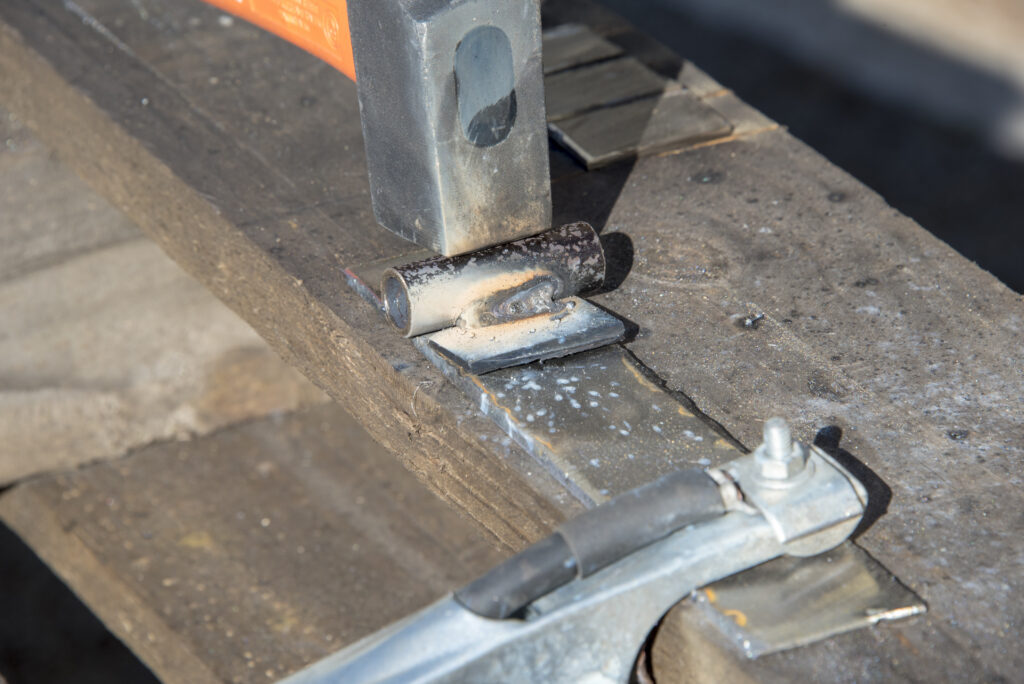
I used a pipe 3200mm long, but it depends on what you have. This is 2400mm along the flat and bent up at the front. The horizontal distance, from the flat to the tip lengthwise, is 340mm. I measured from a square on the pipe, and out 340mm for the bend. The axle is usually 1200mm. I turned a little insert stub axle for putting through the one-inch (25mm) bush in the centre of the wheel and into the axle. You could also turn down the axle to fit. It’s a straight bush because bearings and saltwater don’t mix.