Metalwork

In pursuit of perfection

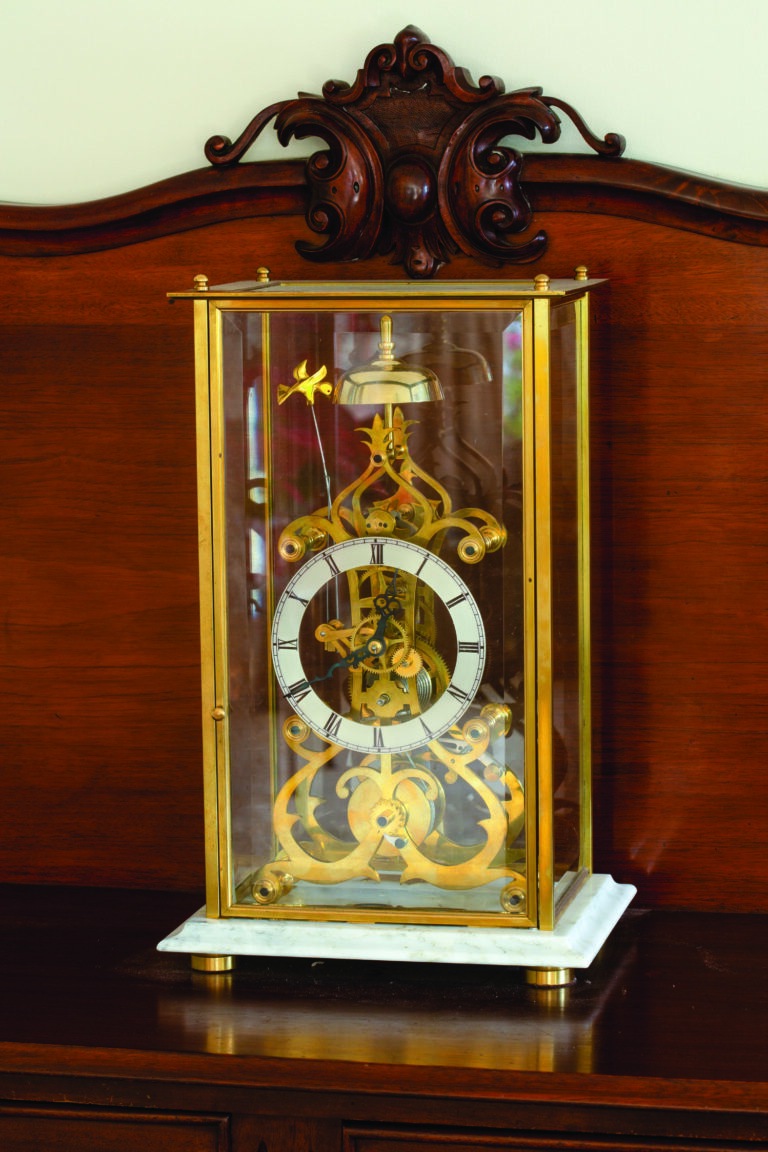
If David Curry was to be summed up in a single word it would almost certainly be precision. But that’s not enough – it would be absolutely vital to add artistry. Putting them together amounts to a search for perfection, so perhaps that’s the word to use.
Here’s an example: David is at present building a dauntingly complicated perpetual calendar skeleton clock, which has 38 gears, one with 165 teeth, all of which have to be individually machined. Clearly precision is paramount. But the levers and some parts of the frame look a little utilitarian, so he’s redesigning them with a few artistic flourishes. For inspiration he looks to a skeleton clock built in 1855.
“The engineering has to be right so that the parts work properly, but they also have to look right,” he says.
The clock tells the time, has a second hand, notes the day, date and month, and knows whether the month has 30 or 31 days. David is adding a second chiming system so that the half hour, three-quarter hour and quarter hour chimes have different tones from the full hour strike.
READ MORE »

Lights galore

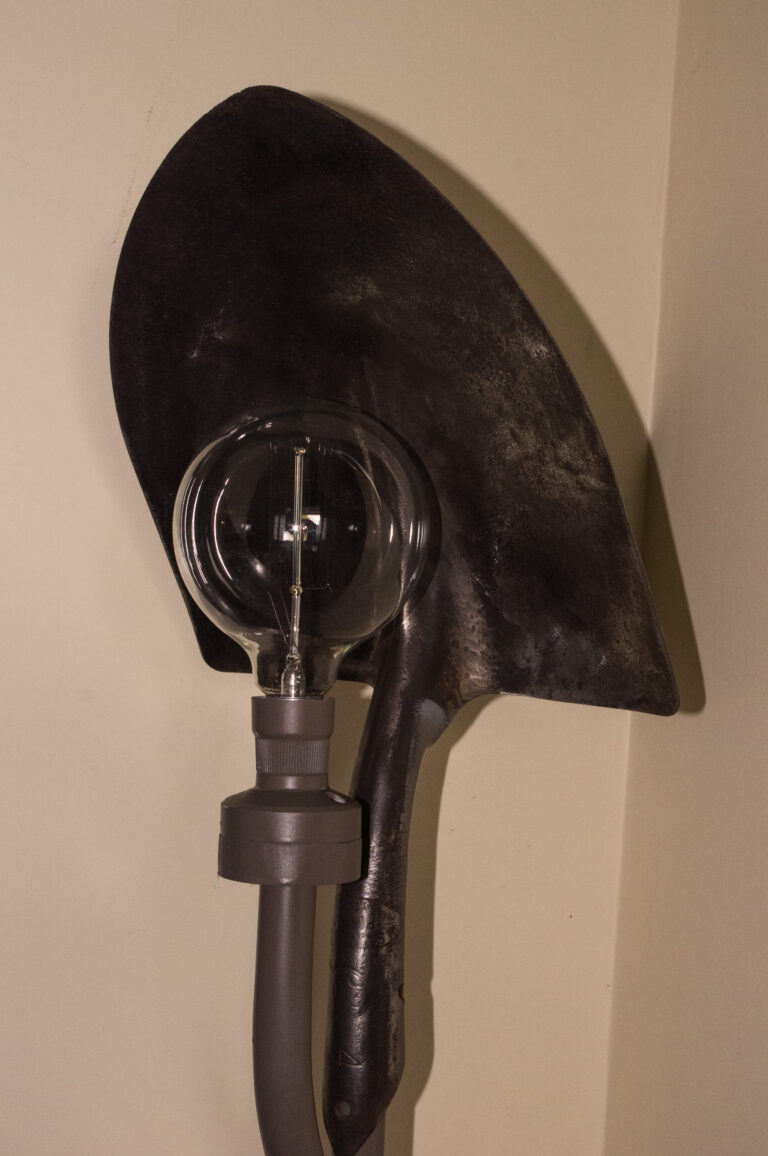
If you are interested in adapting and using discarded bits and bobs to make something useful, then building lights, table lamps, and the like, offers an endless source of relatively inexpensive projects to amuse you. What’s more, they make unique gifts and nice conversation starters for visitors. Lamps are also a good way of supporting a decorating theme. Whether you are into an Art Deco, Arts and Crafts, modern or industrial look, it is nice to enhance your chosen theme by constructing a light from an object that is reminiscent of it.
Of course you are dealing with 240-volt electricity, which is potentially lethal, so it is essential that you use common sense and particular care when wiring up lights (see the safe wiring tip box). The advent of 12-volt downlights powered by small transformers has also made the construction of lights much safer. Lights can now be wired in such a way that the 240-volt transformer is remotely located or secured and independently earthed. There is no electrocution risk posed by the 12-volt wiring in the rest of the light.

READ MORE »

Welding: Standing to attention – lathe bench build part 2

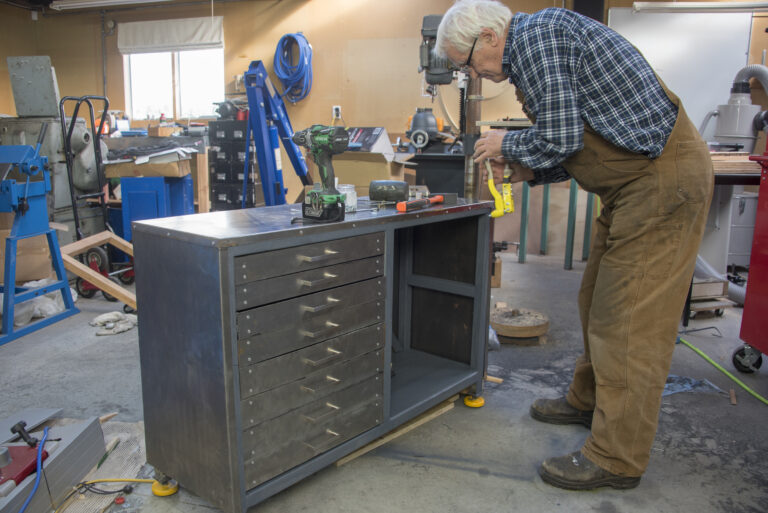
I ordered some drawer slides of the appropriate length (350mm) and worked out the width of the slides and thus the width of the drawers. The drawer slides are rated at 45kgs. I couldn’t be sure what weight I would be likely to load but this should suffice. I elected to run with eight drawers and make the second opening in the frame a cabinet to house larger components like the four-jaw chuck. After some fiddling I settled on two drawers each of 75mmx70mmx60mm, and 50mm high, separated by 10mm.
I bought three sheets of cold rolled steel 1mm thick. This is within the limits of the panbrake and I had hoped the material would be stiff enough given that the drawer had to span over 500mm width. I broke the material down into half sheets to make it easier to handle.

READ MORE »

From Rust to Rrroarrr video – part 1

Out of the shed and into the sun – part 1
After storing his bike for 50 years, Peter has begun t o restore it. He doesn’t want his bike to look flashy and new; he just wants it to run well and look the part.
In The Shed magazine December/ January 2025 issue 118, we begin a six-part series on the restoration of a 1952 AJS motorbike.  
This series of videos will accompany each article from the magazine. 

READ MORE »

My car the barbecue

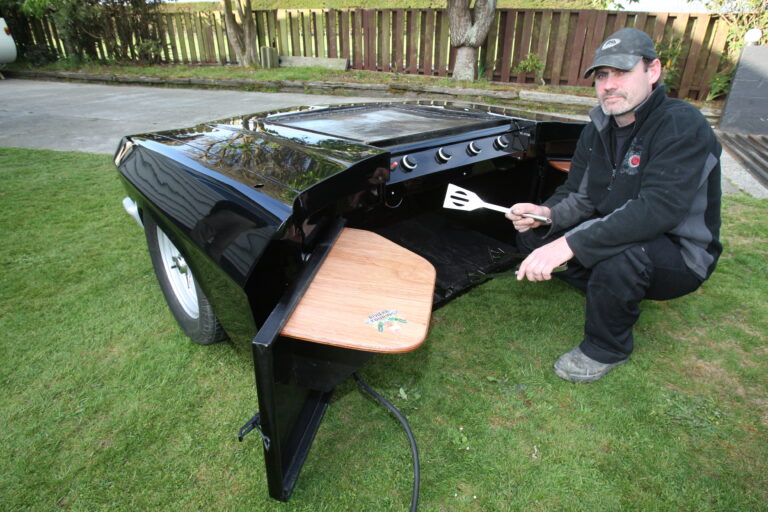
A mobile barbecue built out of an abandoned Holden Statesman? Why not. This clever conversion by Scott Edwards, a former freezing-worker-turned-motor-mechanic, was the pin-up attraction at a car, bike, truck and boat Show Day held in Riverton, the popular coastal resort town about 32 km west of Invercargill.
Scott is currently completing an adult motor mechanic apprenticeship but has always had a flair for anything to do with engines. He began early. Scott’s partner, Nicola Swain, says his mother had told her that Scott pulled apart every toy he got as a child, then put them back together again to see how they worked, before he played with them.

READ MORE »

Build your own tinnie

The aluminium runabout – better known as the tinnie – is the quintessential Kiwi bach boat. Most arrive in the backyard direct from the showroom or Trade Me, but Auckland boat designer Jim Pauling has created a new way of getting a tinnie: building it by kitset.
He has several sizes in his range. This one is the baby, the DIYNO 361, at 3.6 metres long. Thanks to improved technology and lower prices for power tools generally, it is much easier for the home handyman to pick up a welder, have a few practice runs on some scrap aluminium, or do a course at night school, and build his own kitset, 12-foot tinnie.
Pauling is a diehard fan of aluminium as a building material. Thanks to CNC (computer numerically controlled) cutters, it can be accurately cut to shape for sale as a kitset, which saves labour and vastly improves the result.

READ MORE »

Looking hot

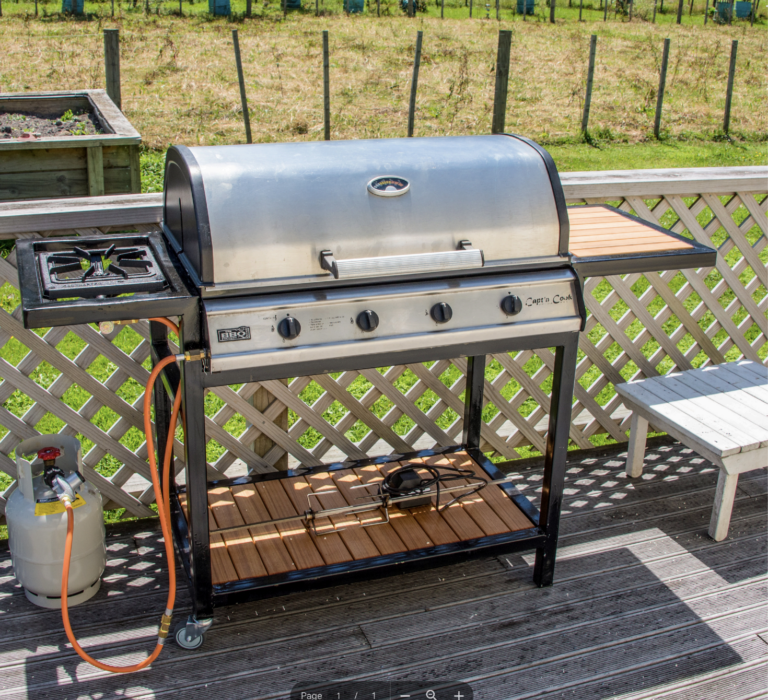
I began by careful measurement of the existing barbecue and designed a framework around it. At the same time I decided to upgrade and purchased a reasonably cheap single burner that didn’t have a long burner tube to contend with.
The framework is essentially just four legs with a couple of bars to sit the barbecue on, two outriggers that can be used for the side burner and a table for placing meat before and after cooking. The barbecue is attached to the base by four screws through the lid hinge.
I cut all the parts on the bandsaw, starting with all the bevelled parts. I elected to make the four legs contiguous with the arms of the outriggers so they are welded together as one piece, rather than making the outriggers as separate pieces and welding them to the tops of the legs.

READ MORE »

Along for the ride

Every Wednesday and Saturday morning about 20 retired tradesmen leave their lunch boxes in the Oamaru Steam and Rail smoko room, shrug themselves into their overalls, and head for the old railway workshop to get on with the day’s tasks.
They might be restoring turn-of-the-20th century railway carriages, stripping down a locomotive or installing wiring systems. Each man brings a lifetime’s worth of skills and the willingness to learn something new.
They work out of the old New Zealand Rail wagon workshop, or lifting shop as it was called, at the back of Oamaru’s historic precinct. The Oamaru Steam and Rail Society Inc took over the building in 1989. Most of the tools and equipment needed to complete the volunteers’ first major project were on hand so they rebuilt the 60mx12m workshop which had been partially demolished by NZ Rail when they decamped.

READ MORE »

New life for old stuff

Broken blades, tired tools, worn washers, grimy gears. These are sorry sights for most sheddies, but for Bruce Derrett they are the treasures of his trade. The Motueka metal artist combines his skill wielding a MIG welder with a highly fertile imagination to turn other people’s junk into quirky creatures, funky furniture, and striking sculptures.
Bruce, who ironically failed metal work at school, has always had an eye for mechanical bits and pieces. “As a kid I was always pulling things apart, like clocks and radios. It used to really frustrate my mum,” he says. Now he puts things back together again, albeit it in a very different form.

READ MORE »

Making a kayak anchor

This simple and effective rebar anchor is perfect for small boats and kayaks and is the result of welding $30-40 worth of materials. If you are a small boat and kayak enthusiast, fabricator or just want to learn some new metalwork skills, this two-hour project will be great for you; it needs few welding skills. Remember that the construction is modular and can be made to fit your needs.
With a net weight of only 7 kg, the anchor will not weigh down a boat or kayak. Anyone can pull it up, but it will still catch the seabed.

READ MORE »

Frozen in time

I just love nosing around other people’s workshops to see what they are making and what gear they have, and I’ve just had the special opportunity to look at a manufacturing workshop that was about to be sold up and, as a bonus, learn about its history.
Macdonald Refrigeration surely has a place in Auckland’s heritage as a pioneer in its field. The factory has been closed for some time now and it has been hard for the family to let go of all the gear, but it is filling a lot of valuable space.

READ MORE »

On the road

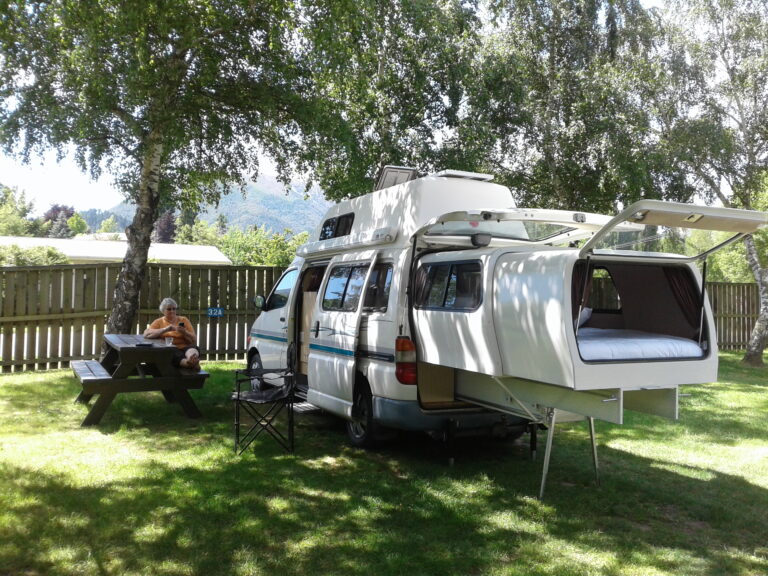
When Des and Kath Thomson decided to take to the road in their retirement, they wanted a campervan that was comfortable. They didn’t want to be clambering up ladders, tangoing at tea-time in too-narrow aisles, or struggling to turn tables into beds at night. But nor did they want to trundle around the countryside in a cumbersome mobile mansion.
They wanted a small, manoeuvrable vehicle that had masses of space inside. Space for everything, including the kitchen sink plus another in the bathroom, a separate shower, toilet, cooker, microwave, barbecue, table and chairs, wardrobe, drawers, hot and cold water on tap, plenty of storage…oh, and a queen-size bed.

READ MORE »

The right stuff – part 2

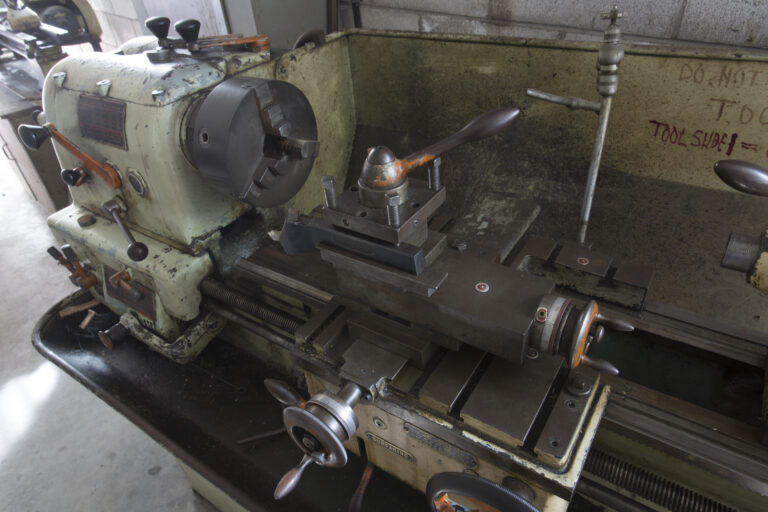
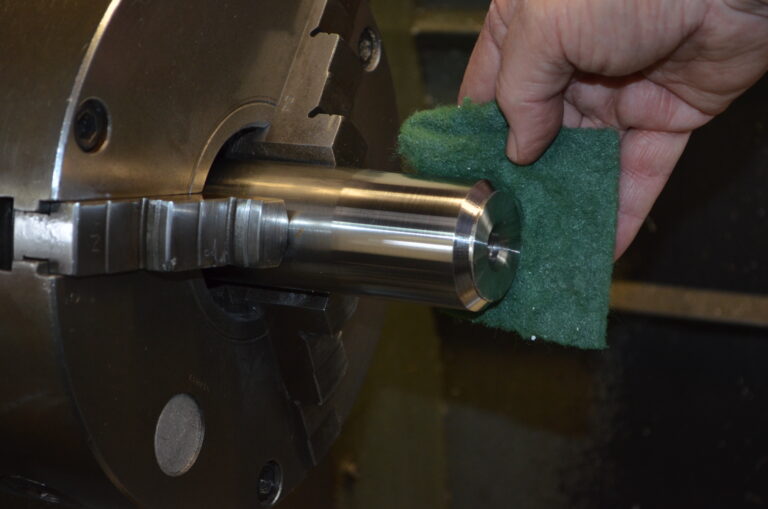
If you have followed our Metalworking Lathe 101 series in The Shed magazine, you will have a grasp of the basics, so here are some helpful tips to improve your lathe experience and make those projects a bit easier to do.
Quite often the material or item we need to hold in the chuck is delicate, either due to a fine finish that we do not want to put chuck jaw marks on or due to it being thin walled. For jobs with a surface finish that you need to protect it is handy to have some strips of aluminium to put between the chuck jaws and the job material. These are mostly used when holding in a 4 jaw chuck as the job will need to be “clocked up” using a dial indicator to get it running true.
The thickness of the aluminium strips cannot be relied on to be consistent as they squish up a bit with the tightening of the chuck jaws, so when using a 3 jaw chuck the auto centring effect is not so good.

READ MORE »

The right stuff – part one

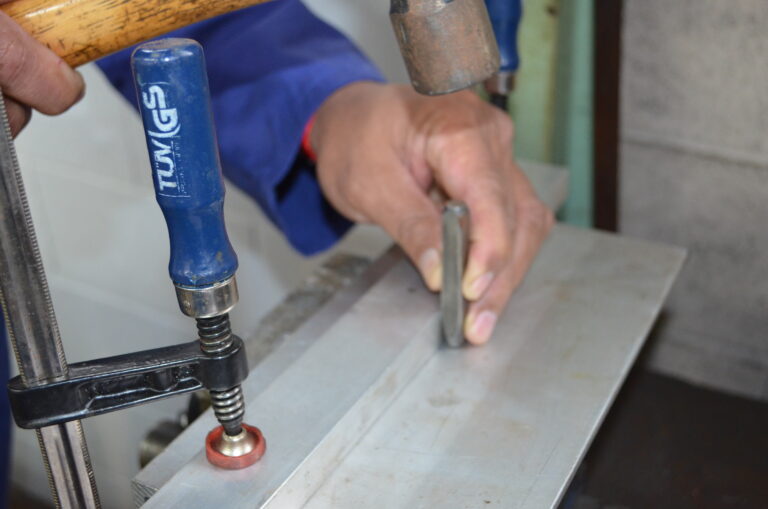
These tips are a random collection of thoughts that I have grouped under the classification of things that relate to working at a bench using hand tools, rather than using a lathe, mill or other machine tool. So if you have only a workbench with some hand tools in your shed, this is meant to be useful for you too.

READ MORE »

Metal spinning lives

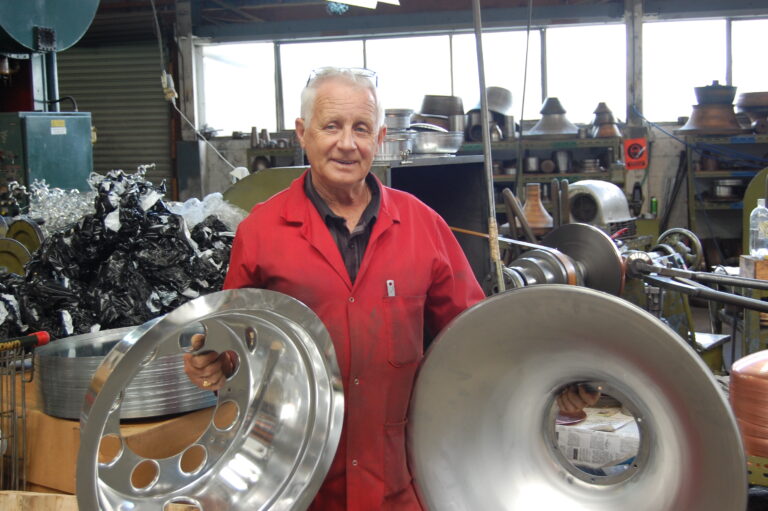
The exact origins of metal spinning are unknown but the craft can be dated back to ancient Egypt where examples of spun vessels have been found. Metal spinning today differs little from the past with the only real advance being that an electric motor is used to drive the chuck instead of manpower or water power.
Before the advent of power presses, metal spinning was used to make almost all round sheet metal objects such as pots, pans, lampshades and wheel rims.
The principle of metal spinning is simple: a disc of metal is clamped between the tailstock and a former or mandrel. The disc is spun and the operator then uses a lever to manually work the metal down onto the mandrel. The process helps maintain the structure of the material and does not stress it, resulting in a stronger and more stable product than if it was pressed.
While metal spinning by hand does not generally alter the thickness of the material, hydraulic-powered tools can be used to flow-form products making sections thinner where required.

READ MORE »