

Restoring motorbikes is what South Island sheddie Hayden Tasker loves to do in his workshop, but not just any motorbike.
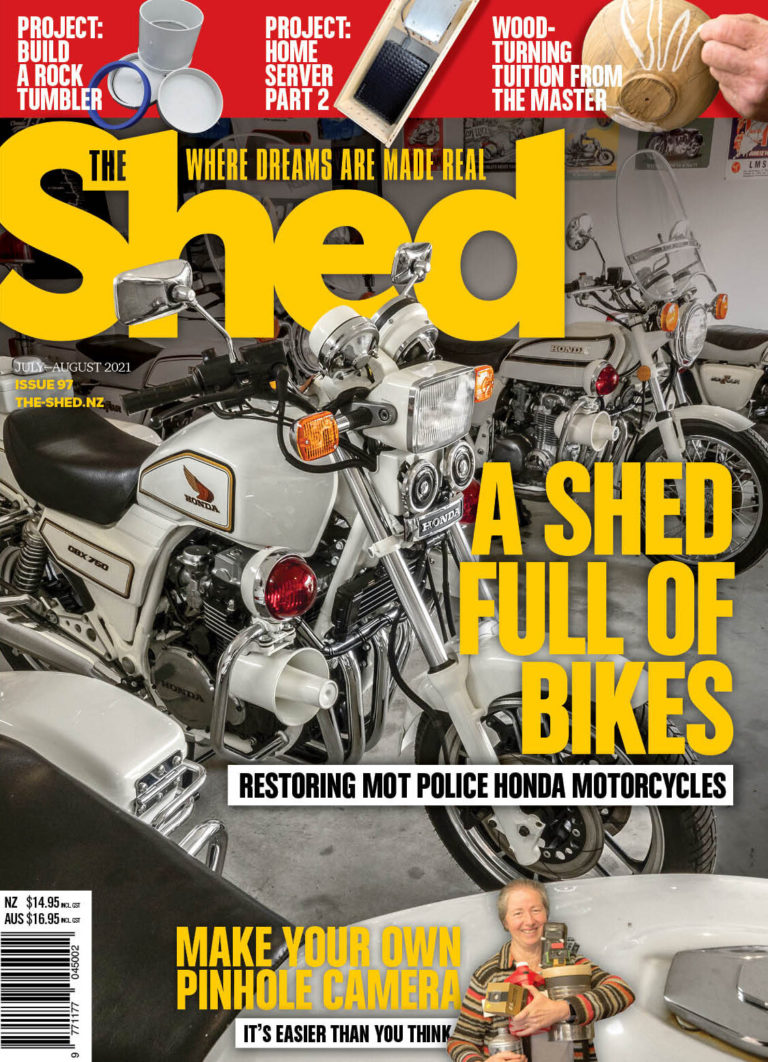
Restoring motorbikes is what South Island sheddie Hayden Tasker loves to do in his workshop, but not just any motorbike.

We are always looking for great projects to feature in The Shed magazine and website. Are you building and creating a project that would interest other sheddies? Let us know and we will send our team around to document the task and share it with other sheddies all around the world.