A step-by-step guide on how to make a sterling silver pendant
By Murray Brereton
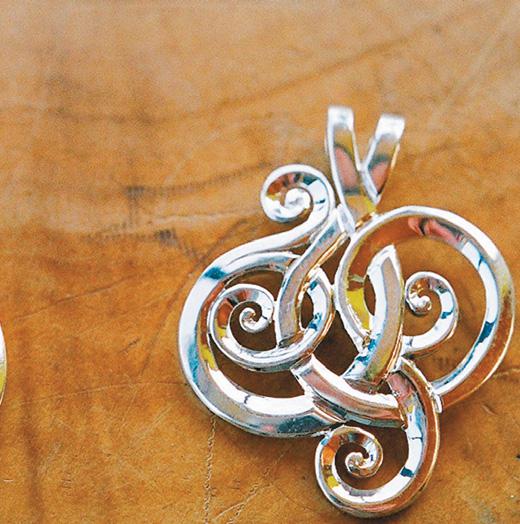

You might well think a charming silver pendant is something best left to a professional, a master craftsman – and not a DIY project for your shed. But that does not mean you can’t make an impressive piece of jewelry, so long as you take a logical and careful approach.
MATERIALS
Drawing paper, tracing paper, acetone, cotton buds, removable sticky tape, wooden jeweller’s pin or block to support the design when cutting out, sandpaper stick, fine file, sterling silver plate 50mm x 30mm x 1.2mm.
TOOLS
Scribe, drills 3 x 0.8mm, saw frame, saw blades (sold in packets of a dozen – but you may break a few), graver, sandpaper 600 grit to 1500 grit wet and dry.
THE DESIGN
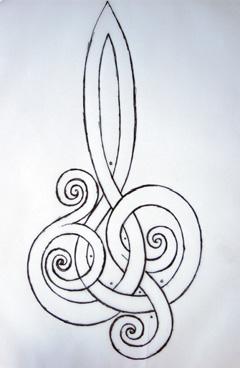
The first thing to do is to select a design you like. It could be in a book or something you draw. For this project, I chose a Celtic knot design. They’re several thousand years old and still admired for their elaborate, intricate patterns. Maori art also offers inspiration. I cut tracing paper to size and used removable sticky tape to hold it down. I traced the design, making the alterations I wanted.
Don’t worry too much about doing a final drawing just yet. To alter your design, place white paper under tracing paper. Stick another piece of tracing paper over the first, then make the alterations to the next layer. Continue shifting white paper to under the last drawing and repeat the process until you are happy with the design.
PHOTOCOPYING
Now I refine the drawing, working on a zoomed A4 photocopy of the image from the tracing paper.
ALERT: If the design is to look the right way round on your pendant, you will need to photocopy the back of the tracing paper, so that when the image is transferred it
will be the correct way up. Don’t make the outline too fine or you will have difficulty in seeing the lines when the size is reduced.
Once you are satisfied with the final drawing, reduce the image again on the photocopier to the size you need. In this case, I wanted it to fit the 50 x 30mm plate.
I find it useful to make about four copies of the final size. The transfer process doesn’t always work out, so you may have to repeat it.
TRANSFERRING
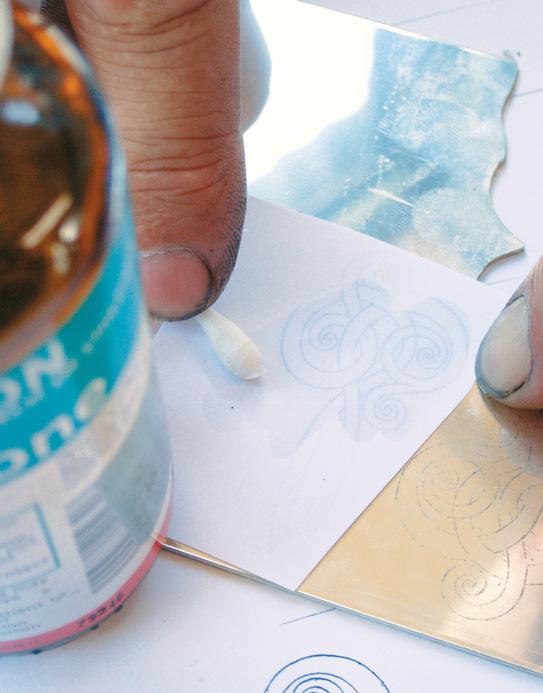
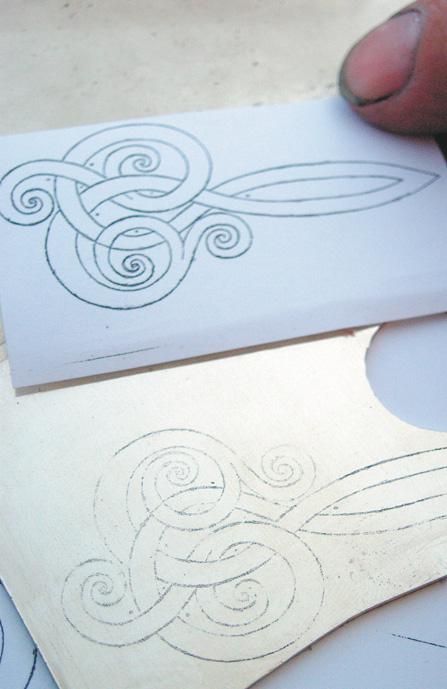
Cut the photocopy to size, leaving an edge for removable sticky tape by not trimming right up to the line. Stick the photocopy to the plate. At the edge, hinge the paper underneath the plate, so the design can be swung back up from the top without moving its alignment. Using a cotton bud dipped in acetone, wipe the back of the paper. Lift the paper. The image should now be transferred to the metal. Repeat with a new photocopy if necessary. Using the scribe, lightly go over the outline. Although the transfer is quite durable it will disappear after a lot of handling.
DRILLING
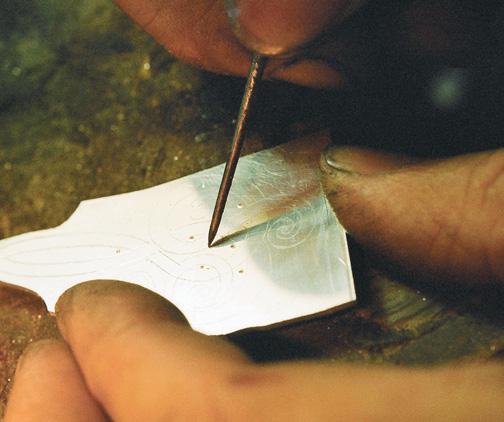
Next, gently centre-punch for holes which the saw blade will pass through. Remember, the holes will be drilled in the bits that are to be cut out. Keep away from the lines and the edge, allowing for the drill size.
SAWING OUT
This is the fiddly part. You will need a piece of wood with a small slit cut in it to allow the saw blade to move up and down freely, while the wood supports the silver plate.
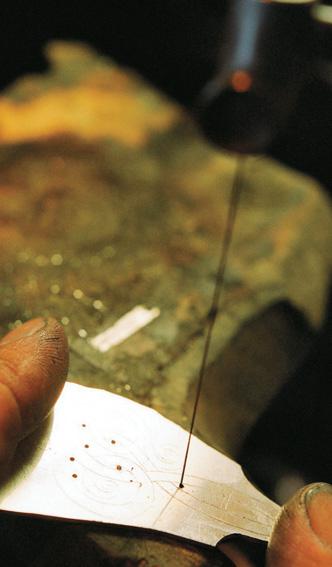

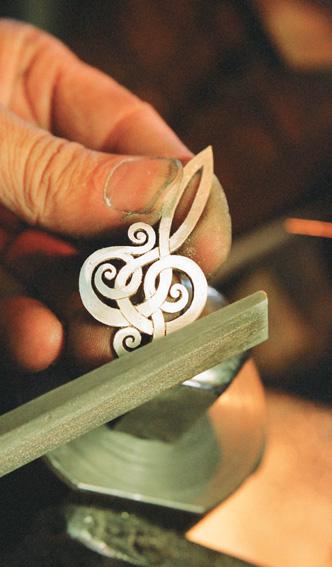
Place the saw-blade teeth downwards or facing the outside of the saw frame. One end of the saw blade is placed in the bottom of the saw frame, then it’s threaded through the hole you drilled in the work and tensioned and tightened into the top of the saw frame.
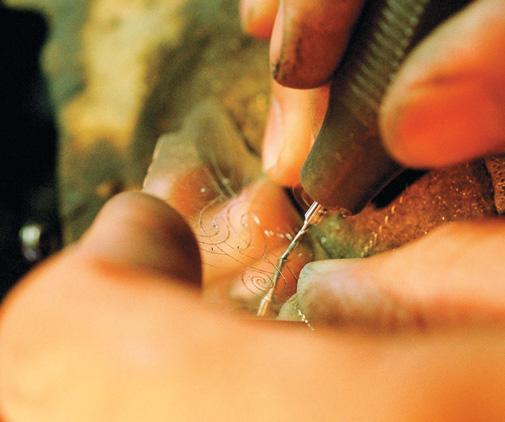
Keep the blade 90 degrees to the work and gently start to cut out, staying just inside the line. Use the thumb and forefinger to hold the work down, otherwise, it will lift up and the saw blade will break. Holding the work, turn the metal to line up with the saw blade. As the line to be cut turns either to the left or right, you will be cutting away from yourself.
Cut to a corner. Keep the blade moving up and down while pulling back on it. In other words, don’t push forward on the blade. It’s like standing in one place with your legs going up and down without moving forwards, gently pulling back on the saw blade as it cuts, while it is turned to line up with the next direction of cut.
Repeat until you have finished the inside cut-outs then cut out the outside outline of the design.
FINISHING
To add a look of depth, I use a graver (chisel) to cut lines to have an under-and-over effect and to show where lines meet. Lightly sand the silver to remove any marks, going down to the smallest grade of sandpaper – from 600 grit down to 1000 and then 1500 grit. I also use a fine file to refine the cut-out.
To make the chain runner in my design, I fold the top of the pendant over to create the channel. If you don’t wish to lose the long, curved shape at the top of the pendant by folding it over, you can solder a small section of tube to the back as the chain runner.
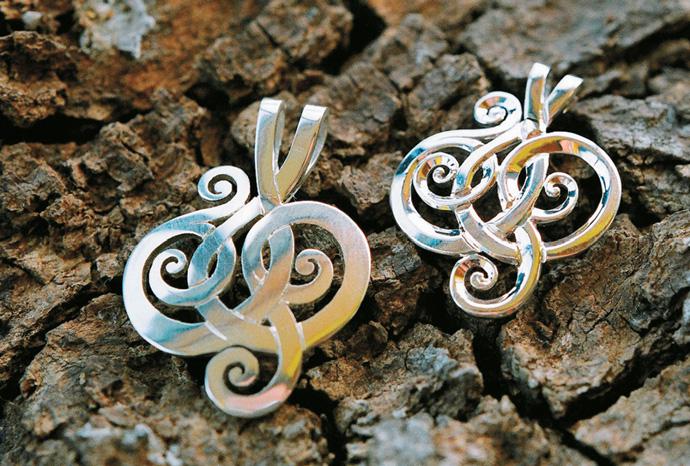
Give the pendant a final finish. Lightly sand it, using a piece of worn sandpaper of the finest grade again (1500 grit), then use a silver polish to bring up the highlights.
MURRAY BRERETON
Murray Brereton is a manufacturing jeweller who is based in a blue shed on the main wharf in Akaroa, the picturesque village with a French history on the Banks Peninsula, about an hour’s drive from Christchurch.
Most of the time, he specialises in producing beautiful jewellery using “Eyris blue pearls”, cultured from paua farmed locally in Akaroa Harbour.
www.akaroabluepearls.com

