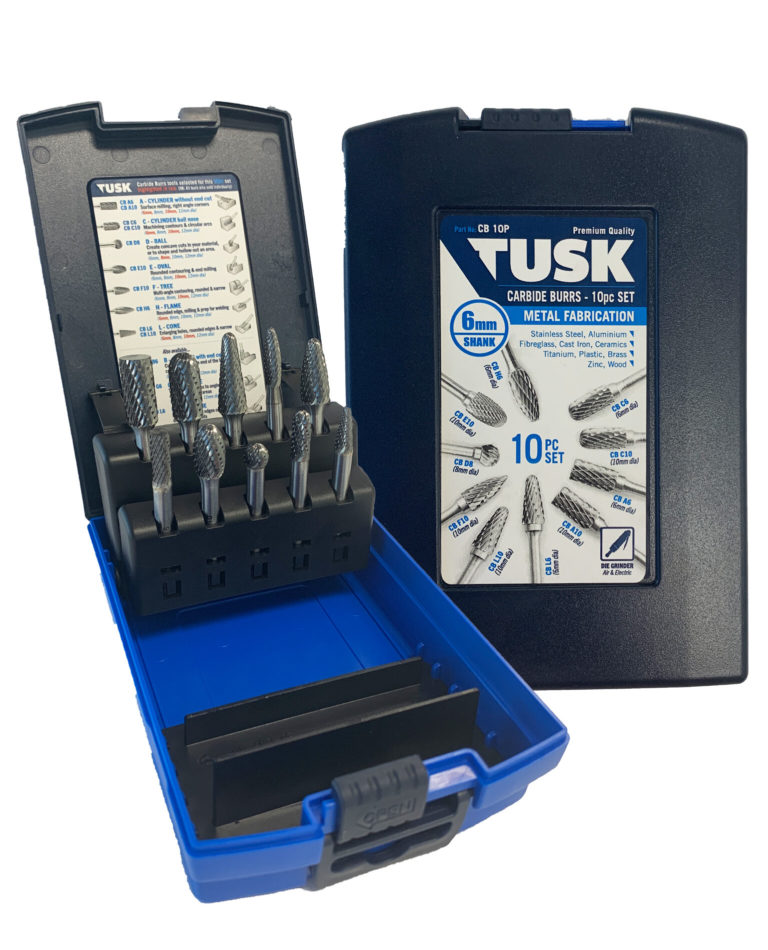
A weighty subject

One problem with working alone in the shed and having a liking for large pieces of Victorian cast iron is the difficulty of safely moving or lifting them. They can be moved with load skates and pipes as rollers, but how do you lift the weight onto the rollers? Trying to push down on a crowbar while arranging pipe rollers under a machine is inviting trouble. A toe jack allows you to lift and hold the weight in the air as you arrange the rollers and put in safety blocks. It is not intended for great weights or high lifts due to stability, but it allows you to lift the weight.

Give yourself a lift by making a hydraulic toe jack 
By Geoff Merryweather
Photographs: Geoff Merryweather

One problem with working alone in the shed and having a liking for large pieces of Victorian cast iron is the difficulty of safely moving or lifting them.
They can be moved with load skates and pipes as rollers, but how do you lift the weight onto the rollers? Trying to push down on a crowbar while arranging pipe rollers under a machine is inviting trouble. A toe jack allows you to lift and hold the weight in the air as you arrange the rollers and put in safety blocks. It is not intended for great weights or high lifts due to stability, but it allows you to lift the weight.

Main jack parts

Scoping the project
This toe jack was made out of leftovers in the shed and used the basics principle of Shed economics that if it is on the shelf in the shed, it is free, so it came in on a zero budget.
It is based on a 2-T bottle jack left over from another project. Get the jack first, as it drives the dimensions of the rest of the parts.
Apart from the jack, there are two other main parts. The C- shaped baseplate with an upright channel, and a Z-shaped carriage that connects from the top of the jack to the low level with an angle that fits under the load. The jack fits snugly into a 100x50mm channel which serves as the upright that guides the lifting carriage. A larger jack may need a channel fabricated or a larger size. 

The upright channel welded to baseplate
The sides of the carriage tacked to the front

Fabrication
The first step is to make the baseplate and upright section. The baseplate is a C-shaped piece of 10mm plate. This one was welded from three pieces of steel, but could be cut from plate if you have any.
The height of the channel is the height of the jack body when fully compressed, so this will vary with the jack you have. Vee the joins, tack them into place, checking that all is square and flush with the front edge of the baseplate, and then fully weld.
The lifting carriage has a socket that is a snug fit to the top of the jack ram and is made from 50mm round with a hole bored to match the ram diameter. The height of the carriage is from the ground to the top of this socket and is made from 6mm flat steel. This forms a snug-fitting channel around the channel of the upright with an angle at the rear, so it cannot
wobble during a lift.

The socket and connecting parts to the carriage front and sides
The angle on rear of the carriage

The lifting carriage
To make the lifting carriage, clamp the front and sides of the carriage and tack them together. Weld on the connecting pieces from the socket to the sides of the carriage. These are 40x5mm flat to each side, and a piece of 25x50mm RHS to the front. Weld a flat plate on the top and make sure everything is welded up well.
Weld on some angle at the rear of the carriage so that it cannot tilt forward when it is carried and a piece of 50mm angle on the front to make the tongue that goes under the load.
If you didn’t cut the baseplate as a C shape, vee out the join and weld on the extensions that stops it tipping forward as it lifts. Make these longer than the tongue so the load is concentrated behind the front edge of the extensions so it won’t tip over.
Grease the moving parts and, if they have warped during welding, adjust with a hammer, and paint to suit.

The tongue welded to the front of the carriage
Once the baseplate extensions are welded on, the jack is finished

Using the jack
This hydraulic jack doesn’t seem to move in use or as you are carrying it, but you can drill through the jack base and bolt the jack to the base plate with some cap screws. While I didn’t fit a carry handle on this jack, it is heavier than it looks, and a folding handle would make it easier to carry.  A taller jack would give a greater range of movement.
To use the jack, use a crowbar to lift the load so the jack can slide underneath, and then you can slowly lift while sliding wooden blocks under the load as safety blocks. Pay attention that it does not tip forward or slide off the tongue and it is better to take slow, small steps using blocks of wood underneath so, if it does fall, it cannot go far.

Share:

More Posts

Making a die nut

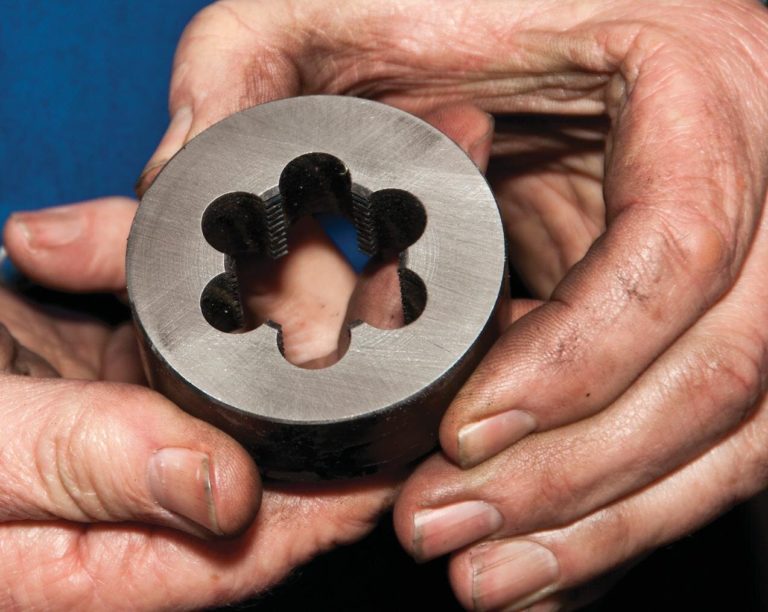
A die nut is created with interrupted sections of thread around its internal diameter. Die nuts are simply screwed onto the threaded part. As they are wound down, they cut away any of the screw thread that is bruised (bent over) or out of line. A die nut cuts irregularities and scrapes off the dirt from the thread it is being used on so needs cutting edges, which are formed by the cut-away places.

Homemade bench holdfast

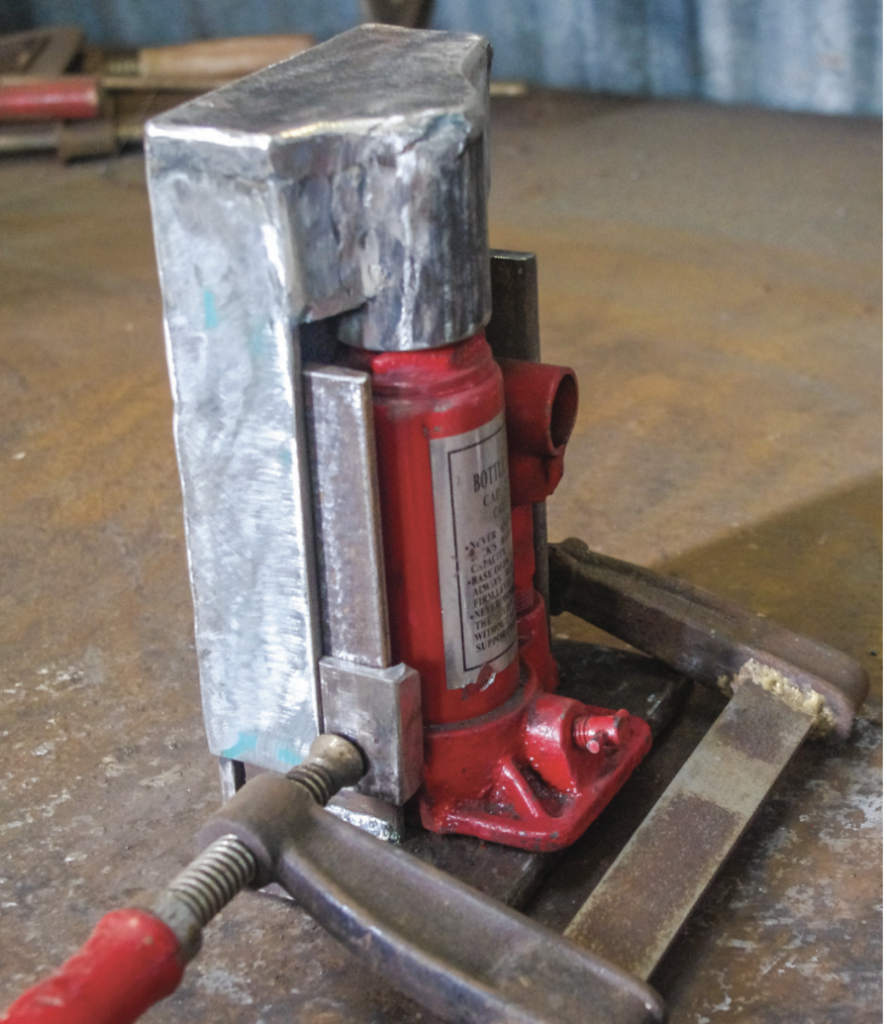
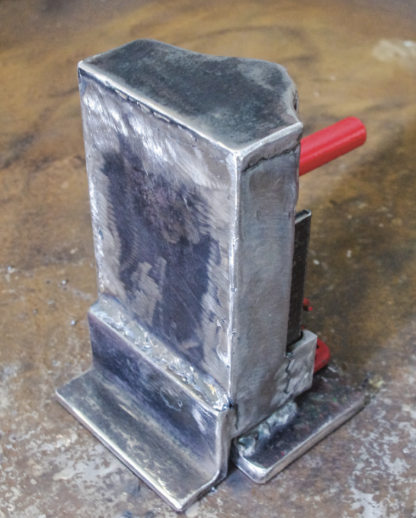
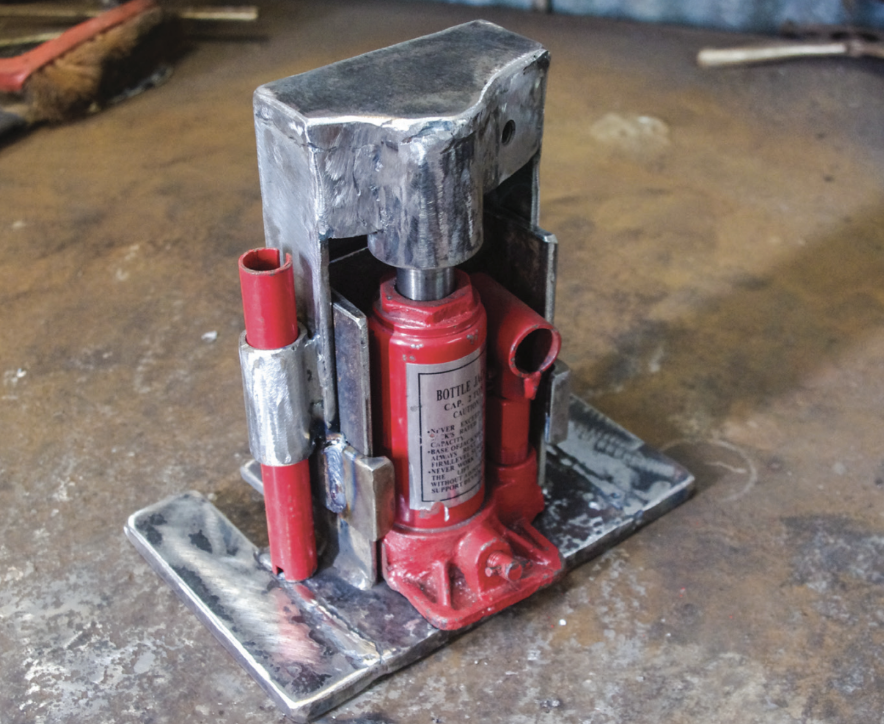
A bench needs clamps, a second pair of hands to hold the work still and stable.
Traditionally, woodworkers have used a holdfast and the most popular of these was the Record holdfast, now sadly out of production.