
A butterfly takes wing

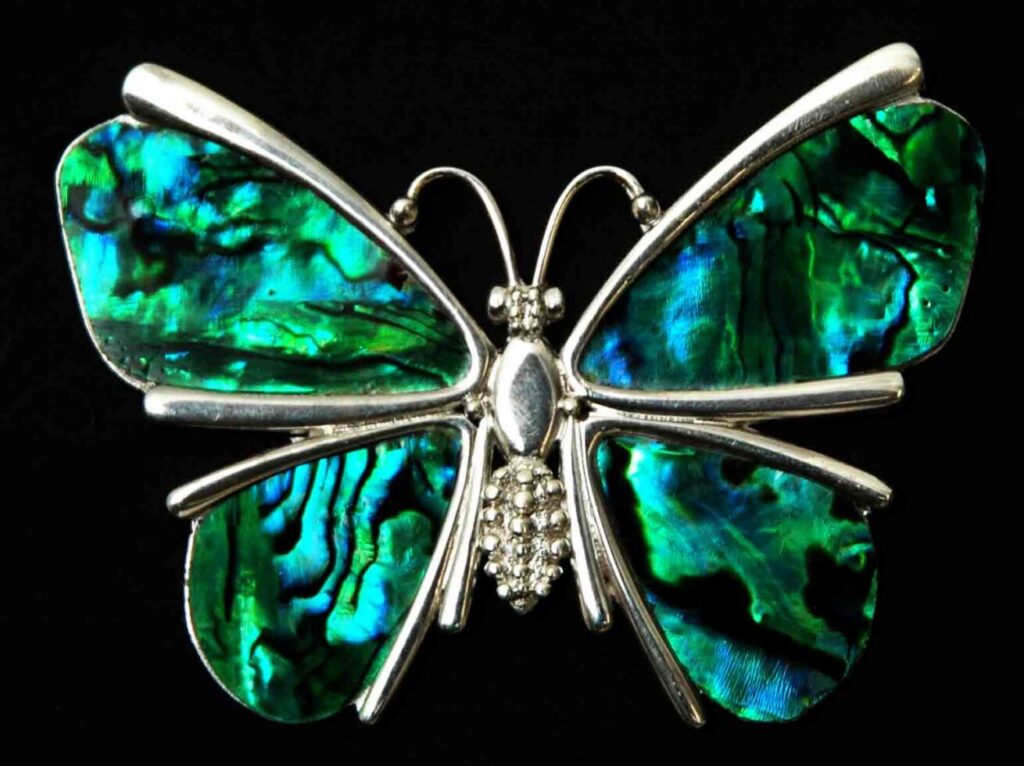
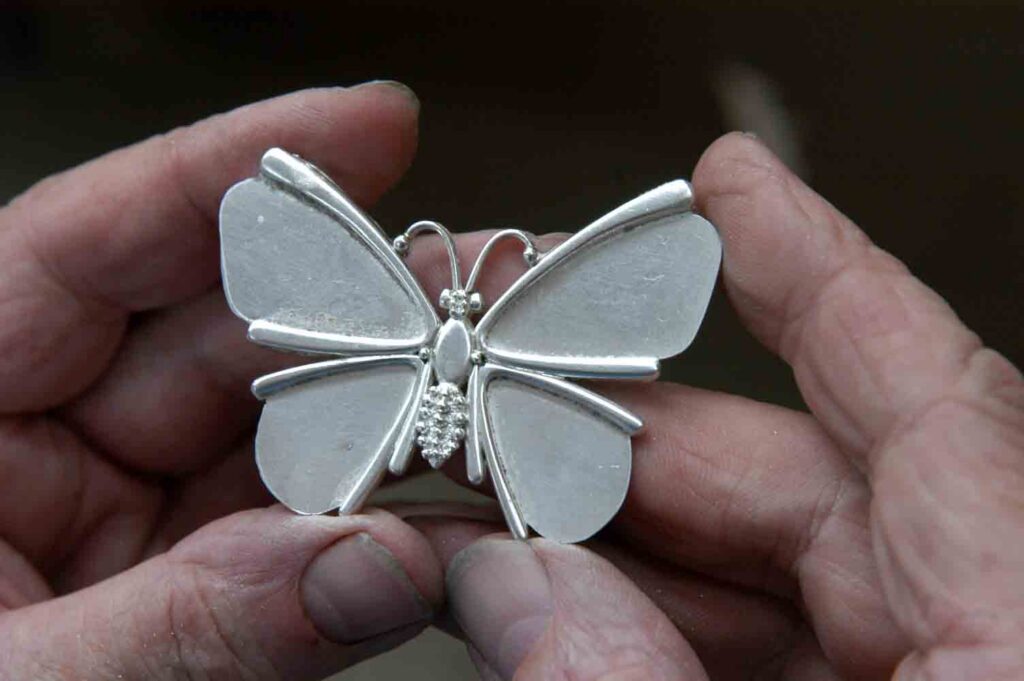
This simple butterfly pendant or brooch (depending on the back fittings) is a very good exercise in several basic goldsmithing techniques. It also can be decorated in several different ways to produce strikingly different finished pieces of jewellery. I drew this design more than 25 years ago for a company that then made paua-shell jewellery. They stamped out their products, so I often made the master patterns in copper and from these patterns they spark-eroded the dies. If this design was being made in an art school, it would be stuck to a sheet of silver and the basic shapes cut from there. If a design was made this way in, say, 18-carat gold and the wing outlines (as here) made from 2.5 mm thick metal, the outlay and waste material would be considerable from a 2.5 mm-thick sheet of 18-carat gold plate. But we will make it like a professional craftsman who has to live in the real world where costs matter.

Basic jewellery techniques are used to create this butterfly brooch or pendant.
By Peter Minturn
Photographs: Gerald Shacklock

This simple butterfly pendant or brooch (depending on the back fittings) is a very good exercise in several basic goldsmithing techniques. It can also be decorated in several different ways to produce strikingly different finished pieces of jewellery. 
I drew this design more than 25 years ago for a company that then made paua-shell jewellery. They stamped out their products, so I often made the master patterns in copper and from these patterns they spark-eroded the dies.
If this design was being made in an art school, it would be stuck to a sheet of silver and the basic shapes cut from there. If a design was made this way in, say, 18-carat gold and the wing outlines (as here) made from 2.5 mm thick metal, the outlay and waste material would be considerable from a 2.5 mm-thick sheet of 18-carat gold plate. But we will make it like a professional craftsman who has to live in the real world where costs matter.
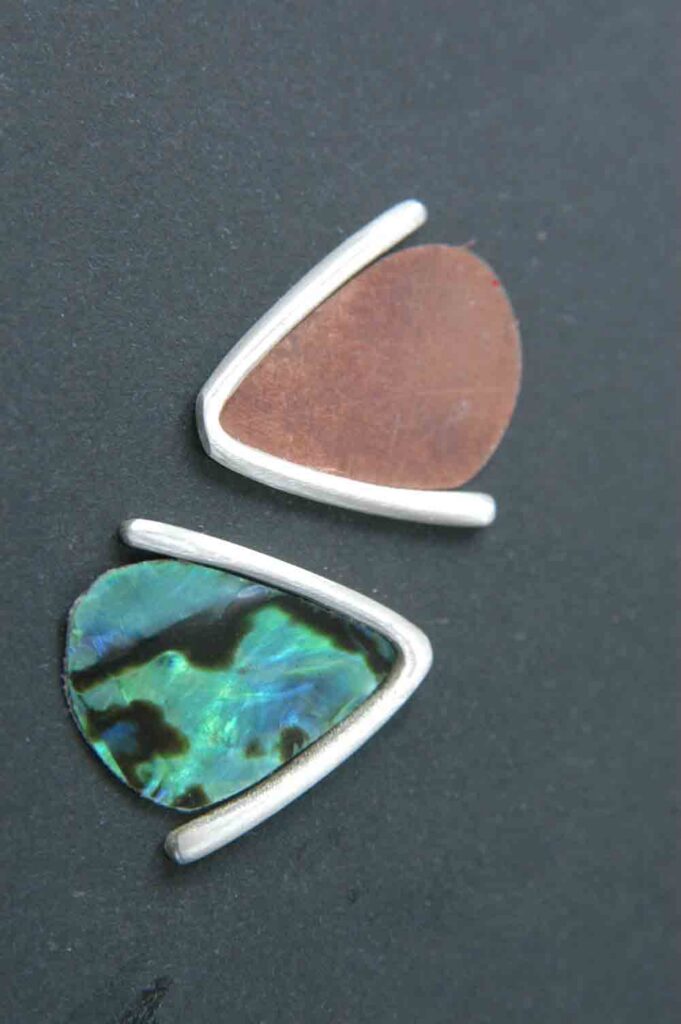
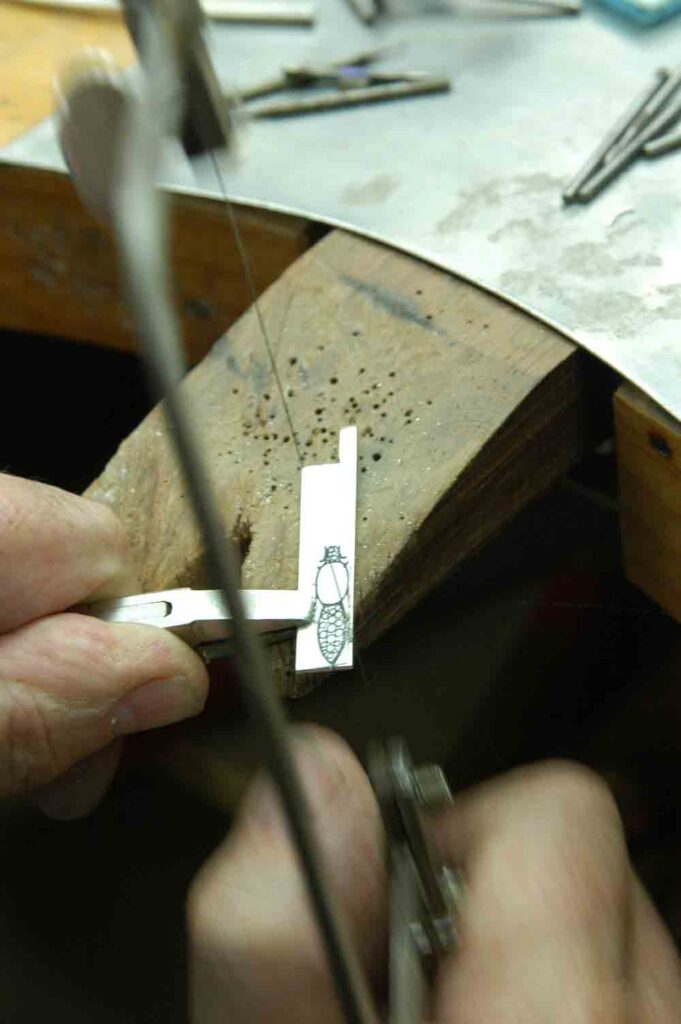
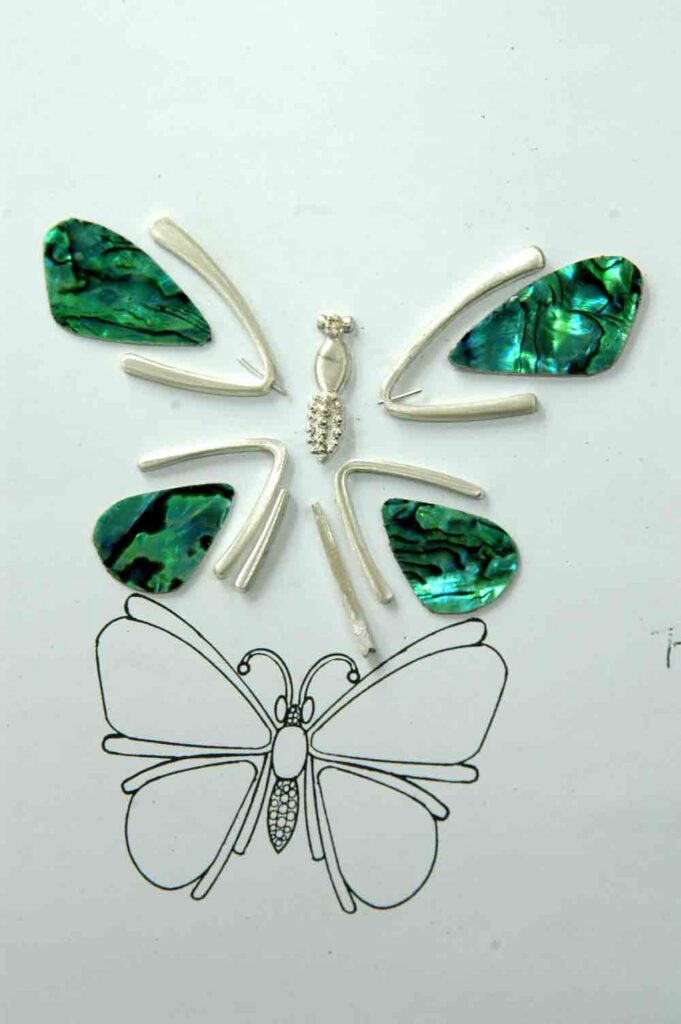
The first step in producing this design is to make 0.6 mm copper templates for the wing areas that sit within the wings’ edges. This is simply done by taking a photocopy of the drawing, cutting out the inner wing shapes and sticking them with double-sided tape or a glue stick to a flattened copper sheet. Then pierce them out with your saw and clean up the shapes with a smooth hand-file. You need only to make one of each top and bottom wing shape. Turning over the templates gives you both left and right wings.
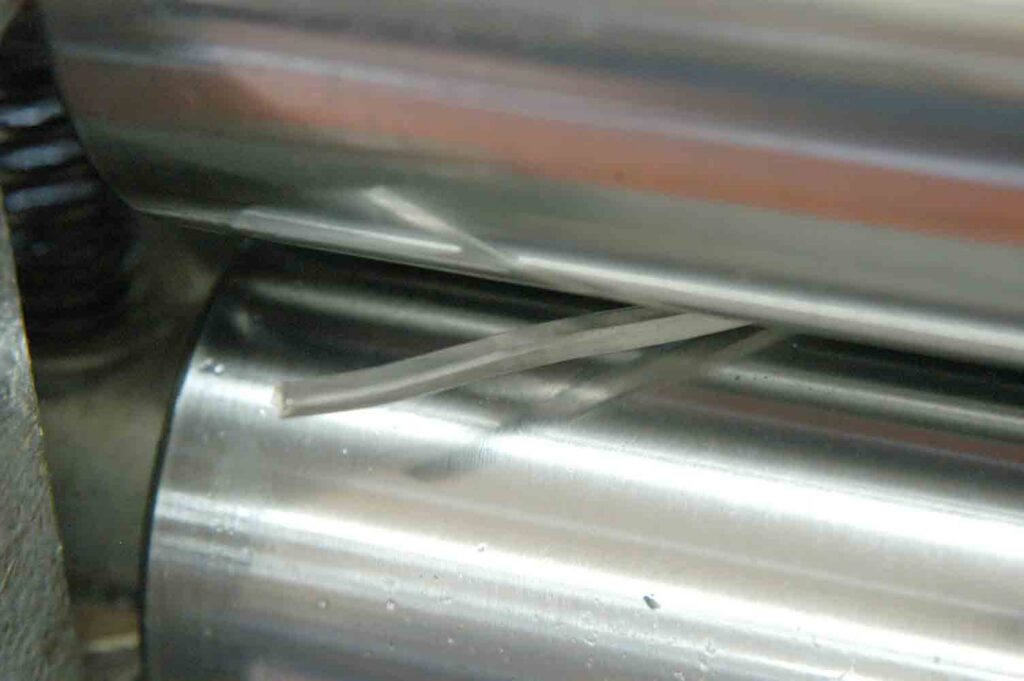
These two basic shapes now become the building blocks for the whole pendant, so they must be 100 per cent accurate. Our first step in silver will be to make the outer wing edges. To avoid cutting up a huge plate of silver, we forge our outer wing edges. Mill down a bar of 5 mm square silver rod (a standard shape sold by all bullion dealers) until it is about 3.8 mm square.
At this point, use a piece of binding wire to assess how long our metal needs to be when we have finished forging. Bend the wire to the shape of the upper wing edges and snip it off to length. Using this binding wire as a guide, mill the metal down at one end only to produce a tapered square rod that reduces to 2.7 mm.

Copper templates shape wings and paua insets

Anneal
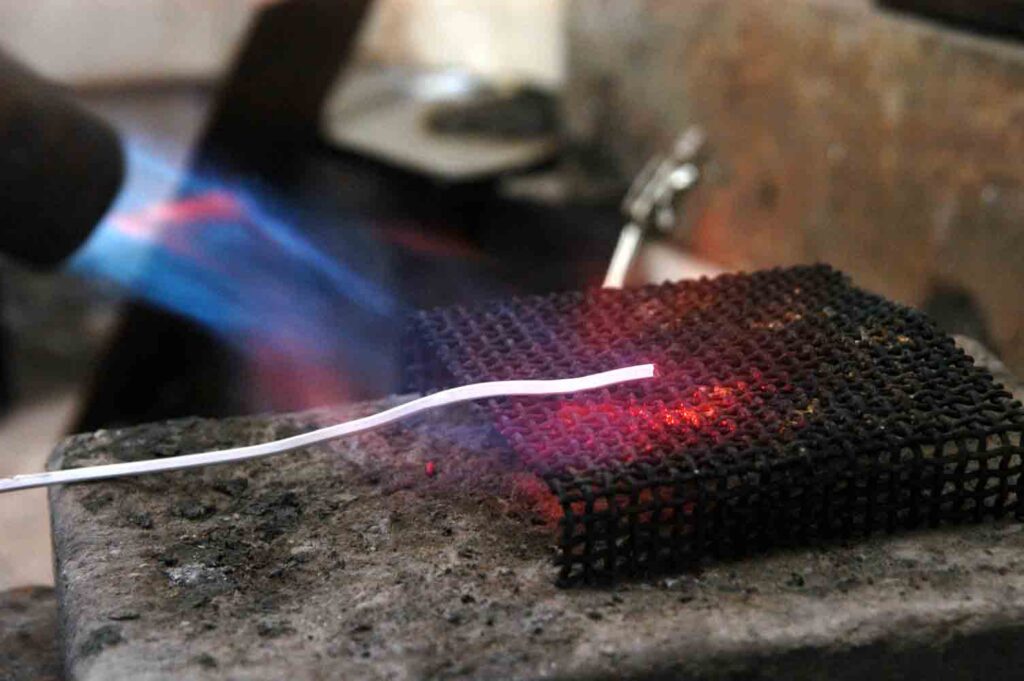
Then anneal it (heat until it is just pink) to soften the metal. Pickle, then rinse away the acid. Put the tapered bar back into the flat rollers and mill one surface to 2.5 mm. Now we have a crudely shaped, tapered piece of silver on the end of our bar which we will cut off a little shorter than our binding wire—when we take to it with the hammer it will stretch out. As there are two upper wings, we will need to make another piece the same way and anneal both again.
We now repeat the same procedure for the lower wing edges. This time the wing edges are narrower, so we will mill the metal to 2.5 mm square.
At this point I take the four pieces of metal to the flat stake in my vice. With a flat-faced hammer, you need to forge the central parts of these tapered bars down to 1.5 mm at the point where the wing edges meet the butterfly’s body. Again, I anneal, pickle, then rinse the forged bars. 
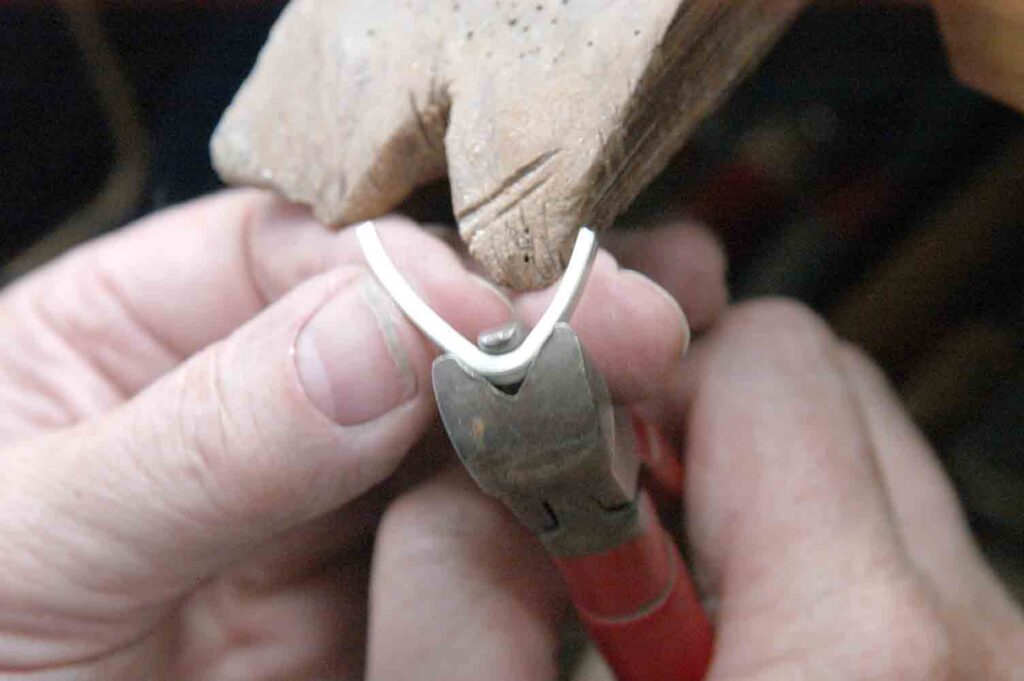
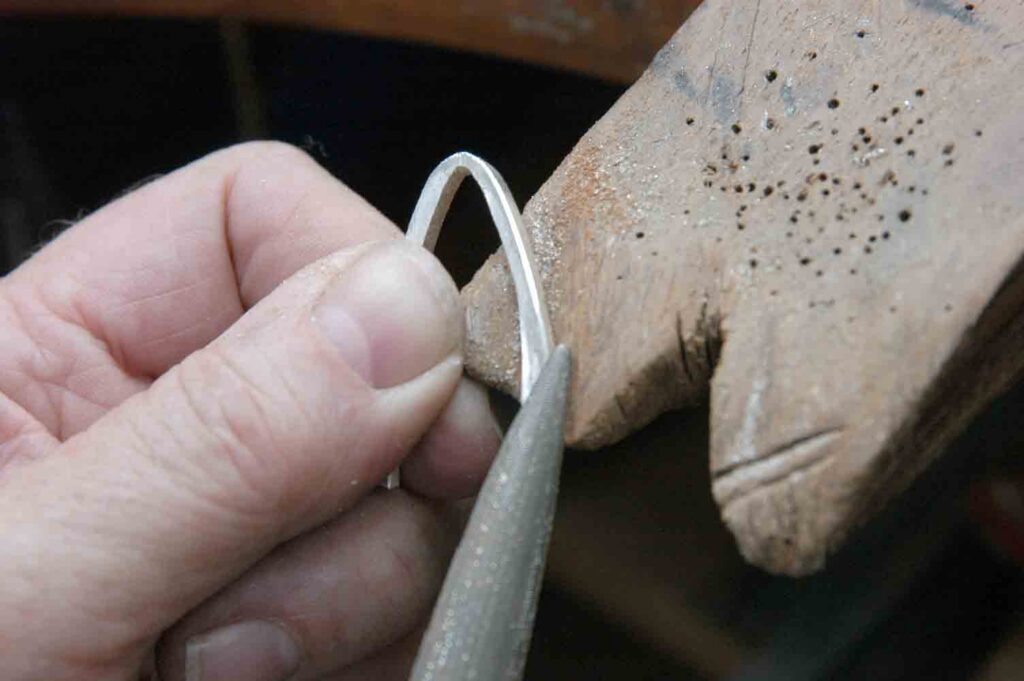
To prevent any unwanted marks on the metal, use soft-edged, half-round pliers to bend these forged rods into the shape of the butterfly wing edges. Use your templates to produce as close to the perfect shape as possible. When you have done this with the pliers, flatten the shape with a “valve stem punch” and then with hand-files make the wing edges fit the shape of the templates until they are “light proof”. In other words, when the inner edges are placed against the template shape, there’s no gap to let light through.
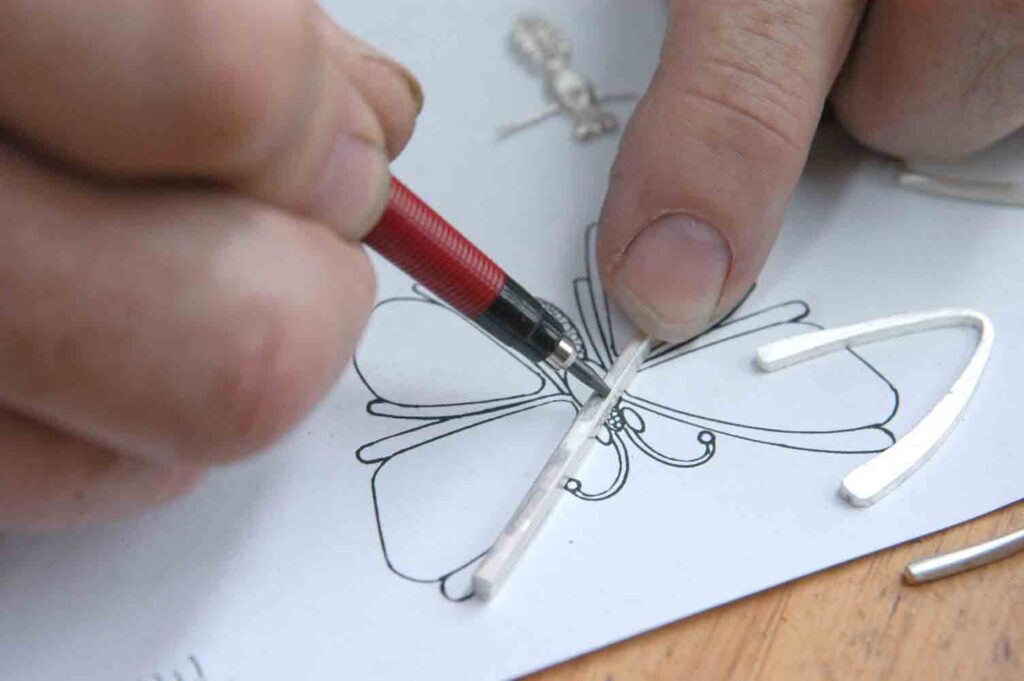
When this is achieved with all the wings, place the shapes over the design and mark off the ends to size. Cut and file the shapes until they are an exact replica of the wing-edge shapes in the design.
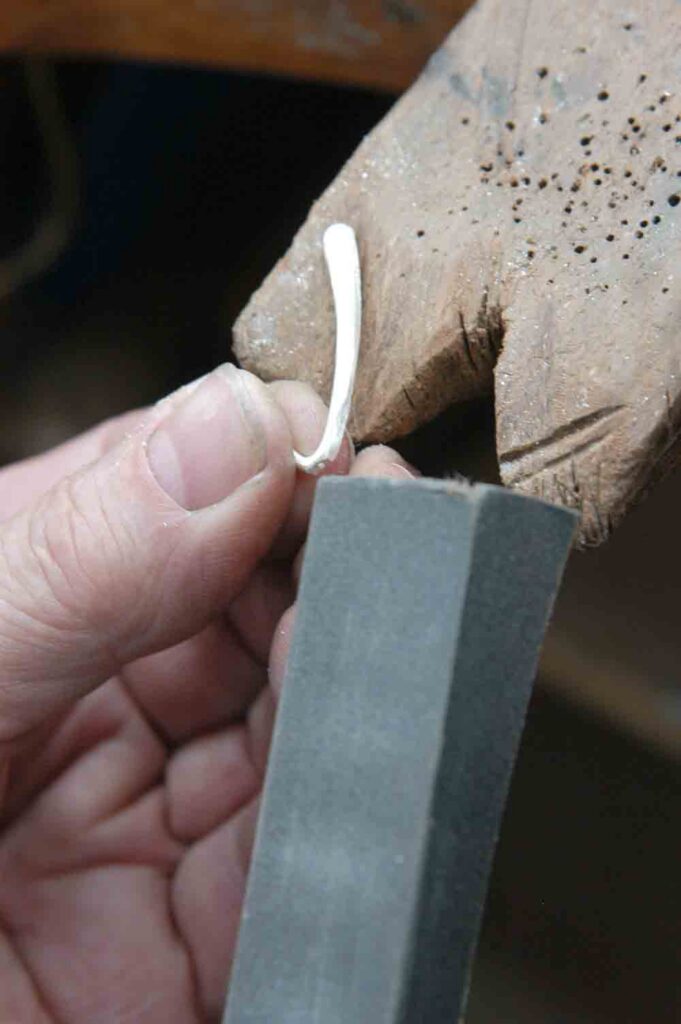
Because the forging will have widened the wings, flatten and file them to the 2.5 mm desired thickness. At this stage, all the edges should be sharp and clean. Once the shapes are correct, and only then, we begin to round off the shapes with emery paper to produce the soft edges required for the design.
Inside the lower wings are two extra tapered pieces of metal. Produce these in the same way as the wing edges. When you have rounded off the wing edges, use emery paper to sand them, with 240 grit and 800 grit paper to a smooth finish. It is much easier to do this job now than after the edges have been soldered together. We can leave the final sanding down using 1200 grit until the end of the assembly.

Milling the silver rod in flat rollers
Annealing the silver.

Body shape
Our next step is to produce the butterfly’s body. Mill down a piece of your 5 mm rod to 4.7 mm square and then flatten it to 3 mm thick, long enough to make the body and head, 23 mm long x 5 mm wide. Anneal, pickle, rinse and then flatten with the valve stem punch. From your photocopy, stick the paper shape of the body without the eyes onto the silver. Cut out the shape with your saw and true up with a file. Once the basic shape is achieved, round off each of the body’s sections.
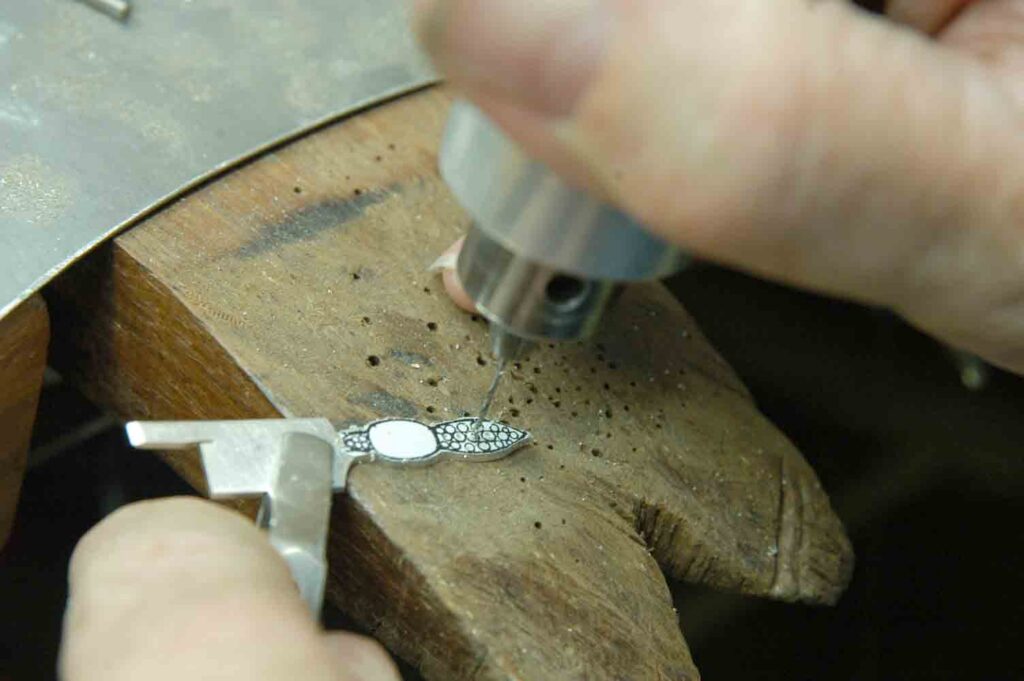
With a sharp centre punch, pop the dots marked on the tail and head sections for drilling. Then, with a 1 mm drill bit, drill the holes down about 0.6 mm. With a very small round dental burr, open up the drill holes enough to hold the silver shot that will be soldered into place to achieve the textured surface.
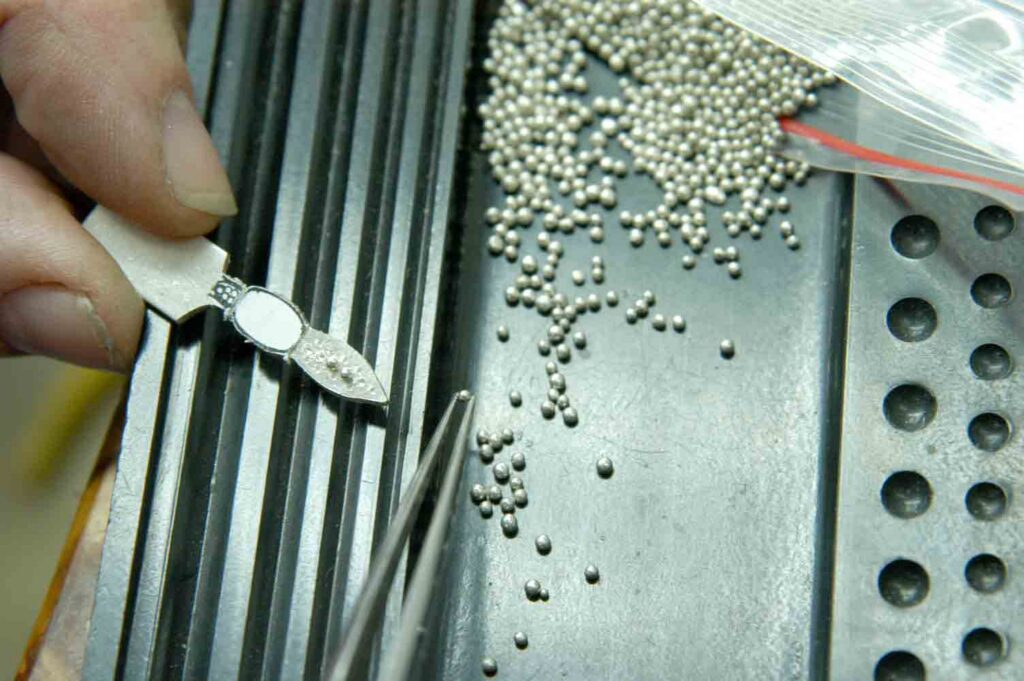
You can purchase silver shot from most bullion dealers or make it yourself. In bulk, shot is produced by dropping molten silver from some height into a container of water and ammonia. Shot can also be produced by cutting off small pieces of wire, fluxing it well and applying heat. The wire will become a small sphere at melting point.
For this job, you will require a selection of shot from 3 mm round for the eyes down to 1 mm round for the head. I am still using shot I bought more than 20 years ago. My students have even used it over the past five years, so 20 or 30 grams of shot will last a long time. I sieve mine to size in diamond sieves, but it is not difficult to sort out a few of the same size. You can use a folded business card, tip a few pieces into the groove and with tweezers pick out the sizes you do not require. 
Place the sorted shot into the appropriate holes on the body and hard solder with very tiny “paillons” (trade jargon for pieces of solder). Pickle, rinse and scratch with a brass brush to remove the oxidised surface. At the school, we have a slow-revving brass brush with water constantly lubricating it. A hand-held brush from your jewellery tool supply house will do just the same job.
The large eyes of the butterfly are made from two larger pieces of shot, with a flat filed onto one side. When the shot is soldered onto the head, take the other side down with a file as well to give it the ovoid shape.

Mark off the end on each piece
Bend with half-round soft pliers

Pegging wings
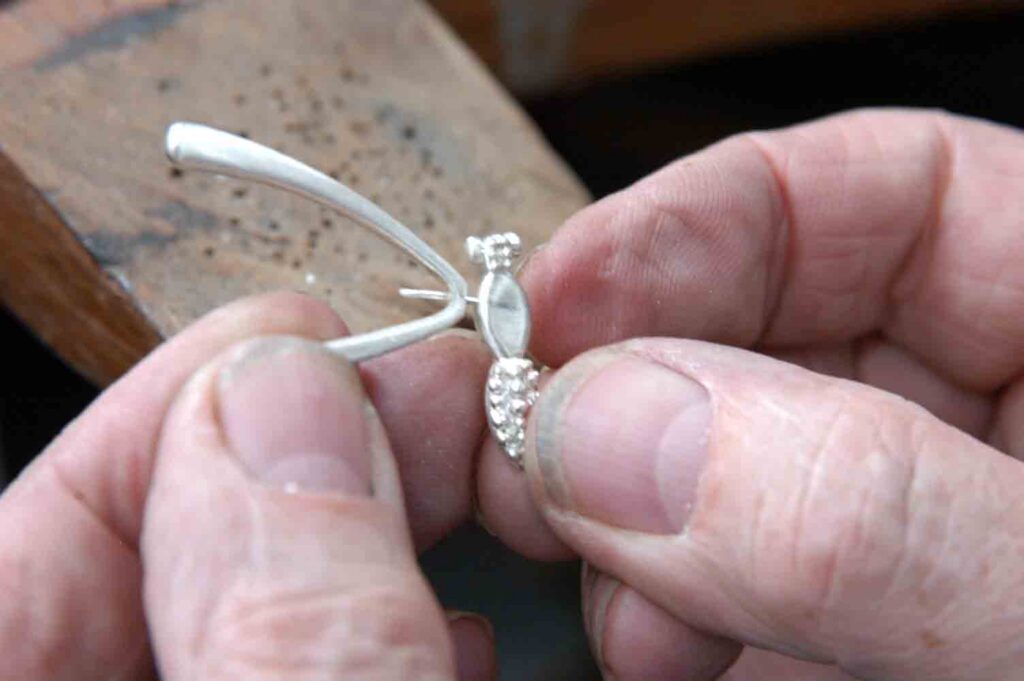
At this stage, I pegged the two top wing edges into place with fine silver wire pegs (about 0.7 mm). Pegging is the technique where the two sections to be soldered together are first very accurately drilled, and the two pieces are united with a peg of the same alloy metal wire that the job is being made in. This ensures that the two wings are going to be located at exactly the correct position on the body. When the two pieces are soldered into position with this method, there is no chance of the pieces moving during the soldering process.
Hard-solder our wings on a solder block, such as a slab of kiln lining or pumice, pickle, rinse and scratch-brush again.
Now that you have three of the main sections of the design together, it is a simple matter to add the bottom wing edges and the other small section of tapered half-round that sits between wings and body. To ensure that these final pieces do not move while soldering, I hold them in place on the kiln lining with iron display pins.
After pickling and scratch-brushing the piece once again, the back of this assembly has to be filed flat to ensure it will sit on a sheet of 0.6 mm silver. This will form the background for the wings and hide all the separate pieces of the butterfly.
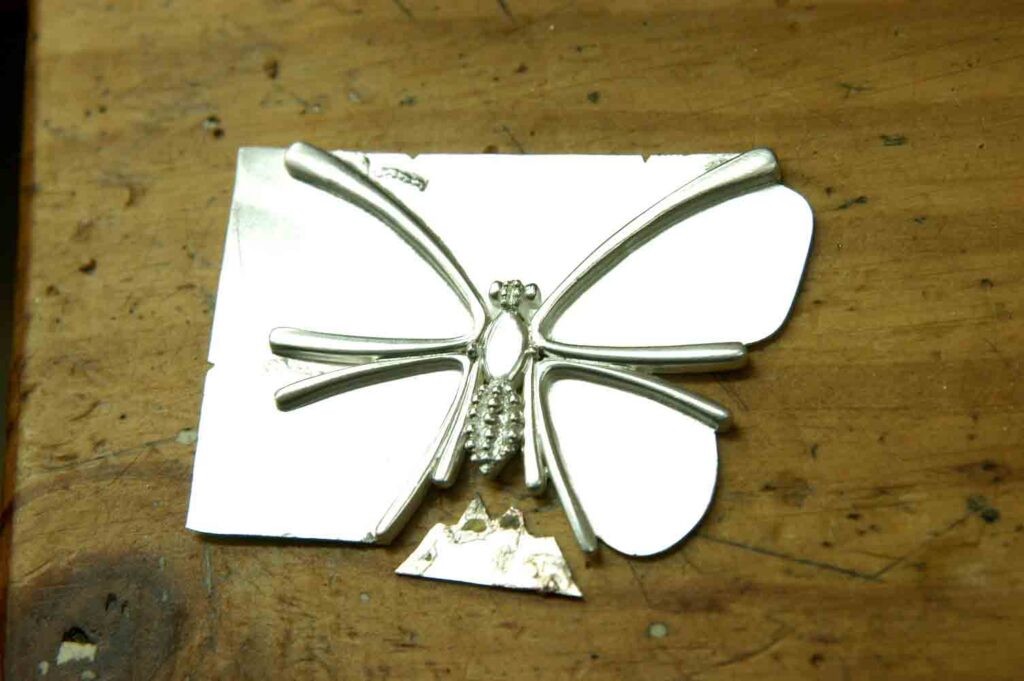
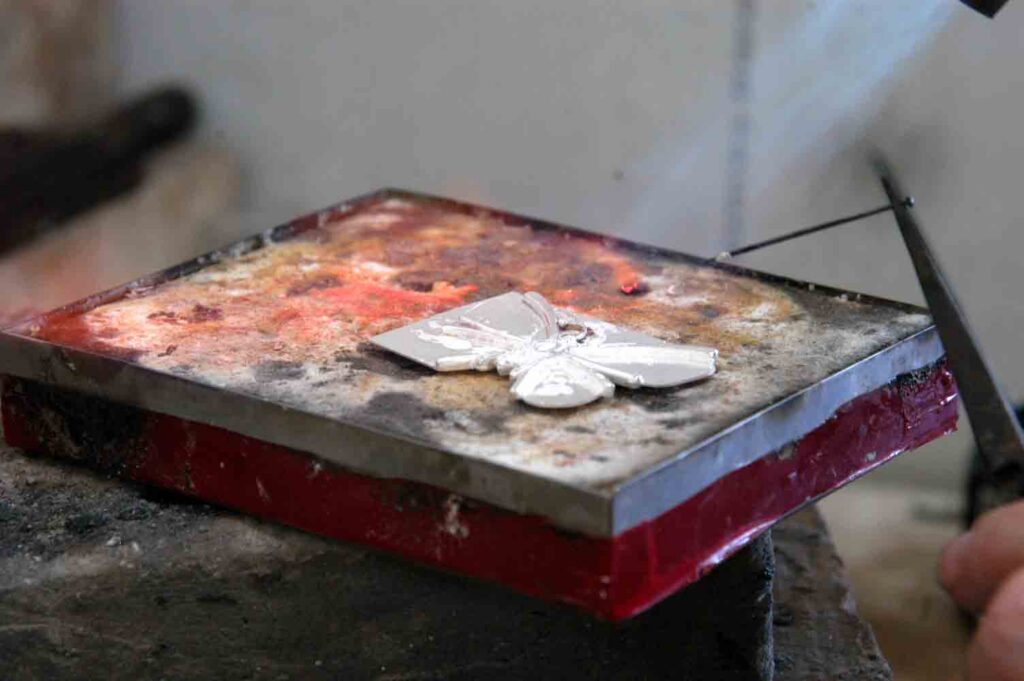
When the back of all the pieces are level, place the assembly onto the sheet of silver and flux well. For a large job like this, I use Johnson & Matthey Easy-Flo flux. I water it down from its paste to liquid, and it does an excellent job for this type of call-strip soldering, much like the technique that welders use. For this job, I used hard-silver solder wire.
I cut a small paillon of solder as an “indicator” piece and place it on part of the silver plate that will be cut away when the pendant is all assembled. Then I flux the solder wire well, heating it gently to ensure the flux is over the amount of wire I will use. Then with the forge blowtorch (a large propane torch) I gently heat the job all over until the indicator paillon melts. Then I apply the silver wire to the job, but only in places that will be cut away.
If the job is at its correct heat, the solder will run evenly to every part of the job. This sounds easier than it is. Using this technique, you can overheat part of the job when concentrating on the section you are trying to solder. You must take great care to keep an eye on the whole job during this process.
If you have used binding wire to locate the wings to the plate, you must remove it before putting the assembly into the pickle, or this job and every other job in the pickle will turn bright pink from the iron. When you have pickled and rinsed the butterfly, scratch-brush it again to remove all of the oxidised surface.

File the cut wing shape
Soften with emery paper
Cut out body shape
Centre-punch pop the dots
Drill out punch marks

Antennae
Our final job on the front of the pendant is to add the antennae to the butterfly’s head. Mill or draw down a piece of wire 1.3 mm square and flatten it to 1 mm. File the 1 mm top surface to a half-round and sand with 1000-grit emery paper.
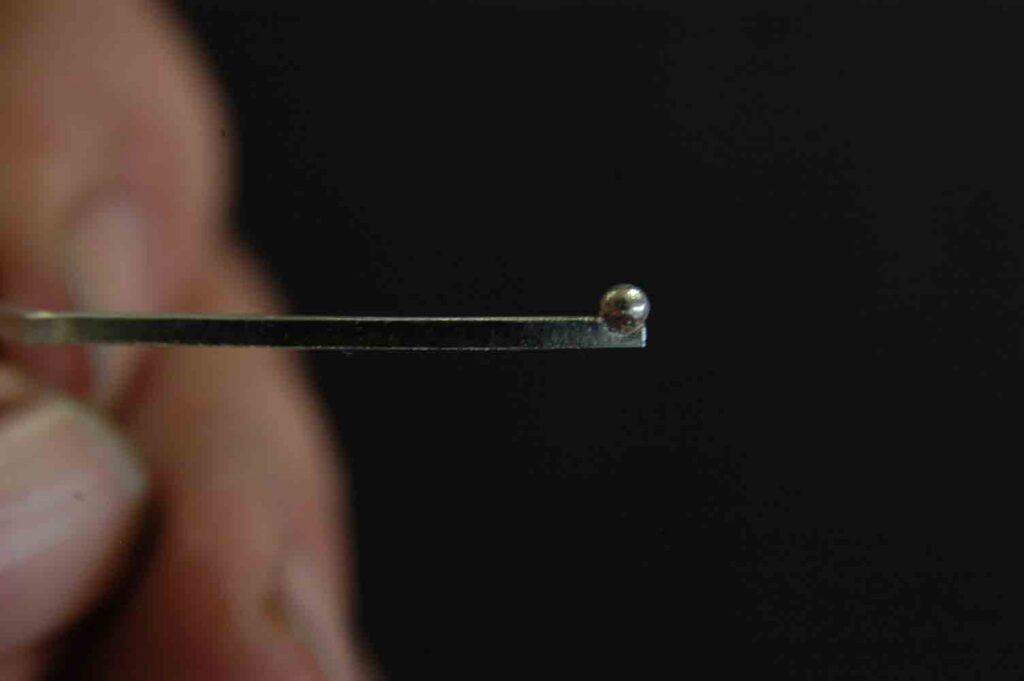
With binding wire again, work out how long each piece needs to be. At one end, with a round needle file, put in a notch sufficient to hold the piece of shot at the end of the antenna. Solder the shot on with a tiny paillon of hard solder. Cut off a little more than the required length and repeat for the other antenna. 
Bend the antennae to shape, checking them on both the design and the assembly. Fit the antennae to the head, ensuring that the backs are flat, and solder them into place with medium silver solder. Pickle, rinse and scratch-brush once again.
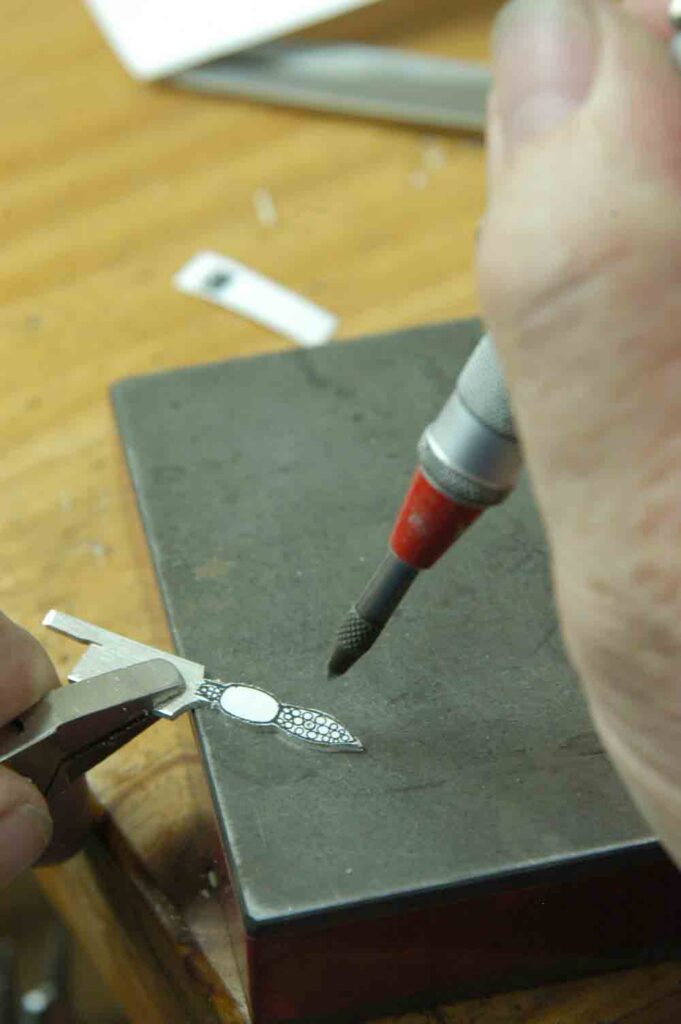
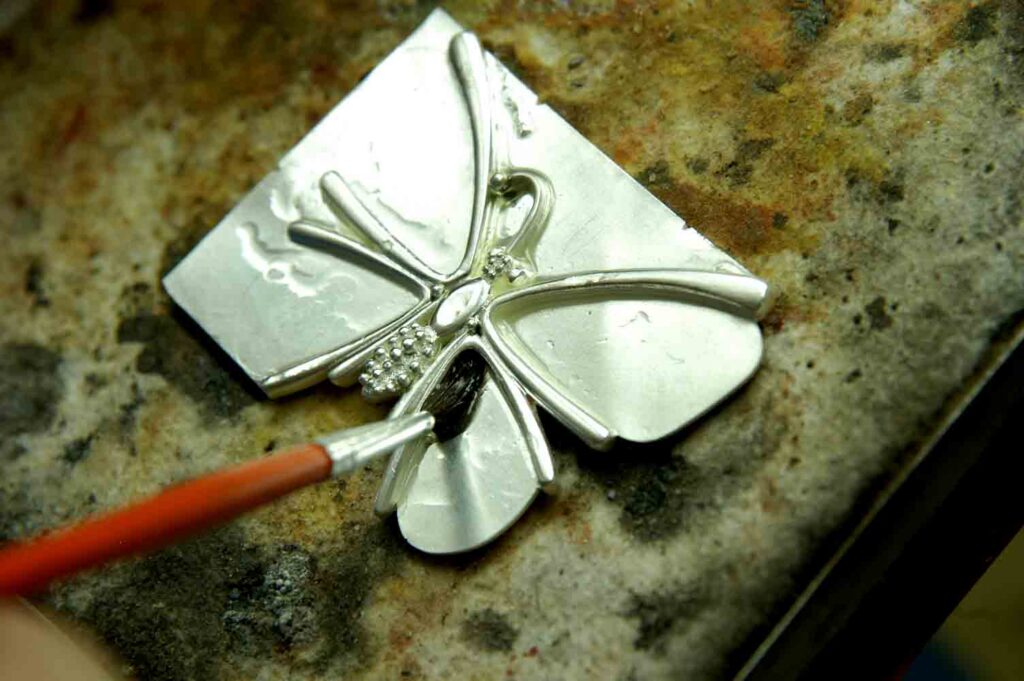
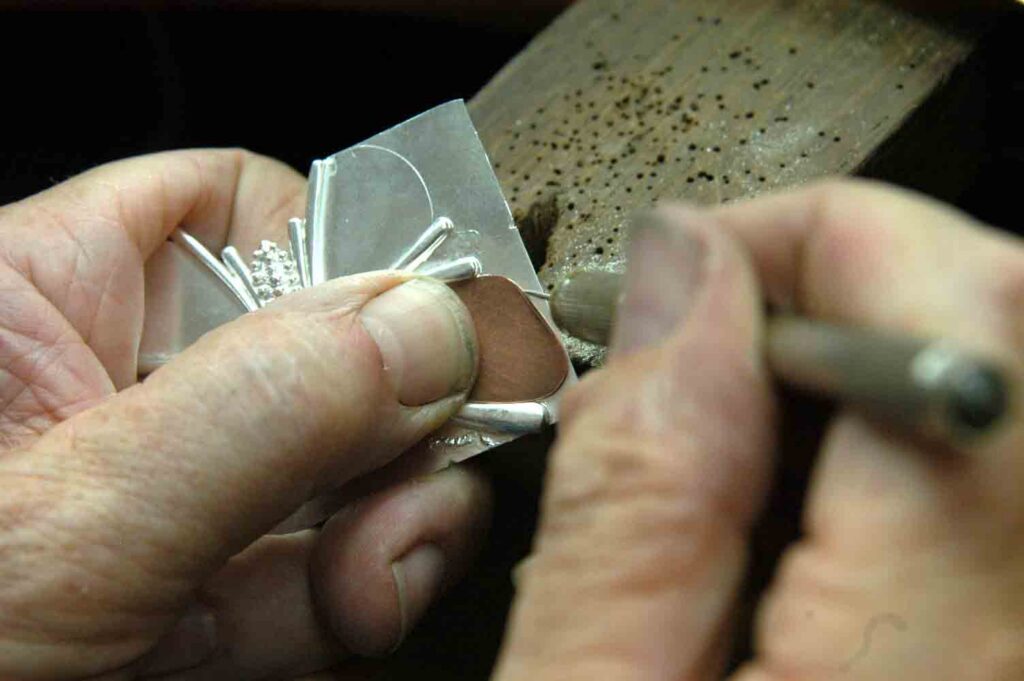
At this stage, I placed my templates into the wing outlines and scribed the shape of the wings with a darning needle in a pin vice.
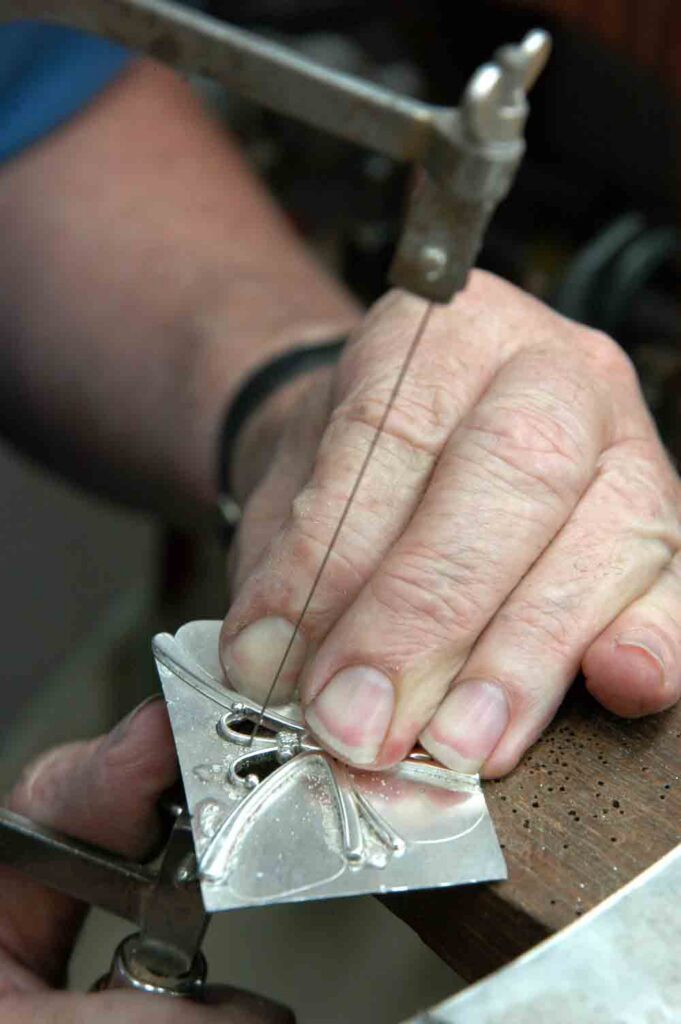
Our final job on the butterfly’s front is to cut away the silver sheet and file the butterfly to shape. Then, after fine filing and emery papering the assembly, I realised my forging technique had left me with a design flaw! There was a tiny gap where the wings met the body, and it stood out like a little black triangle. My art school cousins with their wasteful technique of cutting from a large silver plate would not have had this. Here was an opportunity for a little creative cheating, as I say to my students. So I soldered another little piece of shot into the hole. Problem solved!

Select shot sizes
Use silver wire to peg the wings in place
Work in progress
Antenna has shot soldered into half groove
Pieces are soldered onto a silver sheet

Finishing touches
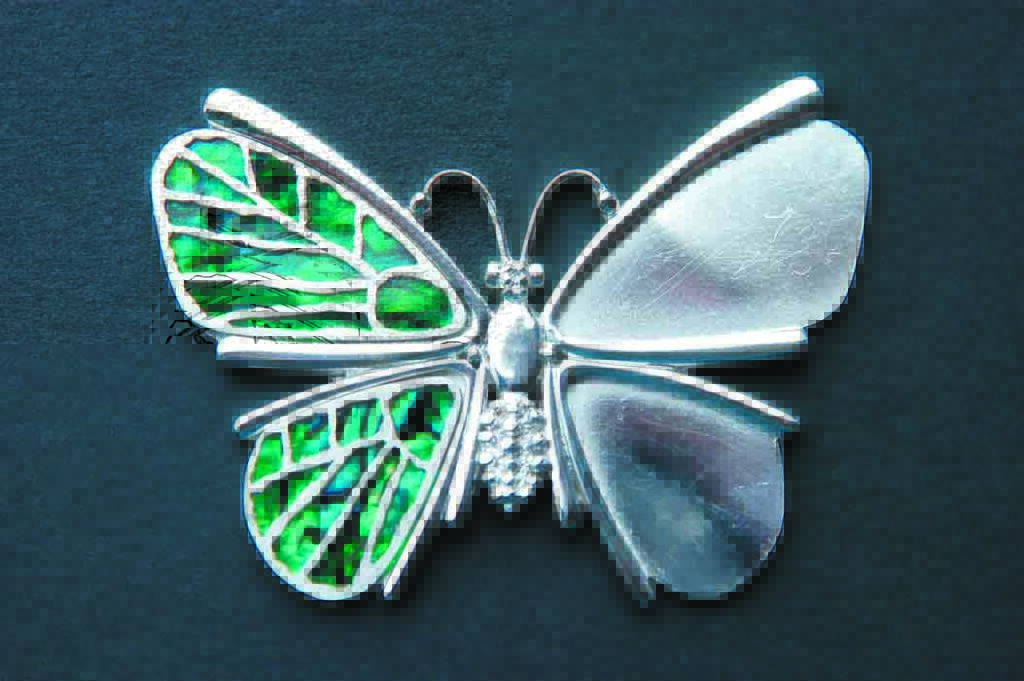
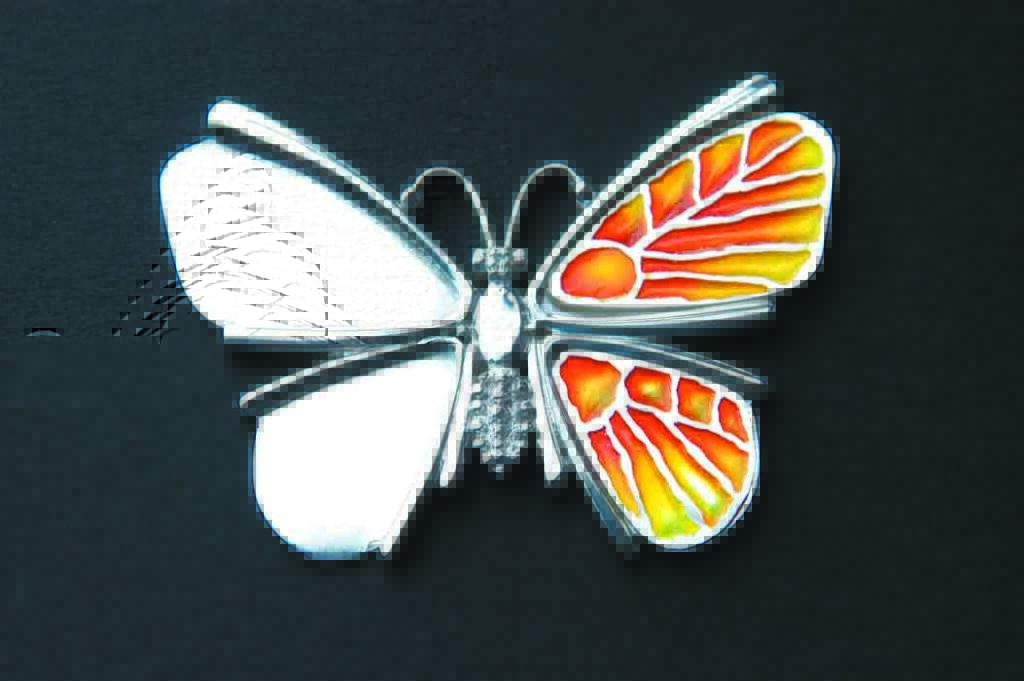
Now we come to adding the glamour to our butterfly skeleton. First, we will use our templates to cut out some paua shell laminate from Ocean Shell. This comes with a self-adhesive back, so installation is easy. We will use our templates and artistic skills to add some veins which we can place on the paua shell on the butterfly’s wings. Or we can solder onto another thin sheet of silver and enamel this with an epoxy resin enamel. This is measured out 50-50 colour-to-hardener. The lighter yellow was put on first with a fine stylus, and then a tiny amount of red was put in one corner and pulled into the lighter colour. It was finished off in the oven at 500°C for one hour.
These veins can of course be soldered directly to the brooch, but for this exercise we have them separated to show the different effects that these decorative applications can give. If this butterfly were put into production, the wings could have cabochon-cut (convex, polished, unfaceted surface) gemstones like jade or turquoise, or the wing surfaces could have a textured finish. The imagination is the only limit to the way this pendant, like a chameleon, can change its colour.

Flux well
Solder the antenna in place after heating the job all over
Scribe final wing-shape using template
Cut away silver sheet
Finished shape. Note the shot repair between the wings

BROOCH OR PENDANT?
This butterfly can be either a brooch or a pendant. It depends on what back fittings you solder on. For those of us who live in the winterless north, where few of us have heavy winter coats, brooches are difficult to wear on thin materials. A brooch may sit well on a tweed jacket, but will not hang very well on lighter fabrics. So I will probably make this into a pendant that has a permanent chain, anchored to two half jump rings under the upper wing tips. Should you decide to make a brooch, then you will need a handmade or machine-made revolver catch, and you will need to make a pin joint.

Share:

More Posts

Making a classic claw setting

This classic ring is called a six-claw, Tiffany-style single-stone setting and is the simplest of our school’s solitaire-diamond ring designs with a claw setting. The “Tiffany” label comes from the famed American jewellery house which boasted that its diamonds were of such quality that they did not need to place them in fancy settings.
As a design for round gems, this is just about as basic as one can get.
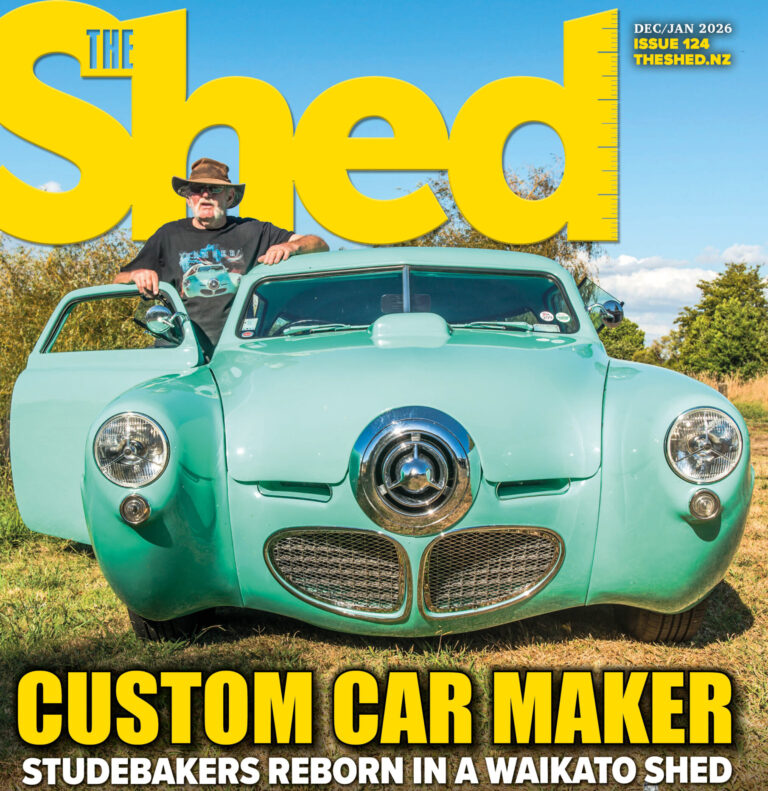
The Shed magazine December/January 2026 issue 124 on sale now

The Stude-Maker
Studebaker marketed their groundbreaking 1950 Aero-Nose models as “luxury for everyman.” A young Trevor Halstead thought this was a bit of him, so he began purchasing Studebakers in the early 1970s. The fact that the Champion model he chose was $50 less than the Ford he really wanted did play a small role in that life-changing decision. As they say, the rest is history.
“To the man on the street, they became known as bullet noses, and while they proved to be Studebaker’s best-selling model in 1950, those aero-lines did not age so well, and by 1952, the company reverted to a more conventional front end.
Fast forward a couple of decades into another hemisphere, and a one-man Studebaker ‘Next Look’ revival was about to begin, in the workshop of Studebaker devotee and custom-builder, Trev Halstead. This time, though, those vintage lines would take on wild and offbeat shapes.
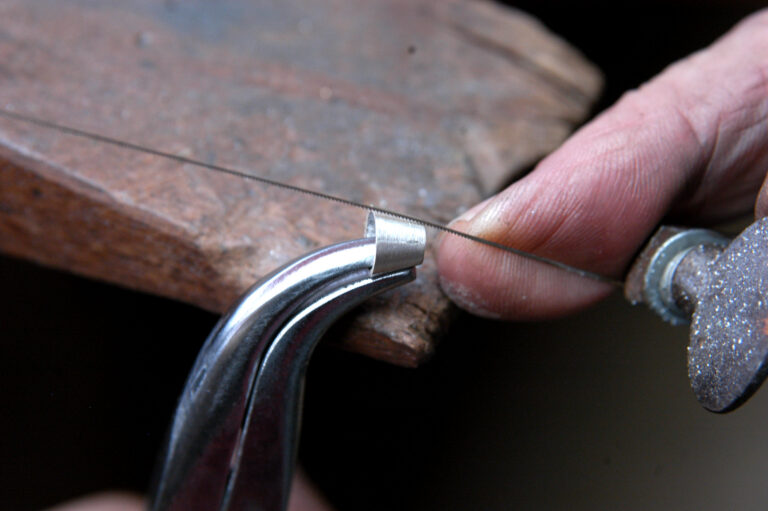
Create your own parrot-beaked pliers

A specialist tool we made in that Hatton Garden workshop where I served my time was parrot-beaked pliers. These are used by the ring-maker for hand-made gem settings. They present the setting in a ring at just the right angle so the jeweller can pierce and file the design of the setting.
The best pliers for this are a pair of heavy, flat-pointed pliers, known in the trade as snipe pliers. Good jeweller’s pliers can cost up to $50, so I save my students money by most often using second-hand electrician’s snipe pliers. You can pick these up at any market for used tools and they do just as well. I am still using the pair I made during my apprenticeship 50 years ago.